66 Batarang and Pouch

IMG_5991 (Medium)

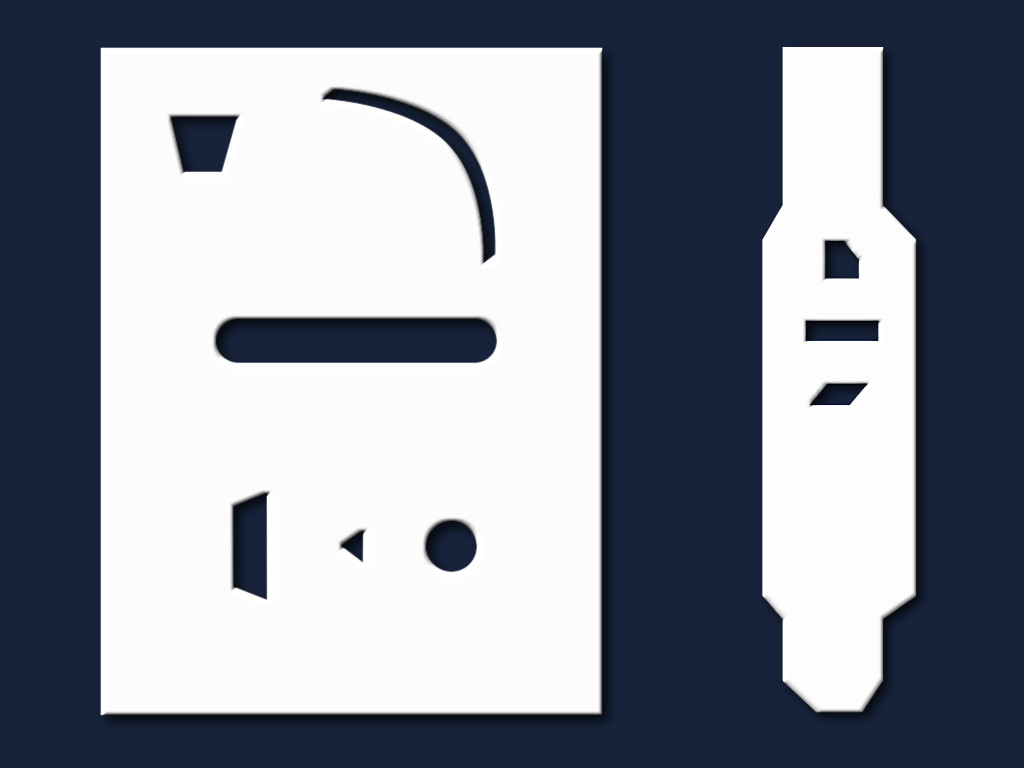
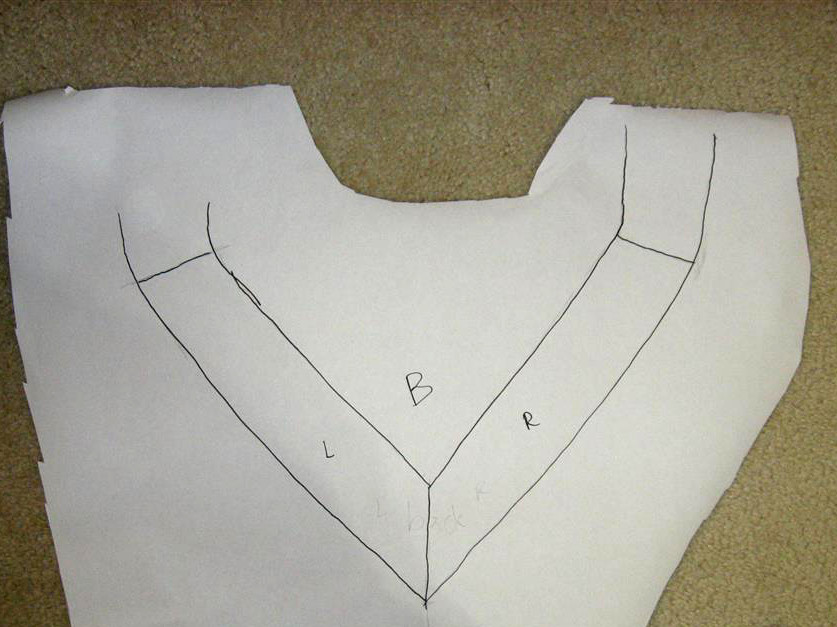
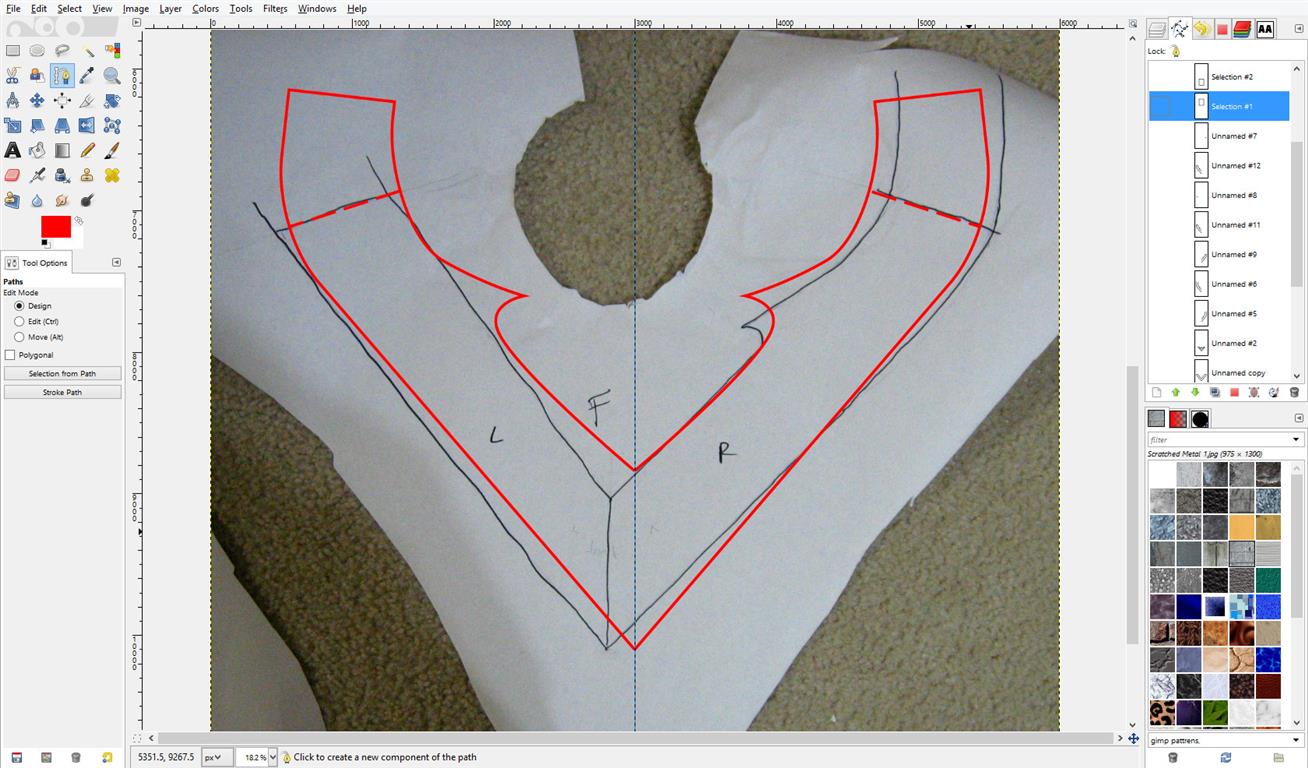
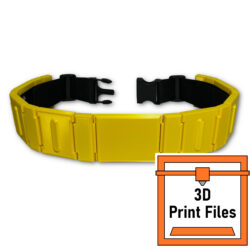
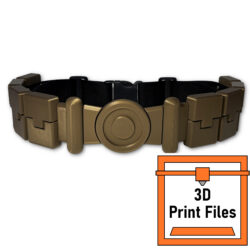
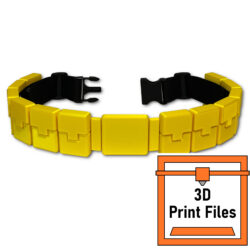
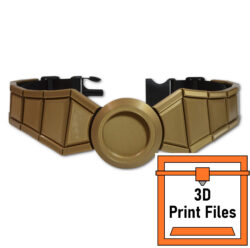
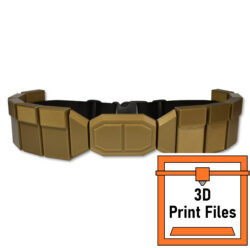
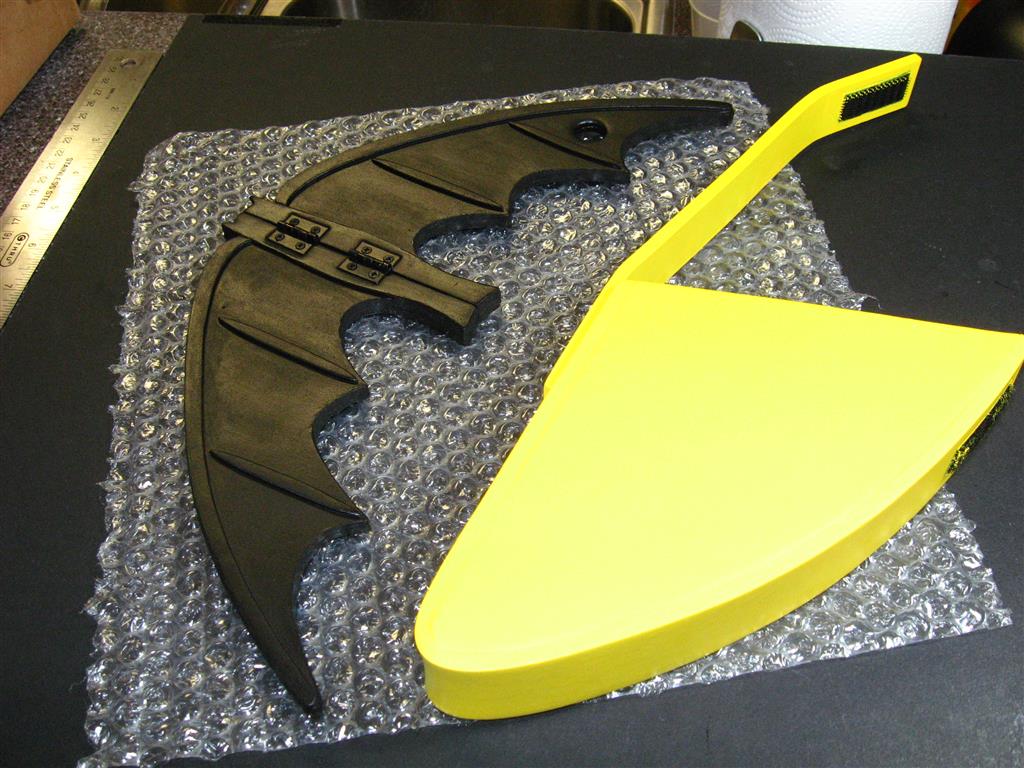
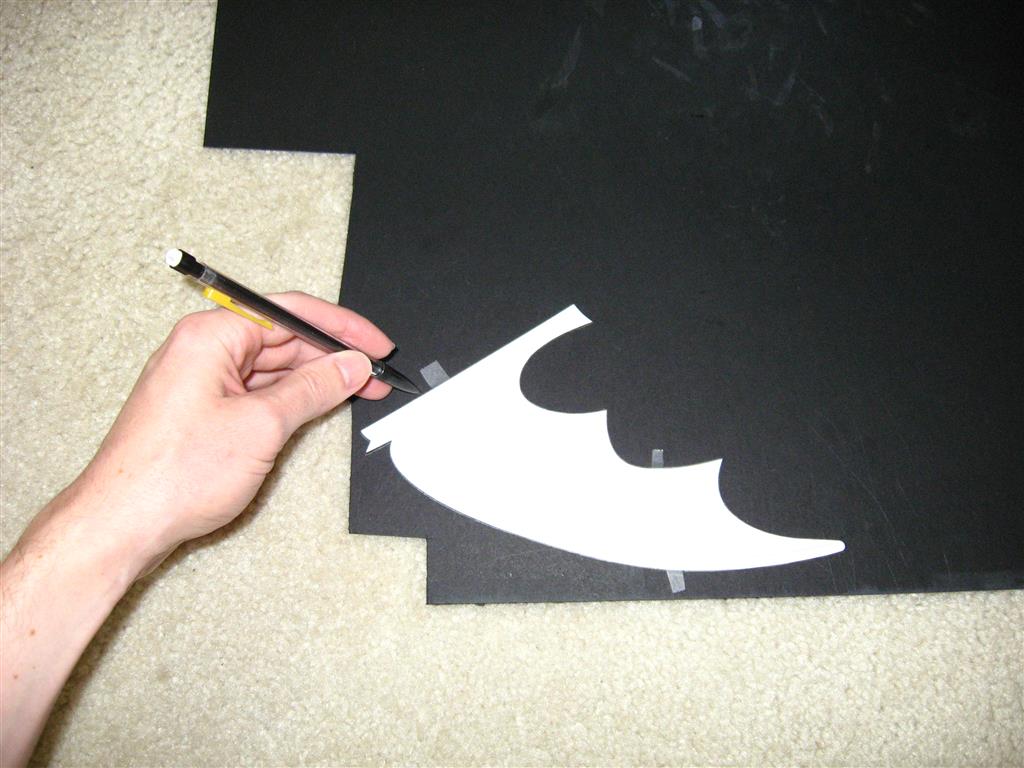
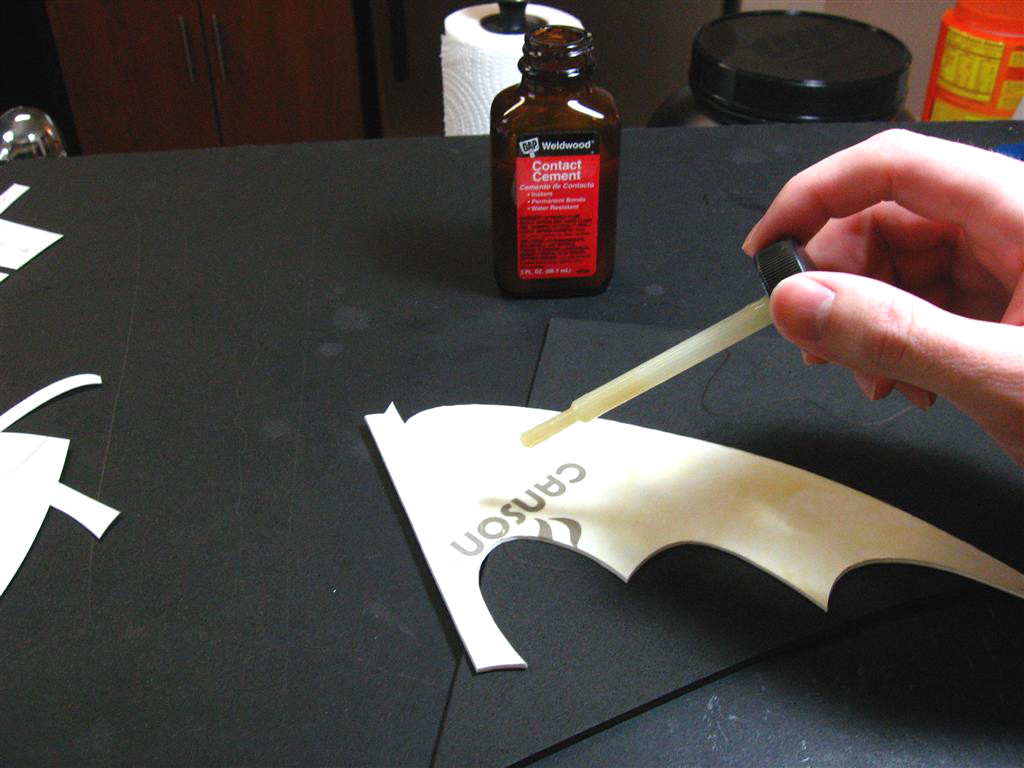
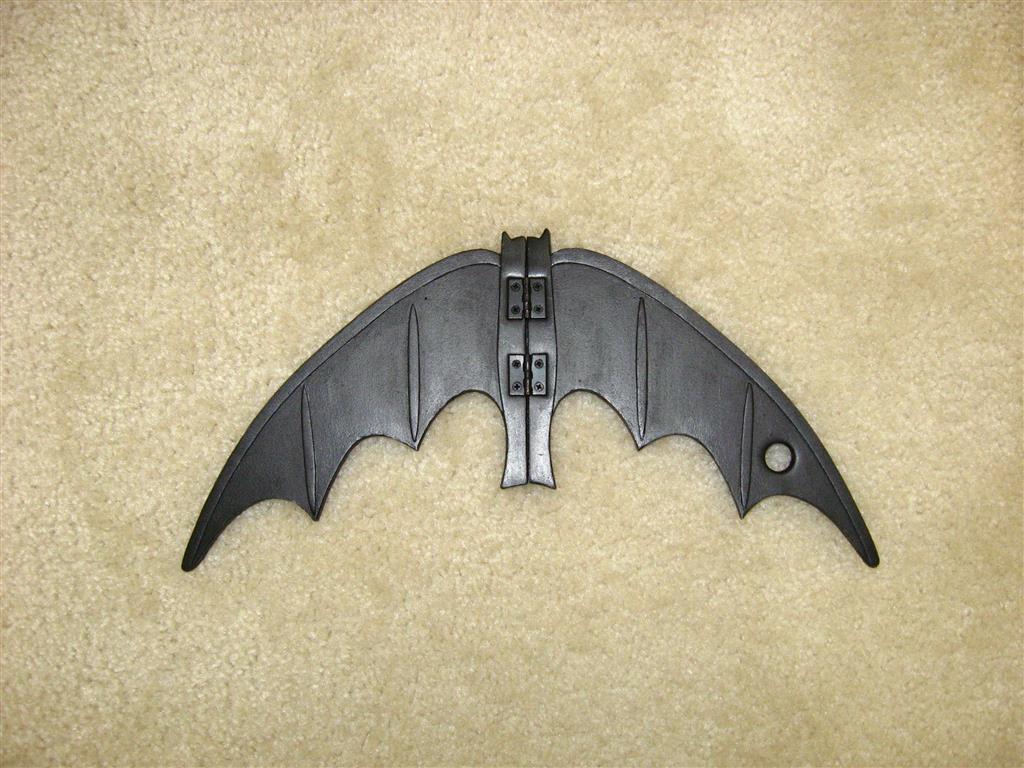
I made a batarang with a pouch to go along with my 1966 Batman utility belt. In order to make it sturdier I decided to sandwhich a layer of dense mounting board in between the layers of foam. I first made a template and traced the shapes onto the mounting board. The board was a little too hard to cut with scissors so I cut it out with an xacto knife instead, cutting slowly in multiple passes. I normally use super glue, but the mounting board kept absorbing it and drying it before I could join the pieces, so I used contact cement instead to glue the two layers of foam around the board.

IMG_5893 (Medium)
IMG_5920 (Medium)

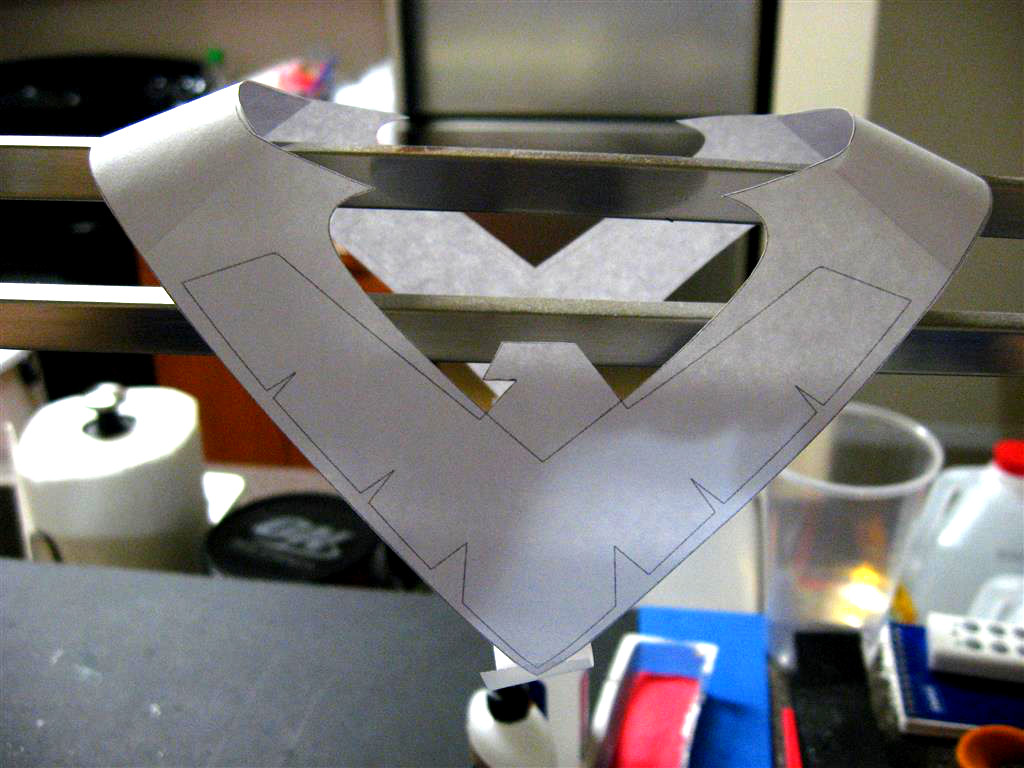
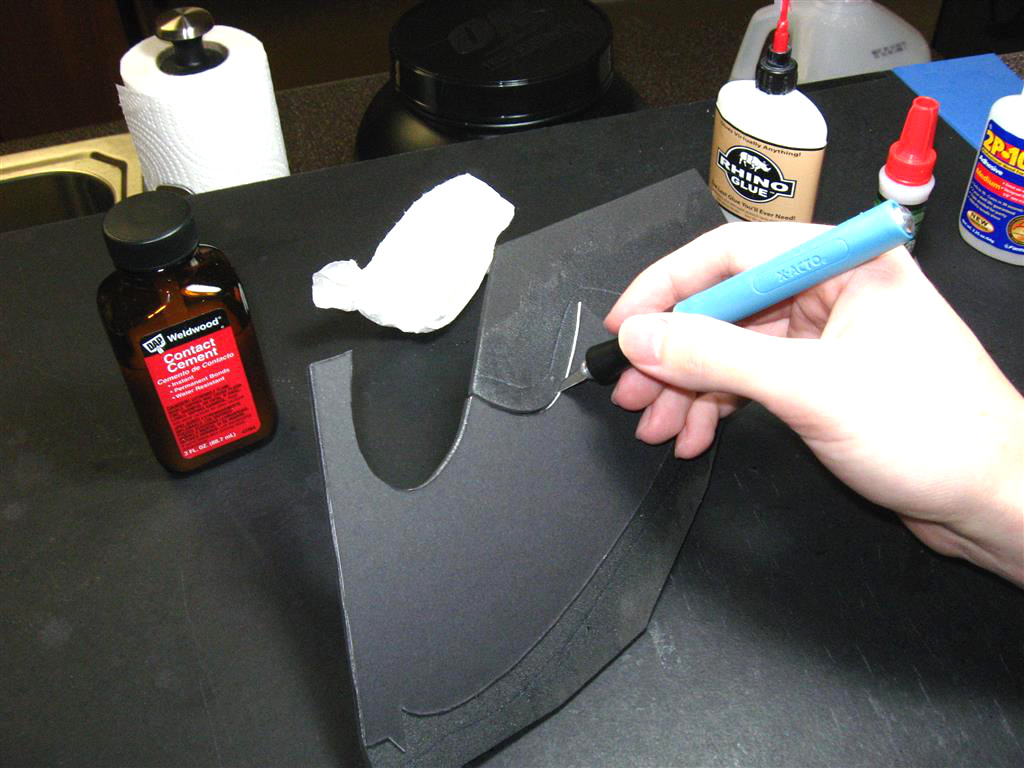
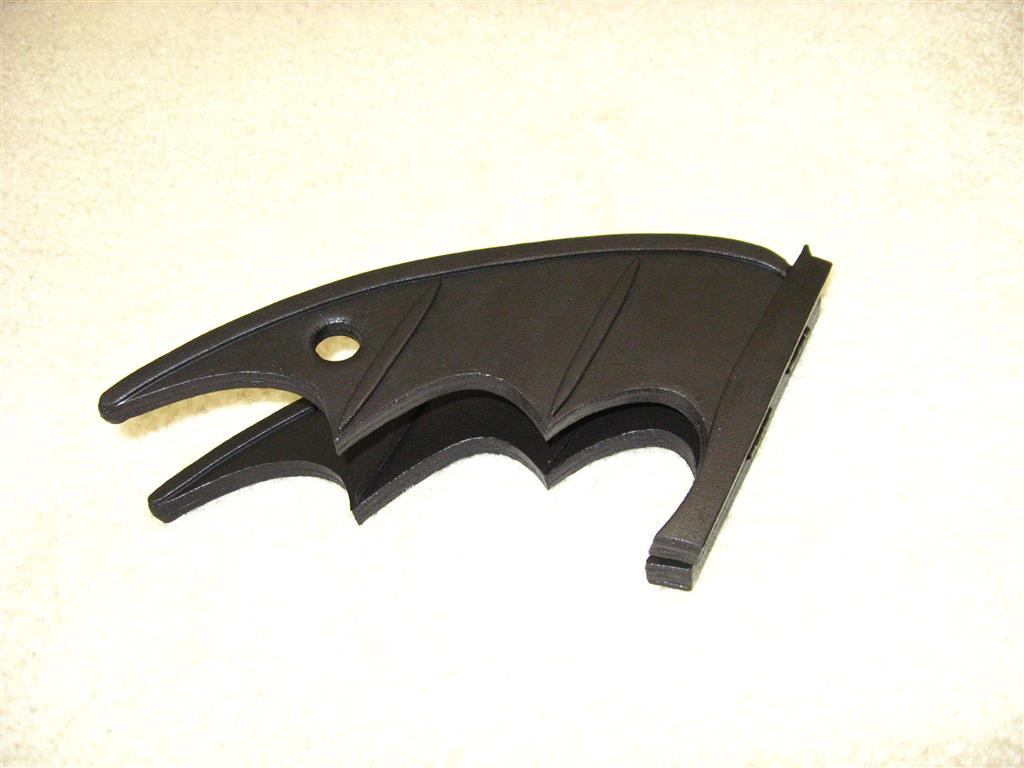
I used the xacto knife to cut the excess foam away from the board, and a hole punch set to punch the rope hole.

IMG_5924 (Medium)
IMG_5931 (Medium)

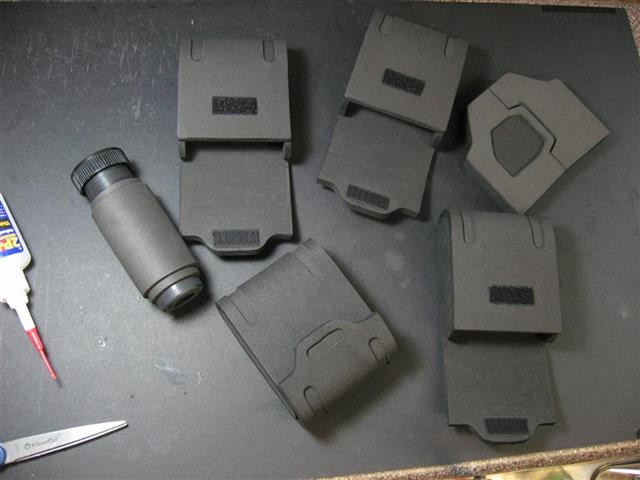
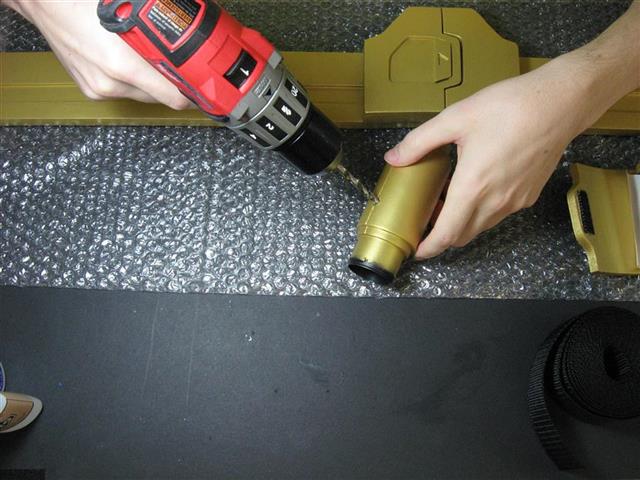
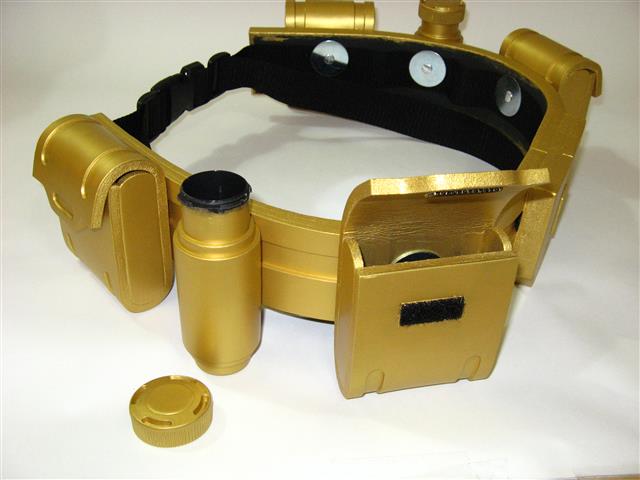
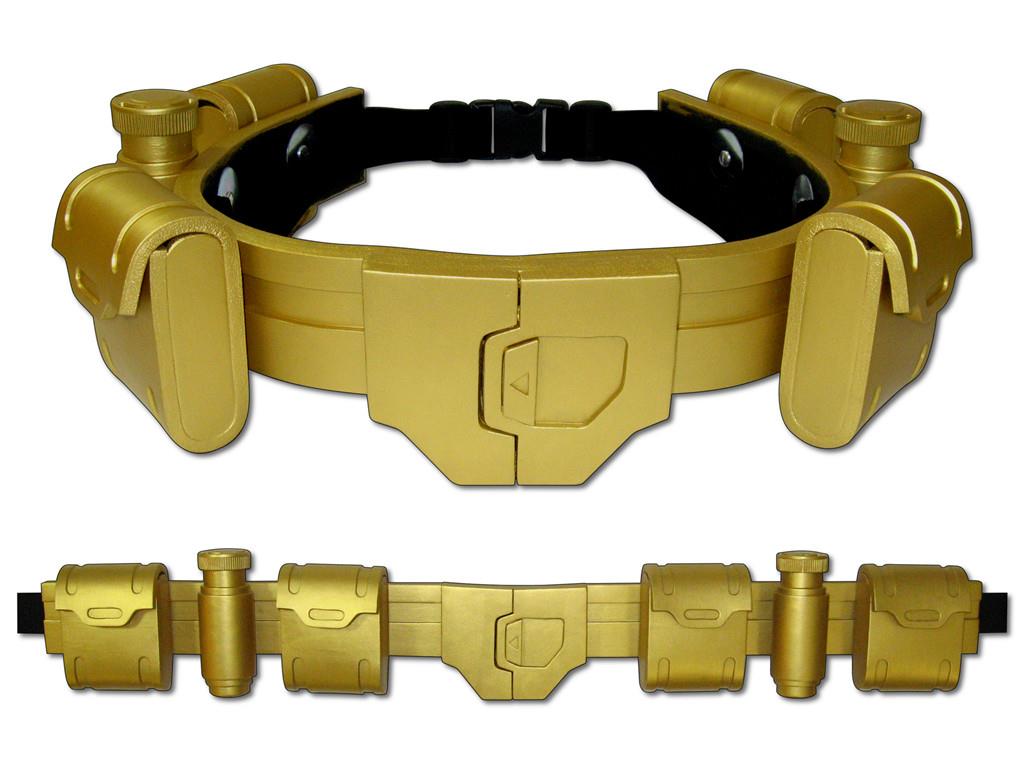
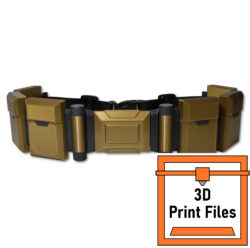
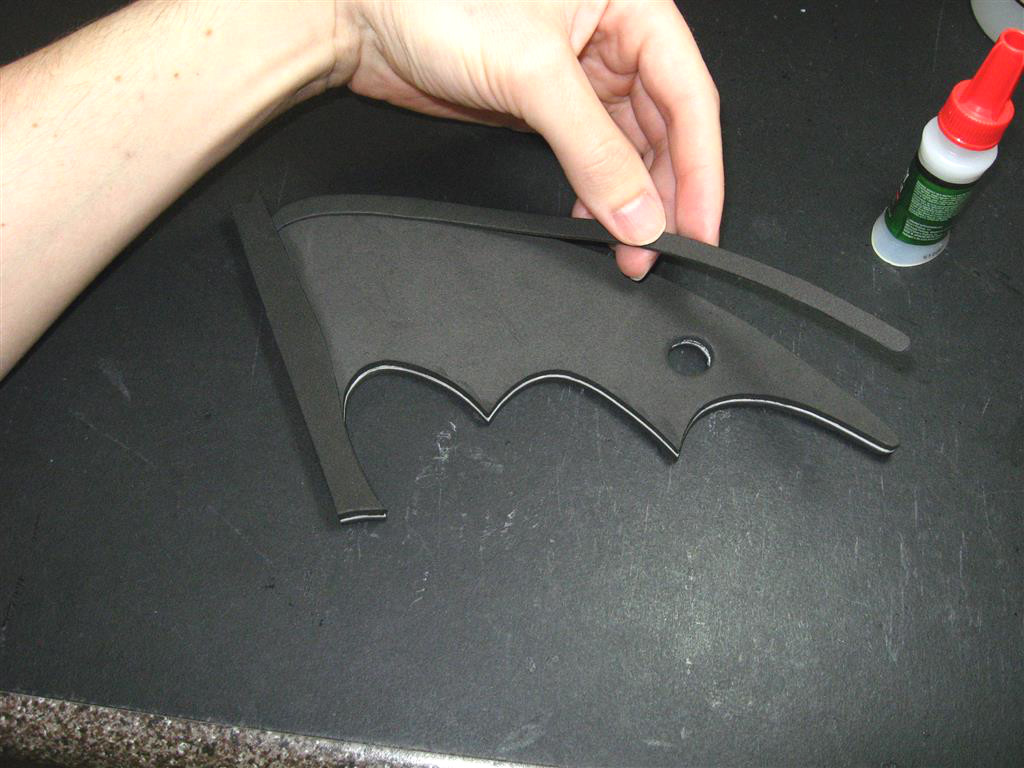
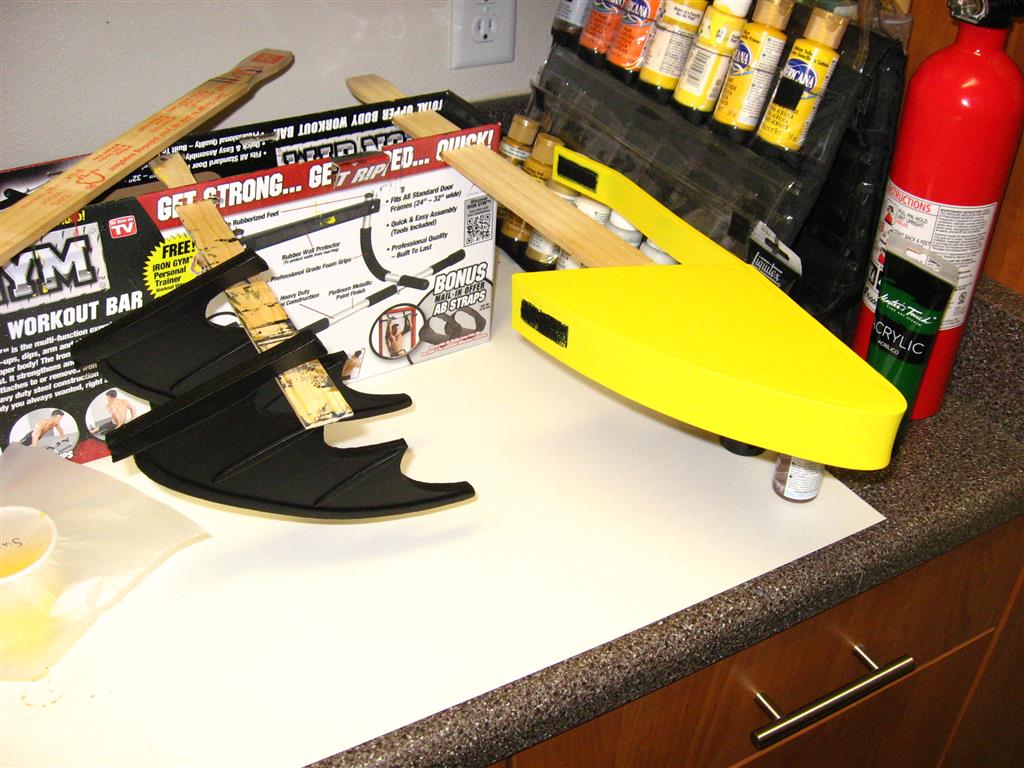
The external detail pieces were cut out of 2mm foam and glued on with super glue. I used a dremel with a sanding bit to smooth the edges, and then brushed some super glue on the edges to prevent the paper layers of the mounting board from fraying. I found some small hinges at home depot and was able to simply screw them on thanks to the dense mounting board in the middle. I also took out the hinge pins and bent them with pliers so the hinges would have much more friction and would be able to stay open or closed until moved with enough force. The pouch was made in the same way as all my other functional belt pouches, with 3 pieces of 5mm foam. Everything was hand painted with acrylic paints.

IMG_5942 (Medium)
IMG_5958 (Medium)
IMG_5970 (Medium)

IMG_5975 (Medium)

66 batarang template 1e (Medium)

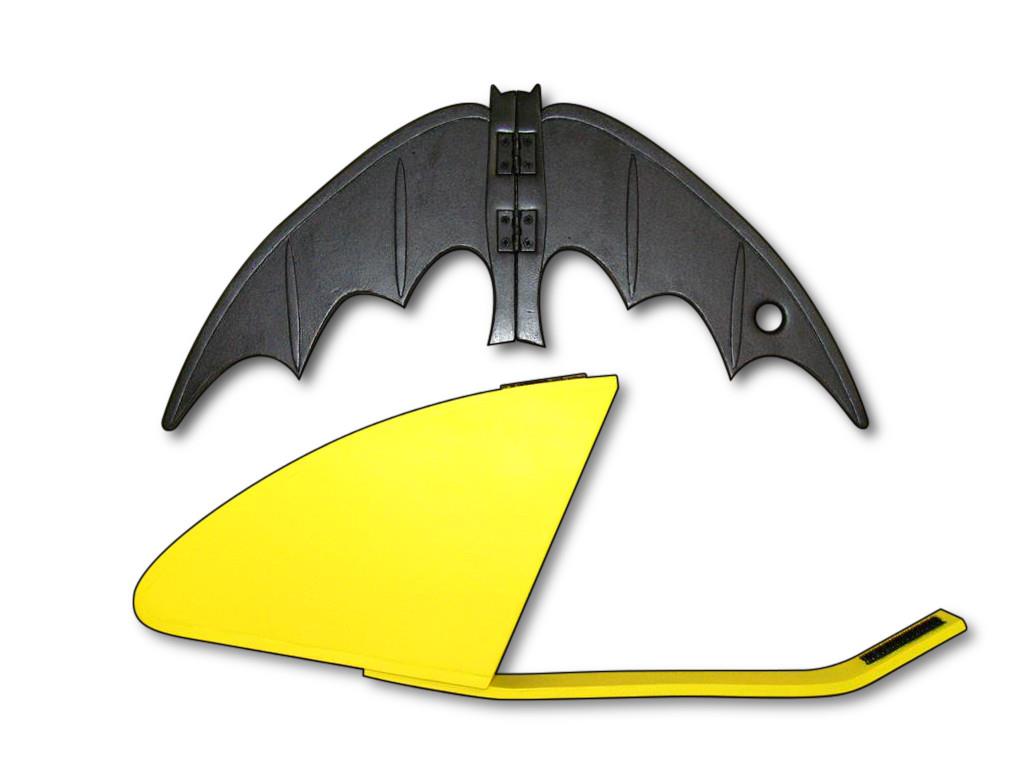
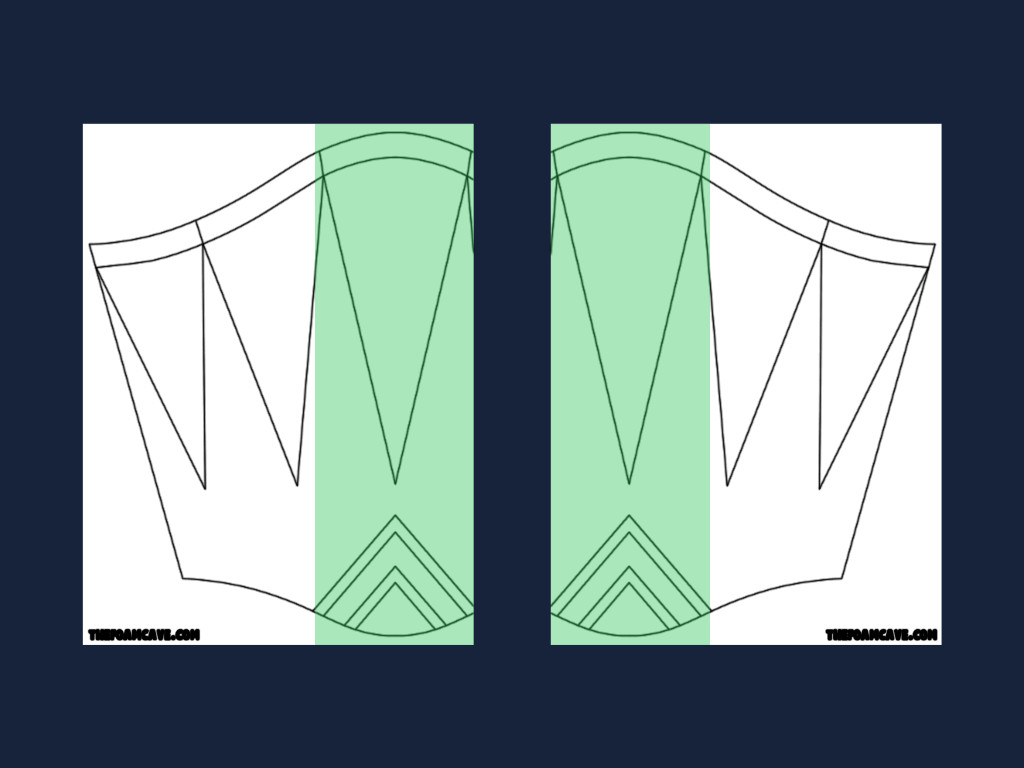
The template for the batarang and pouch is available here.

Nightwing Template

Here’s a quick look at the template making process for an over-the-shoulder’s item like the Nightwing shoulder armor. I draped poster paper over a dress form mannequin (amazon link) and sketched out the rough shape of the shoulder armor. You don’t have to worry about getting it all the right size and shape yet, this first step is mainly to give you a rough idea of the overall size and the angle of the “V”, as well as how the front and back sides will connect with each other at the top.

1 (Medium)

 I marked where the center of the shoulders were for alignment reference later and then removed the paper and laid it all out flat.

2 (Medium)
3 (Medium)

Scanning the papers to digitize them would be best, but since these are bigger than a scanner could fit, I took the above photos of the papers instead, making sure that the camera was held directly over the center of each paper and as level as possible.

After uploading the images into Gimp and re-sizing them to the actual size of the paper cut outs, I traced the shape with the path tool and began the process of straightening the lines and fixing the overall symmetry, while making sure to not alter the angle and points at the shoulders where the front and back sides will meet.

temp1 (Medium)

For the nightwing logo in the middle of the chest, I found an image of the logo online and adjusted the size and shape a bit so it would fit correctly, and then made sure the wings were symmetrical and centered.

temp 2 (Medium)After repeating the process for the back side of the shoulder armor, I divided the image up into 8.5 x 11 inch sections so that it could be printed out full size on standard printer page sheets. I’ll go into more detail on how to make a template in a later tutorial.

4 (Medium)
1e (Medium)

The final template is available for purchase in the shop here.

You can do it!

You-can-do-it

The biggest thing I really hope to convey with all my tutorials is that while the end result of each item may look different, the process, techniques, tips, tools, materials, etc, are pretty much all the same. I hope to instill confidence more than any specific set of instructions. You guys and gals can do this! It’s really not hard at all! Don’t be afraid to just jump in and get started on the project you are thinking of. Use the tutorials to learn the basics, and then start getting your hands dirty with glue, paint, foam dust, and sweat to learn the specifics that really come best from experience. You’re not going to get it perfect on your first try. But keep trying! You will very quickly improve as foam work is easy and quite forgiving. Seek out more info and ask for help when you get stuck on a particular problem. But most importantly, just get started. You will probably be surprised at how quickly and easily it all comes together. You can do it!