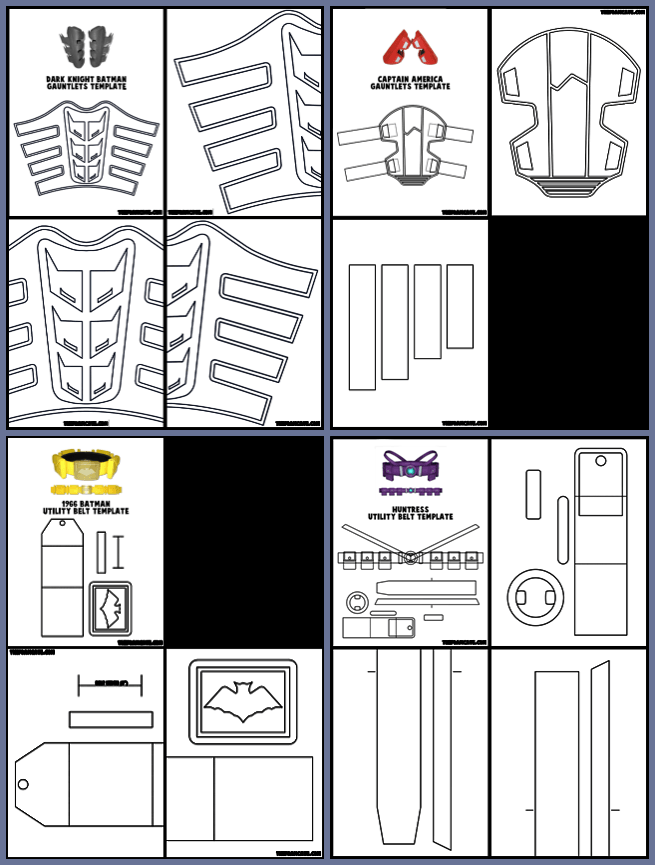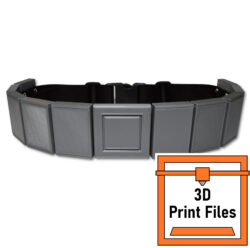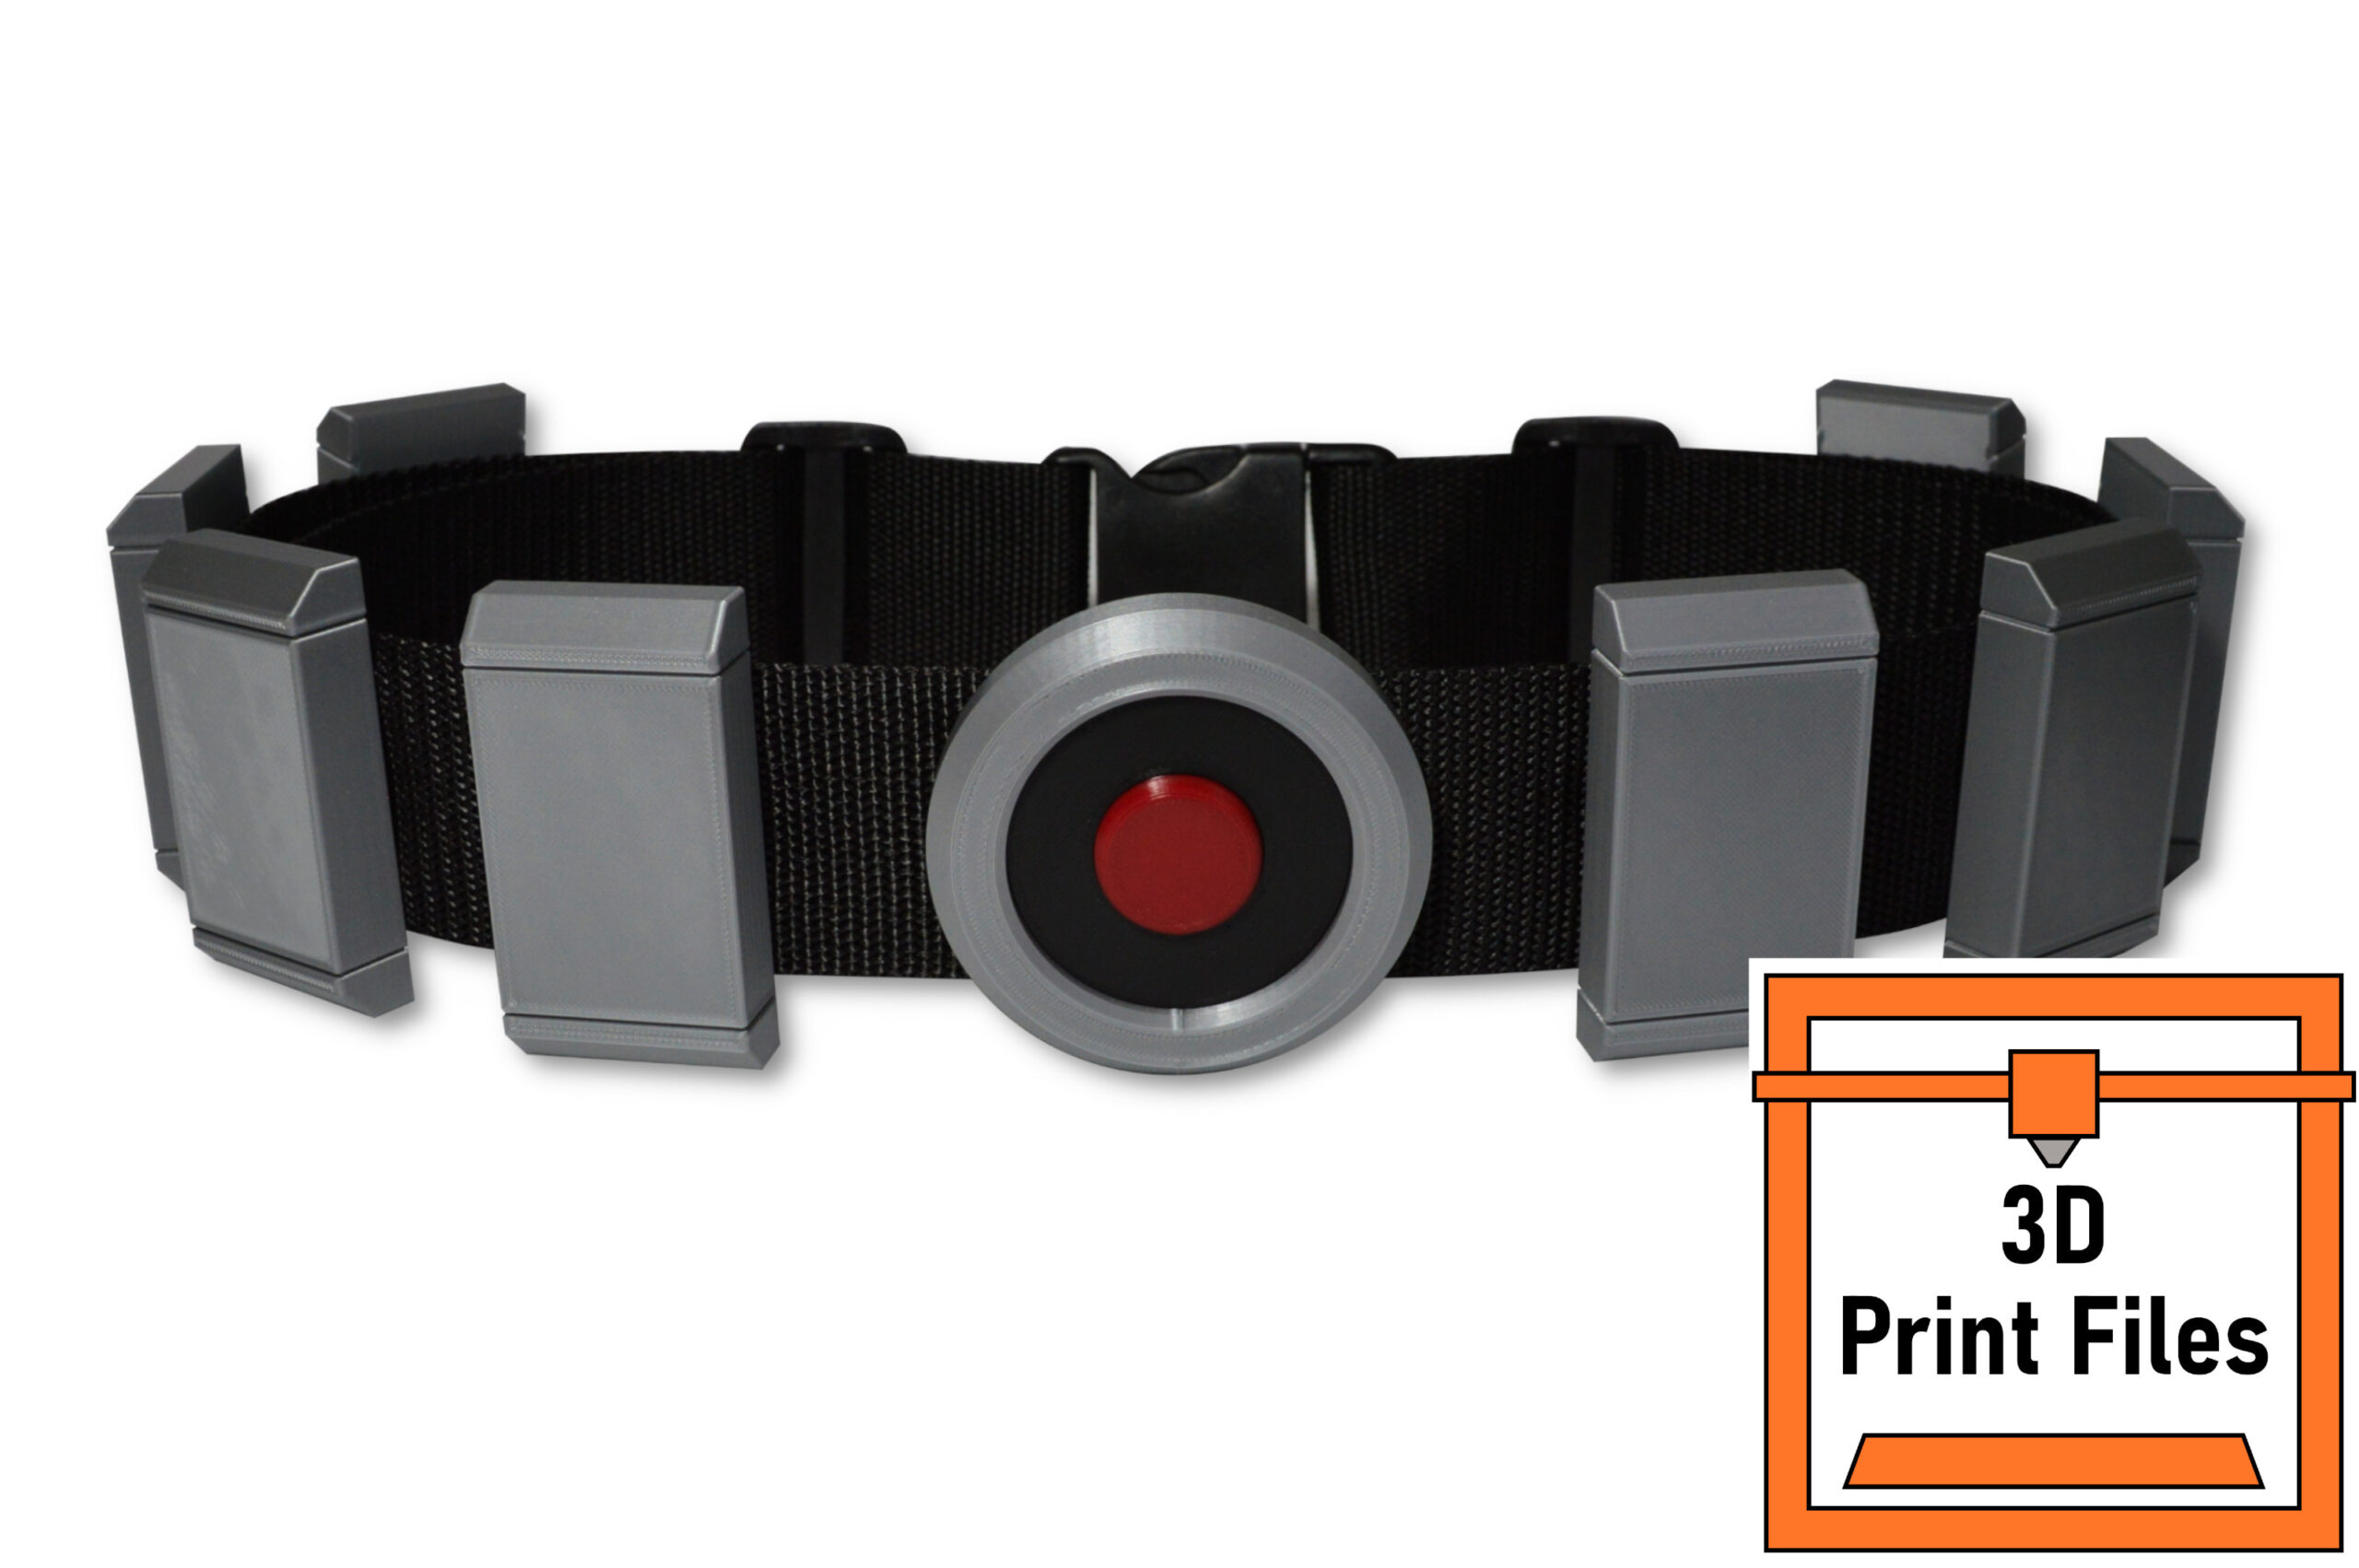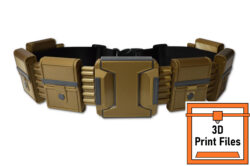
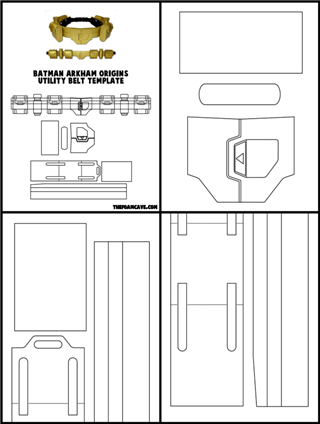
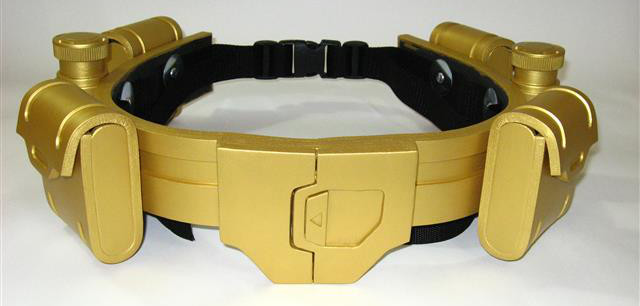
This tutorial will walk you through the construction of the Ark Origins Bat utility belt. The template is available for purchase here:
If this is your first build, check out the Introduction Page first,
as well as the Supply Page for links to the foam, glue, and necessary tools.
Print out the template onto thick printer paper (ideally a poster board paper) to make it easier to trace. You may have to print it out a couple times to get enough copies to cut out all the layers separately. Tape together the sections that extend onto a second page– hold it up to light or place the printouts on a sun-facing window to see through the paper and correctly align both halves.
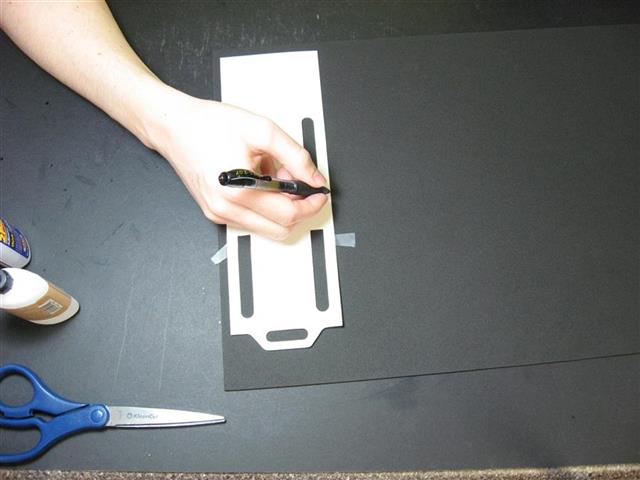
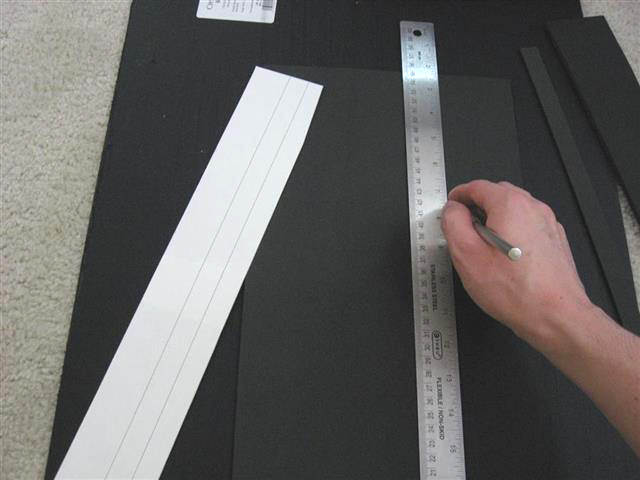
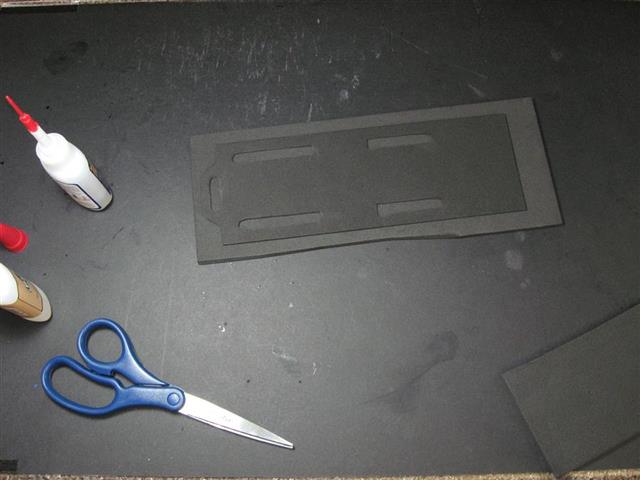
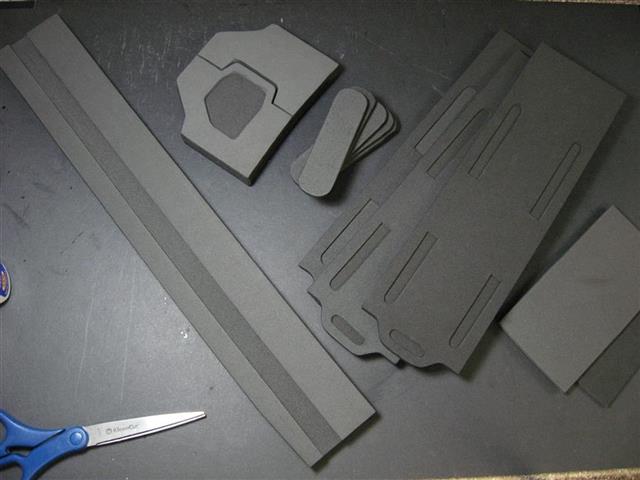
Cut out all the pieces and trace them onto your foam sheets. Use a few pieces of scotch tape to hold the template in place on the foam when tracing. You can use a regular ball point pen; at the moment I like those space pens as they flow smoothly over the foam. I recommend 3 and 5mm thick foam for the buckle and belt layers, 2 and 5mm foam for the pouches and pouch sides, and 3mm for the foam on the canisters. Also, make sure to flip the templates over for half of the belt length pieces, as the right and left sides of the belt are mirrored.
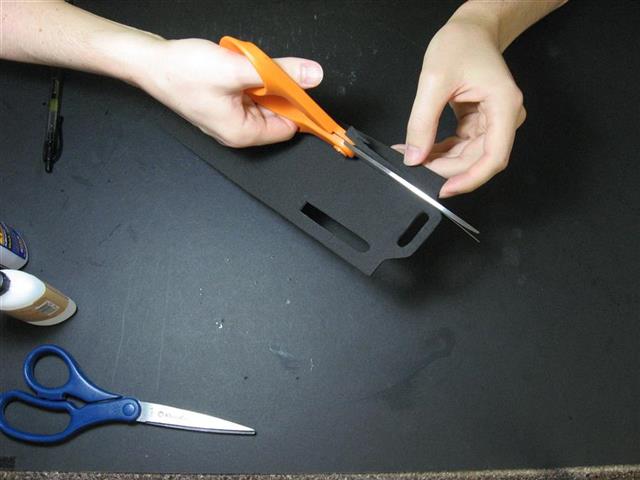
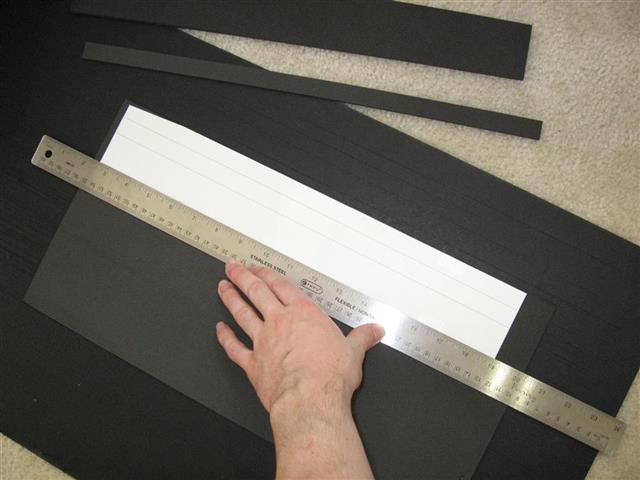
Use a regular pair of office scissors to cut out the pouch and buckle pieces. For the belt length pieces, I recommend using a long metal ruler and an xacto knife to get a nice straight cut.
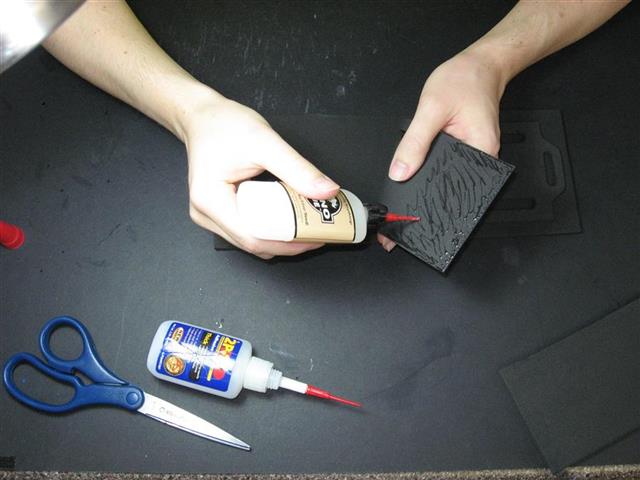
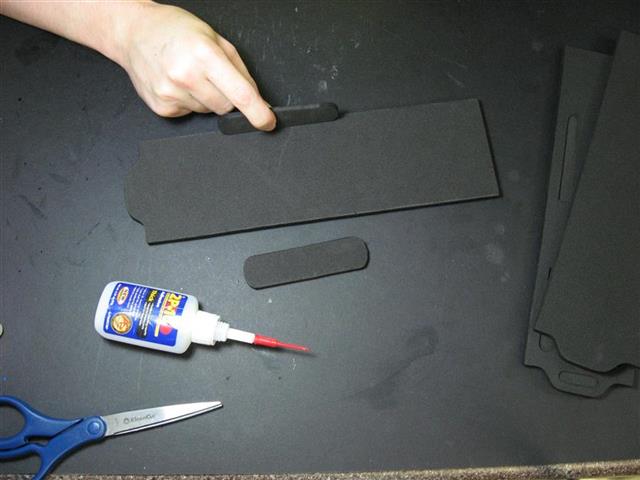
Place the top 3mm layer of each pouch onto a sheet of 5mm foam. Hold the top layer down and bend back a corner. Apply a small amount of glue to the underside and place it back down. ( I use a variety of Super Glues, mainly Rhino Glue) Hold it for 10 or so seconds to dry. Finish gluing the rest of the layer.
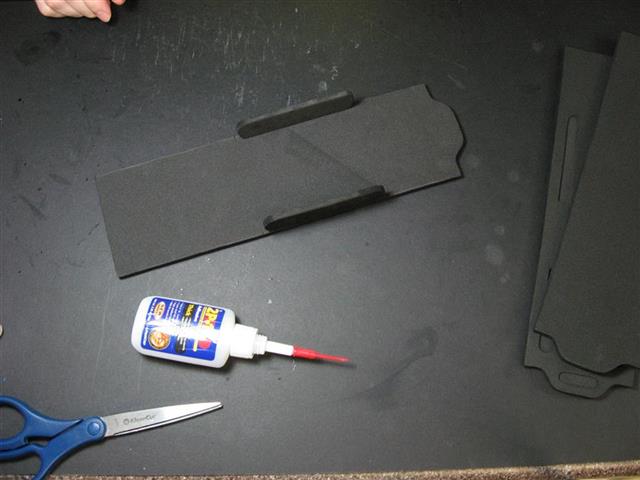
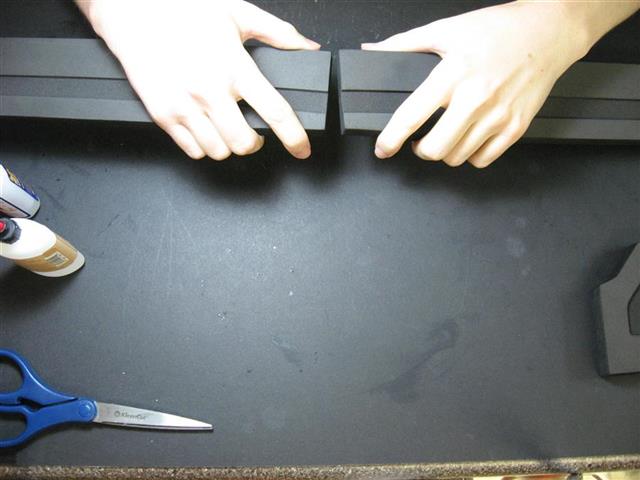
Glue the top layers of the belt length onto the middle layer, and then glue the whole thing onto another sheet of 5mm foam.

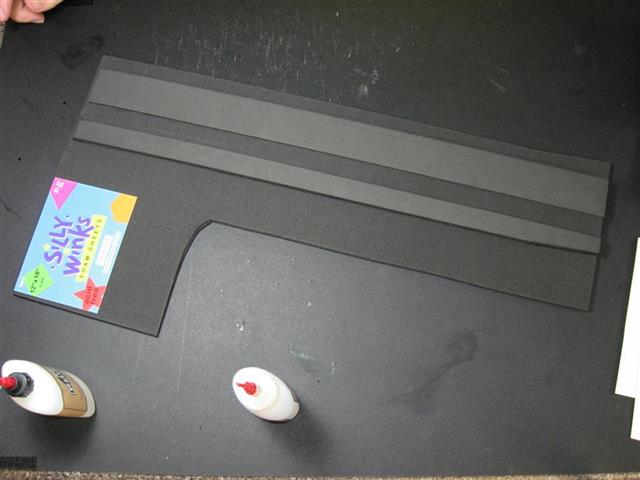
Use an xacto knife to cut the pouches and belt lengths from the backer foam sheets.
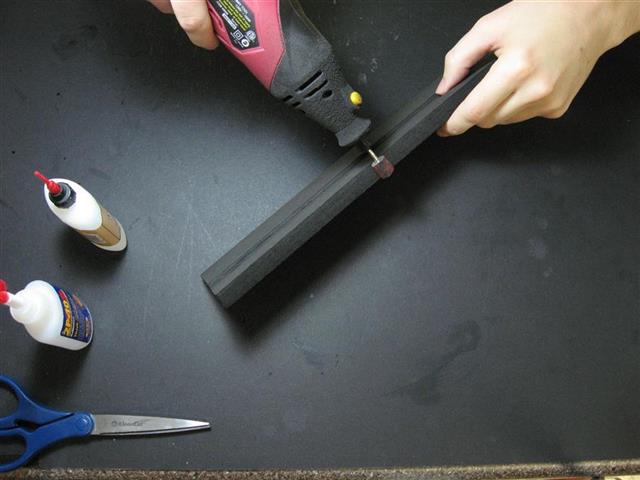
If some of the edges are rough you can smooth them out with a dremel with a sanding bit.
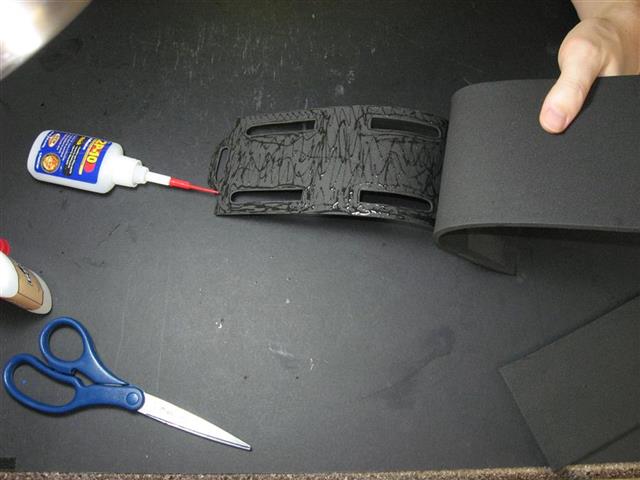
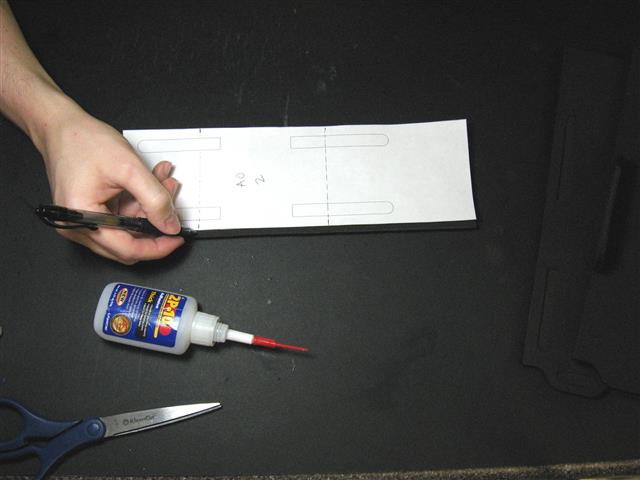
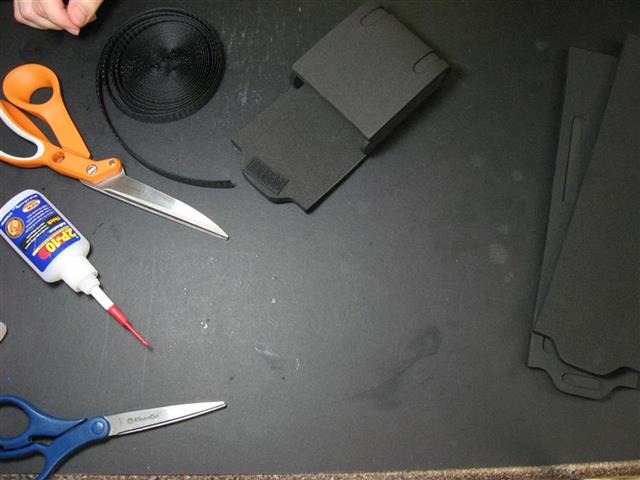
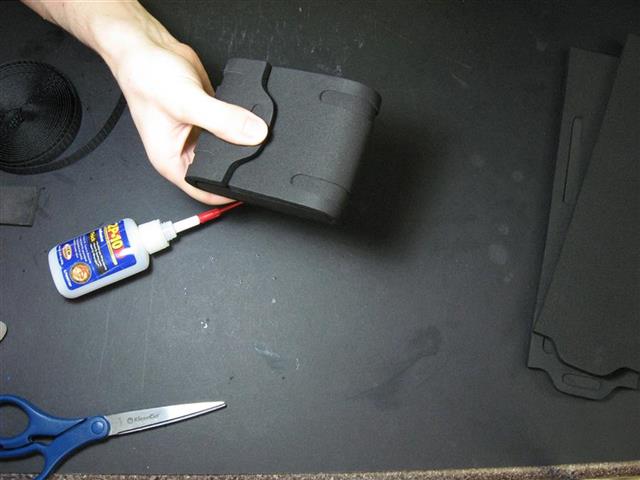
Mark where the dashed lines are on the pouch template. Glue on the side pieces in-between the dashed lines on both sides of the pouch. Finish gluing the bottom half of the pouch around the rest of the side pieces.

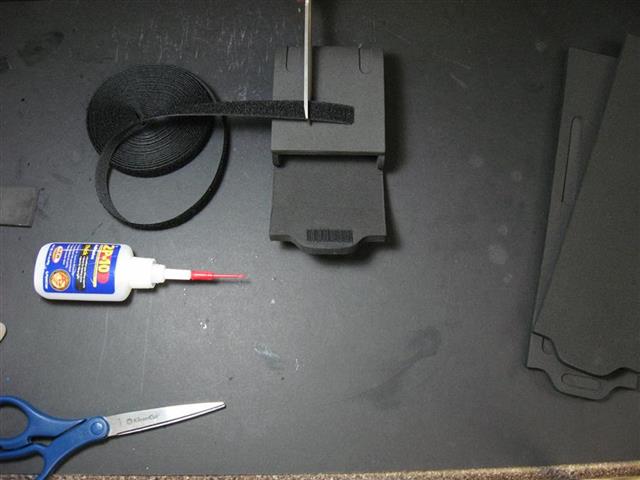
Cut a small piece of hook-side velcro and glue it to the top inside flap of the pouch. Bend the flap over and press it down. This will leave an indentation you can use as a guide for where the loop side velcro will go.
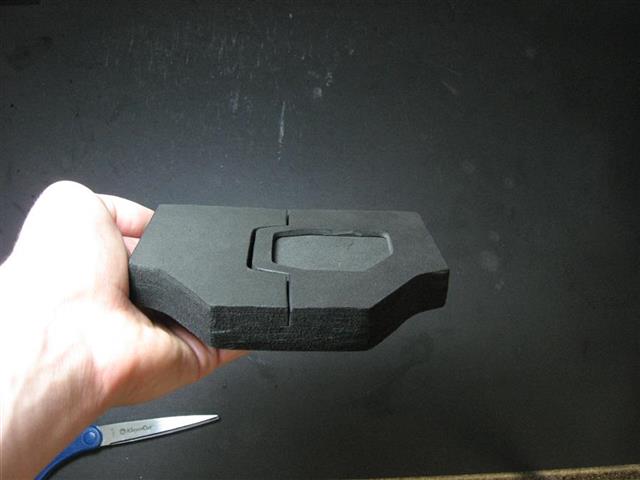
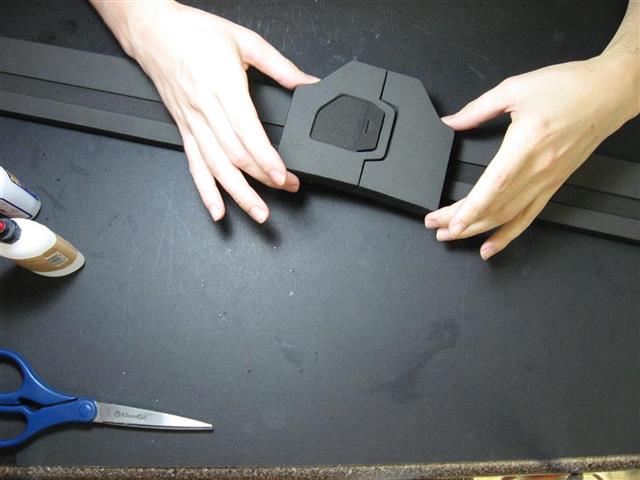
Build up the buckle in flat layers. Start with the top detail pieces, and then add layers underneath until the buckle is as thick as you would like. You can use the same technique as before of cutting out the top layers with scissors, gluing them to another sheet of foam, and then cutting it out with an xacto knife. A dremel can be used again to smooth the edges.

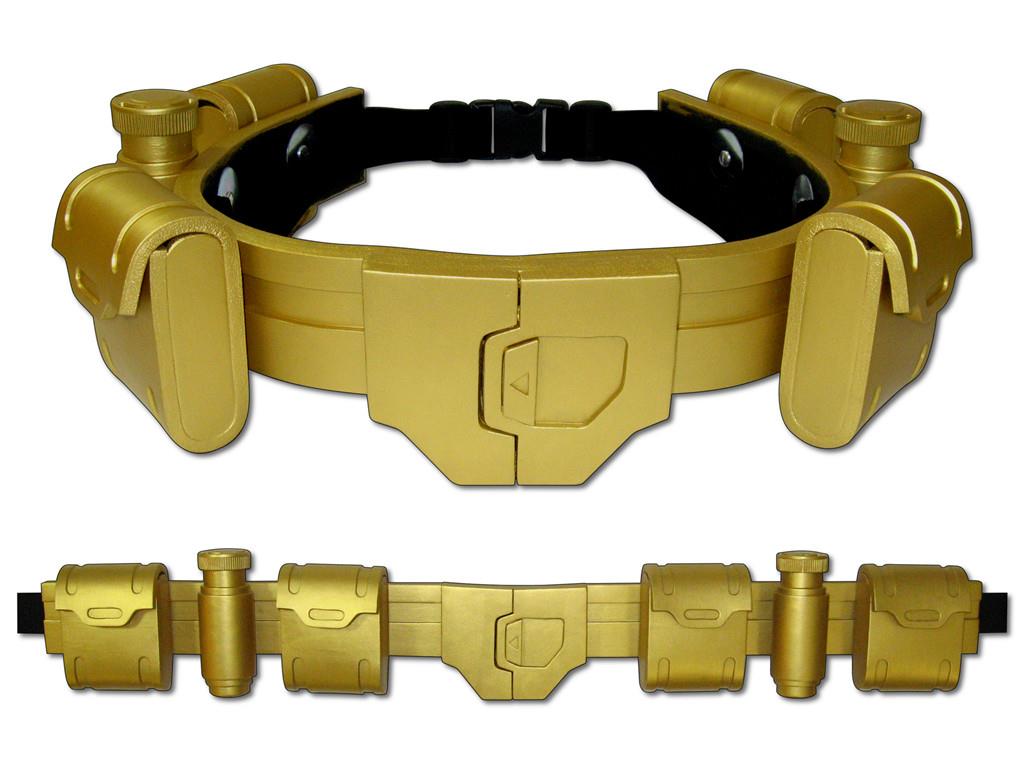
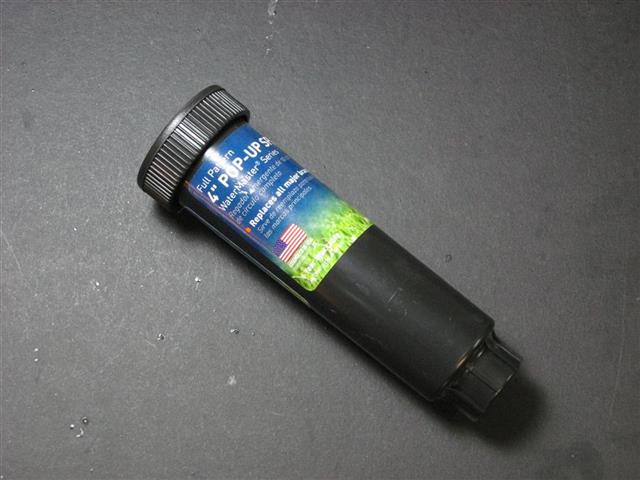
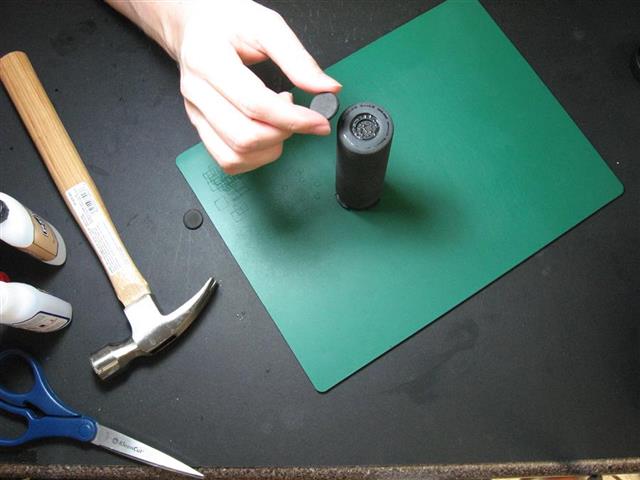
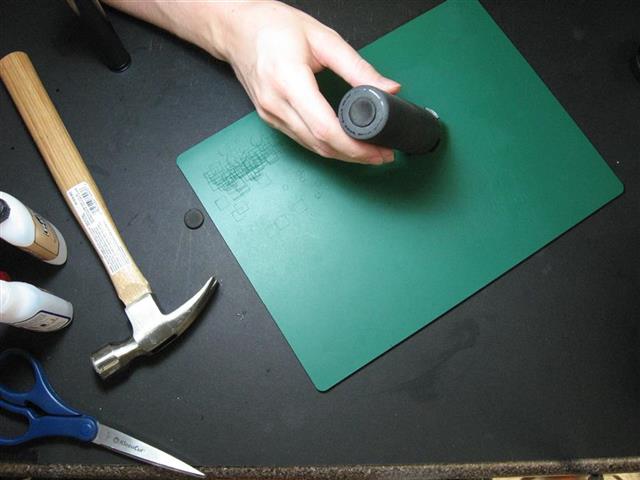
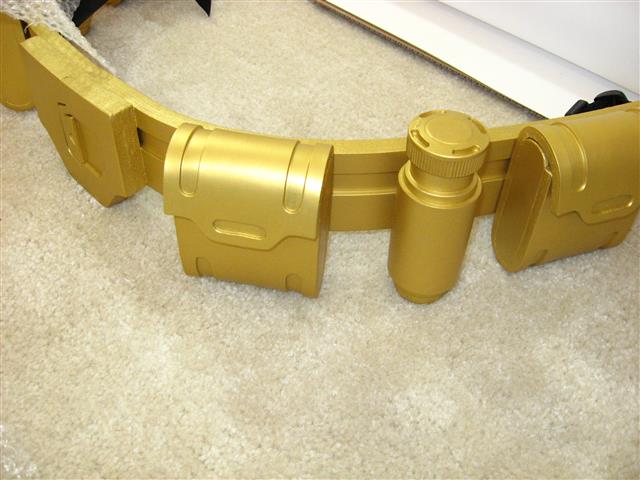
I found a pop up sprinkler from Home Depot that was the right size and shape for the belt canisters. (here’s an Amazon link for the sprinkler) Remove the inside guts of the sprinkler, and then cut off the bottom portion with a dremel with a cutting bit. Use Goo Gone to help remove the label.
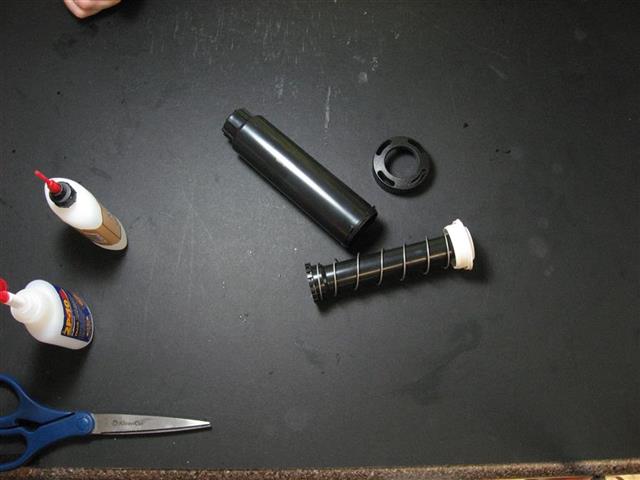

Smooth out the bottom with a file and sandpaper, and then roughen up the sides of the sprinkler with the sandpaper to help with glue and paint adhesion.
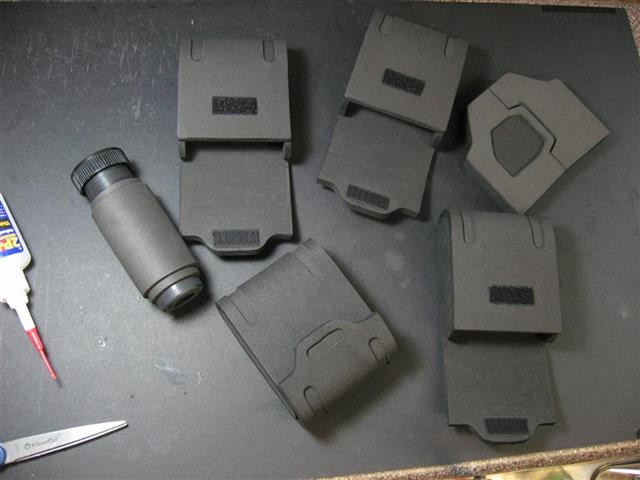
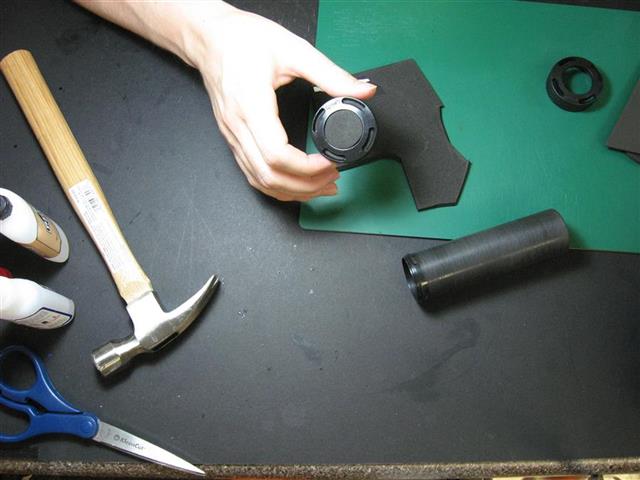
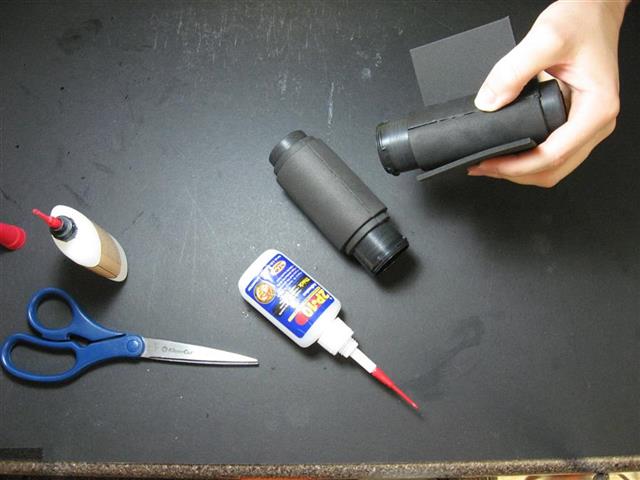
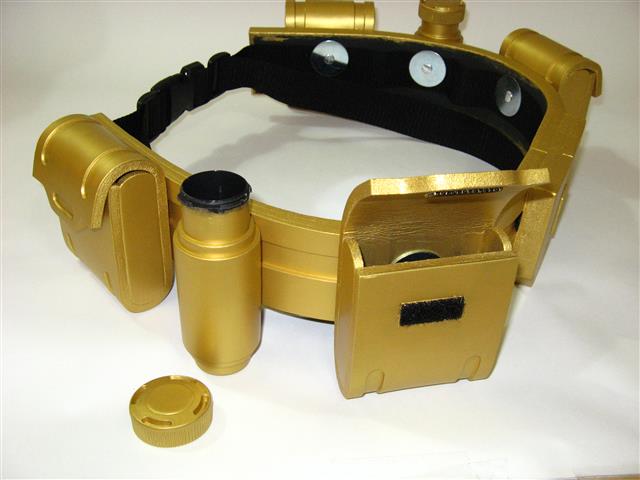
Cut out foam circles of various sizes to cover the holes on the top and bottom of the sprinkler. You can use a hole punch set to get perfect circles , or just regular scissors. Press the sprinkler into the foam to create an indentation guideline of the correct circle size. Cut out 4 circles for each sprinkler; one underneath the cap, one on top of the cap, one inside the sprinkler pushed all the way to the bottom, and one underneath the bottom of the sprinkler. You can use the long pop-up portion of the sprinkler that was removed earlier to help push the inside circle all the way to the bottom. Use super glue again to glue all the circles in place. Finally, glue on the extra foam layers to the sprinklers.
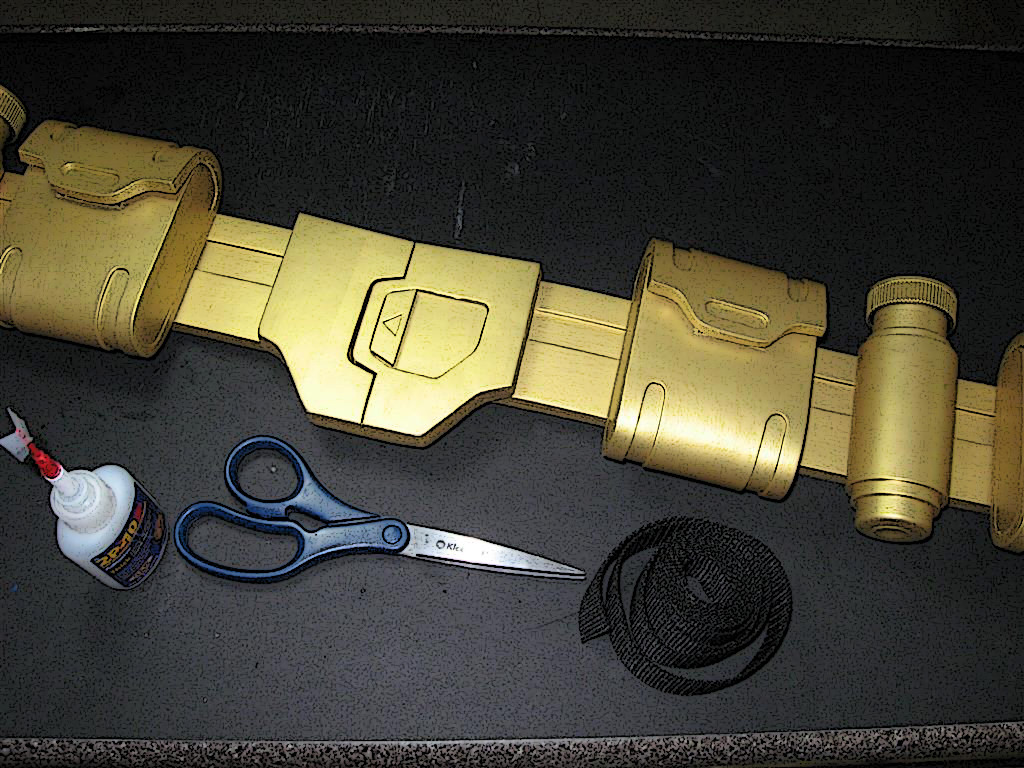
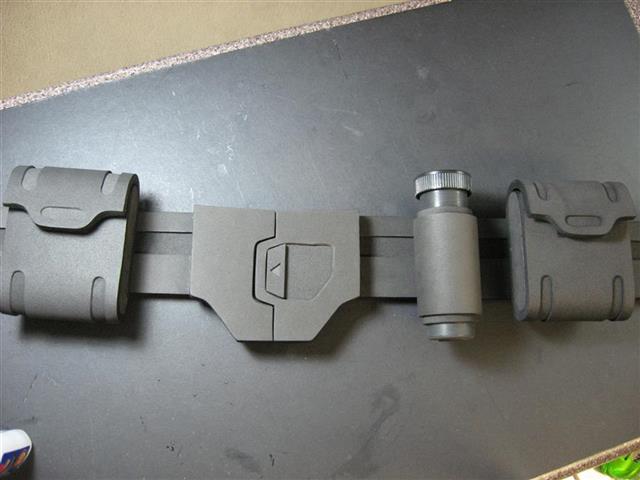
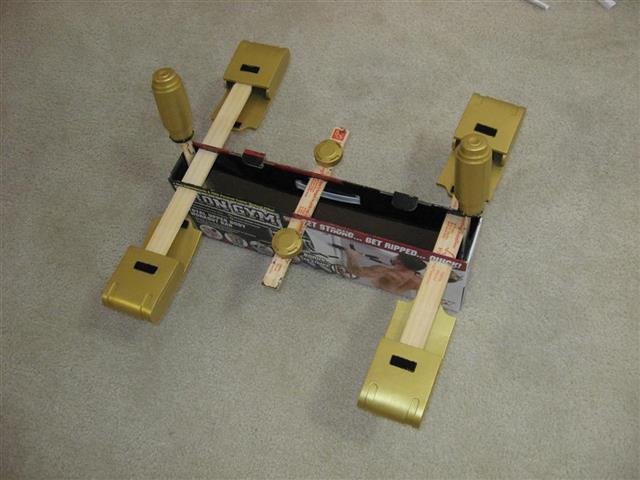
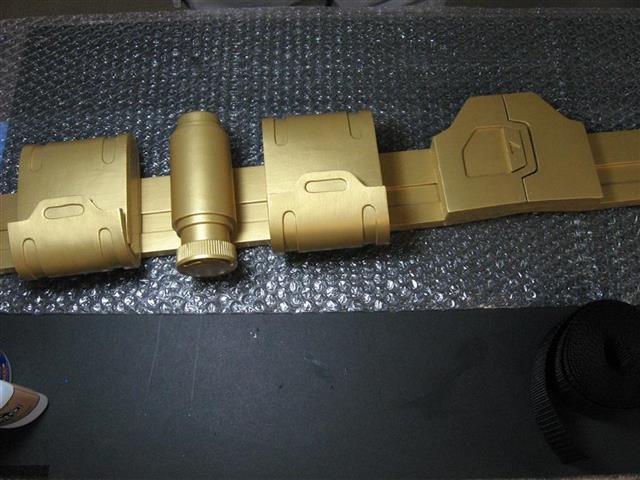
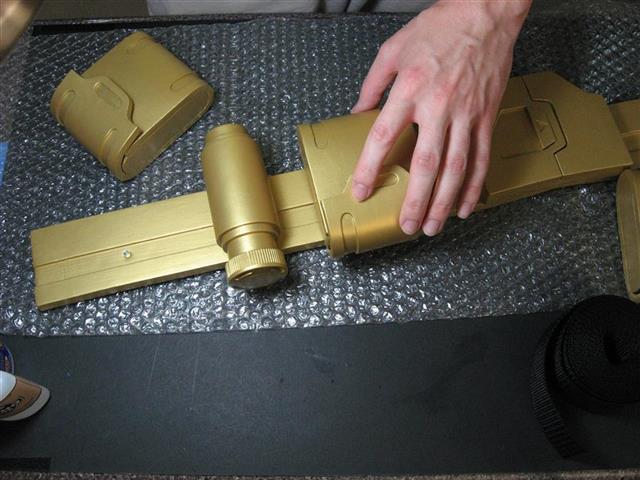
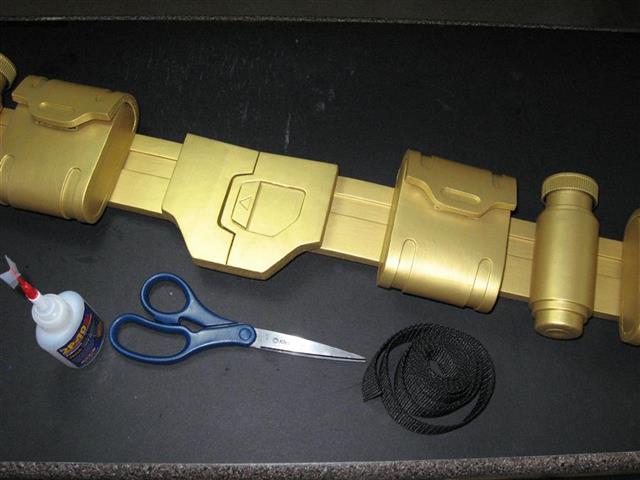
Glue the two halves of the belt lengths together at the center, and glue the buckle on top. The pieces are now ready for painting.
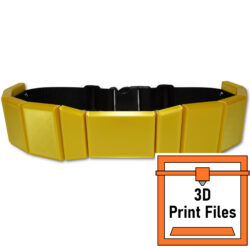
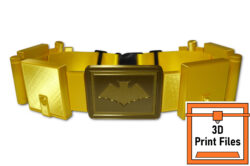
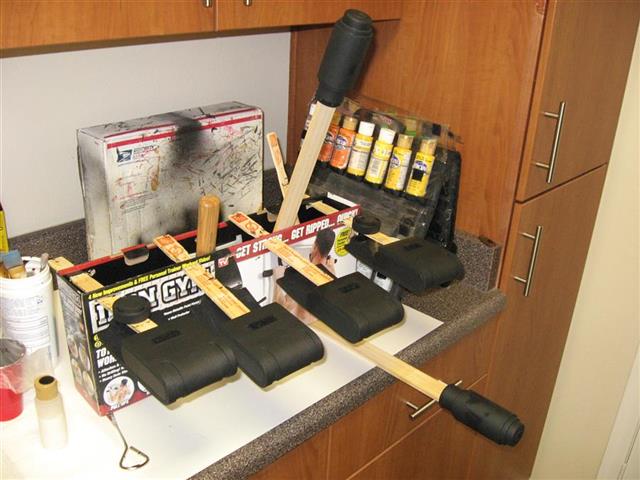
I use brush-on acrylic paint from the local hobby store for most of my projects. The gold was a mix of Delta Ceramcoat 14k, Sargent Art liquid metal gold, System 3 pale gold, and Liquitex Basics gold (all of which was probably much more complicated than it needed to be). I first apply a thick coat of Benjamin Moore Aura as a primer, and then 2 to 3 coats of the color. I would also recommend spraying on a couple coats of clear Plasti Dip before final assembly of all the pieces to help protect the finish. Just make sure to practice spraying several coats onto something else first, as it can become cloudy and speckled if applied incorrectly.
For more information on painting, see the Painting tutorial here.
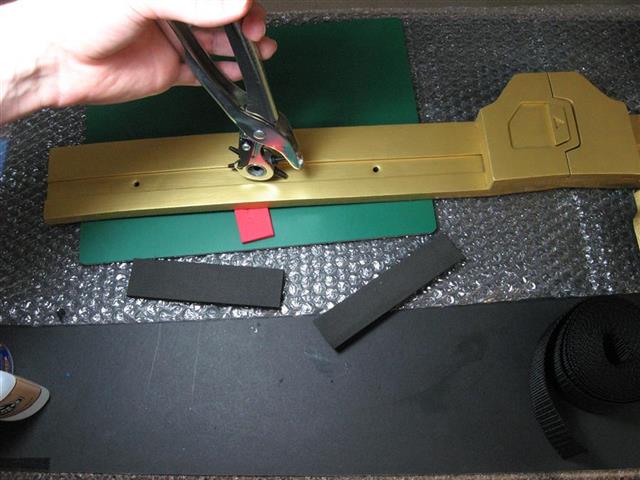
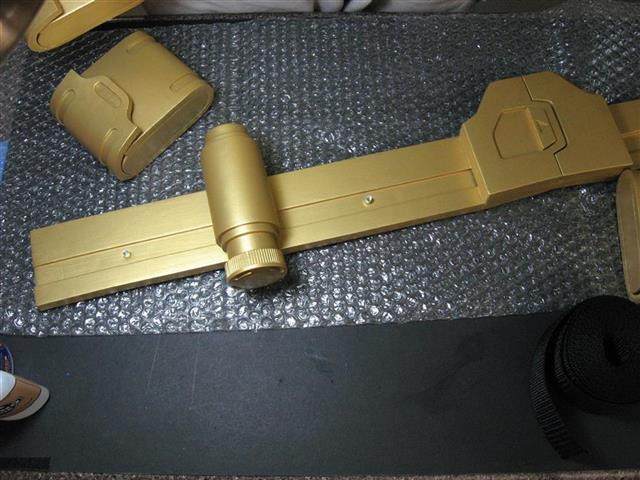
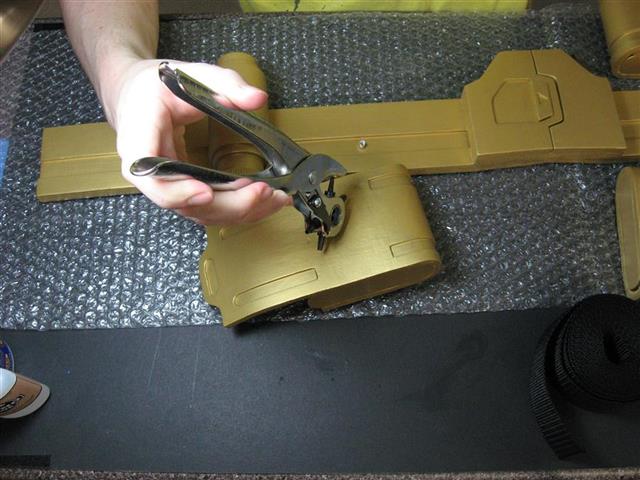
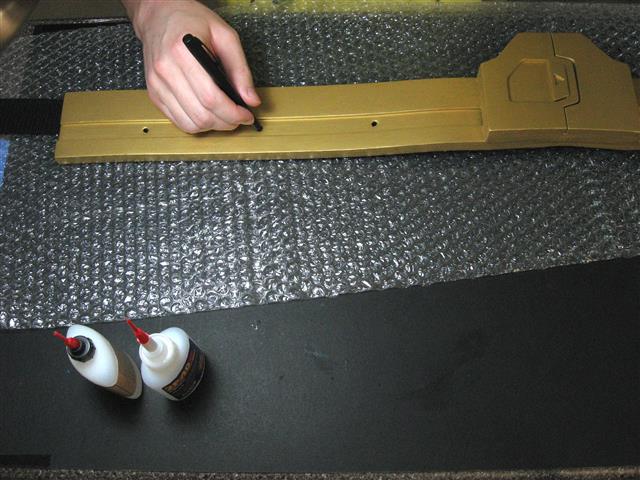
I use chicago screws (also called screw posts, barrel bolts, and sex bolts) and washers to attach the pouches and canisters to the belt. For this belt I used 3/4″ chicago screws and 3/16 x 1-1/2″ washers, both purchased from various ebay sellers but they can also be found at most home improvement and hobby stores). First lay out all the pieces where you want them to go and mark the center of each spot with a pen. Use a leather hole punch to punch holes on the marks. Rotate the punch wheel so the tip you want is pointing up, place some scrap foam under the belt base and then push the punch down through the foam. Place the female half of the screws into the belt holes from the underside so the tops are flush with the top of the belt but don’t extend all the way through. Align the first pouch centered over the hole and push down on it to leave an indentation of the screw on the back of the pouch. Slide a few strips of foam into the pouch and flip it over and punch a hole on the indentation mark. Once the first pouch is in place, use it as a guide to align the rest of the pouches.

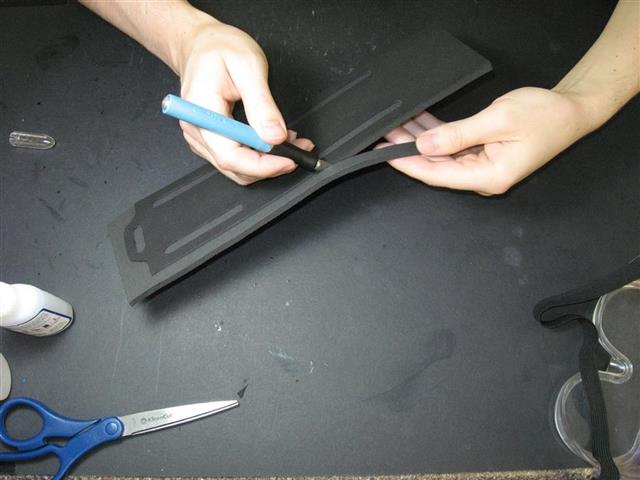
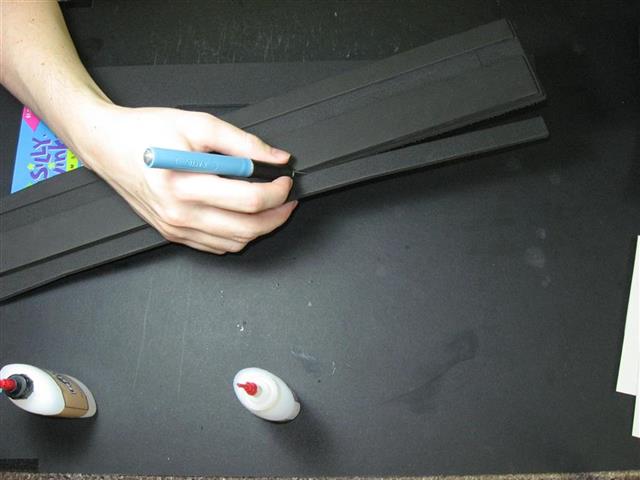
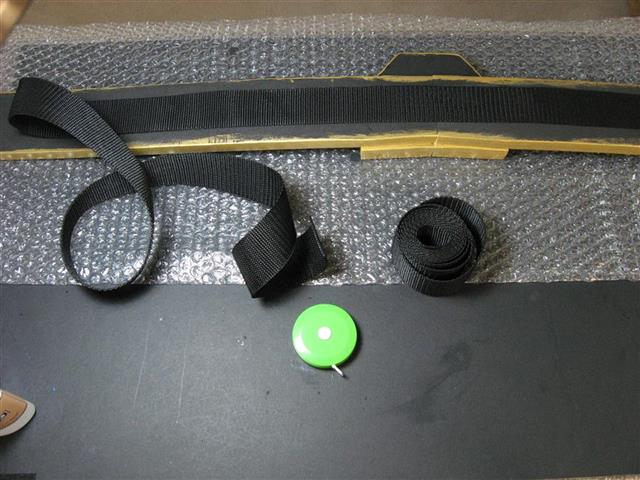
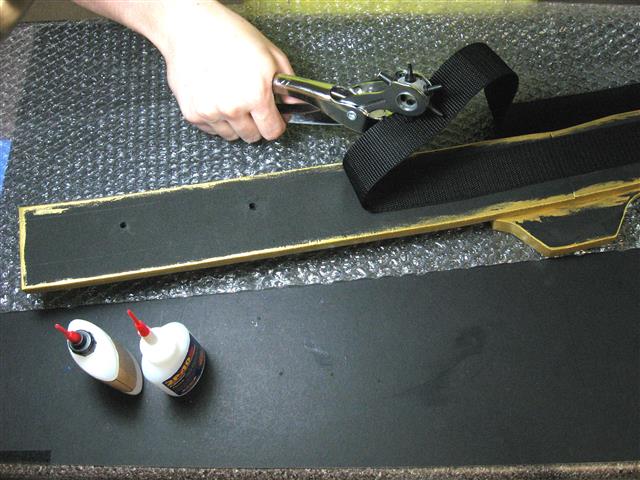
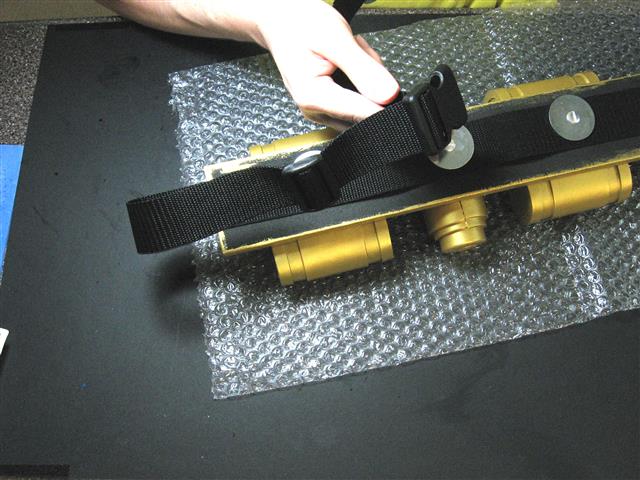
Cut a length of webbing (I used 1.5 inch lightweight polypropylene from strapworks.com) long enough to run the whole length of the belt, plus enough extending past the edges to be able to attach the buckle and allow for some adjustment. Glue down the middle section of the webbing up till the first holes, and then flip the belt over and use a pen to mark where each hole will be on the belt. (If the pen won’t fit inside the hole, take out the ink cartridge and just use that.)
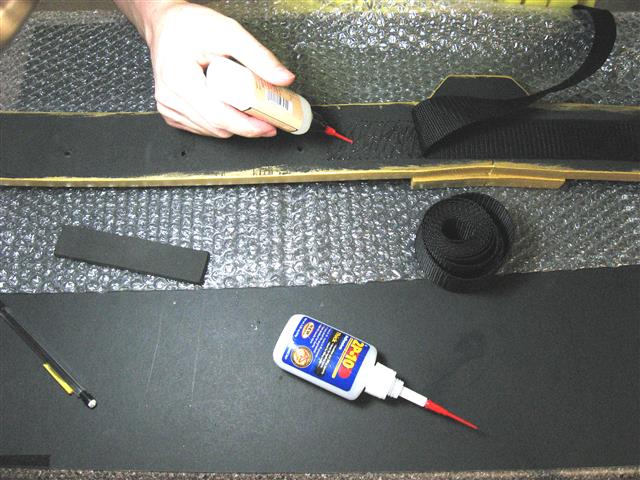
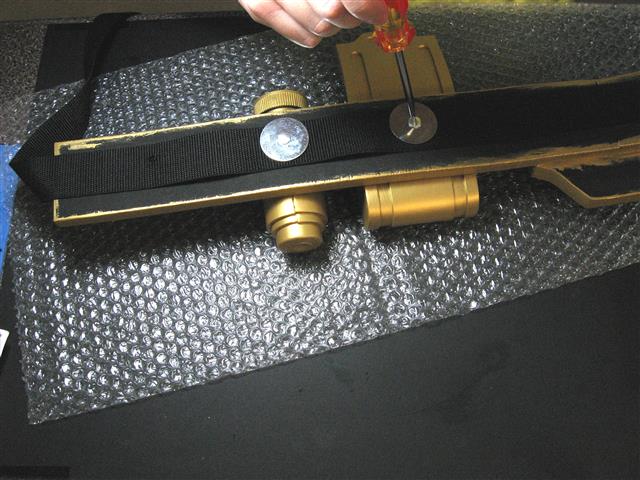
Use the hole punch to punch each hole, and then glue down the far ends of the webbing (you don’t need to glue down the whole length of webbing, in fact it’s probably best for the flexibility of the belt if you don’t). Stick a female half of a bolt along with a washer into the pouch and guide it to the hole. Squeeze the pouch to push the bolt through. Use a screwdriver to screw in the male half of the bolt along with another washer from the back of the belt.

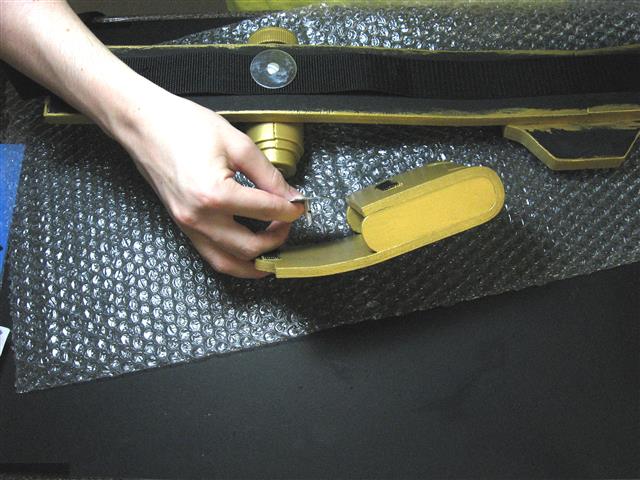
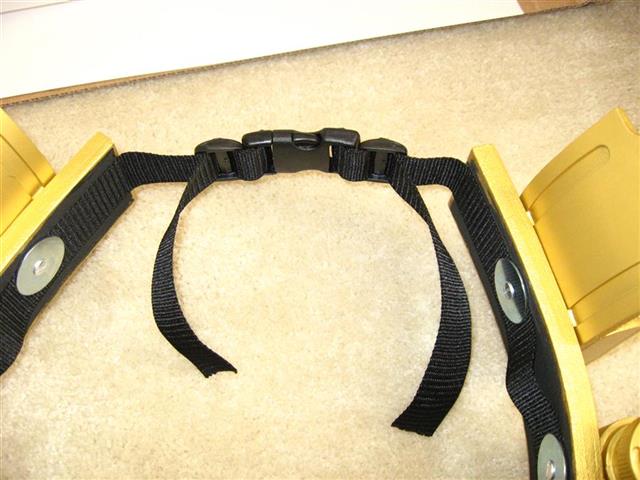
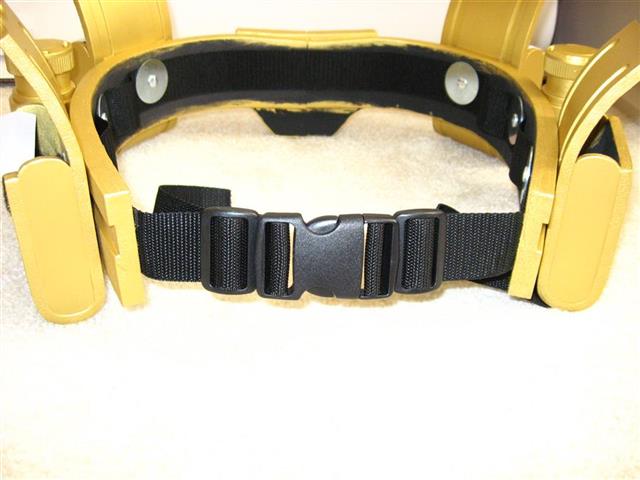
I used a drill to drill the holes in the sprinklers. Start with a small drill bit first, and then incrementally increase the size to avoid cracking the thin plastic of the sprinkler. Slide the buckle and belt slides (also from strapworks) onto the ends of the webbing. Use a lighter, heat gun, or some super glue to fuse the ends of the webbing to prevent fraying.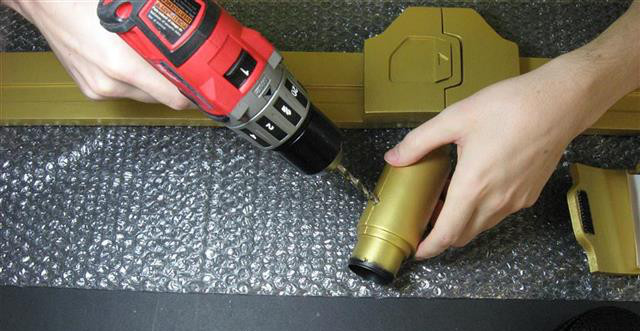
I have another, broader tutorial on how to make utility belts here.
Check out the shop and the gallery for more templates and project ideas. Have fun!