
If this is your first build, check out the Introduction Page first,
as well as the Supply Page for links to the foam, glue, and necessary tools.
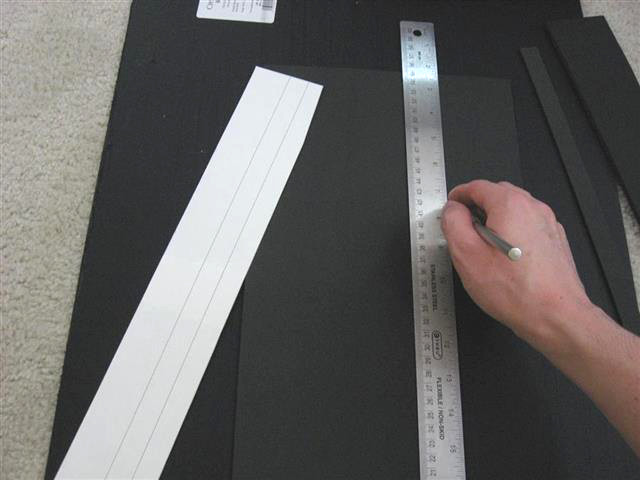
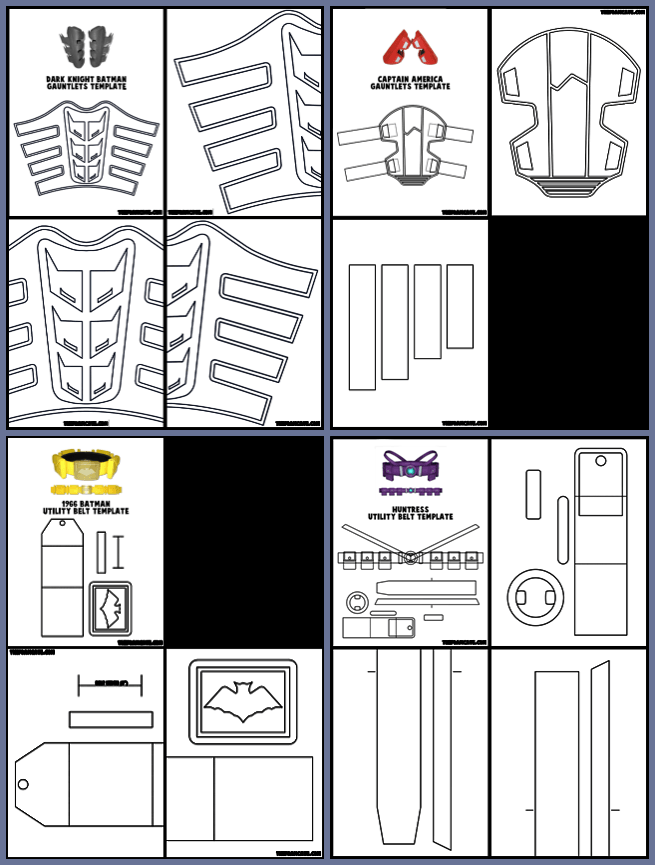
Also, download my free belt template here to help you get started.
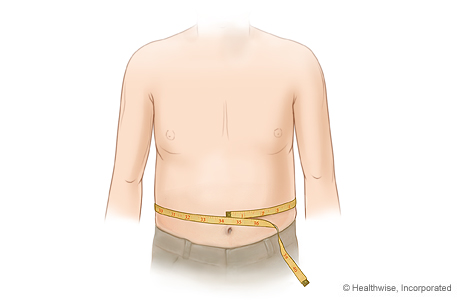
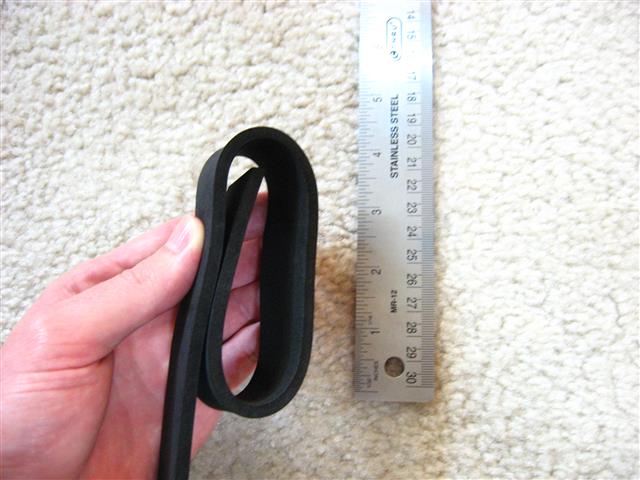
Use a cloth tape measure (or even better, make a foam ruler) to first get your waist size. Measure while wearing your costume to get the proper size.
Someone clearly not wearing a costume
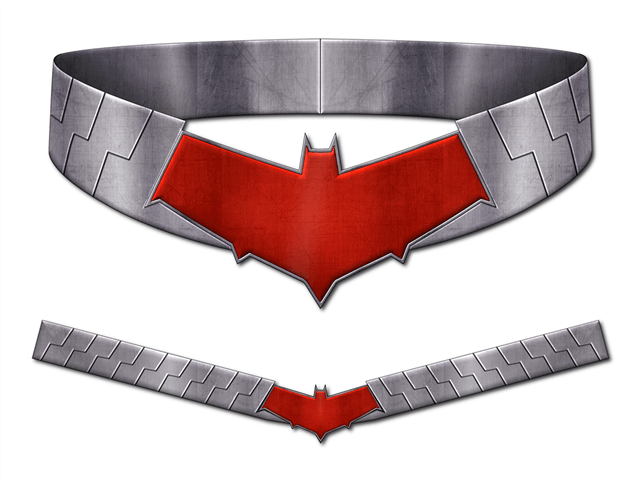
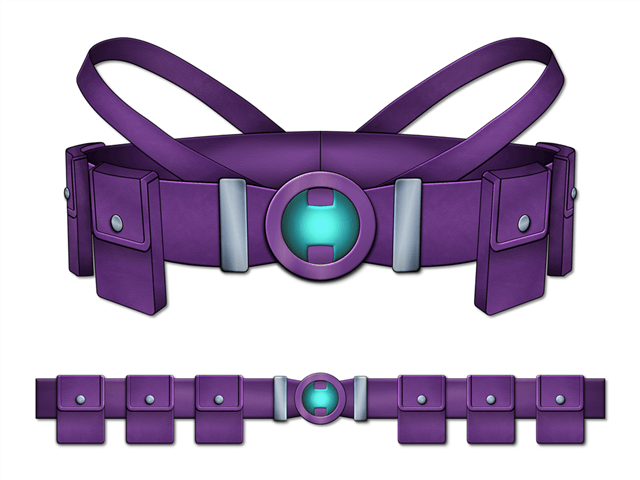
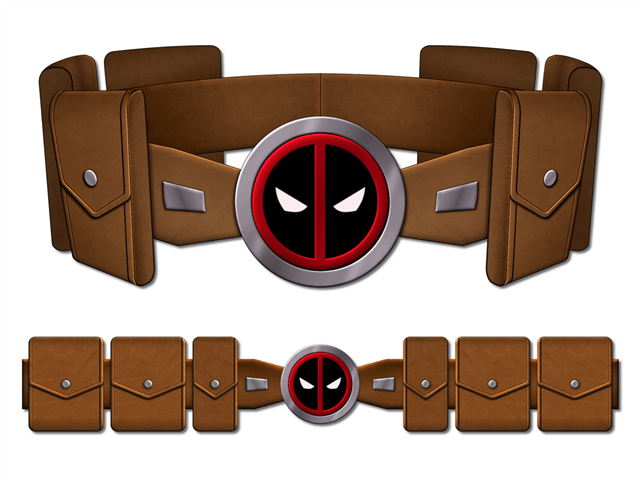
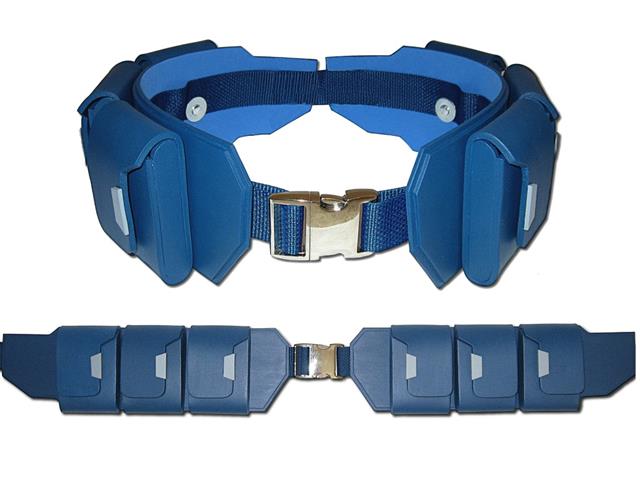
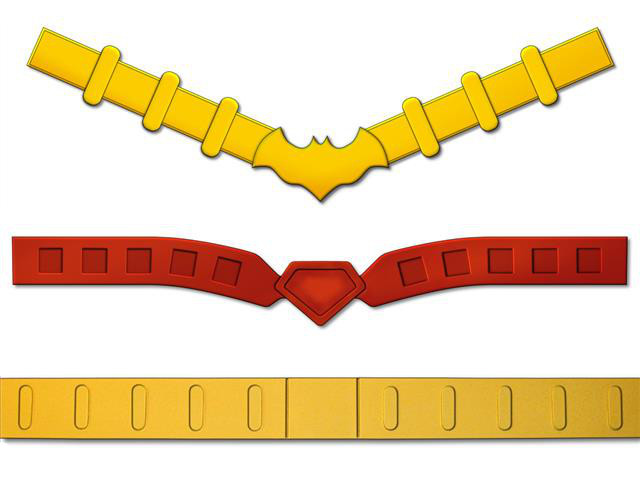
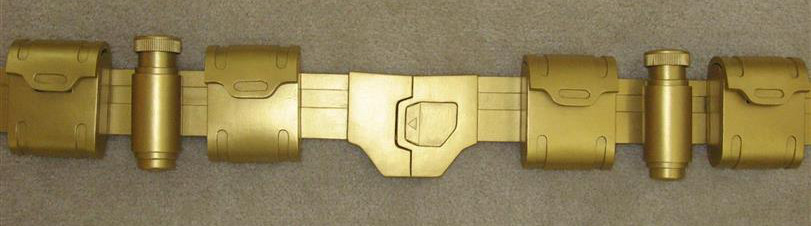
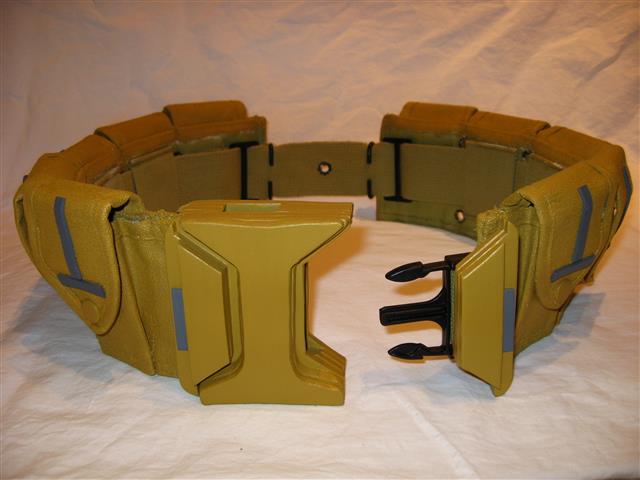
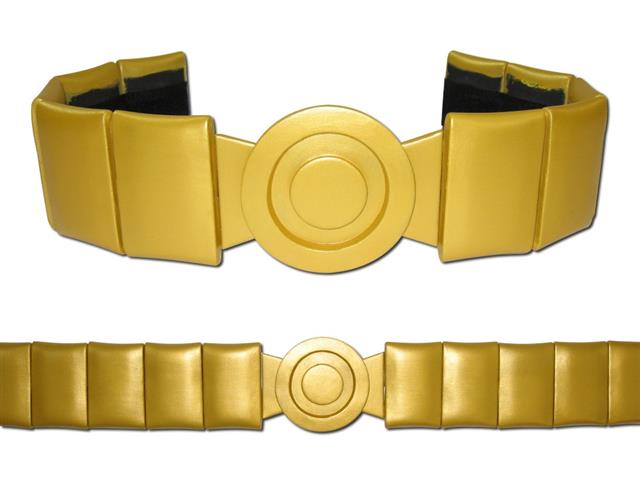
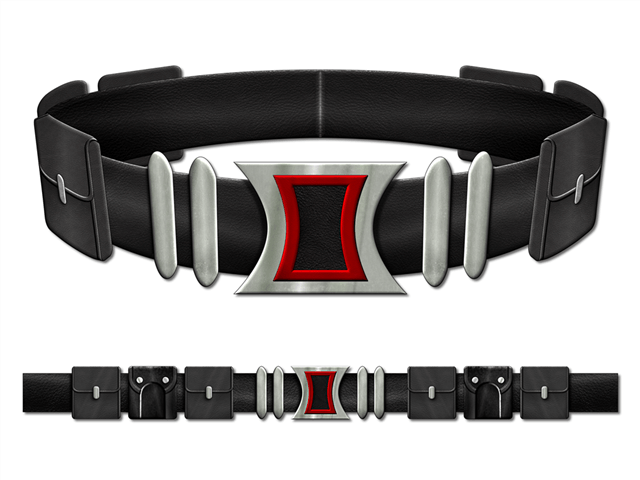
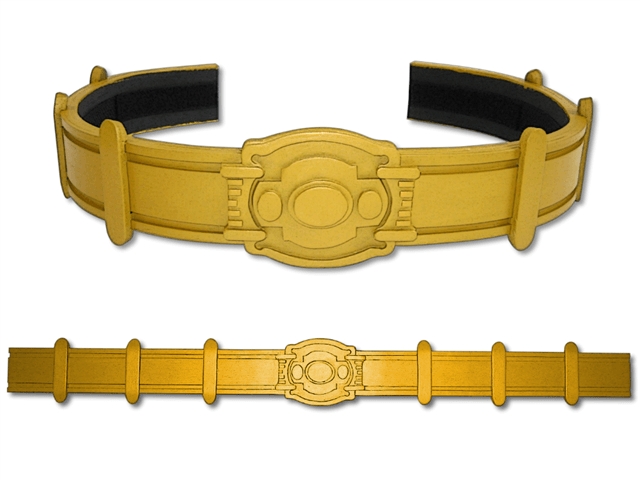
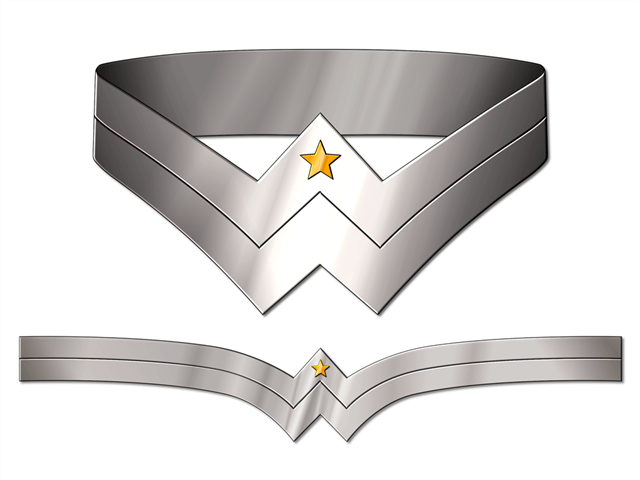
Visualize for a moment what your belt will look like when laid flat on a table; there are three common shapes: “V” shaped, mostly straight with a slight dip in front, and straight.
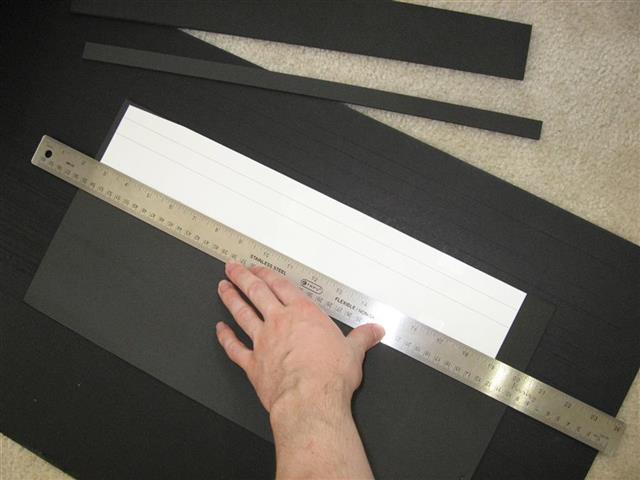
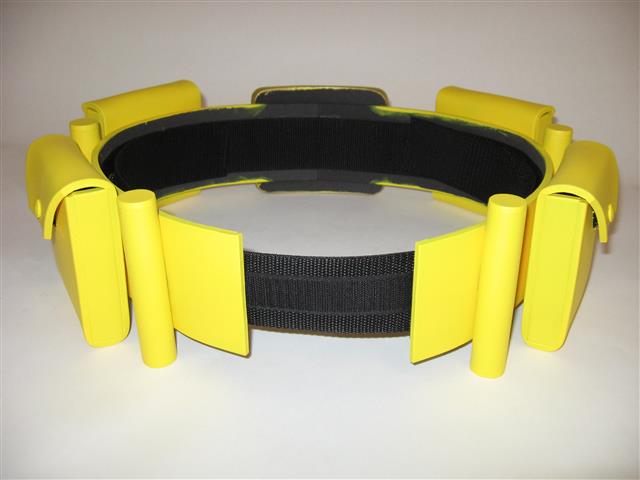
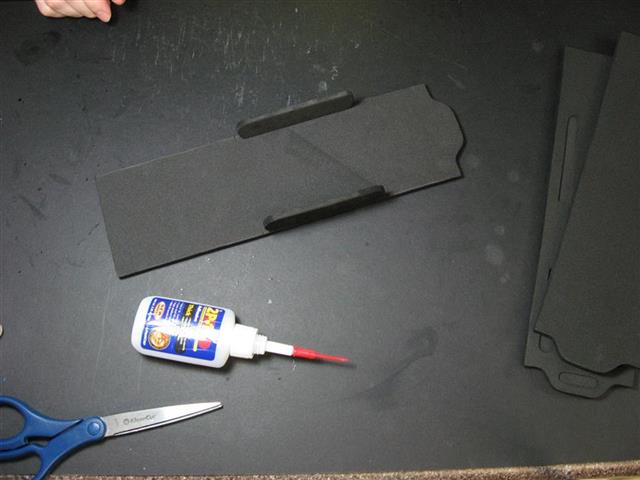
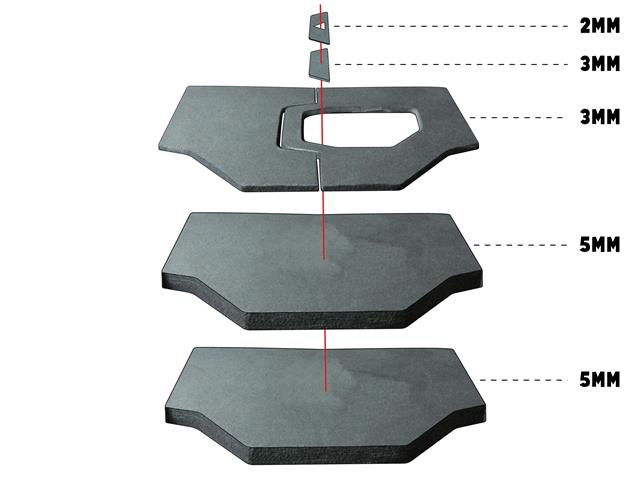
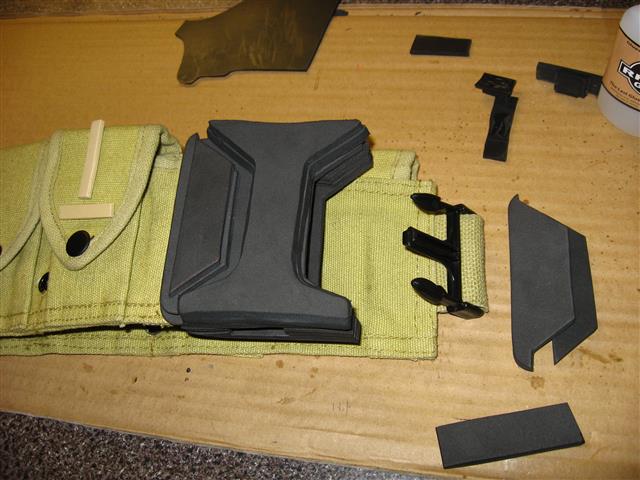
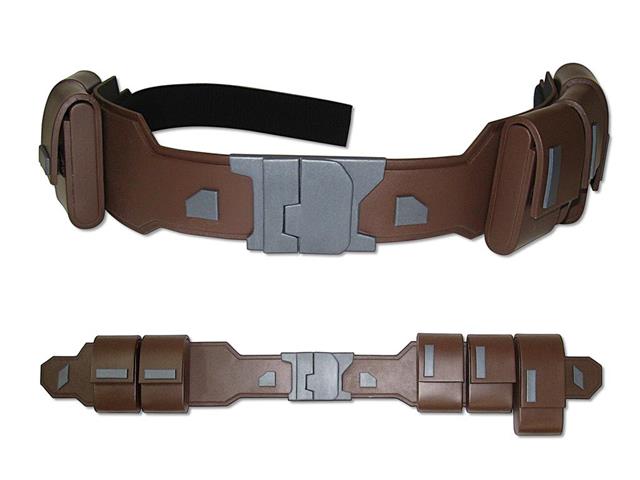
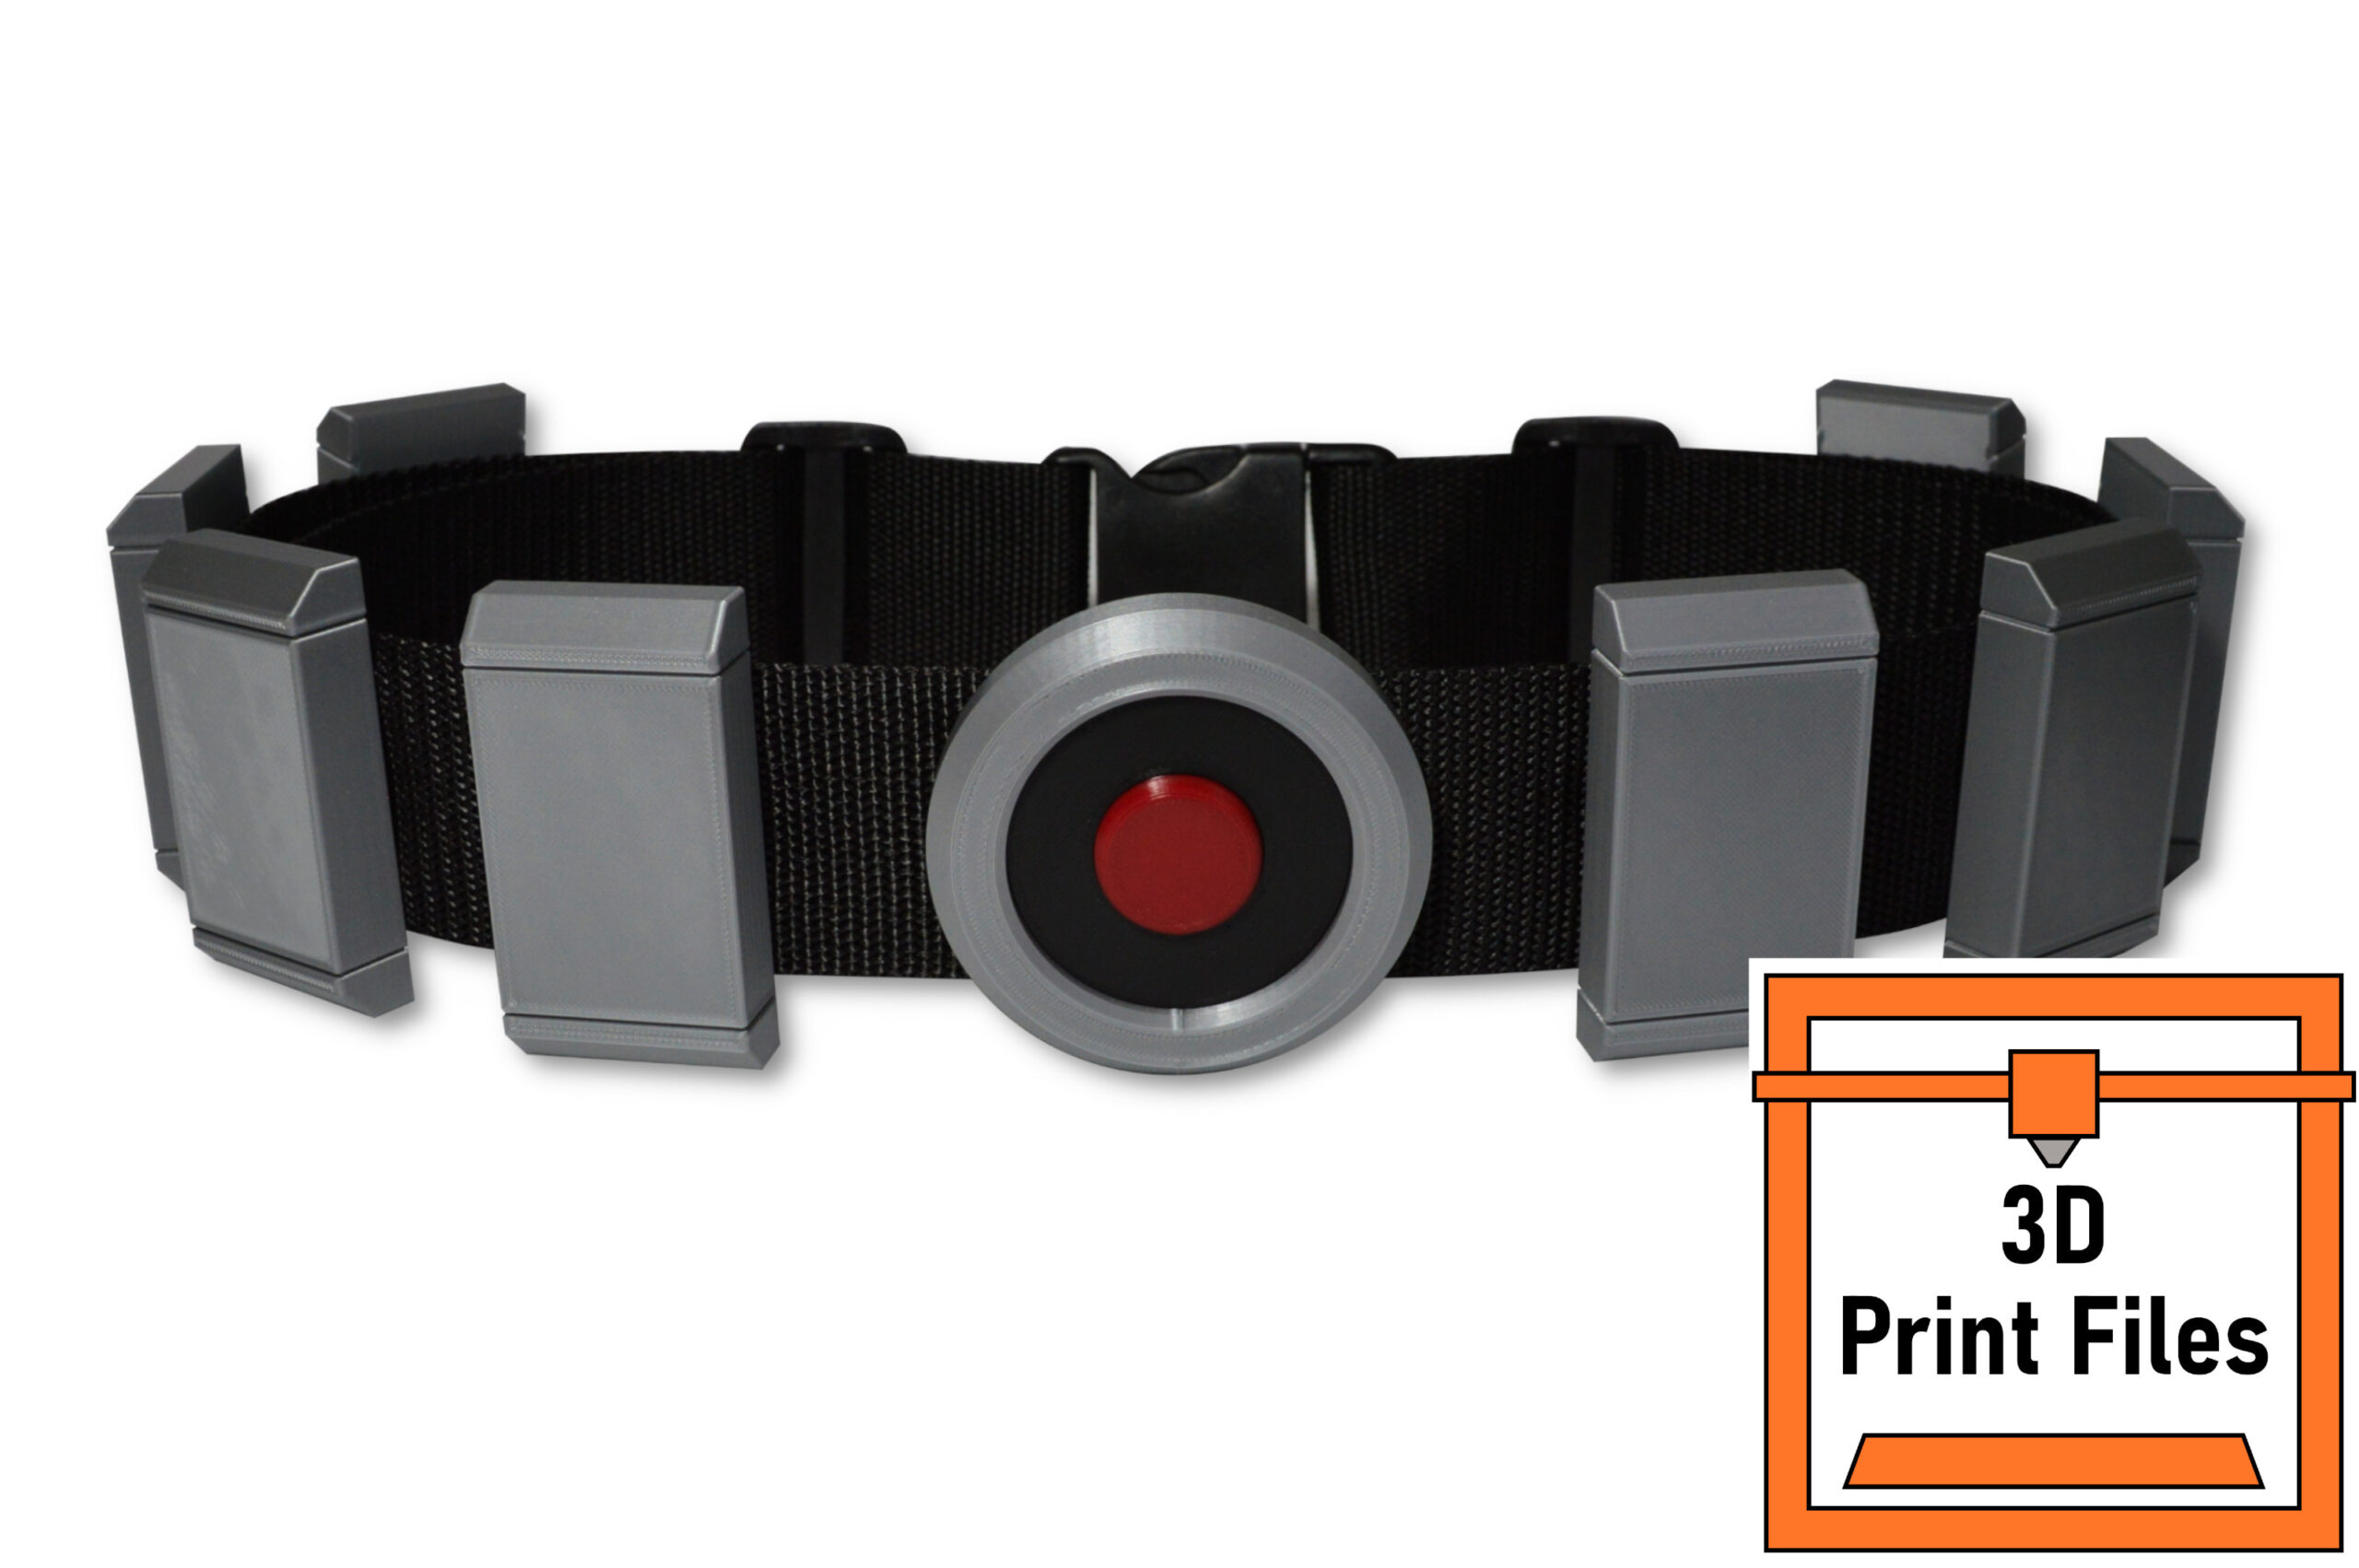
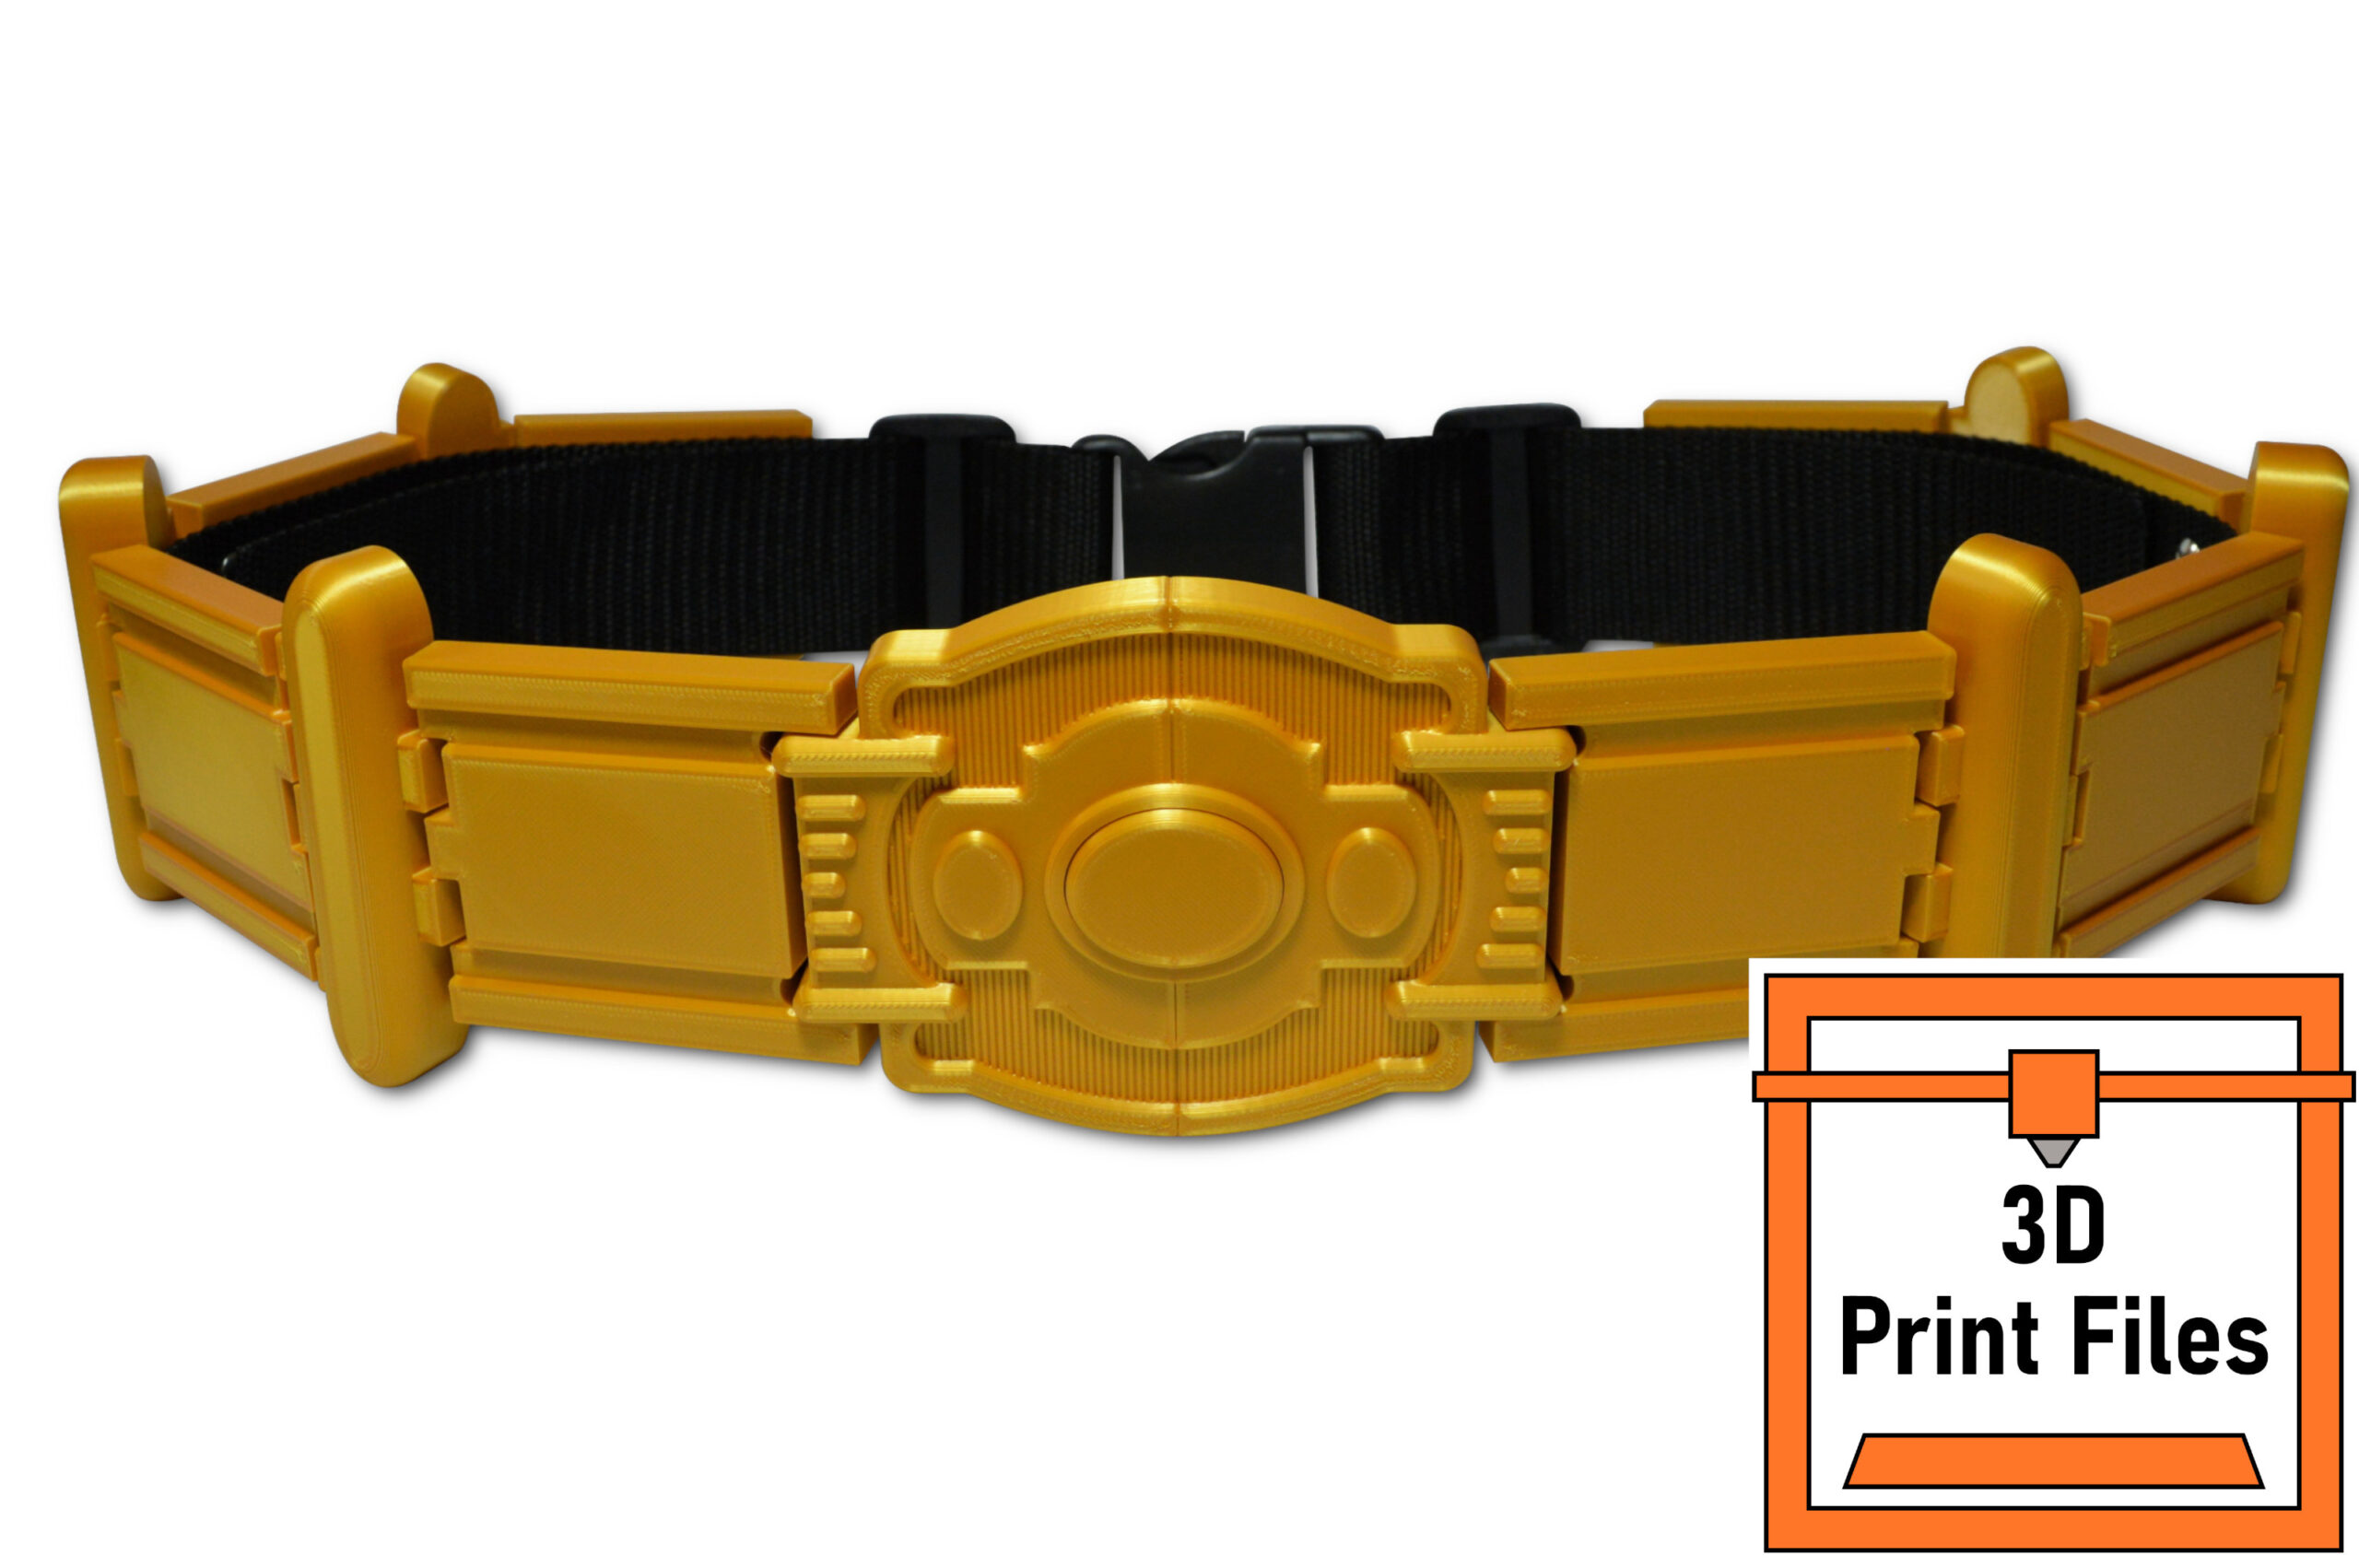
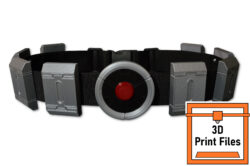
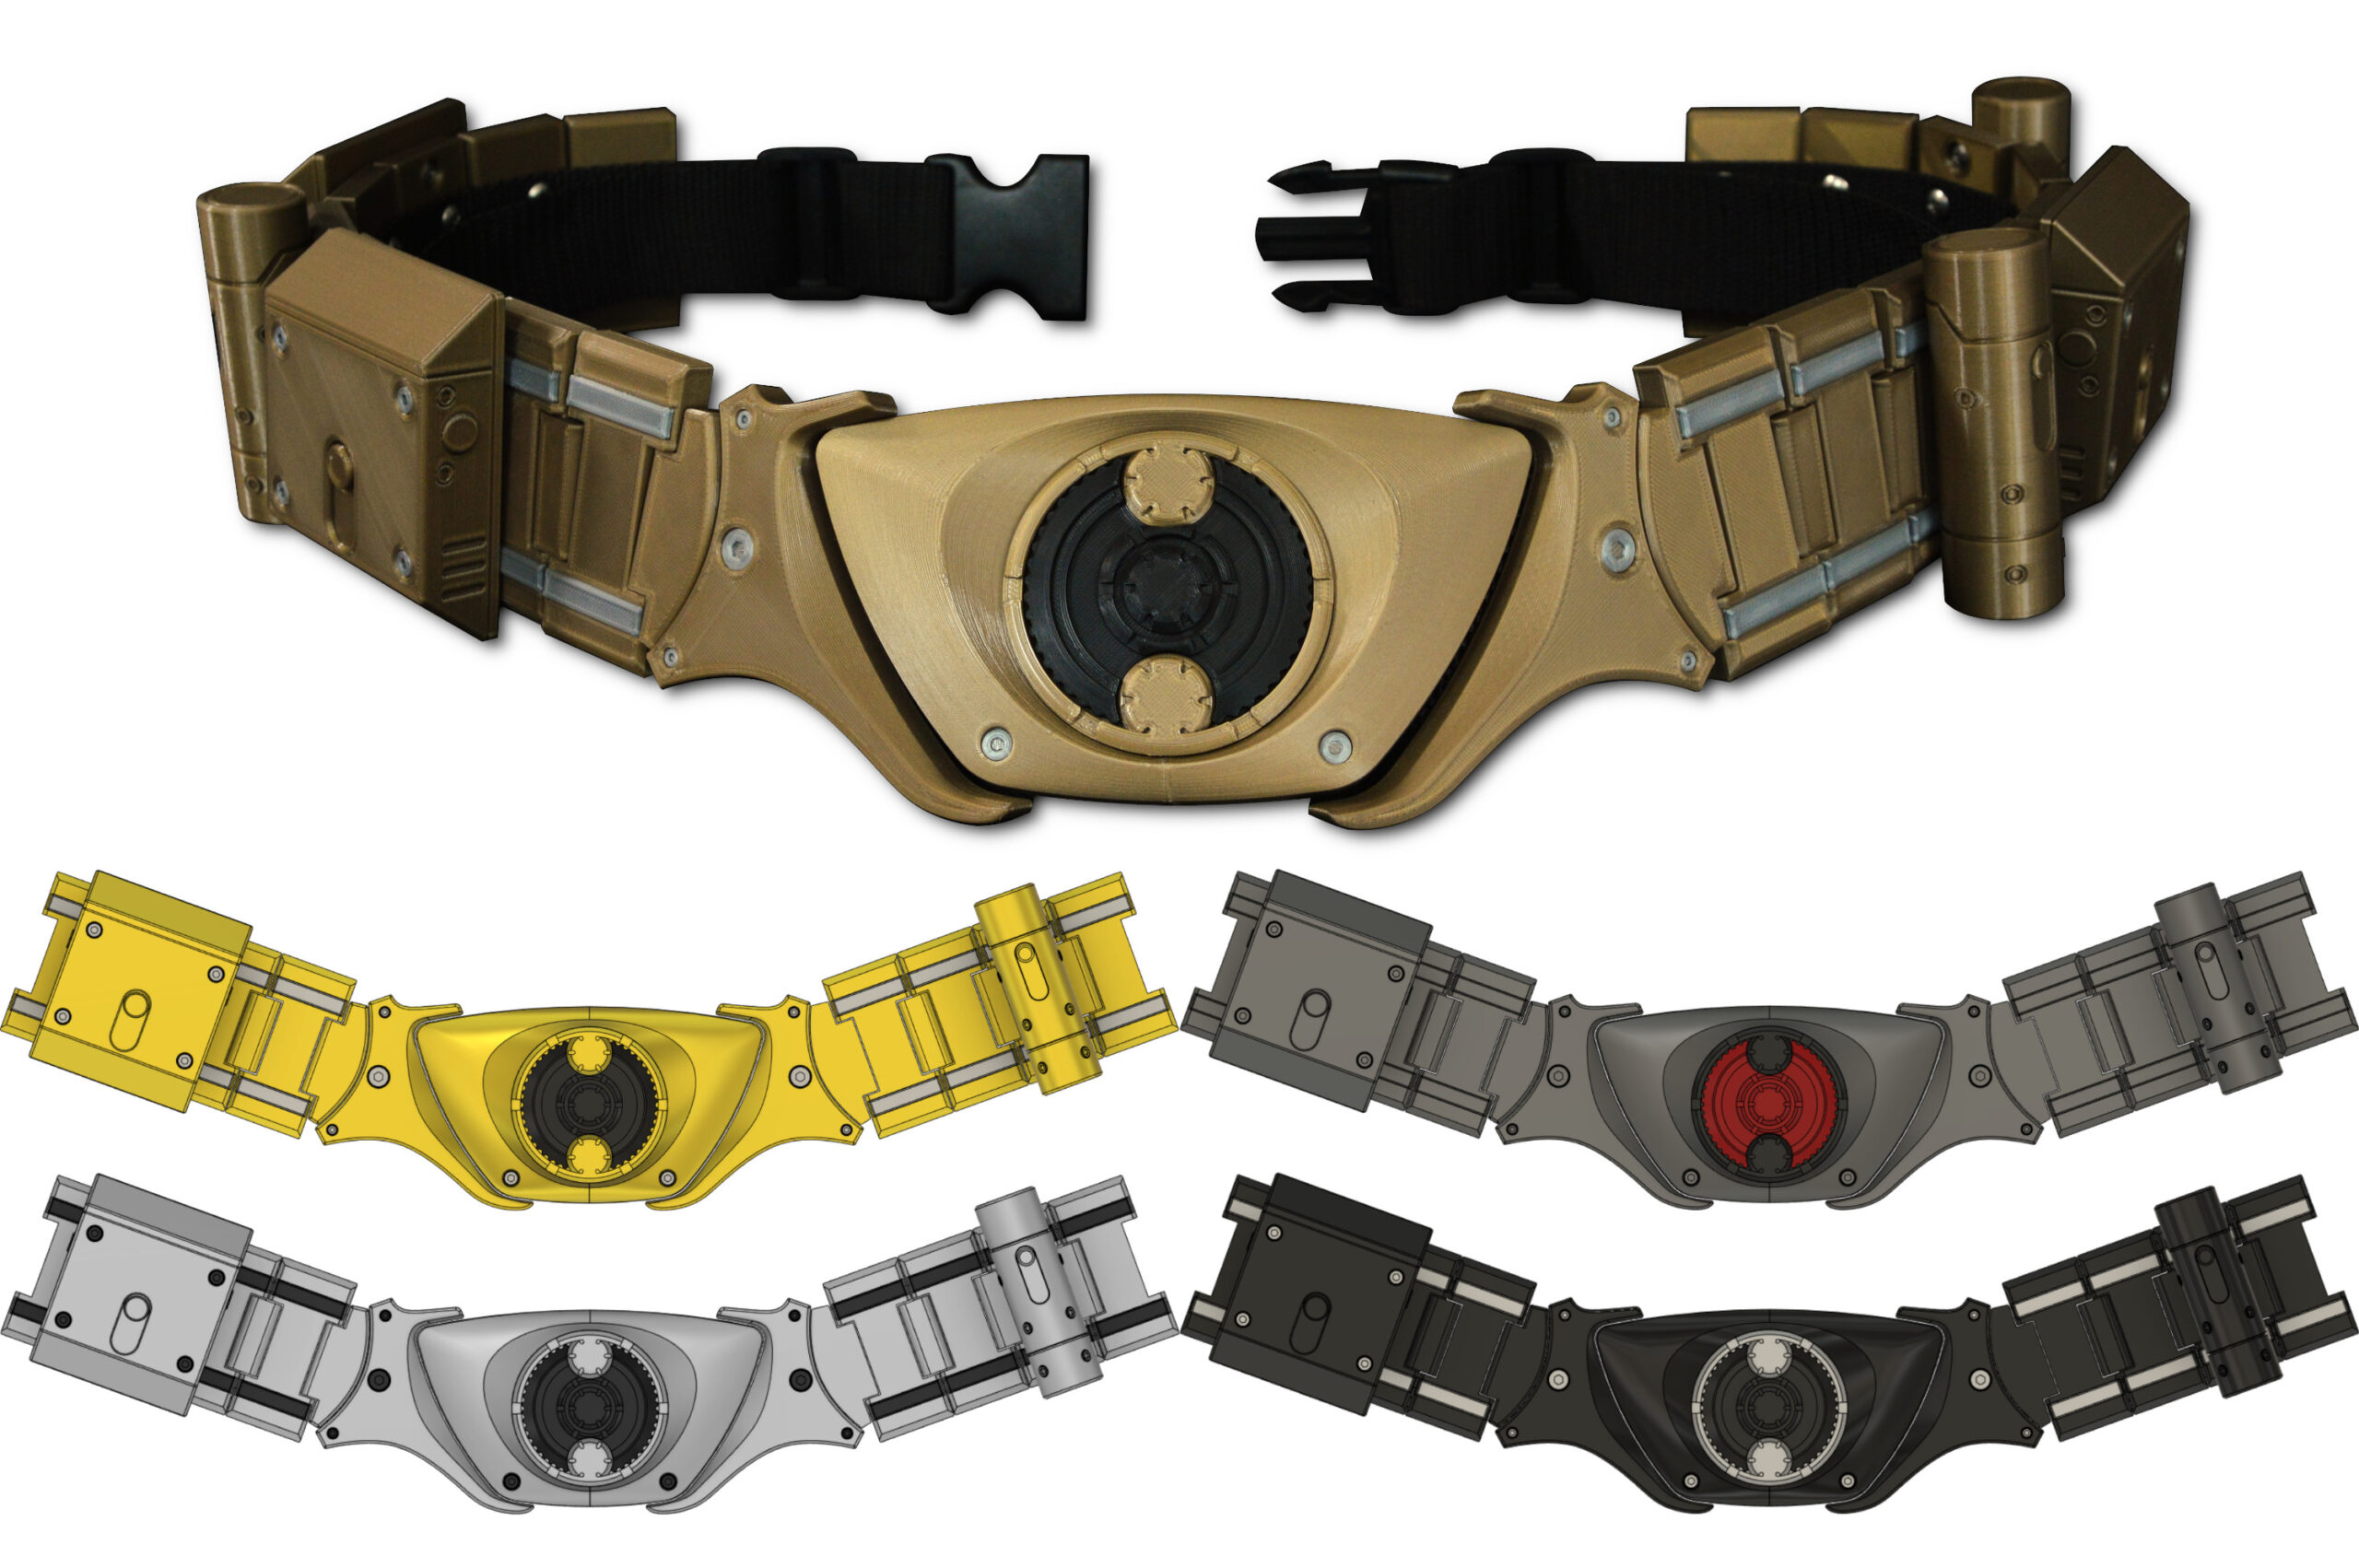
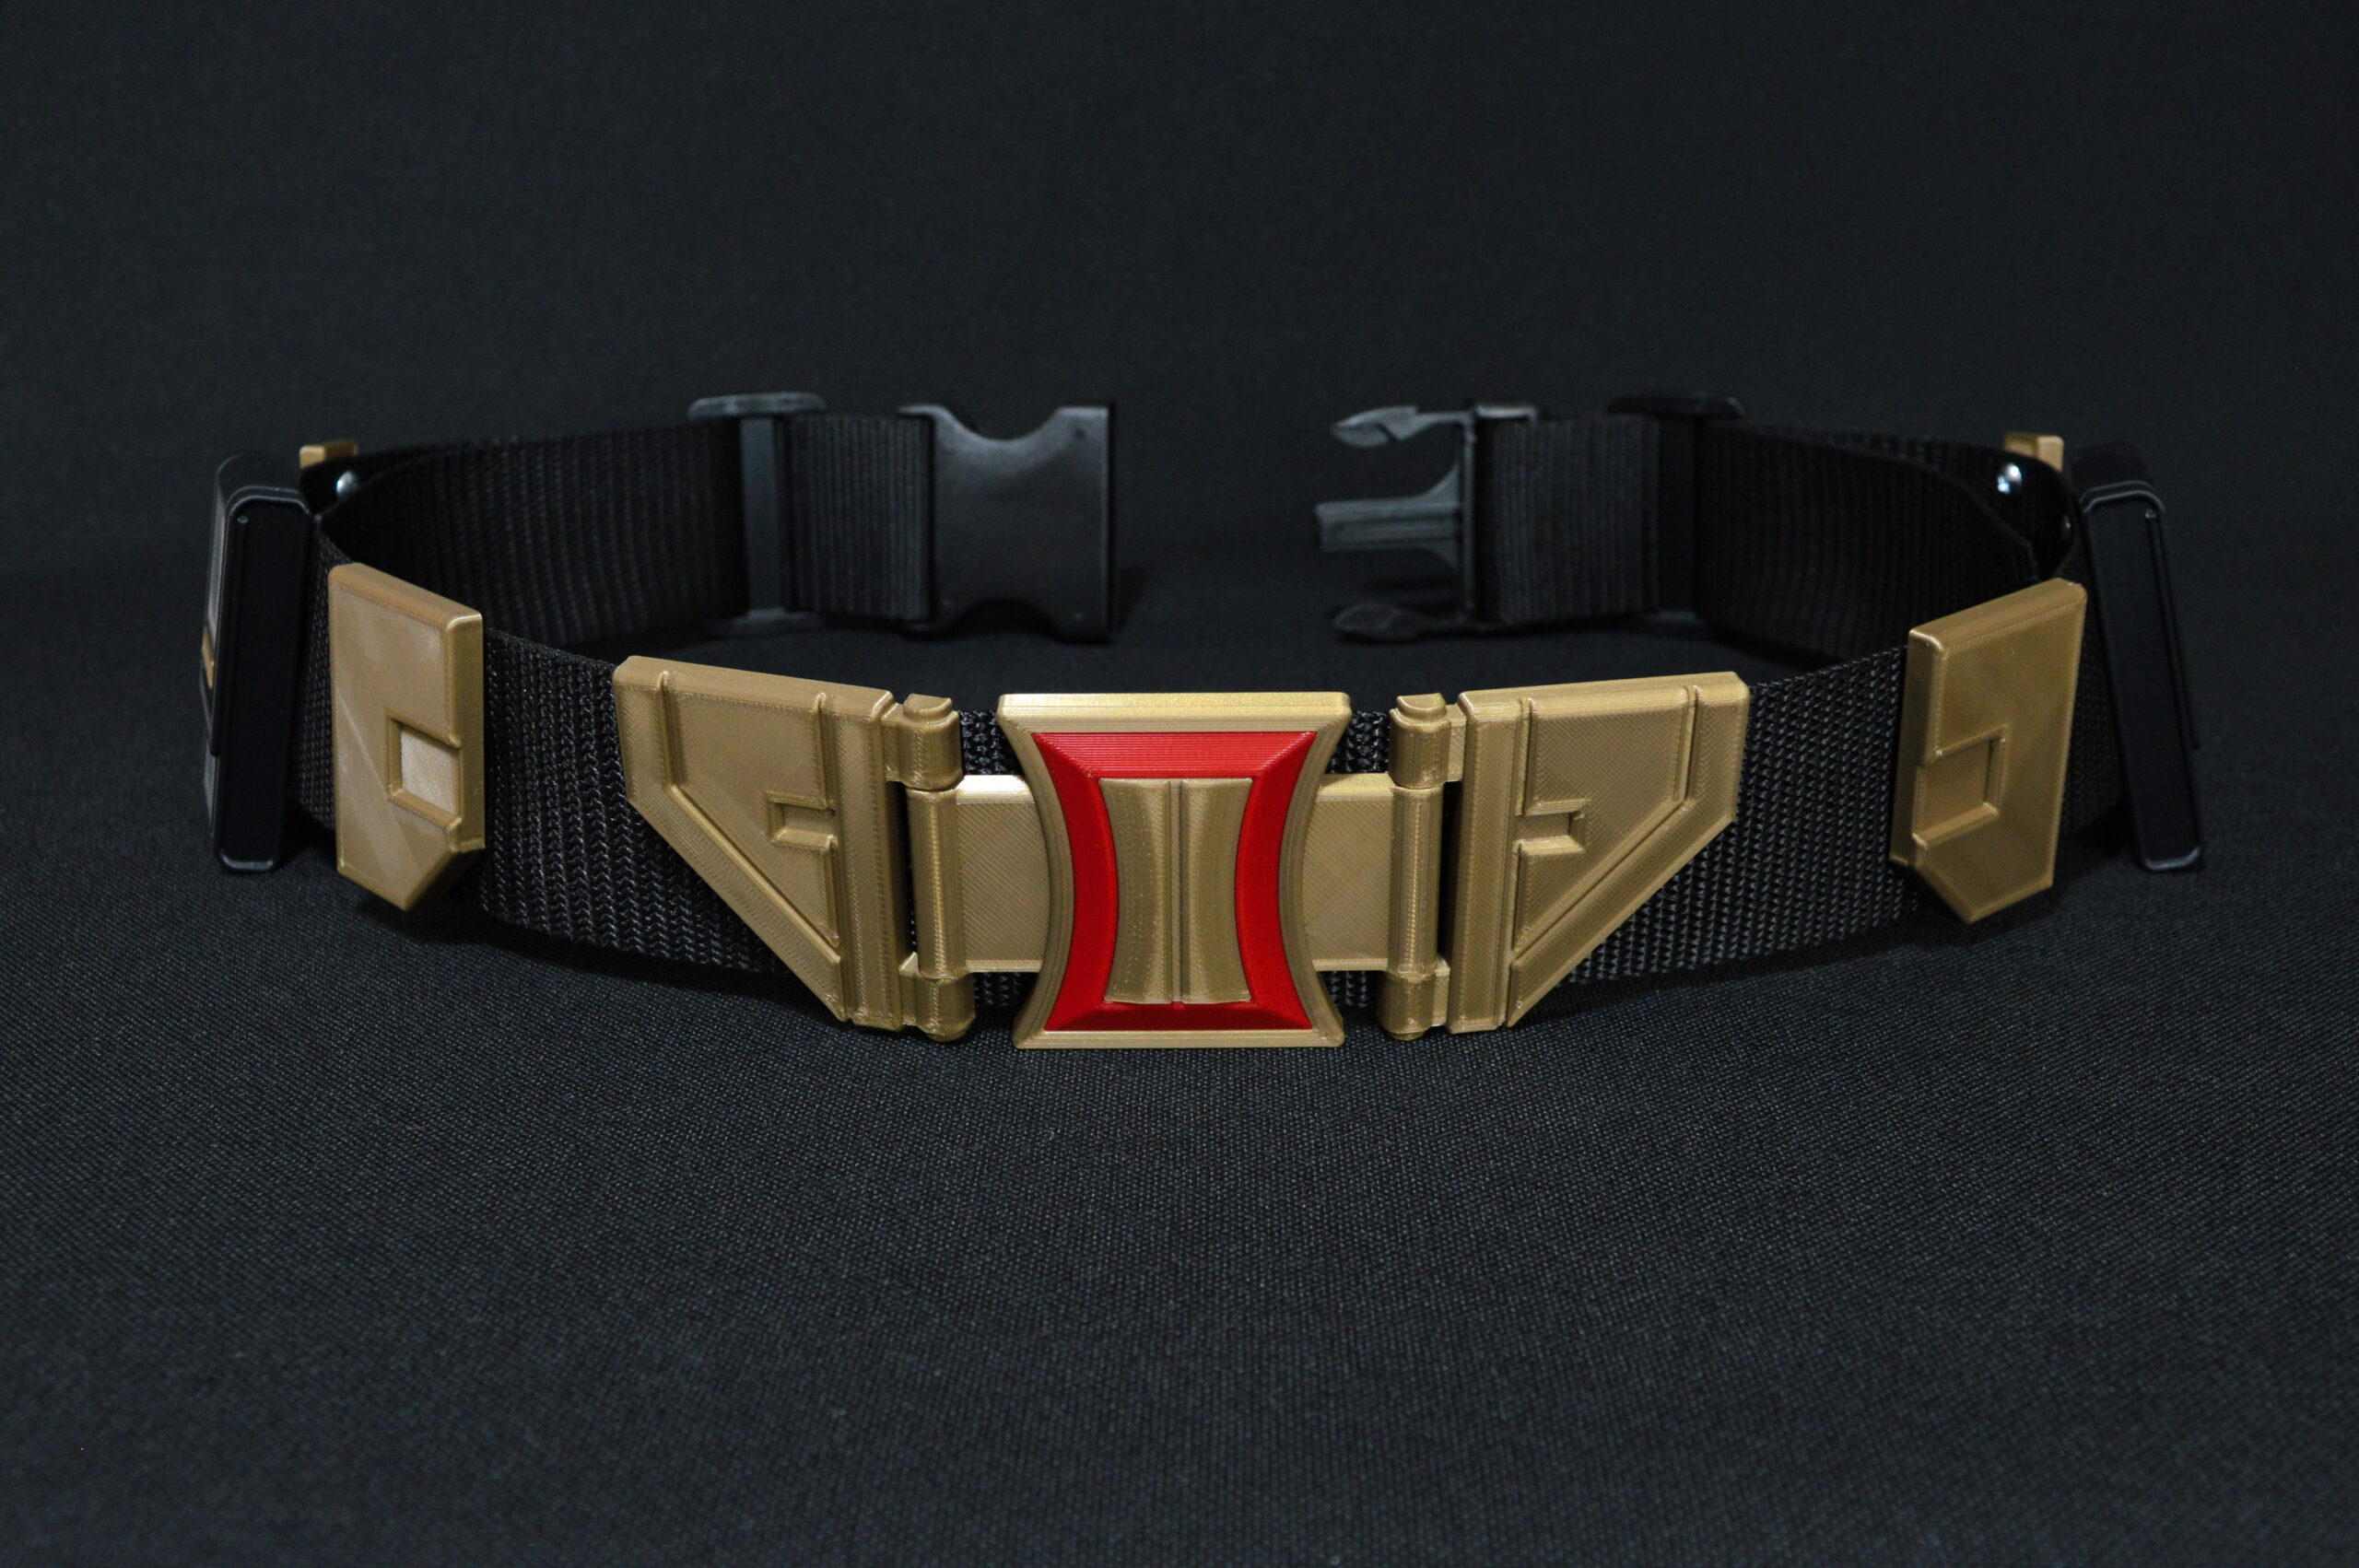
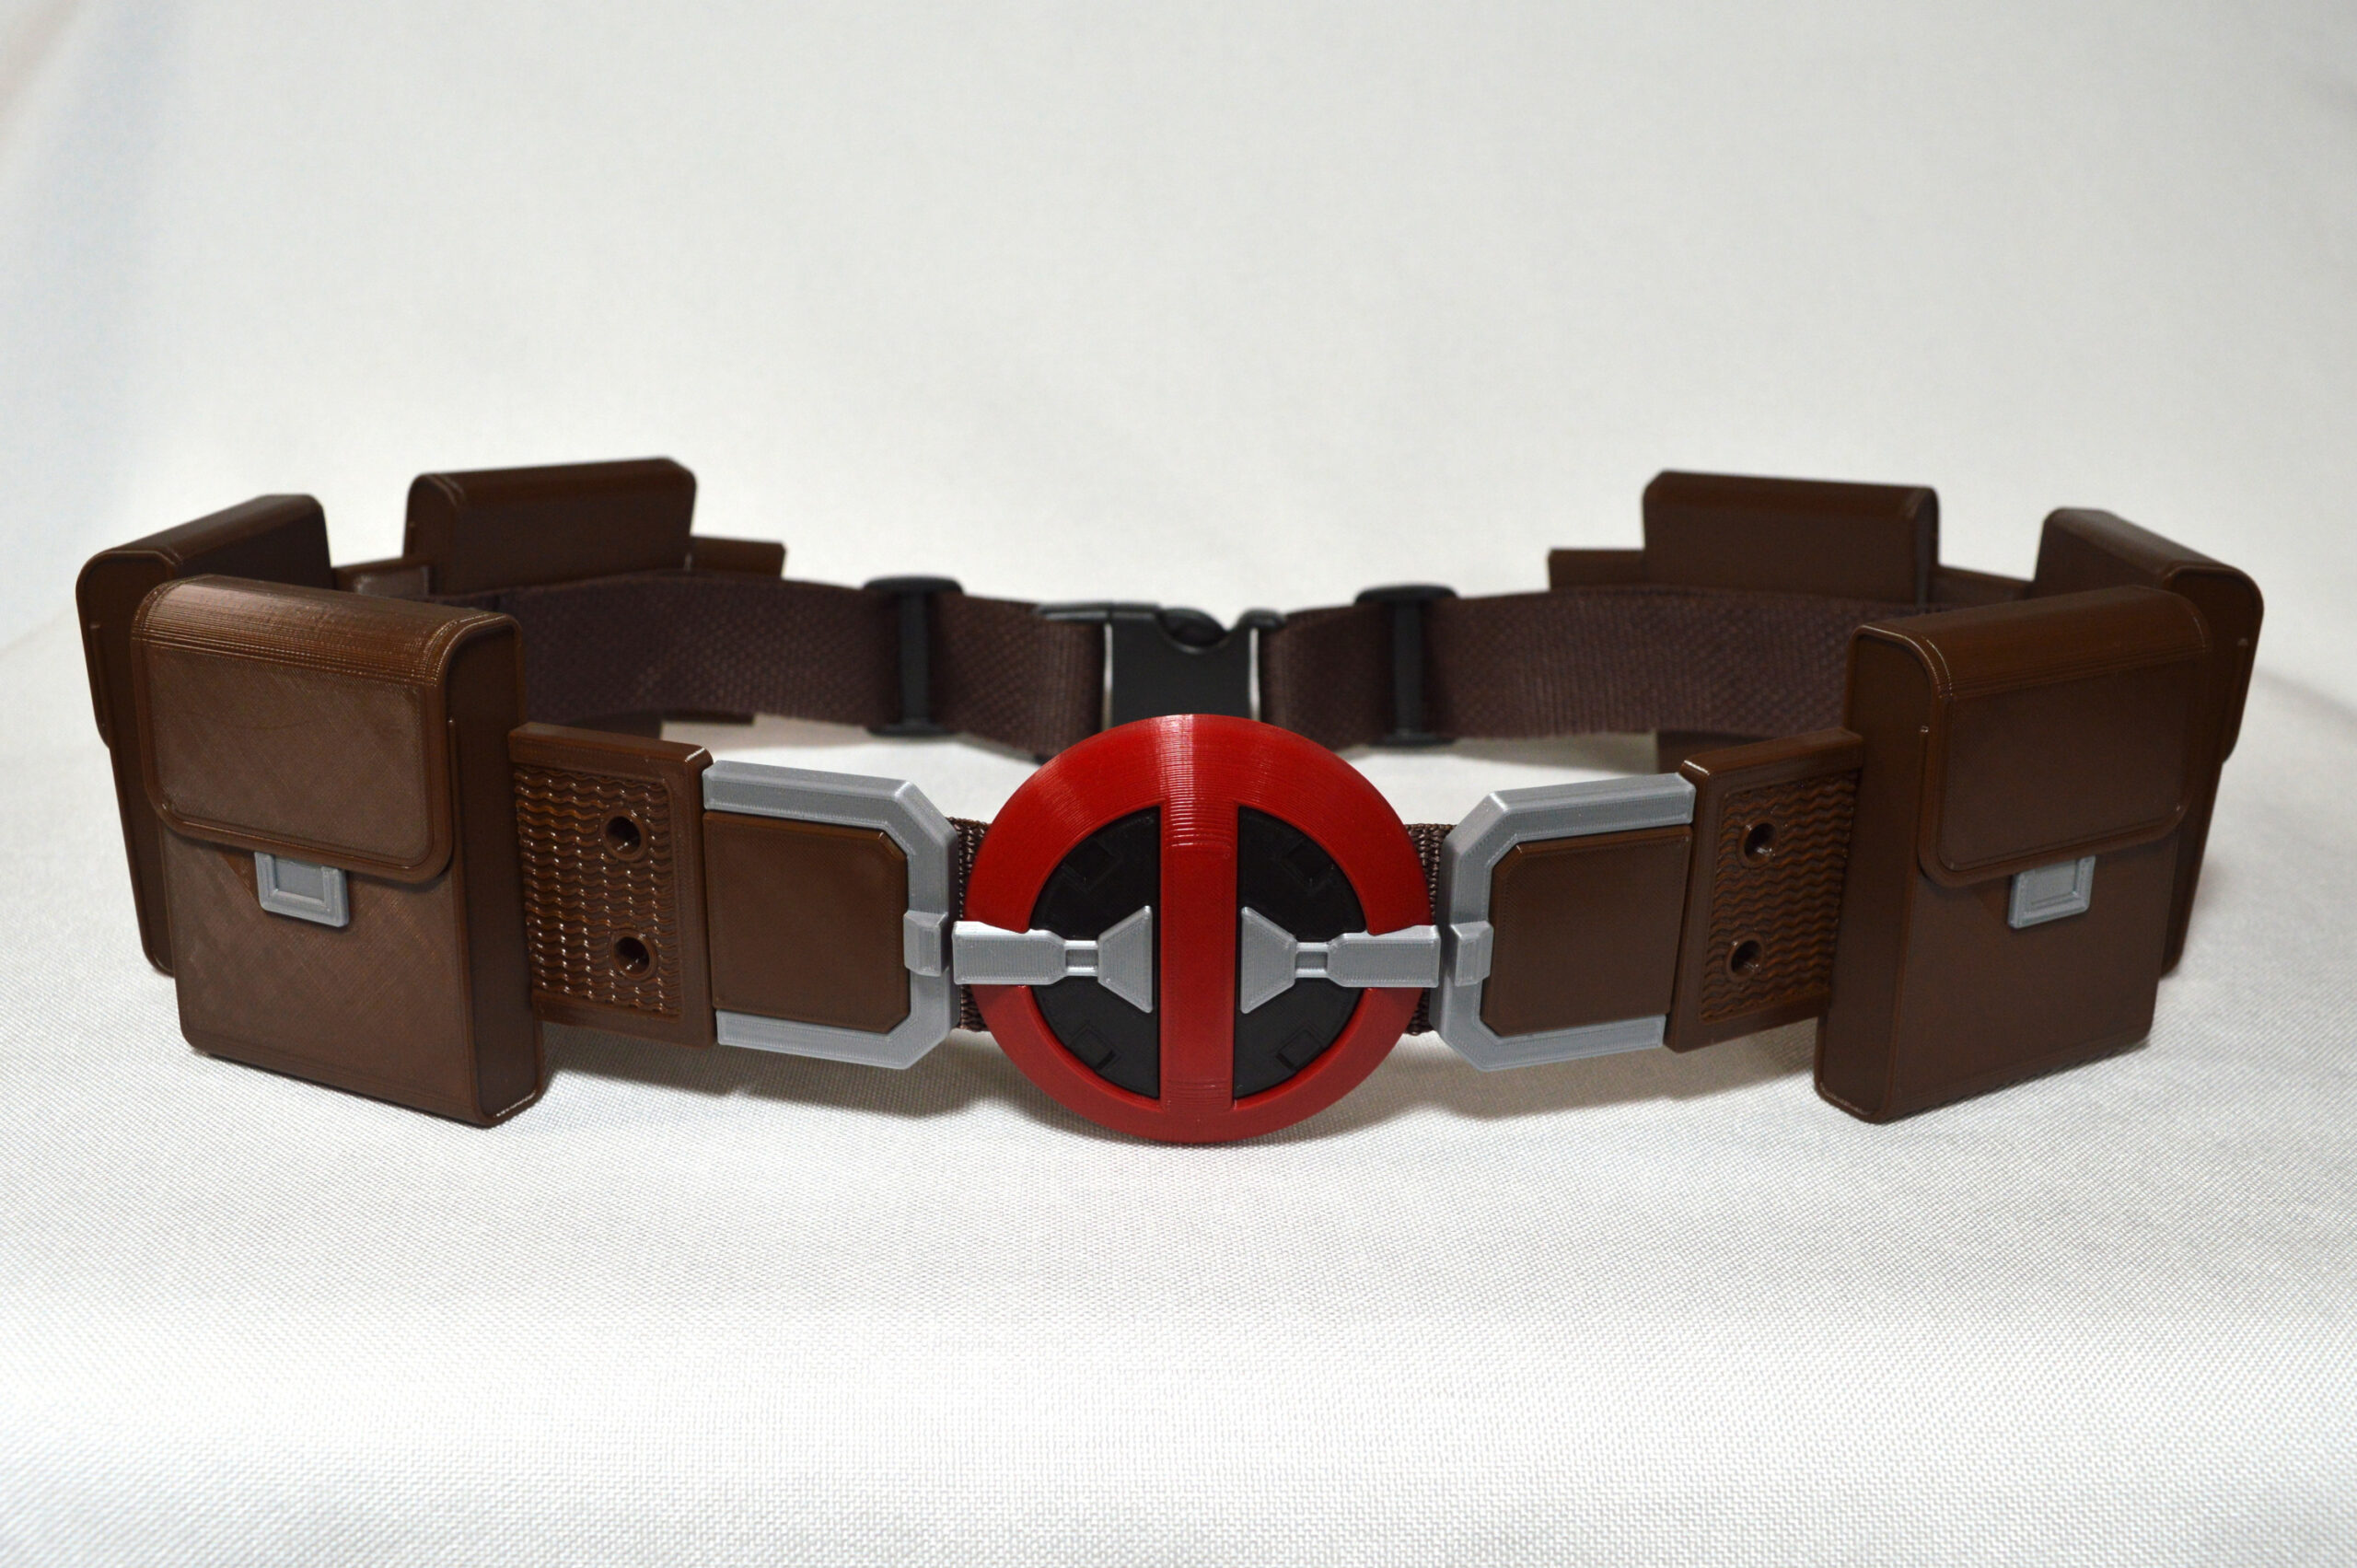
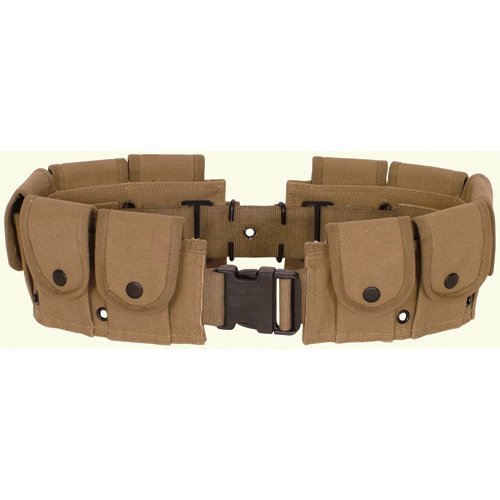
The foam I buy comes in 12 x 18 inch sheets which are not long enough to cut a whole belt out of, so I normally make it in two halves and glue them together behind a decorative buckle in the front of the belt. I do most of my cutting with scissors, but for long, straight pieces like belts I like to use an xacto knife and a long metal ruler. This yields a much smoother and straighter cut than with scissors. Two layers of 5mm foam glued together is a great thickness for a belt length. Adding a little bit of detail to the belt length can go a long way towards improving the overall look of the belt. A simple border works great.
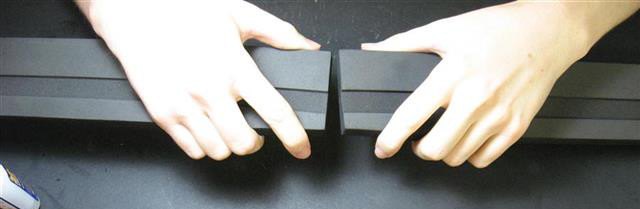
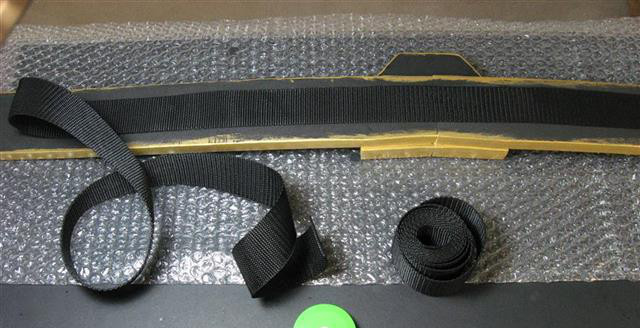
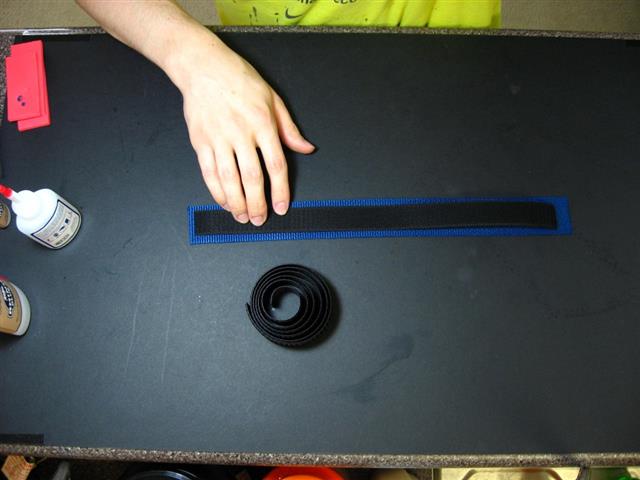
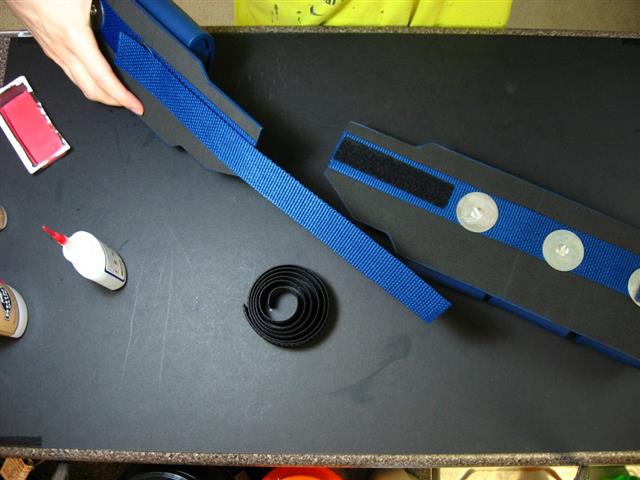
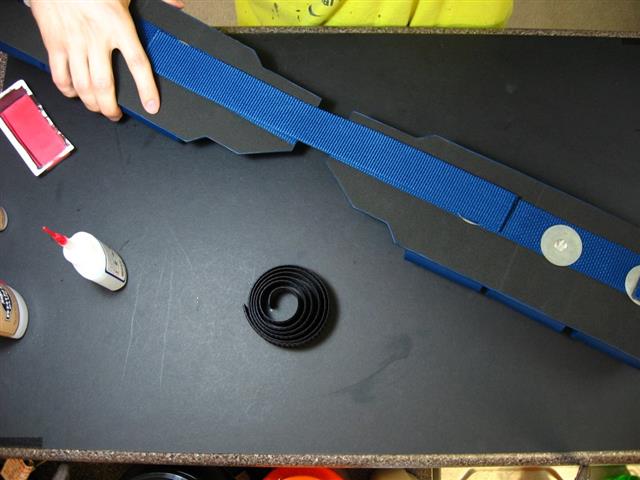
To add a little more durability you can glue a length of nylon or polypropylene webbing along the entire back length of the belt. (I get webbing from strapworks.com, which is also a great source for buckles and velcro.)
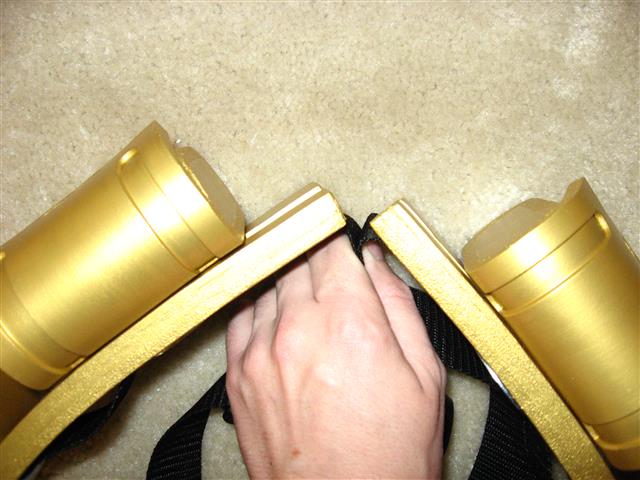
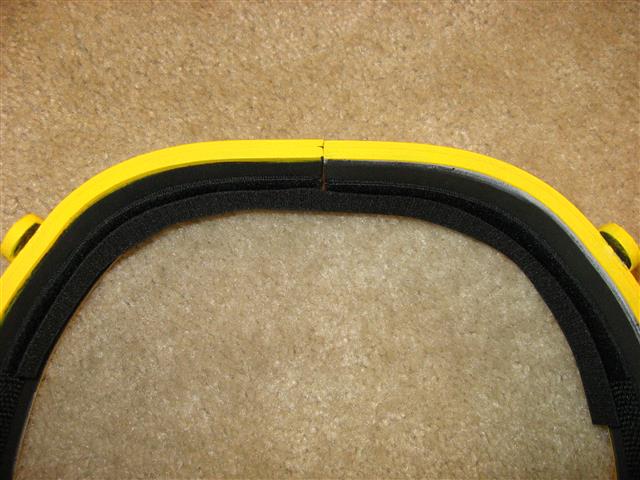
Sometimes when a belt is made of several layers and is extra thick, it’s ends don’t bend enough to meet up flush at the back. This isn’t really a problem if you plan on fastening the belt with buckle in the back, but if you plan on using velcro and want the ends to meet flush so that it almost looks seamless, you can achieve that look by putting a slight bend in the last couple inches of each end while gluing on the webbing. When you glue layers of foam together while holding them in a bent position, the foam will retain that bend after it dries.
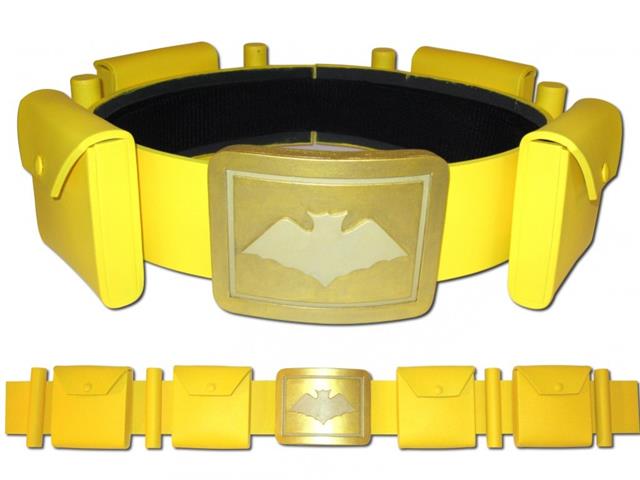
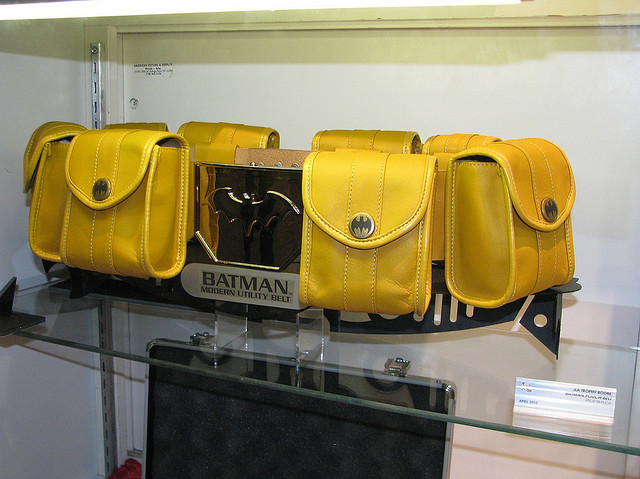
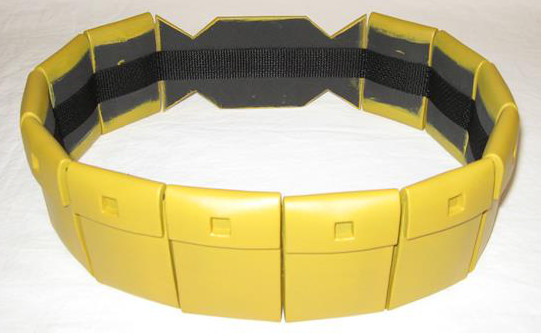
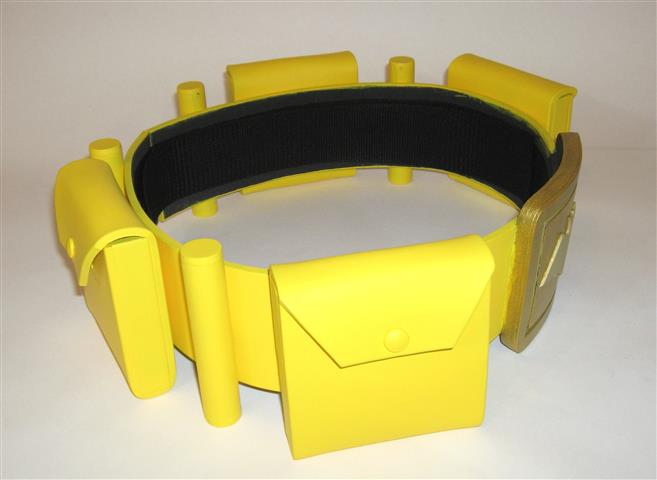
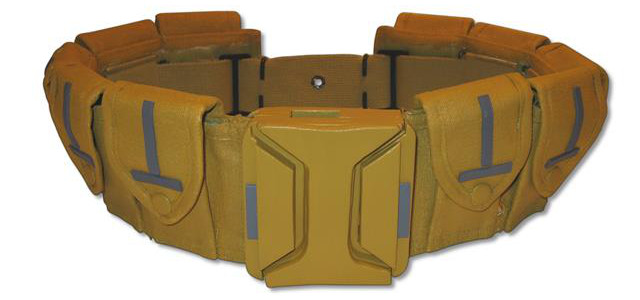
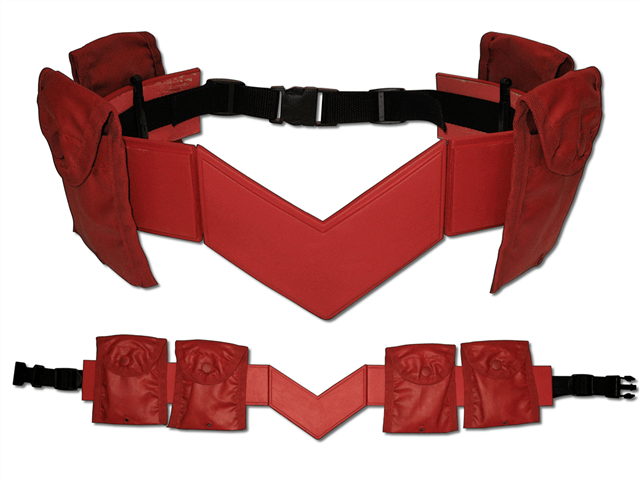
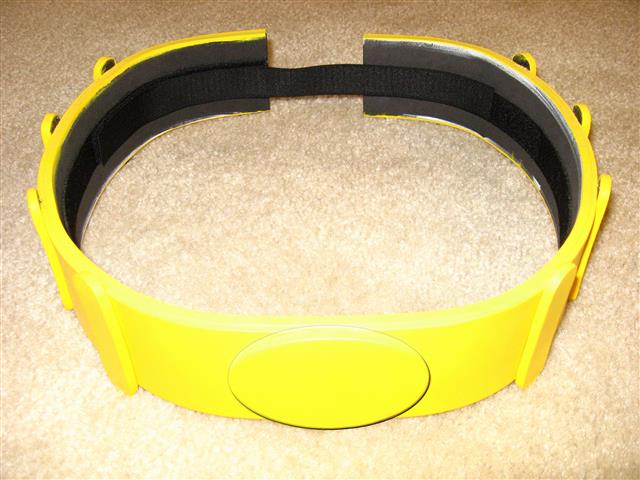
The overall size of the belt looks good and flows nicely with the costume, but he would clearly not even be able to fit his thumb into one of those pouches, let alone carry anything useful inside them. Functional pouches on the other hand will look more like these:


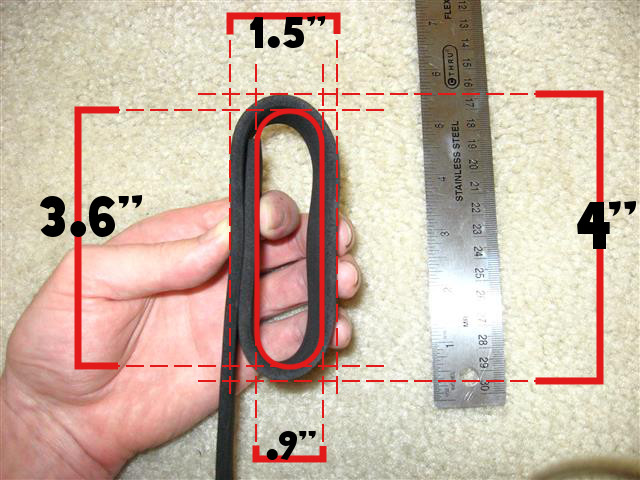
This method will also help you visualize the shape and measurements of your side pieces, which will be smaller than the outside of the pouch as you have to subtract the thickness of the foam of the long piece (5mm per side). In the 4″ x 1.5″ pouch example, the side pieces will be 3.6″ x 0.9″.
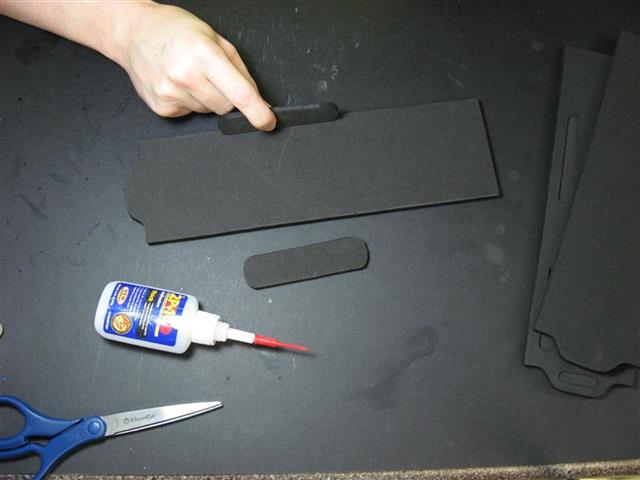
Use the measurements to draw a pattern and cut out the full shape of the pouch long piece and side pieces. Add any desired decorative design elements before gluing everything together. Glue the side pieces onto the long piece, and then fold over the bottom portion of the long piece and finish gluing it the side pieces.

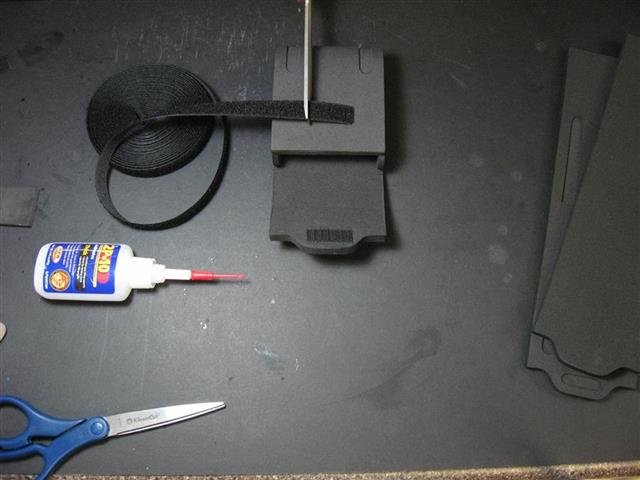
Glue on strips of velcro to fasten the pouches.
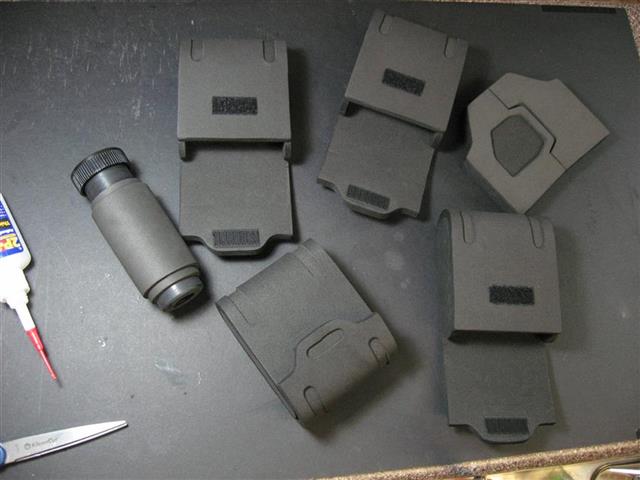

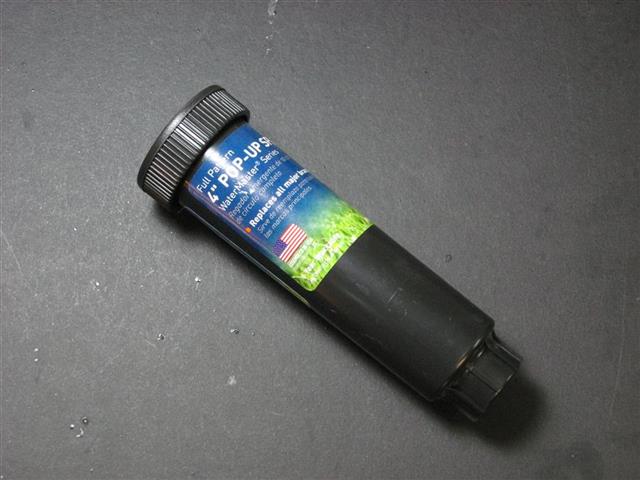
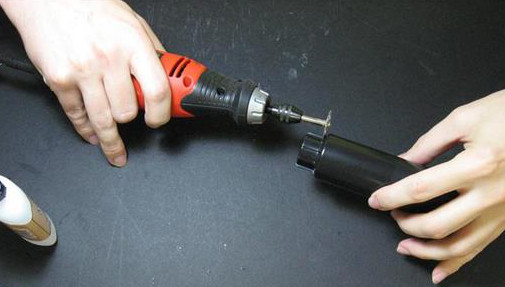
Use found objects for items that are difficult to make out of foam (like canisters). From PVC pipe (check out formufit for a great selection of muti-colored PVC pipes, fittings, and caps) to a variety of pre-made pouches found around online (cell phone pouches, military bags, plastic containers, etc), and even Home Depot sprinklers:

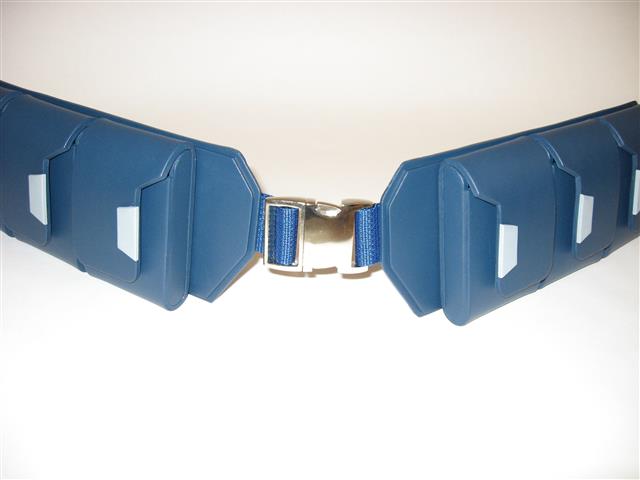
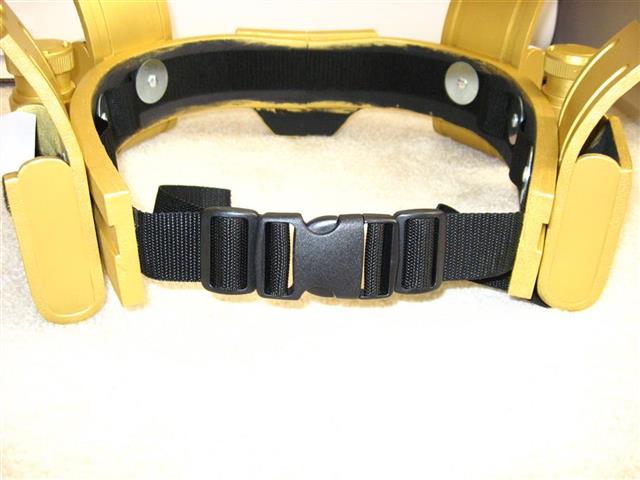
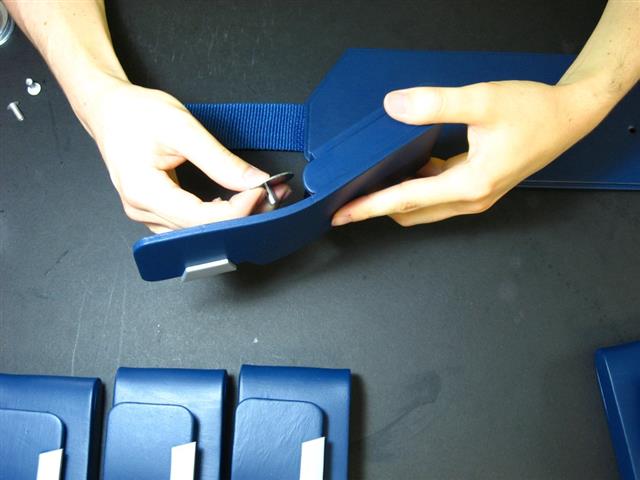
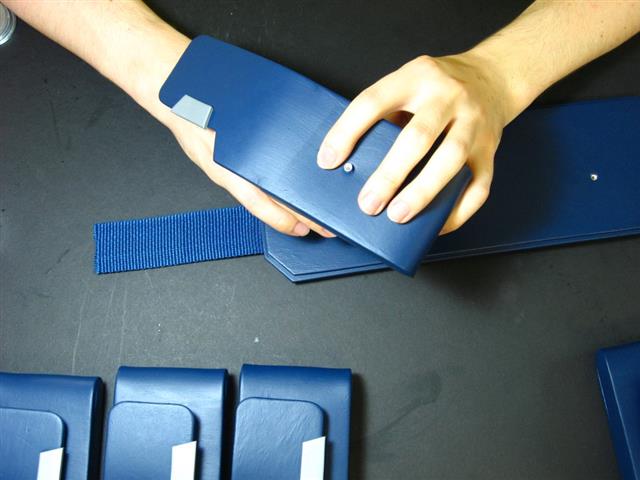
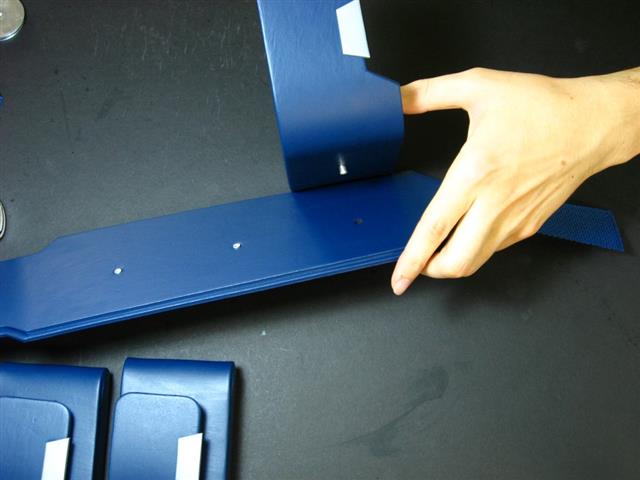
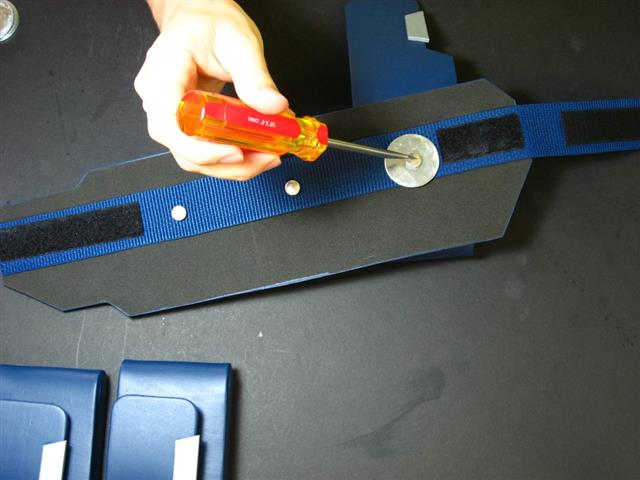
To connect the pouches to the belt, I like to use chicago screws. They are durable, double sided screws with a slim profile and have the added benefit of being removable in case you ever need to replace a damaged pouch or want to reorganize the pouch layout on the belt. Use washers with them as well to prevent the screws from pulling through. (more info on this process in the Captain America belt tutorial) You can also just glue the pouches to the belt, or as one commentor mentioned you can cut slits in the pouches and belt and slide the webbing through.
You can also simply glue the buckle and pouches directly to the webbing, which will make the final product much more flexible and will also prevent some of the inevitable wear right where the edges of the buckle would otherwise be glued to the foam belt.
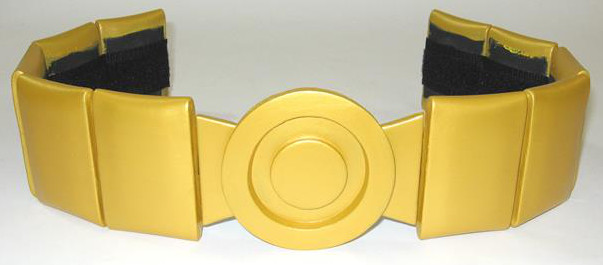
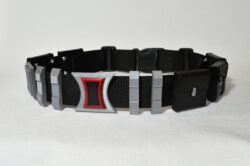
To make a decorative buckle, build it up in flat layers. Start with the top detail pieces, and then add layers underneath until the buckle is as thick as you would like. If it is extra wide you will want to give it a bend while gluing so it conforms to the curve of your waist and won’t start to tear away from the rest of the belt when you’re wearing it.

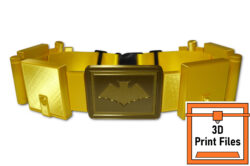
For my Arkham City belt I used an entirely pre-made belt and simply built a foam buckle over the existing plastic buckle:
I use regular brush-on acrylic paint from the local hobby store for most of my projects. I generally paint pieces of different colors separately, and then glue them together after painting. Glue doesn’t stick well to painted surfaces though, so when you need to glue something onto a painted surface I recommend first removing some of the paint directly under where the new piece is going. You can do this with an xacto knife. Sometimes it will peel off nicely if you cut the outline of the section first, otherwise you can just scratch it a bit to get some of the paint off. Sometimes it won’t be feasible to paint different colors before gluing everything together, in which case you’ll just have to use masking tape to protect the rest of the belt as best as possible.

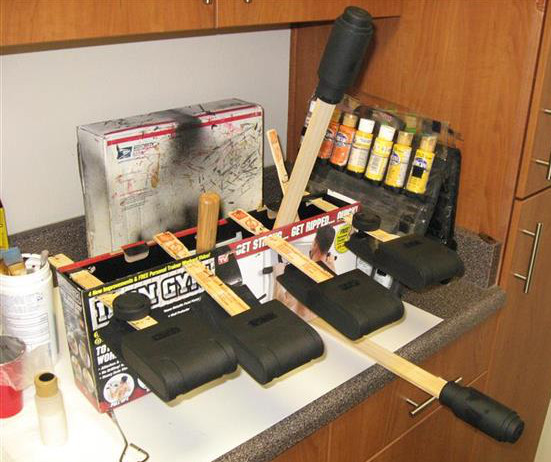
It can be helpful to make a holder for pouches using a cardboard box and paint sticks, so you can paint all sides at the same time and let them dry uninterrupted.
After painting, I’d recommend spraying on a couple coats of clear Plasti-dip to protect the finish. Just make sure to practice spraying several coats onto something else first, as it can become cloudy and speckled if applied incorrectly. Check out the Painting Tutorial for more info on painting.
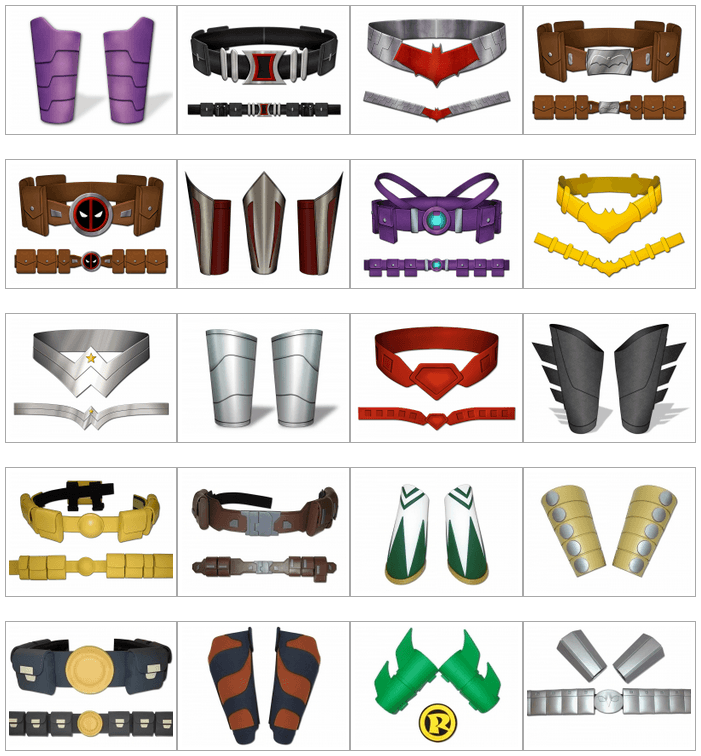
Check out the shop and the gallery for templates and project ideas. Have fun!


