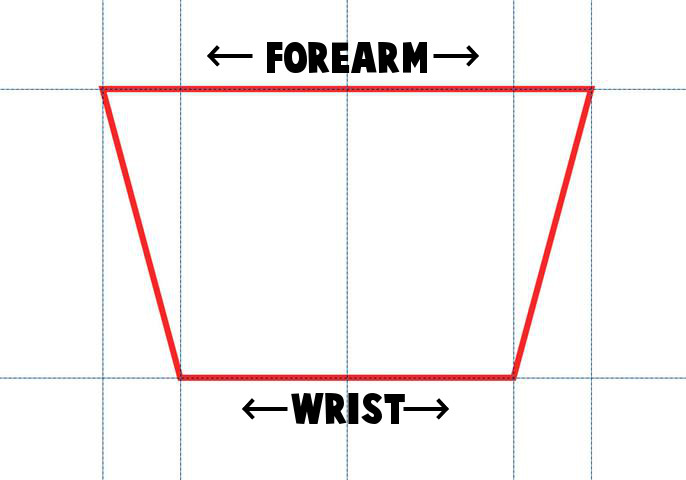
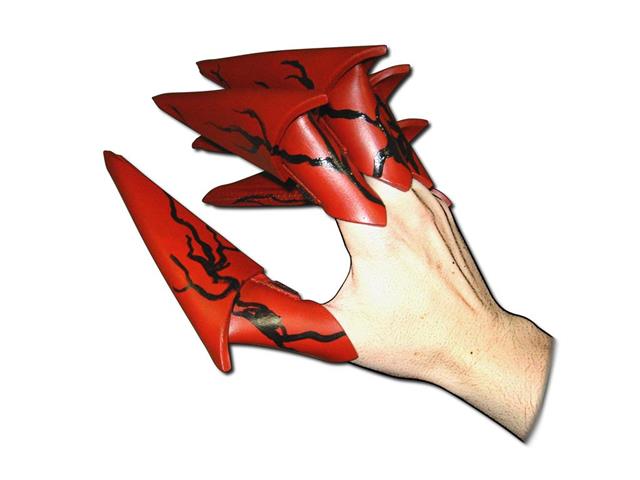
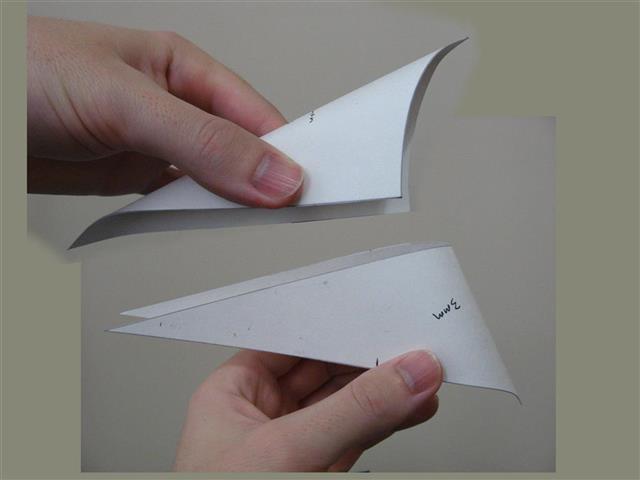
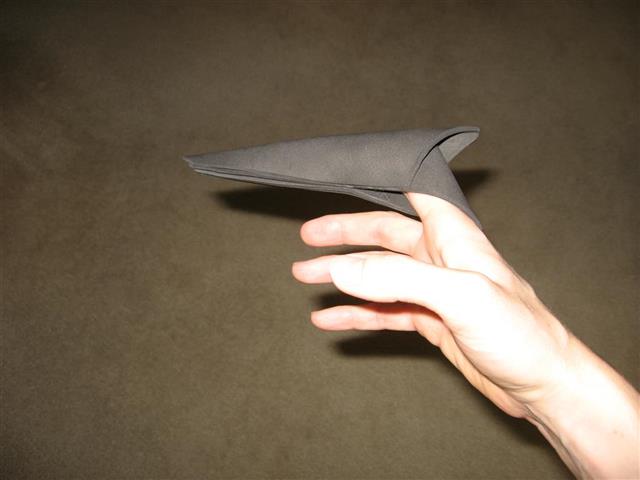
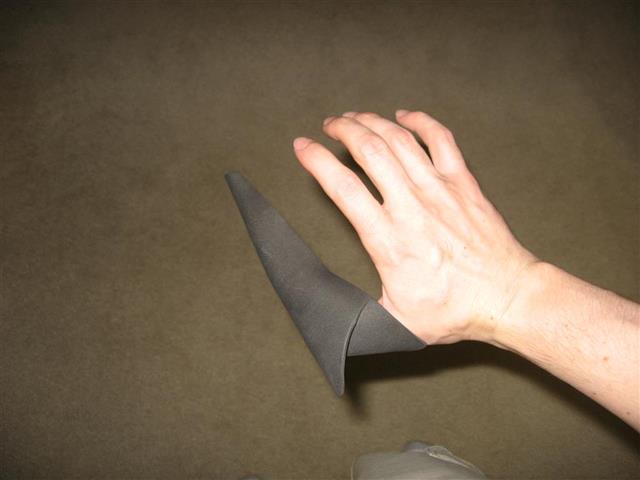
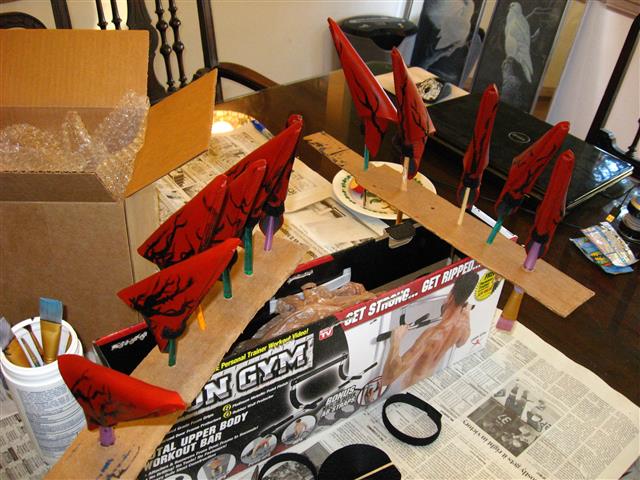
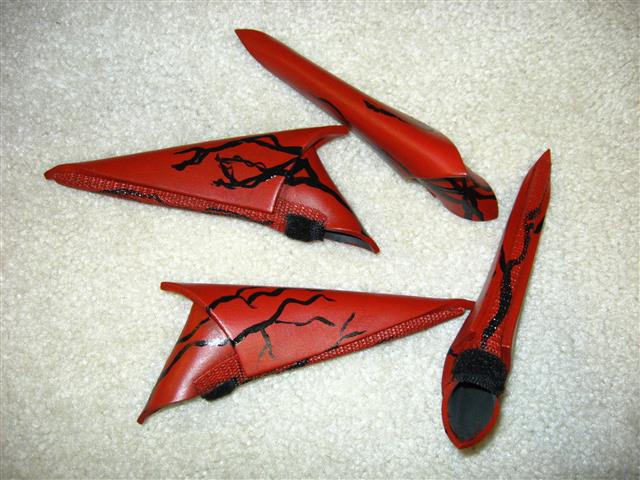
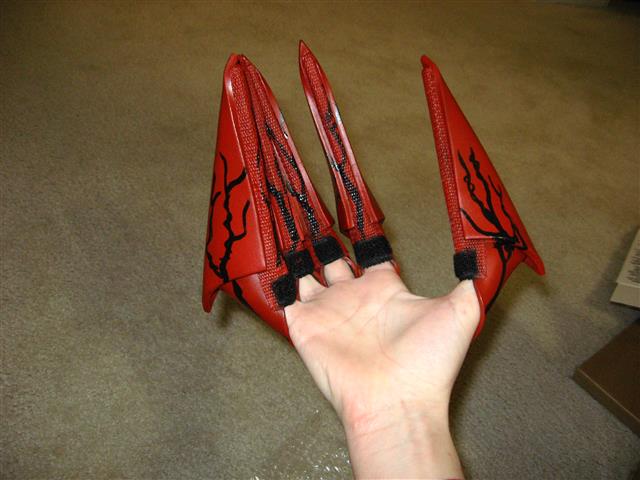
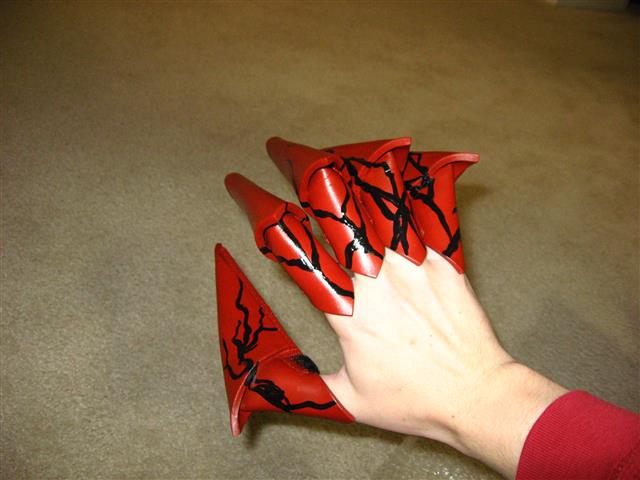
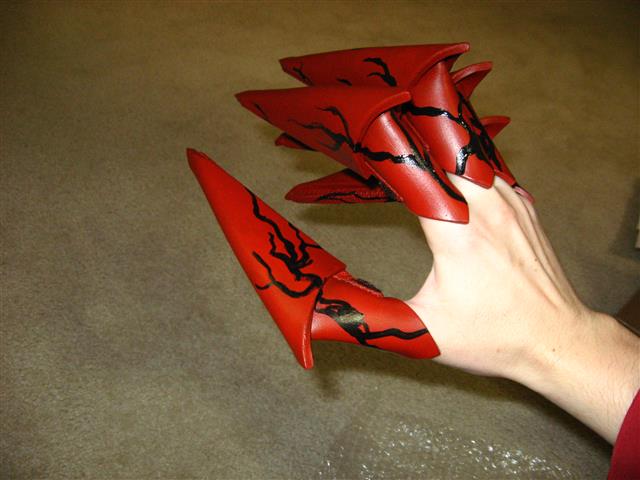
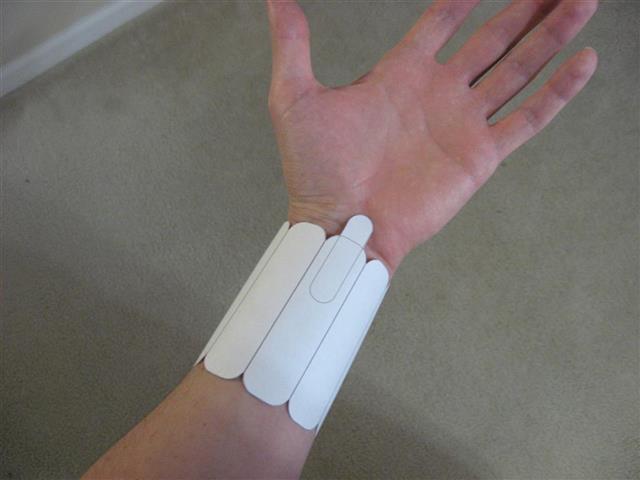
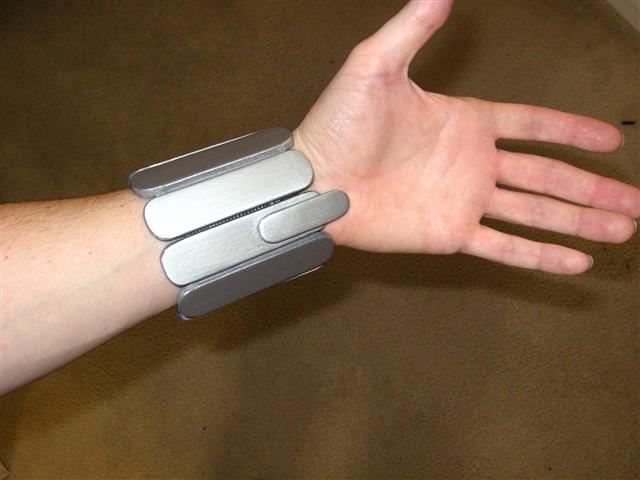
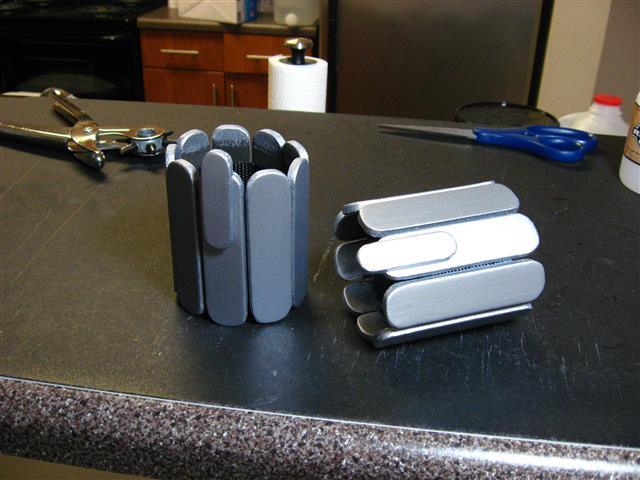
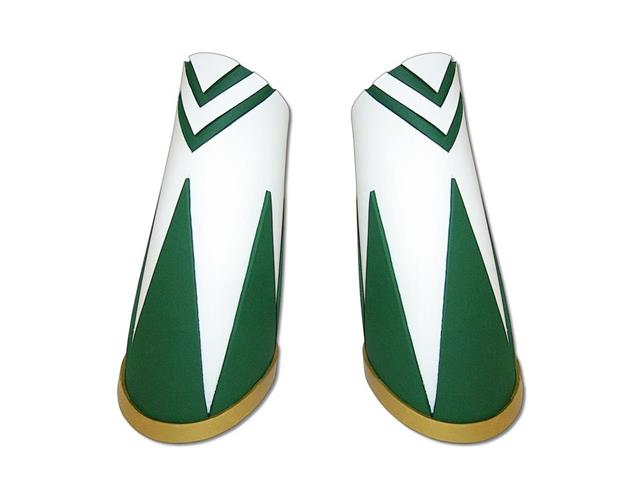
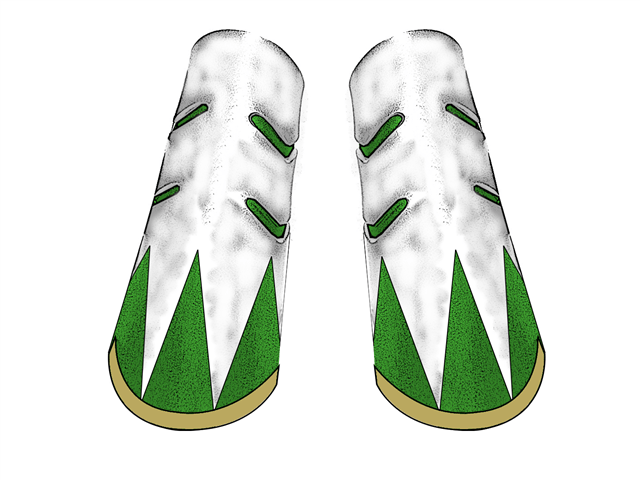
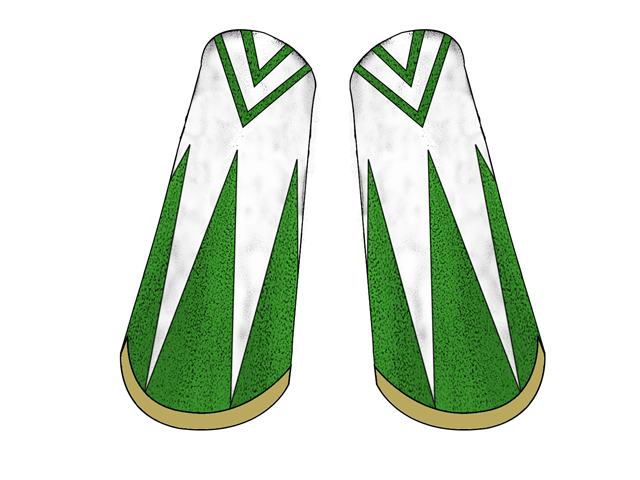
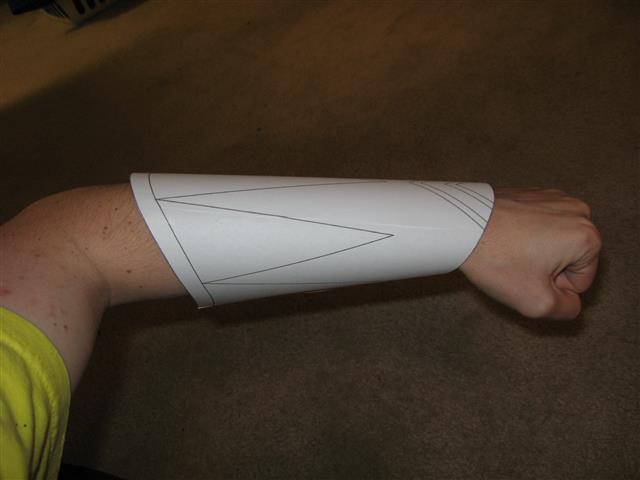
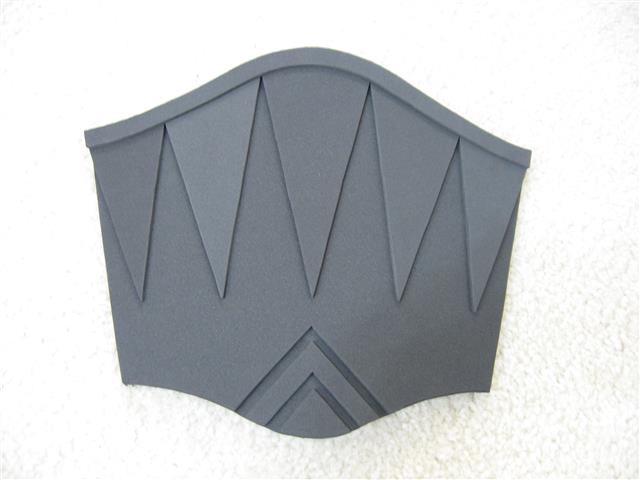
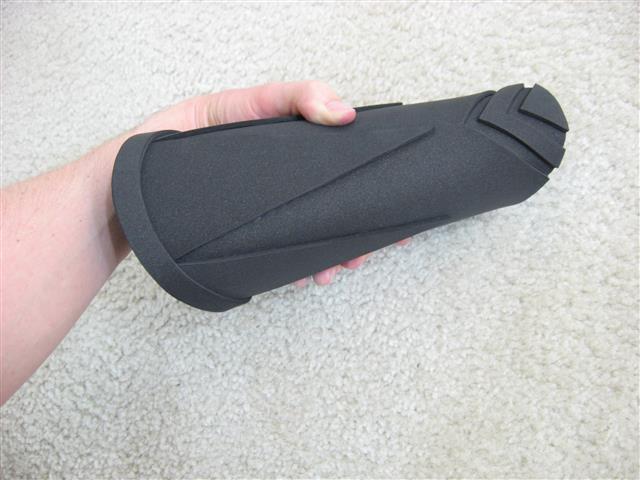
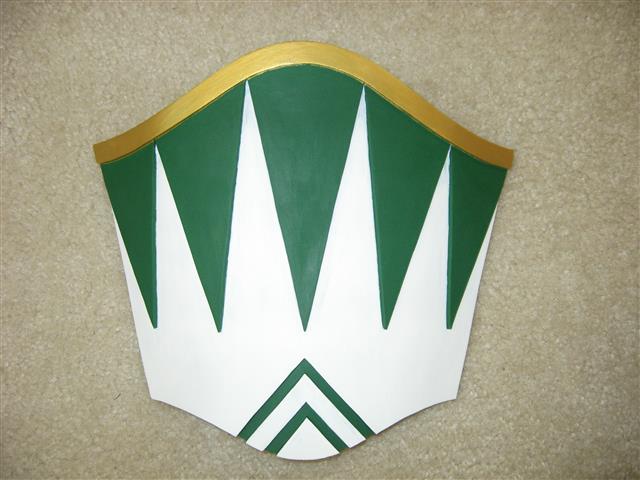
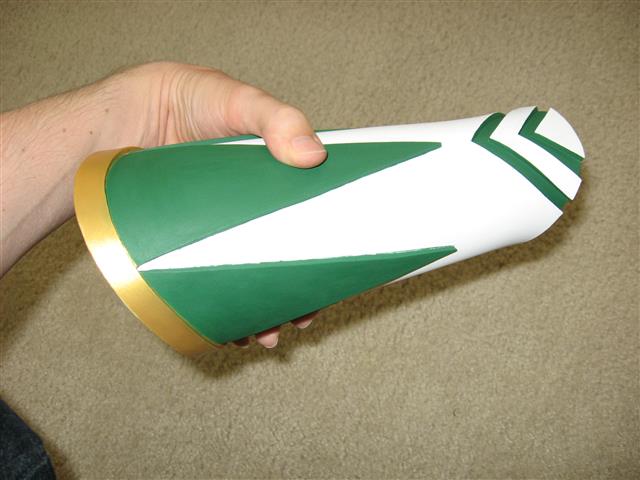
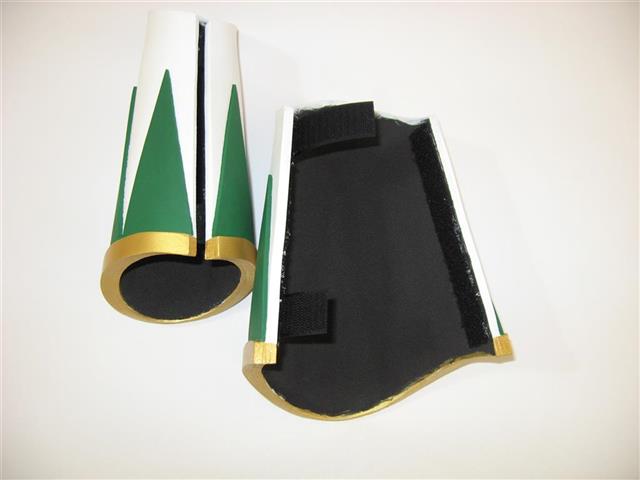
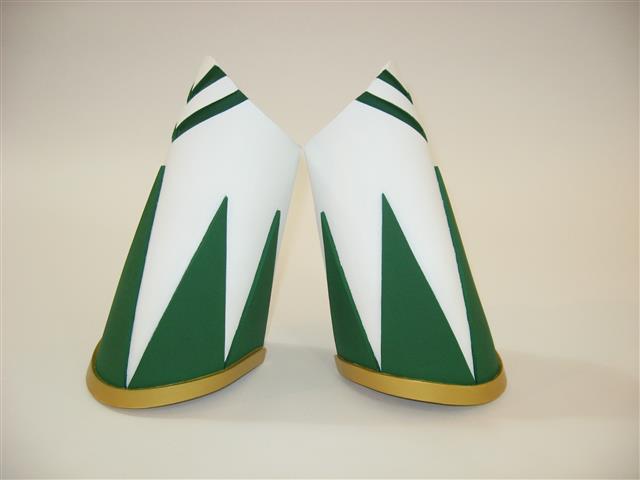
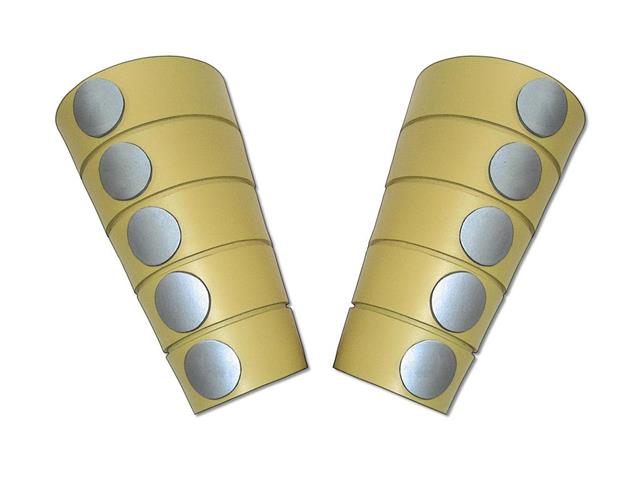
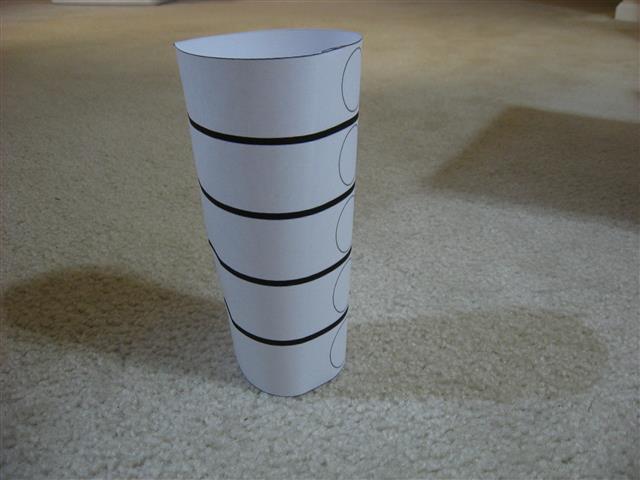
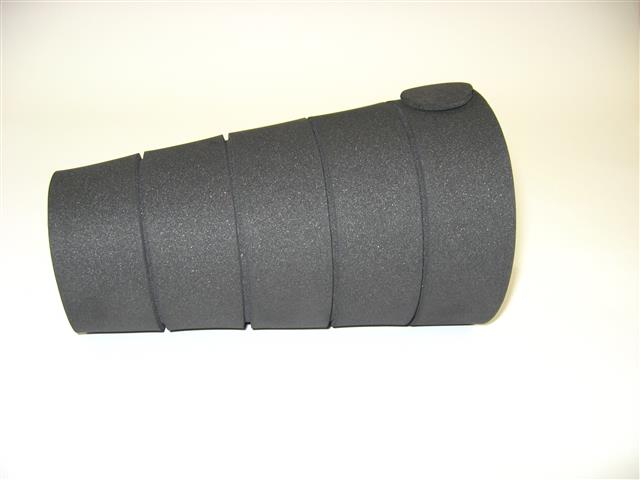
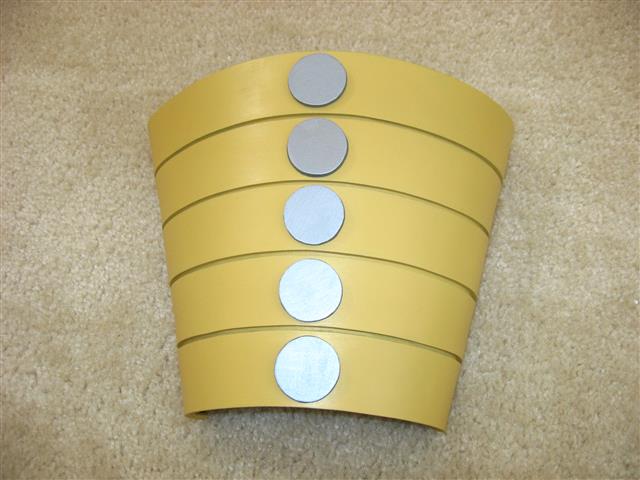
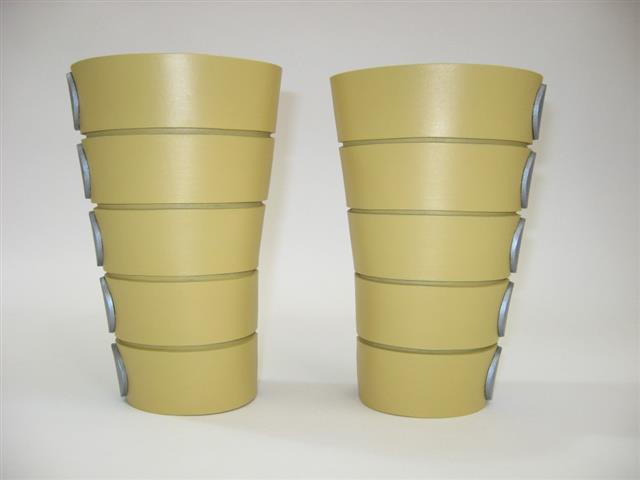
I just put up a new tutorial on how to make gauntlets. It covers how to take correct measurements, making a template, assembling, and different fastening options. It also includes a free gauntlet base template that prints out full size in a variety of sizes. Check out the full tutorial here.


-


New Items
-
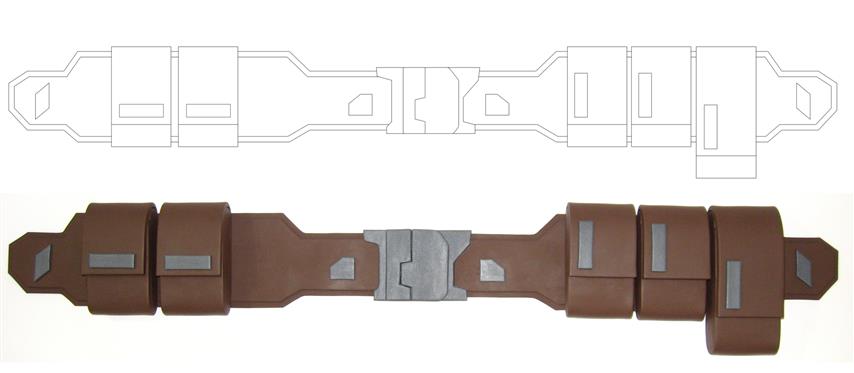
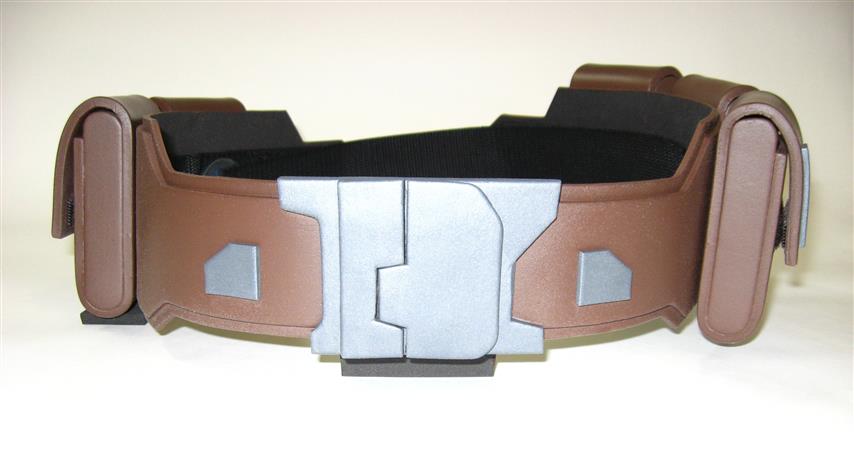
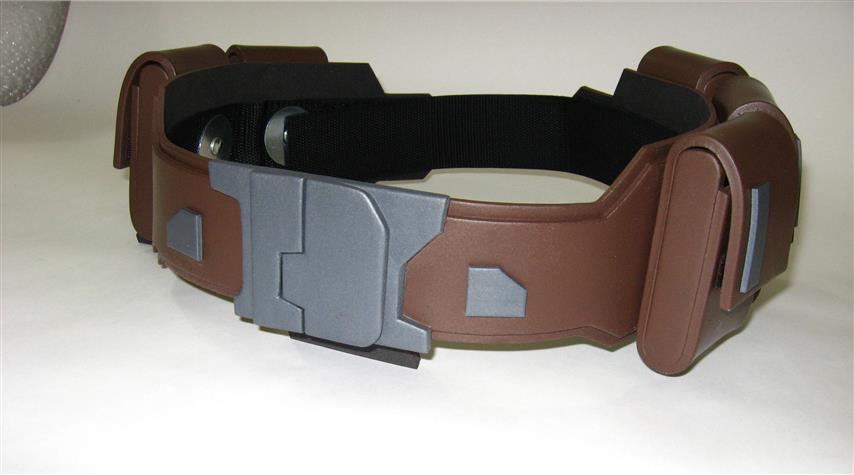
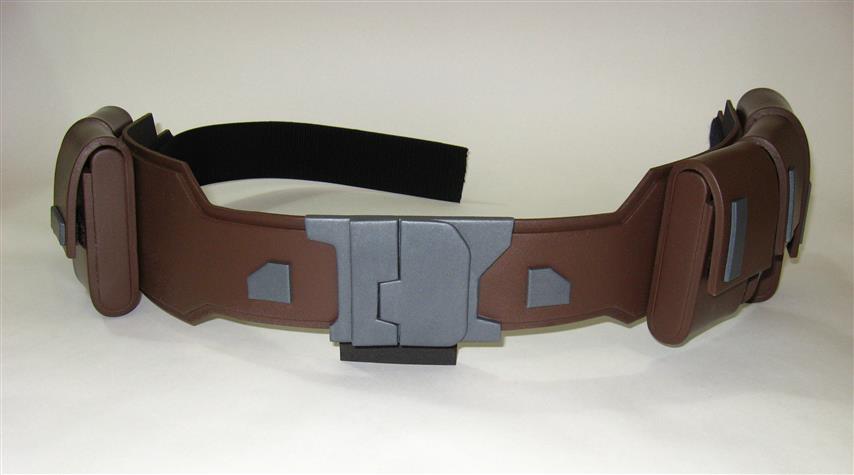
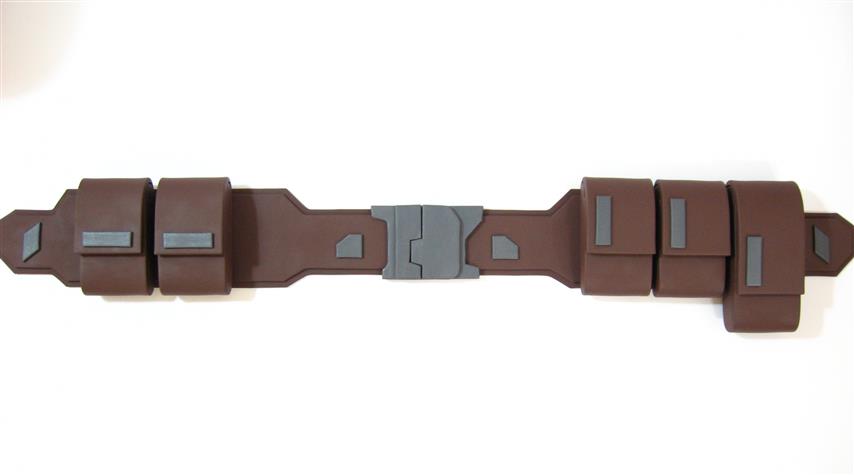
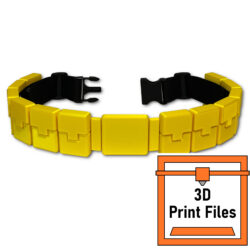
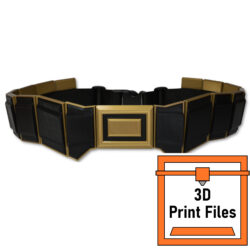
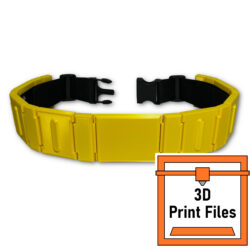 3D Files for BAT TAS Belt
$10
3D Files for BAT TAS Belt
$10
-
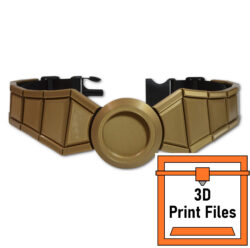
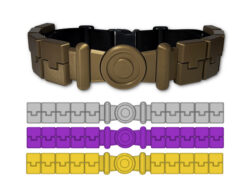
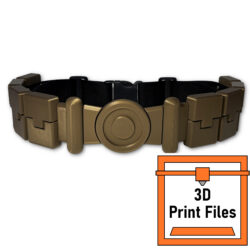 3D Files for Belt 16
$10
3D Files for Belt 16
$10
-
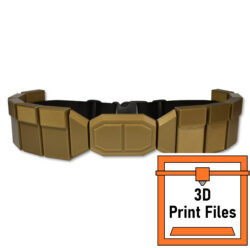
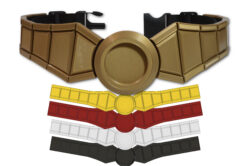
 3D Files for Belt 15
$10
3D Files for Belt 15
$10
-
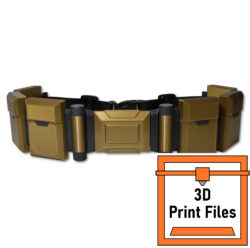
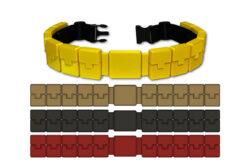
 3D Files for Belt 14
$10
3D Files for Belt 14
$10
-
 3D Files for Belt 13
$10
3D Files for Belt 13
$10
-
 3D Files for Belt 11
$10
3D Files for Belt 11
$10
-
 3D Files for Belt 10
$10
3D Files for Belt 10
$10
-
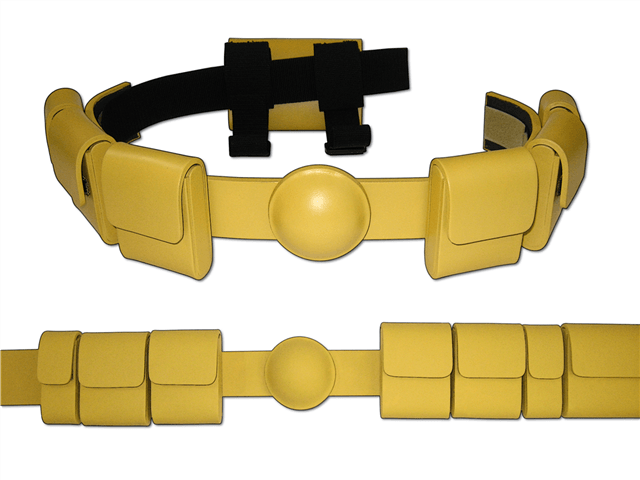
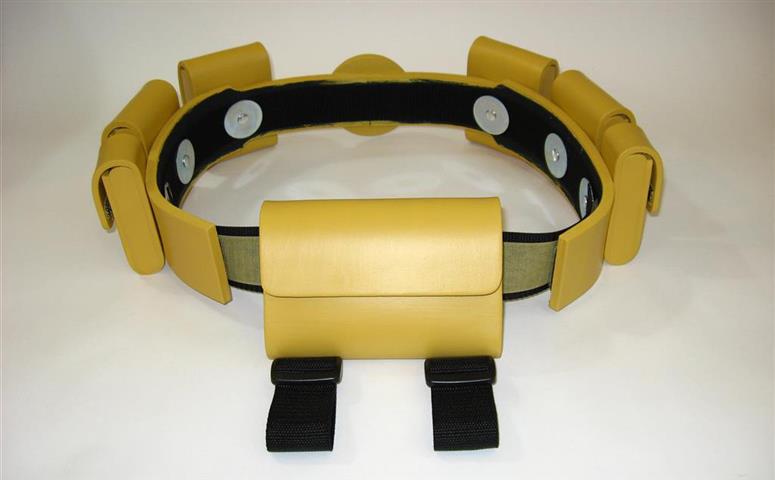
 Utility Belt No. 16
Price range: $70 through $115
Utility Belt No. 16
Price range: $70 through $115
-
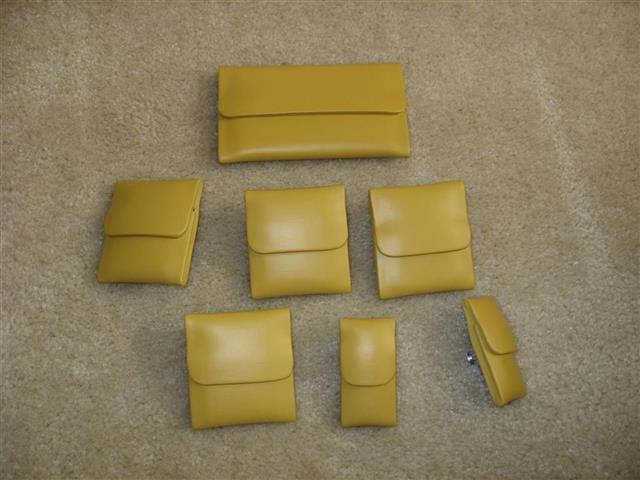
 Utility Belt No. 14
Price range: $75 through $115
Utility Belt No. 14
Price range: $75 through $115
-
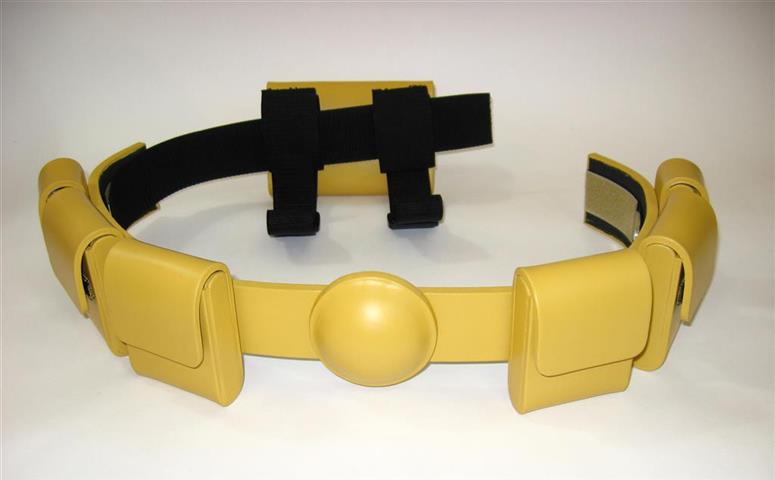
 Utility Belt No. 15
Price range: $85 through $130
Utility Belt No. 15
Price range: $85 through $130
-