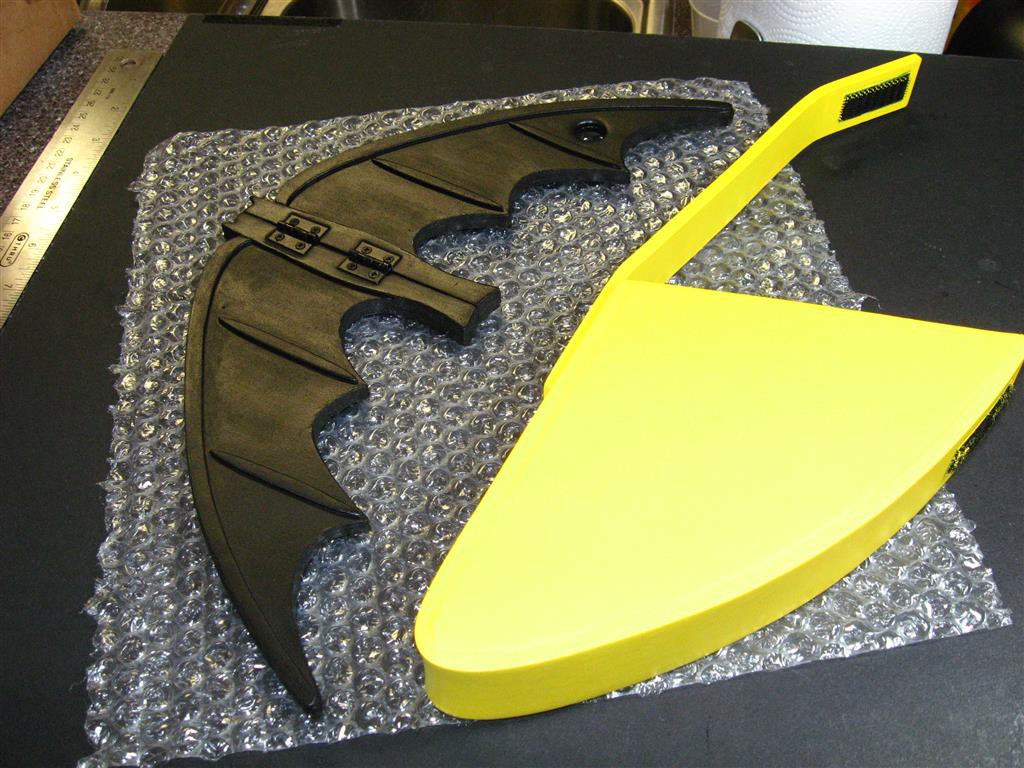
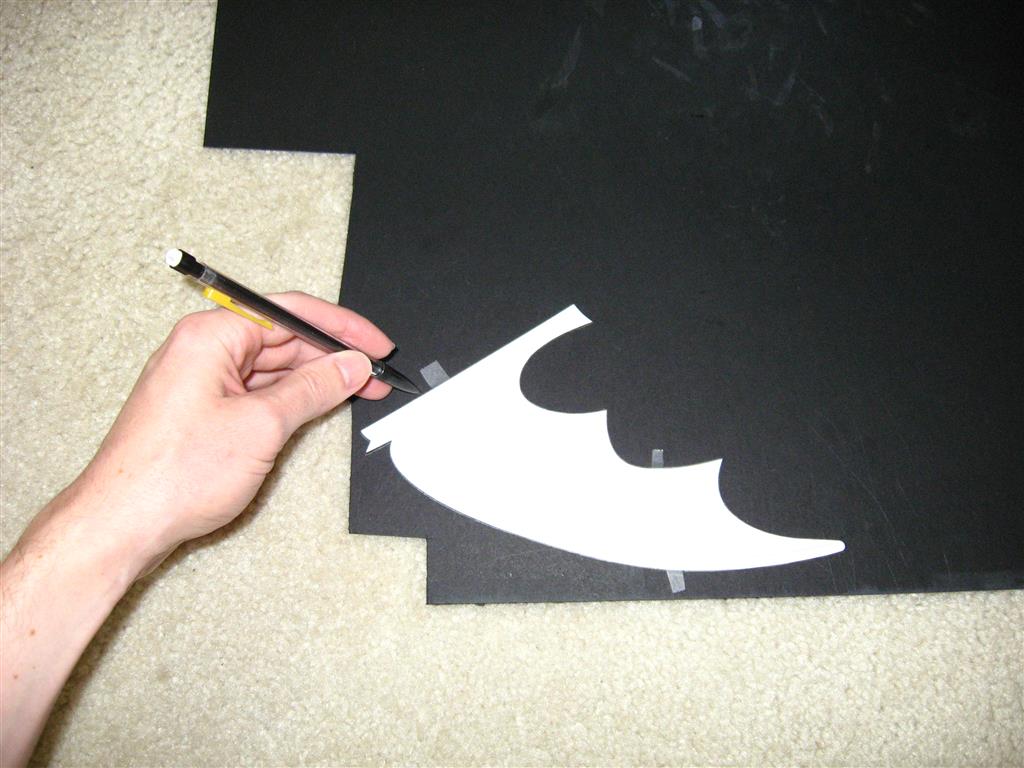
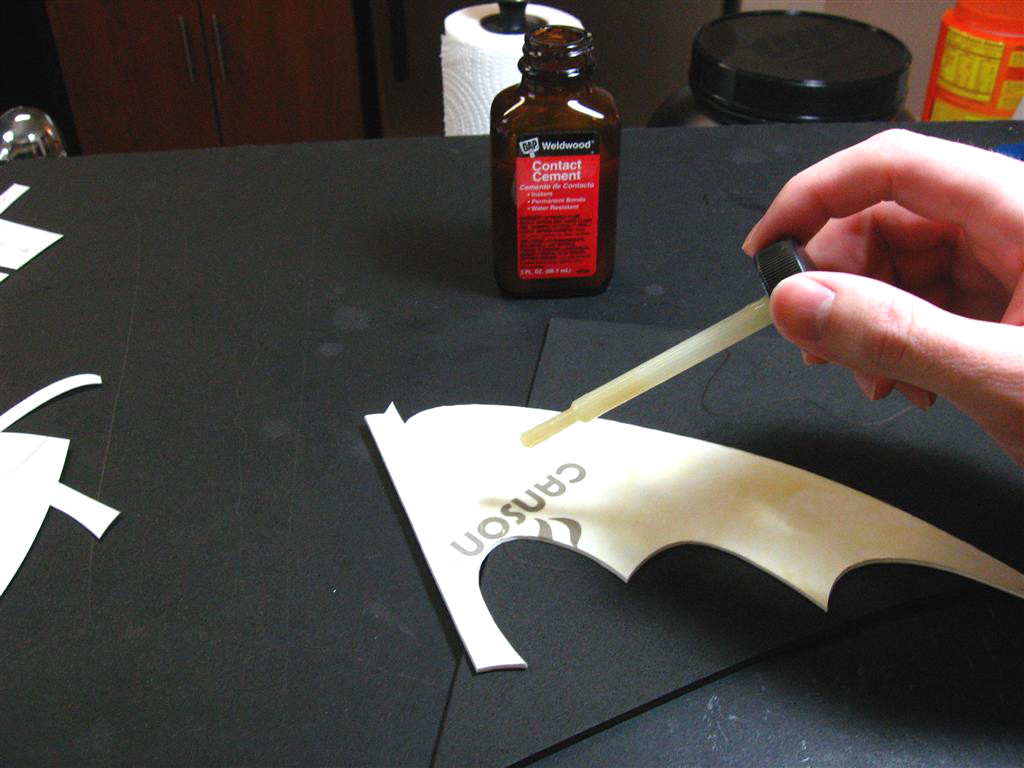
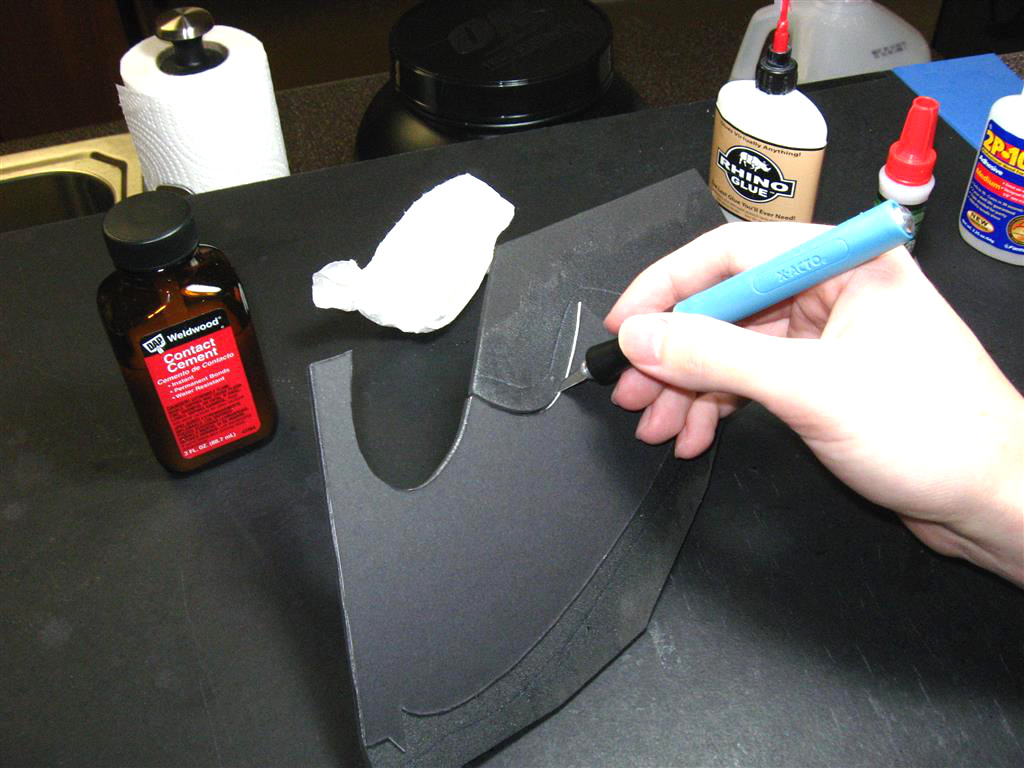
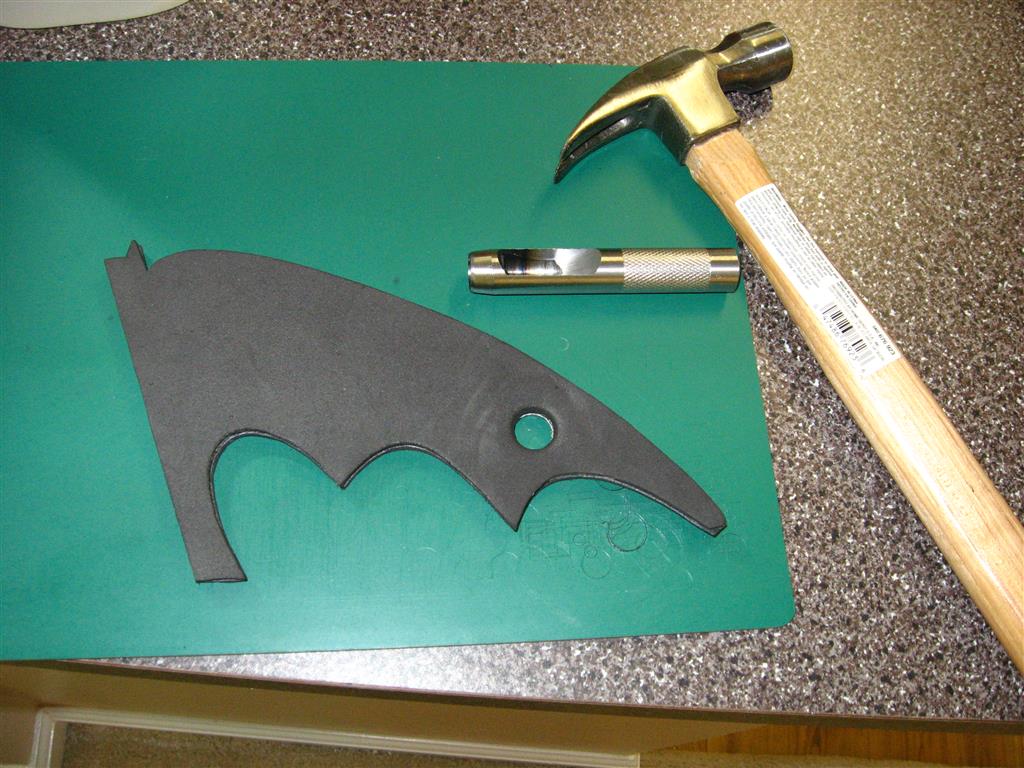
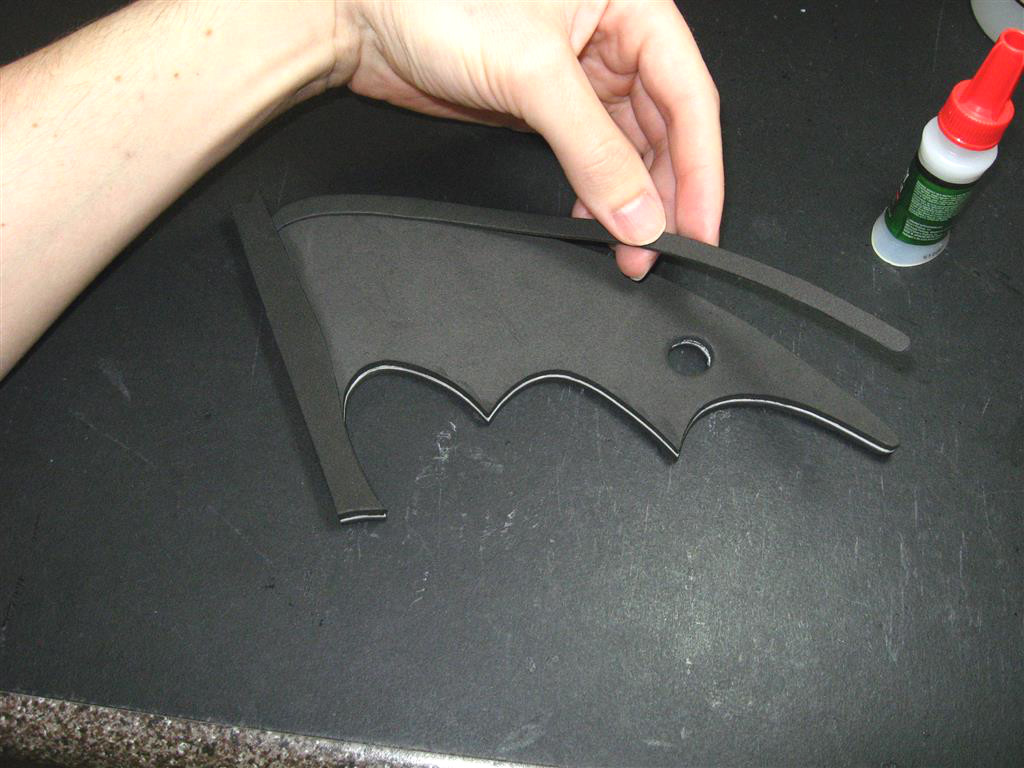
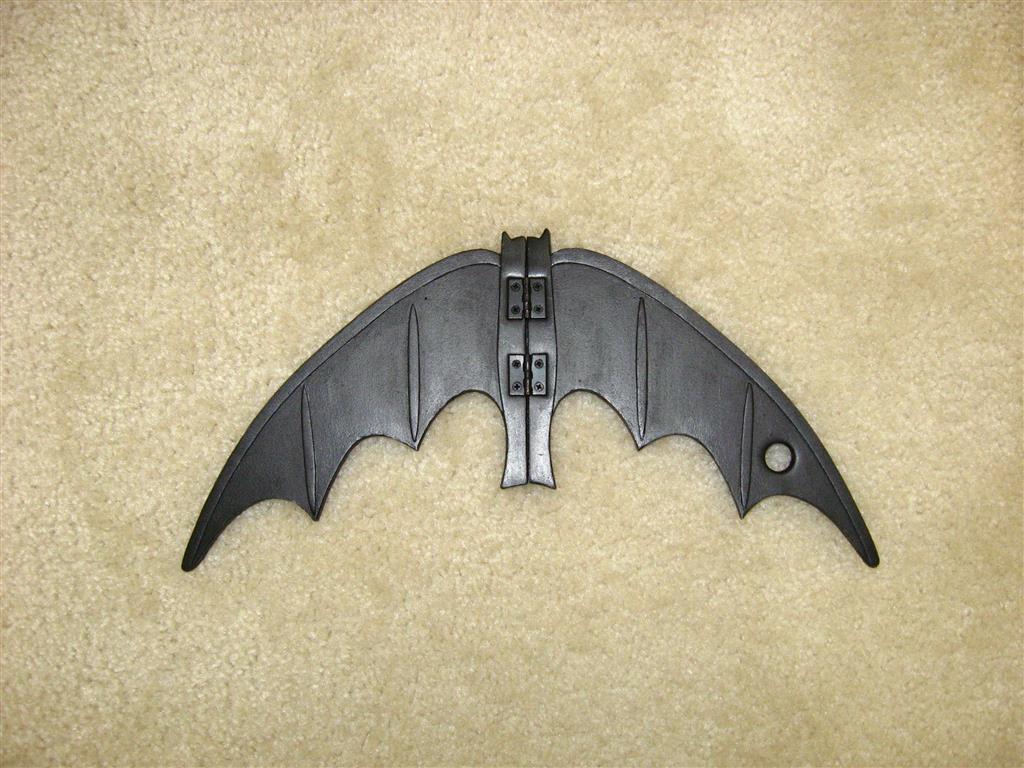
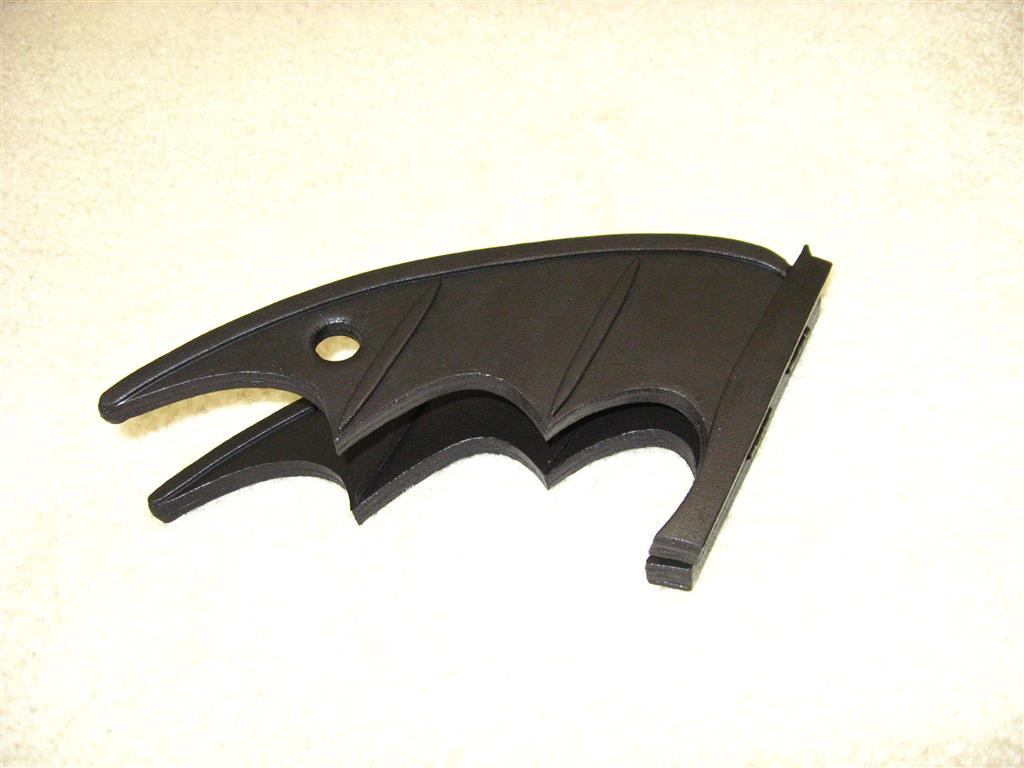
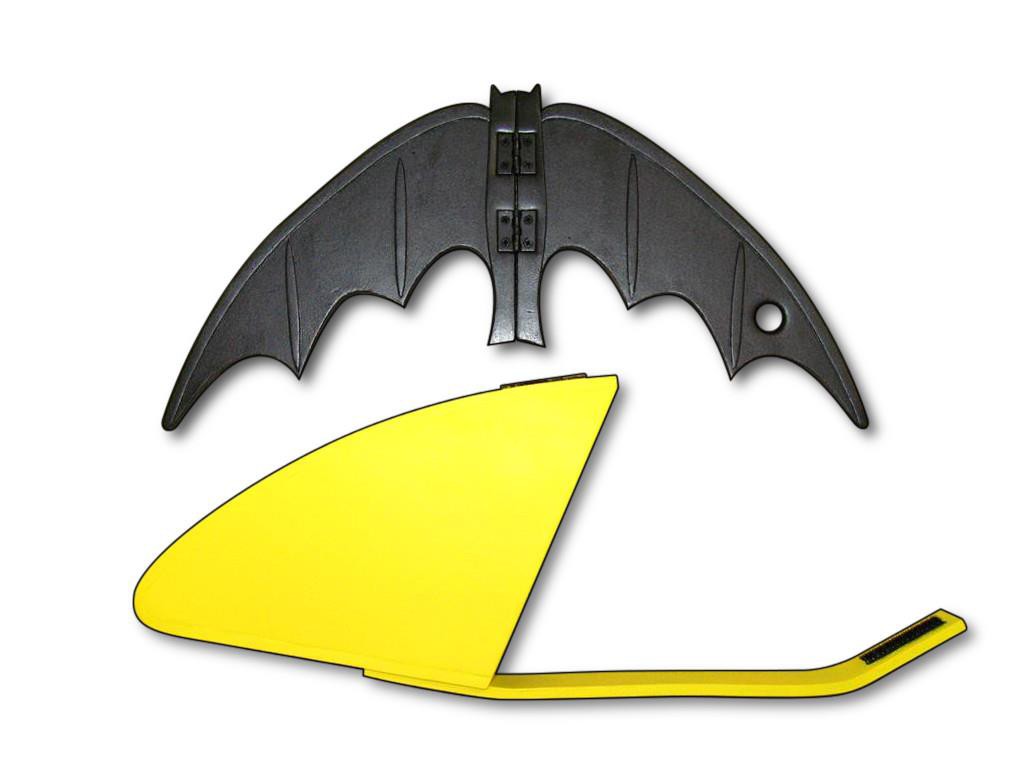
I made a batarang with a pouch to go along with my 1966 Batman utility belt. In order to make it sturdier I decided to sandwhich a layer of dense mounting board in between the layers of foam. I first made a template and traced the shapes onto the mounting board. The board was a little too hard to cut with scissors so I cut it out with an xacto knife instead, cutting slowly in multiple passes. I normally use super glue, but the mounting board kept absorbing it and drying it before I could join the pieces, so I used contact cement instead to glue the two layers of foam around the board.
I used the xacto knife to cut the excess foam away from the board, and a hole punch set to punch the rope hole.
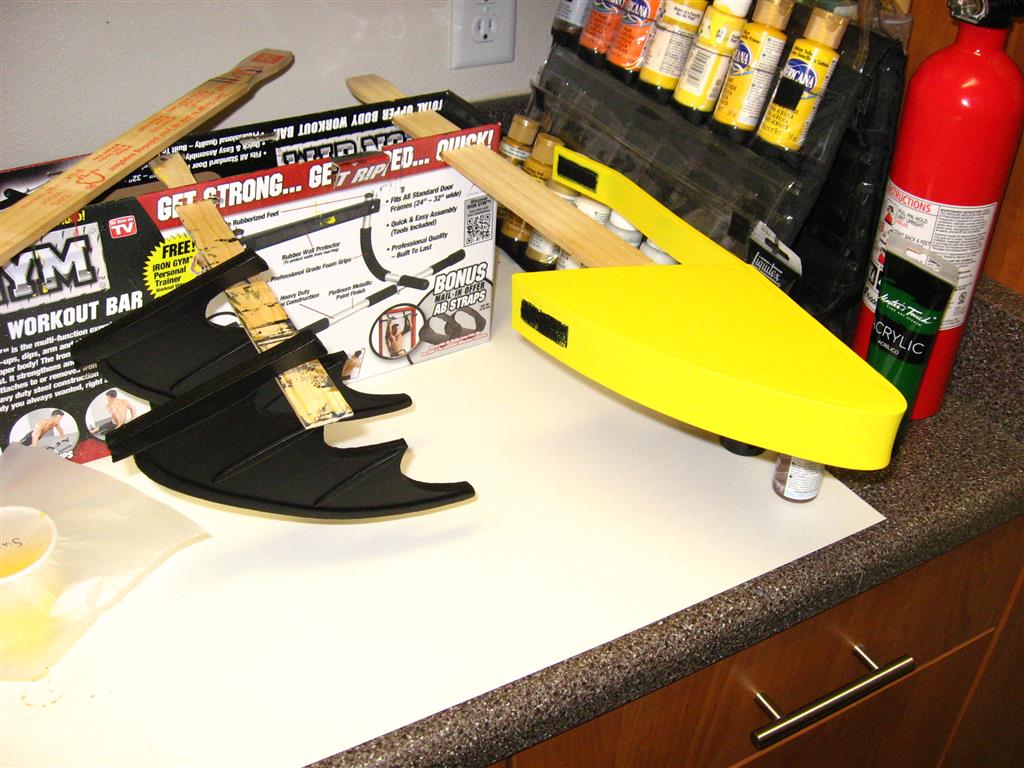
The external detail pieces were cut out of 2mm foam and glued on with super glue. I used a dremel with a sanding bit to smooth the edges, and then brushed some super glue on the edges to prevent the paper layers of the mounting board from fraying. I found some small hinges at home depot and was able to simply screw them on thanks to the dense mounting board in the middle. I also took out the hinge pins and bent them with pliers so the hinges would have much more friction and would be able to stay open or closed until moved with enough force. The pouch was made in the same way as all my other functional belt pouches, with 3 pieces of 5mm foam. Everything was hand painted with acrylic paints.
The template for the batarang and pouch is available here.

