There will be a download link for the templates on the order page immediately after purchase, as well as in an email that is sent to the address you entered. If you don’t see the download link or email in your inbox after a few minutes, send me a message and I will email you a copy of the templates directly.
To open the template file, you will need to have Adobe Reader installed on your computer. Most computers will already have this program, but if you find you are unable to view the template you can download Adobe Reader for free here: http://get.adobe.com/reader/.
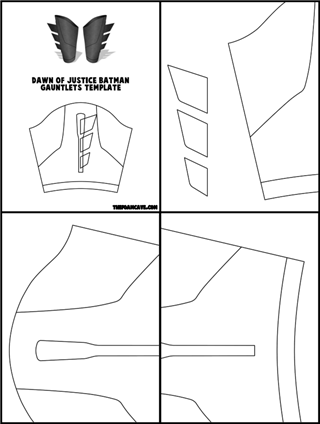
The templates print out full size on 8.5 x 11 inch paper. Be sure that the “Actual size” option is selected under Sizing options in the print dialog box. I recommend using sturdier poster board paper to make tracing small and complicated shapes much easier, but regular printer paper can work if needed.
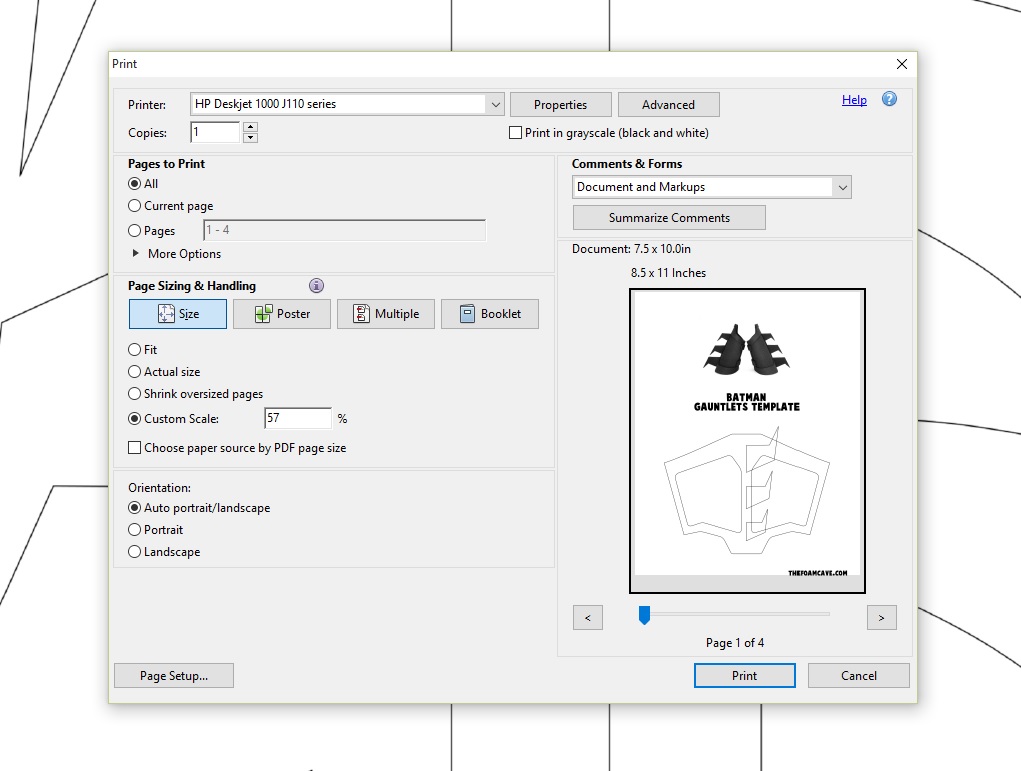
It is also possible to scale the templates to smaller or larger sizes, for example when making a costume for a child. In the print dialog box in Adobe Reader there is an option to scale by percentage. If you use a cloth tape measure to measure your own waist (or an average adult waist size) as well as your child’s waist size, you can use the two measurements to get the approximate percentage you will need to scale the templates down to when printing. (For example, if your waist is 35 inches and your child’s is 20 inches, you would scale to 57%) (child’s size divided by adult’s size times 100) You can do the same thing with wrist measurements for the gauntlets. It may take a little trial and error but shouldn’t take too long. For others who would like to make the templates larger instead, you can do this using the “Poster” option in the dialog box, and scaling up to the desired percentage (120%, 150%, etc).
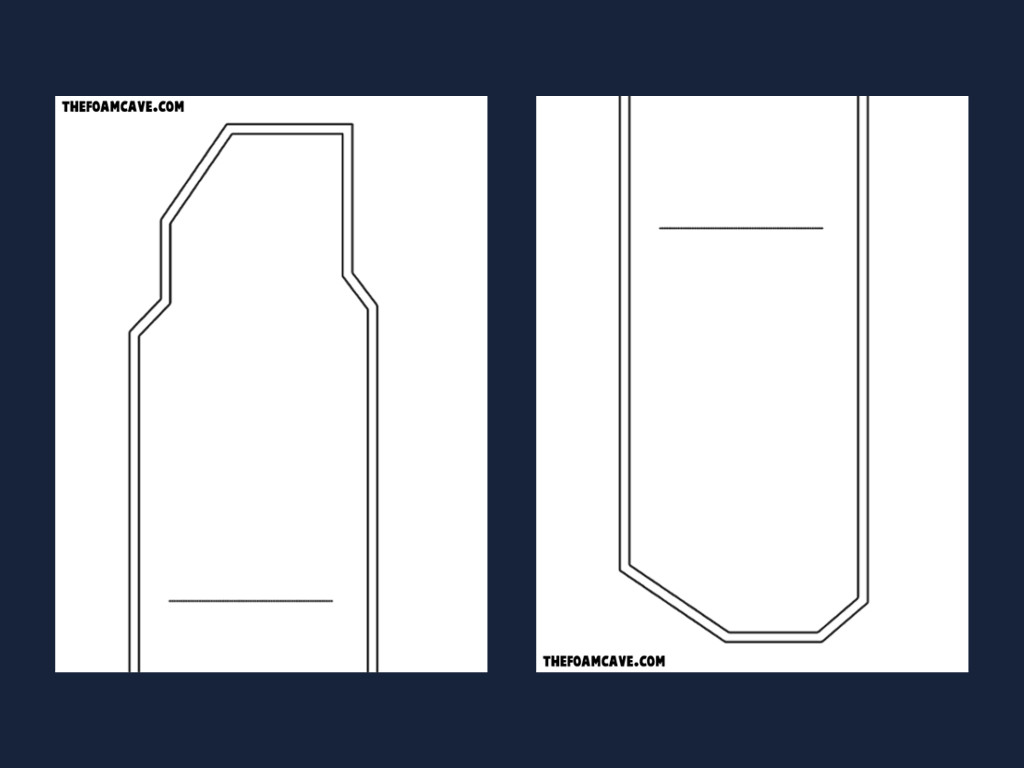
Because many of the shapes are longer or wider than can fit on an 8.5 x 11 inch piece of paper, shapes will often extend across two or more pages. When this is the case, I have left an area of overlap between each page (shown highlighted in the following images for demonstration) to make it easier to correctly align all the pages.
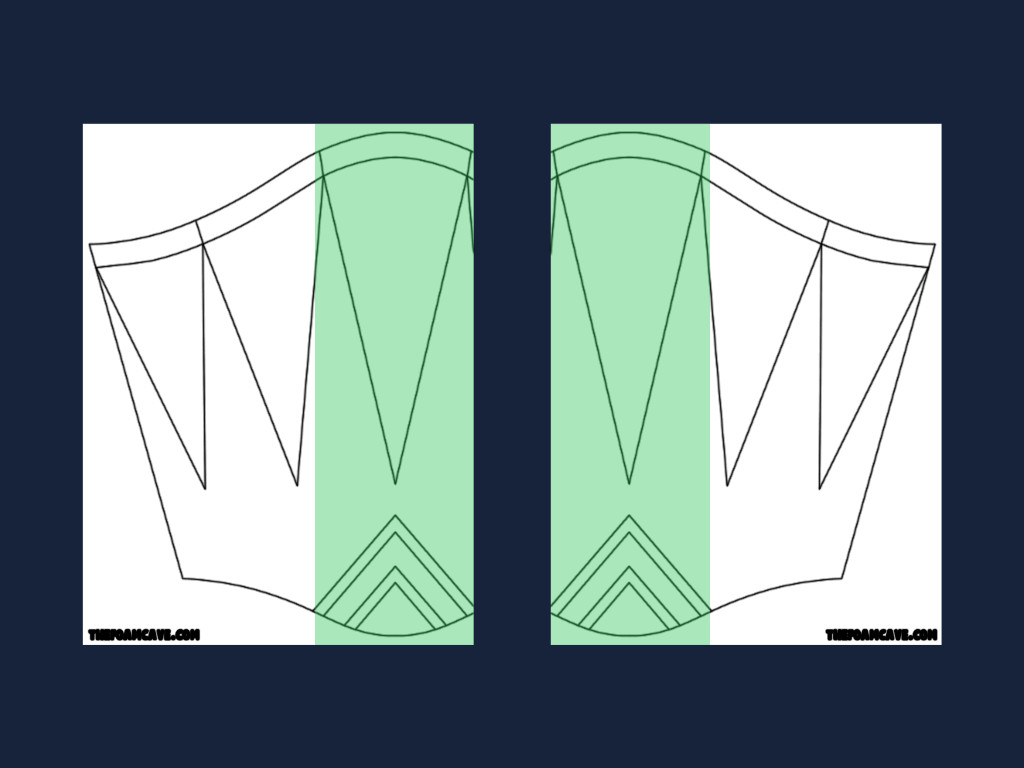

As most printers can’t print all the way to the edges of the paper, there may be about a half inch of blank space at the edge of an overlap area. Just cut off that blank space before taping the pages together. Hold the pages up to a light source or place them on a sun facing window to see through them, and align the overlapping shapes and lines. For overlapping simple shapes where it’s not clear where correct alignment is supposed to be, like utility belt base length shapes, I have usually included perpendicular dashed lines inside the overlap area that you can use as a reference for exact alignment. Once you get overlapping pages aligned, use scotch tape to secure them together.
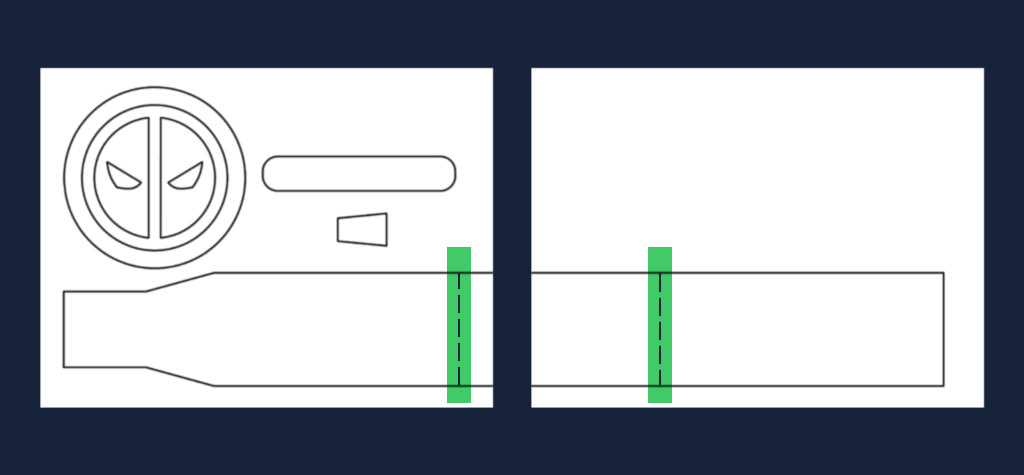
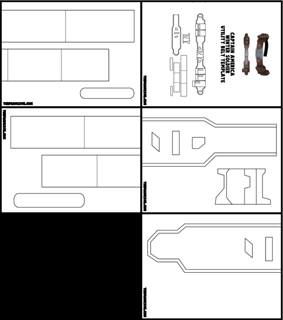
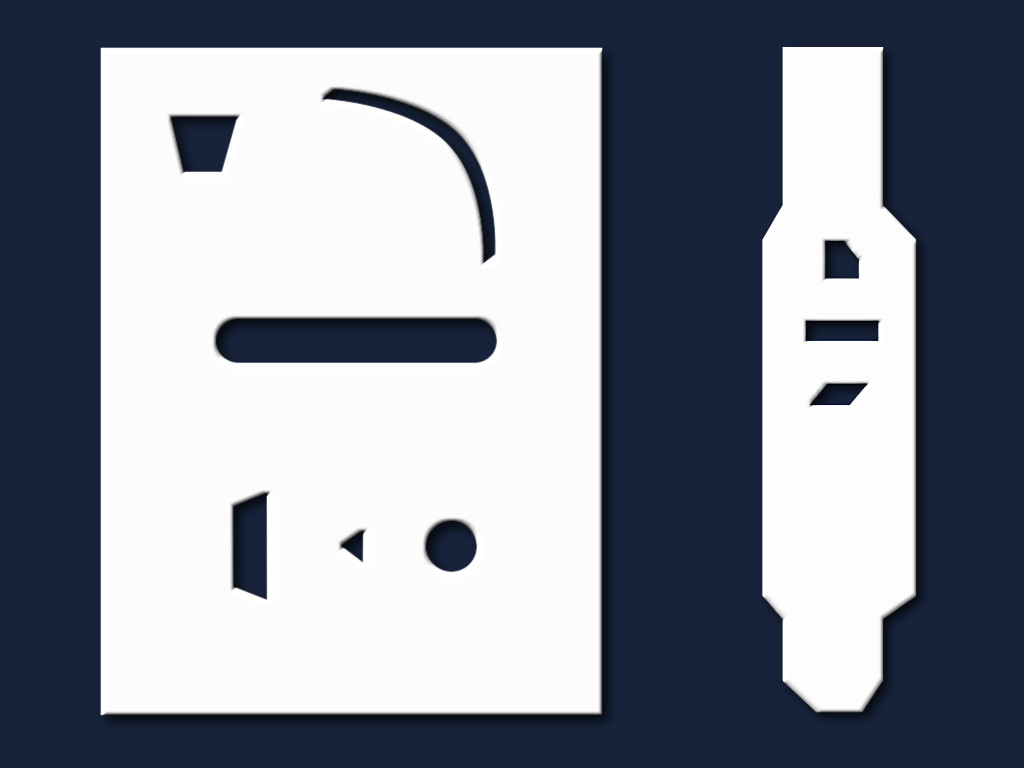
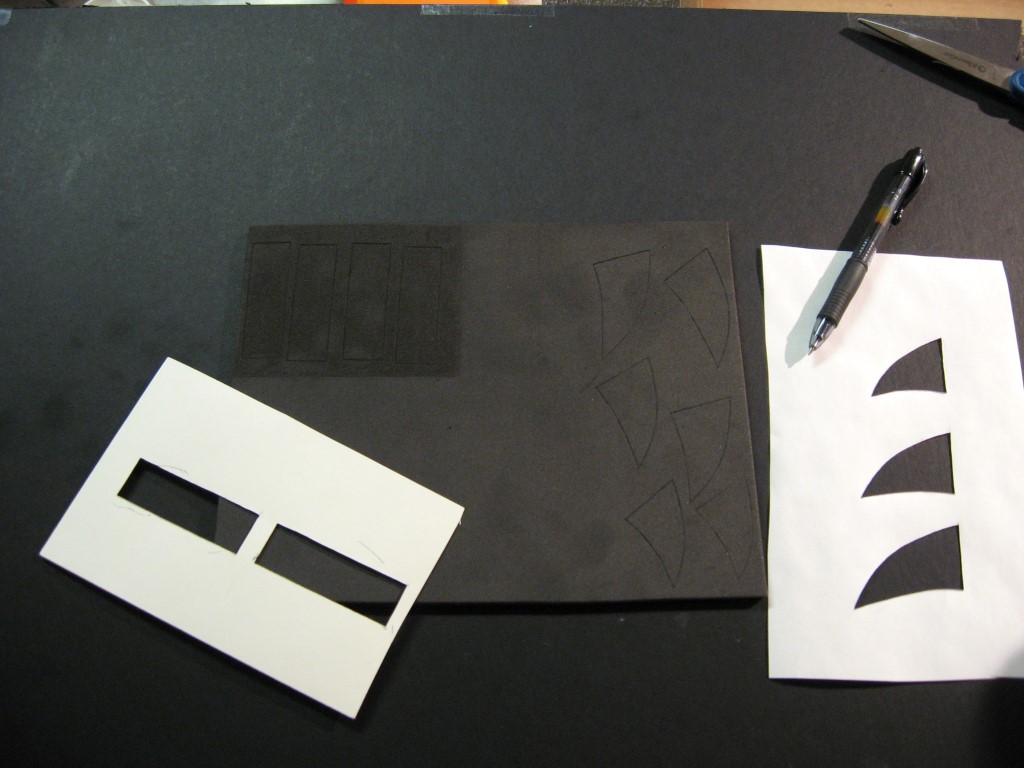
In some cases you may need to print out more than one copy of the template in order to be able to cut out each shape separately. Like in the Captain America utility belt length:
The entire area inside the outside line is the main belt backer shape, and then the area inside the inside line is the another shape that will eventually be glued on top of the belt backer. Since the two shapes occupy the same space, you’ll need to print these two pages out twice to cut the two shapes out separately. Alternatively, if you are interested in saving paper or ink it is usually possible to trace all the shapes from a single printed copy of the template. Simply cut out the largest shape first, trace it onto the foam as many times as needed, and then cut out the next largest shape (destroying the larger shape in the process), and trace that, and so forth until all the shapes are traced.
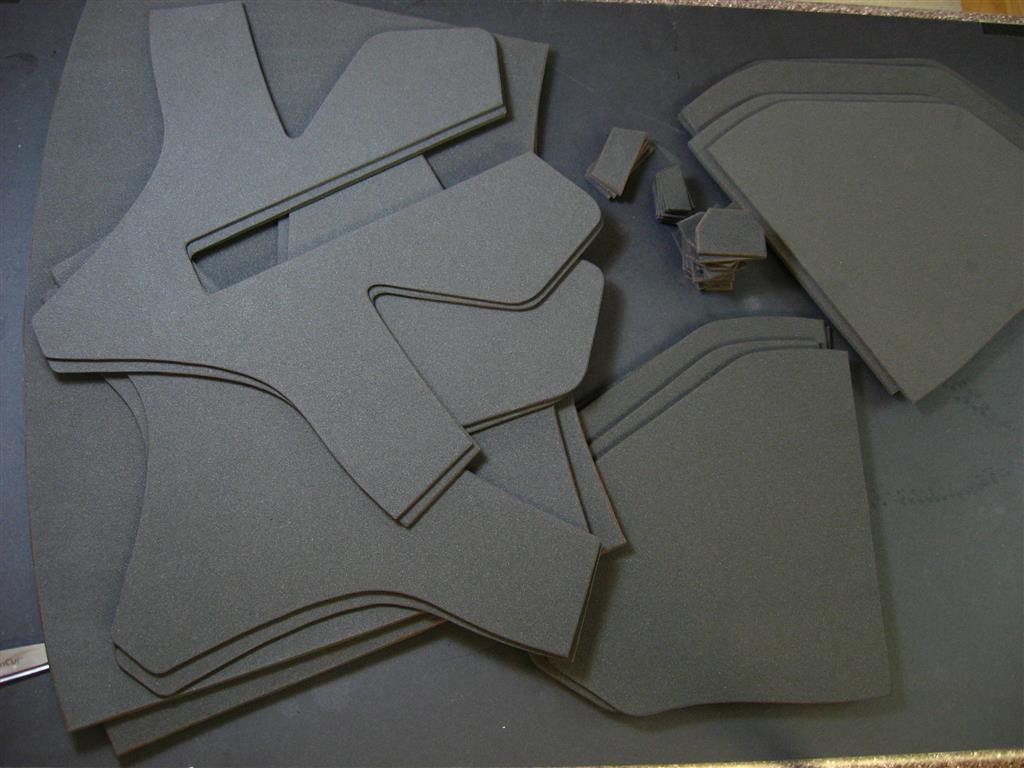
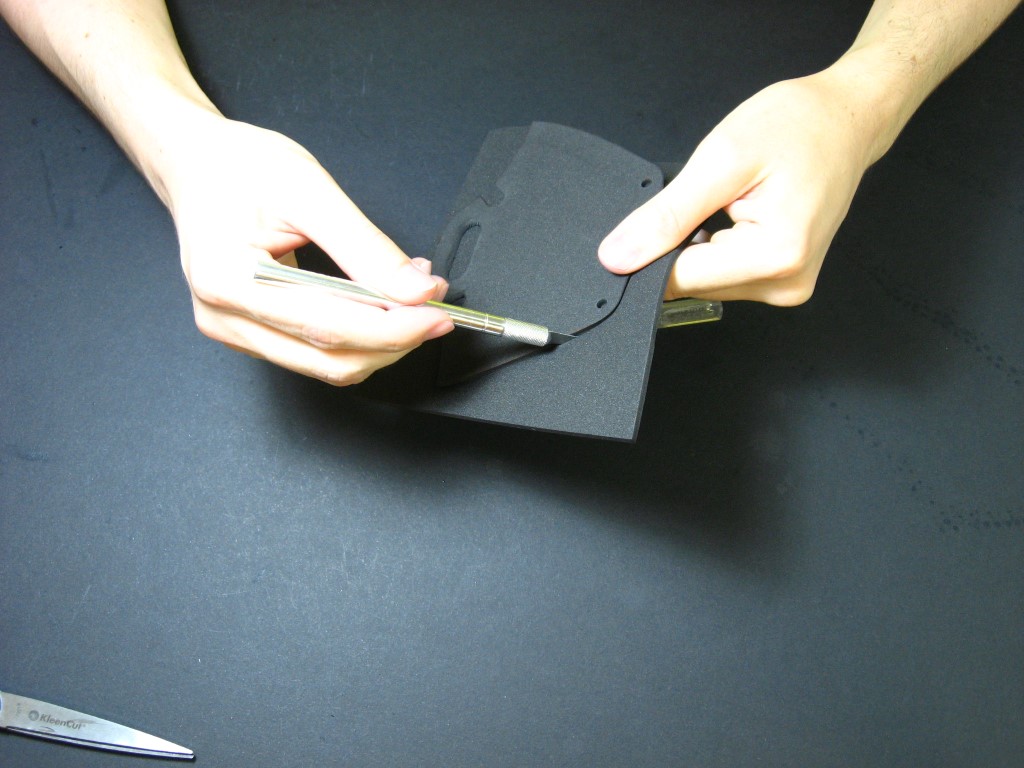
I use scissors to cut out most of the templates shapes. For big pieces that will retain their shape after being cut out, I use the cut out shape itself for tracing. For small pieces or long and skinny pieces that would be hard to hold while tracing or wouldn’t hold their shape once cut out, I use the hole that they were cut out of for tracing. An exacto knife can be easier to use while cutting small, intricate shapes.
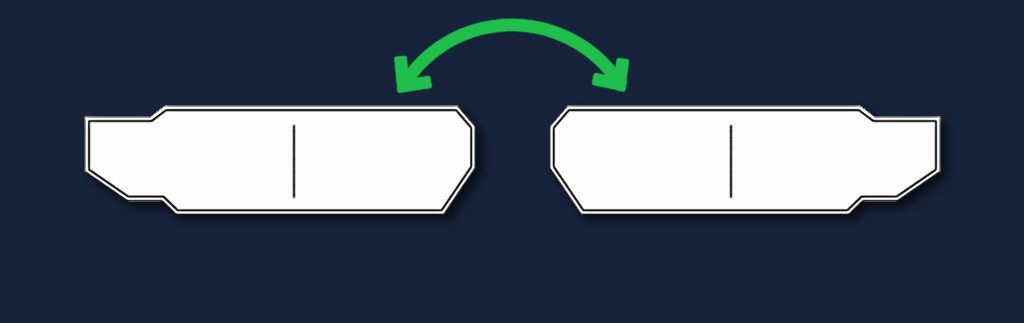
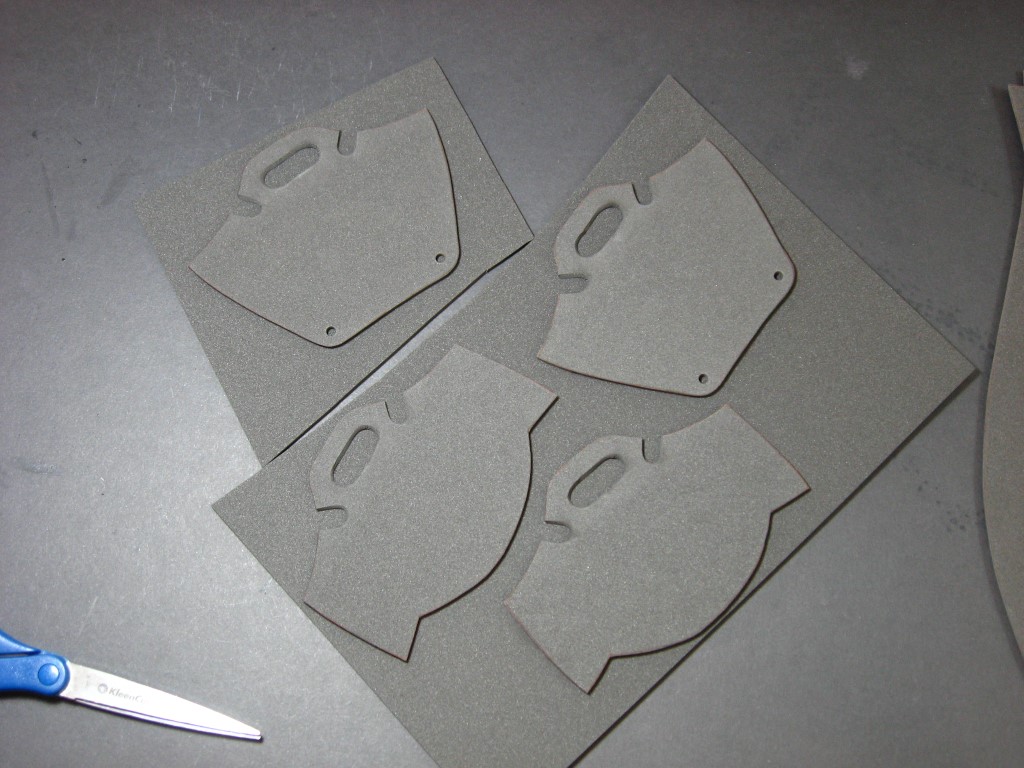
Some shapes, like belt pouches, will need to be traced out multiple times onto the foam as there will be multiple’s of that piece on the completed item. Also, while tracing some of the duplicate copies, the template cut-out will need to be flipped over and traced from the other side, so as to trace the mirrored image of the shape. Many belt lengths for example are made of two identical but mirrored belt length shapes. As both sides are the same, just flipped, the template may only contain the pattern for one of the sides. To trace the other side, simply flip the cut-out over before tracing for that second piece. You can trace everything out on the same side, and then just flip the foam pieces over after cutting them out, but I have found there to be a noticeable visual difference between the top and bottom sides of a scissor cut edge.
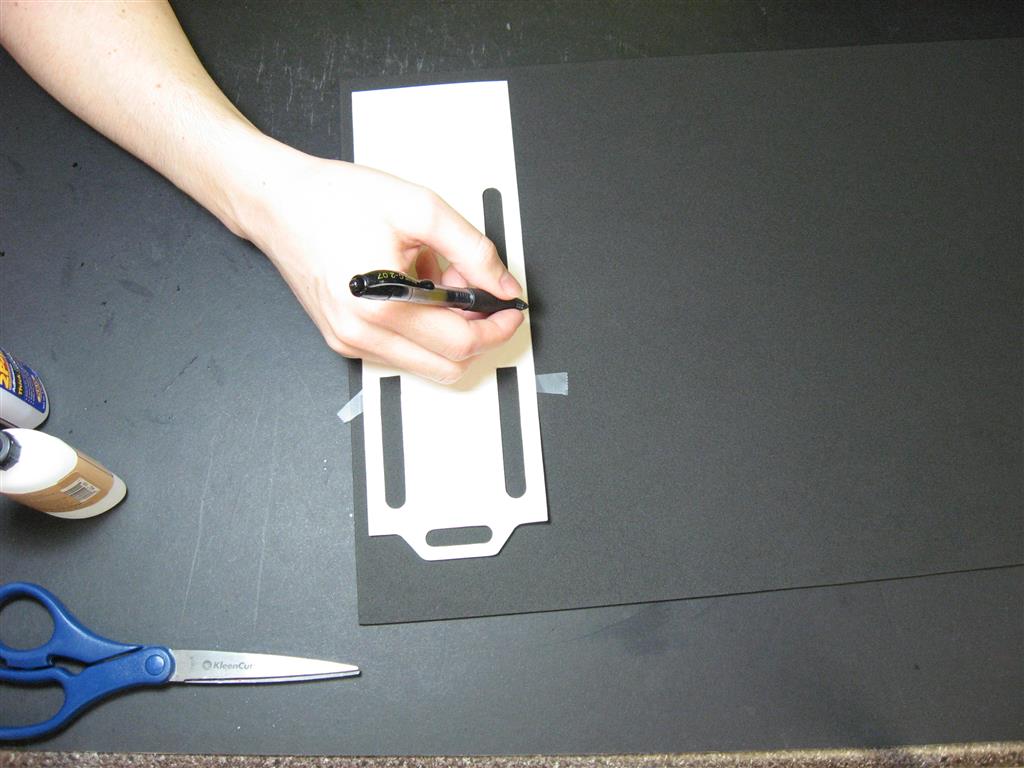
A regular ball point pen works fine for tracing the shapes onto the foam. Pressurized space pens also work very well and flow a bit more smoothly on foam. Tape the template pieces down to the foam while tracing with a couple pieces of scotch tape.
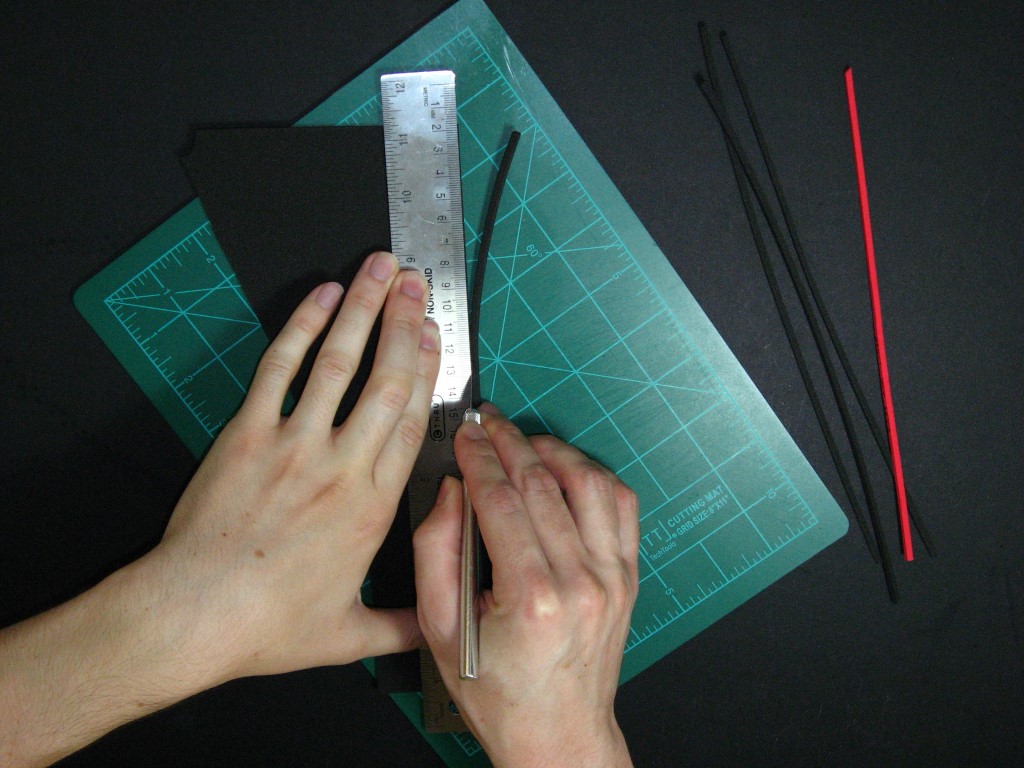
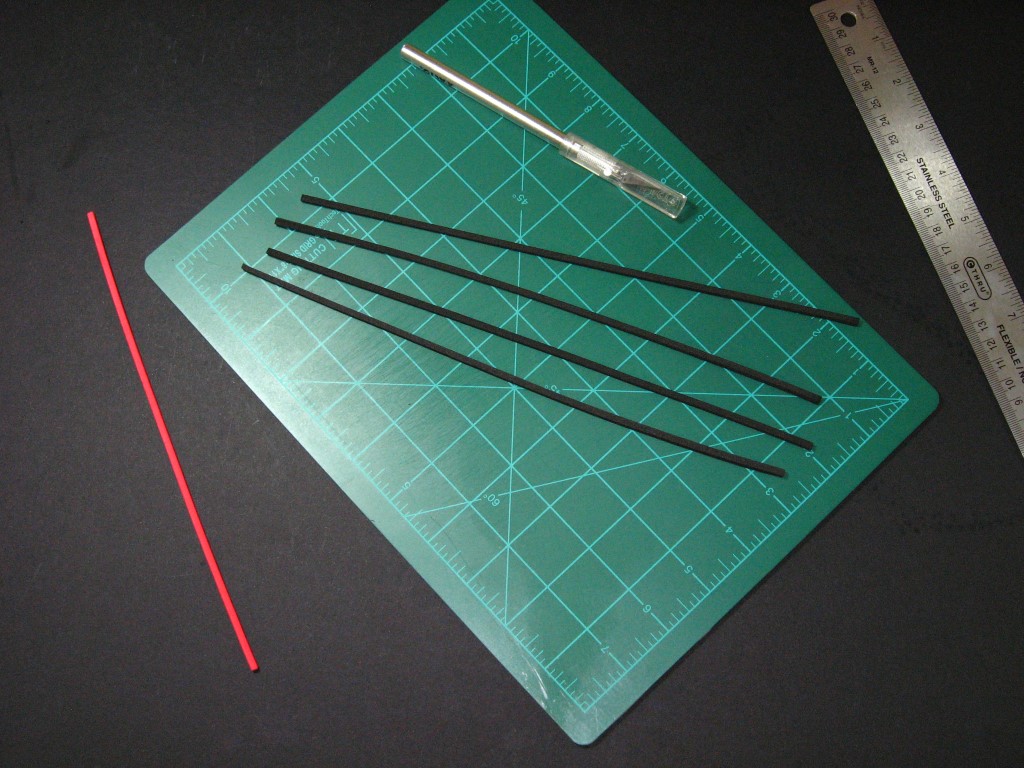
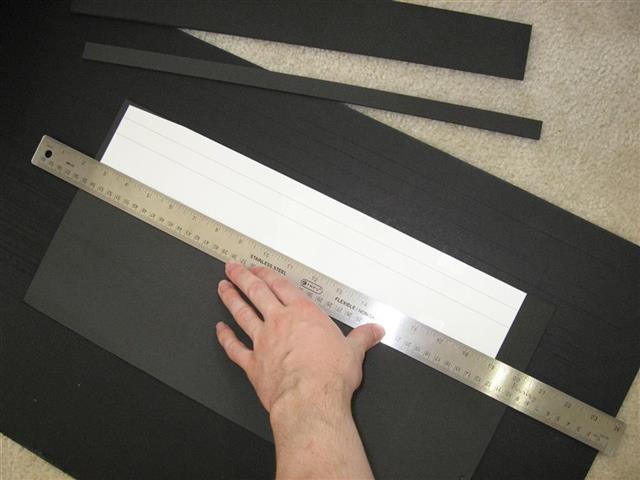
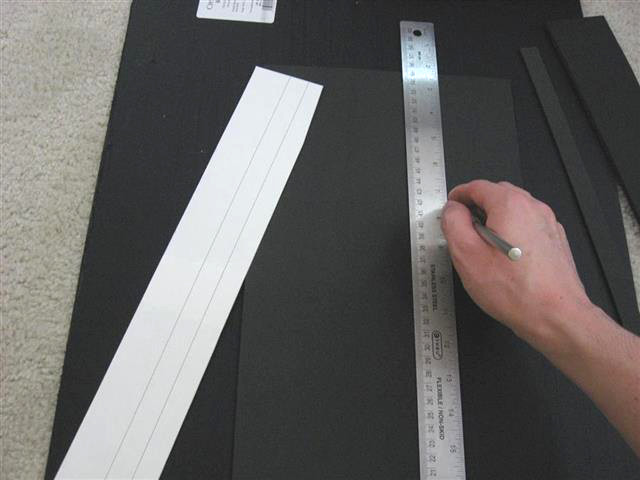
I cut most shapes out of foam with scissors, but for long and straight shapes it can be easier sometimes to use a metal ruler and an exacto knife instead; sometimes not even tracing the shape from the template at all, and simply using it as a reference for aligning the ruler.
I recommend using 3mm thick foam for most pieces. Use 2mm foam for intricate decorative pieces as it is easier to cut, and 5mm foam can be used for simple shapes that you would like a little thicker and sturdier. I strongly recommend that you do not use foam that is thicker than 5mm, as it is simply too thick beyond that point to cut out small shapes smoothly and cleanly with scissors, and knives don’t work well for tight curves. Instead, if you want a particular part of your costume or prop to be extra-thick, cut out several layers of thinner foam and then glue them together.
Also, when making an item that will be made up of multiple layers it can sometimes be easier to trace and cut out the top layer only, and then glue it down to a sheet of foam and cut around it with an exacto knife to make the additional layers, instead of tracing and cutting all the layers out separately first and then gluing them all together. Use a dremel with a sanding bit to smooth out the edges later.
Once you have all the pieces cut out of foam, you are ready to begin assembly. Check out the other tutorials for further guidance. Good luck!