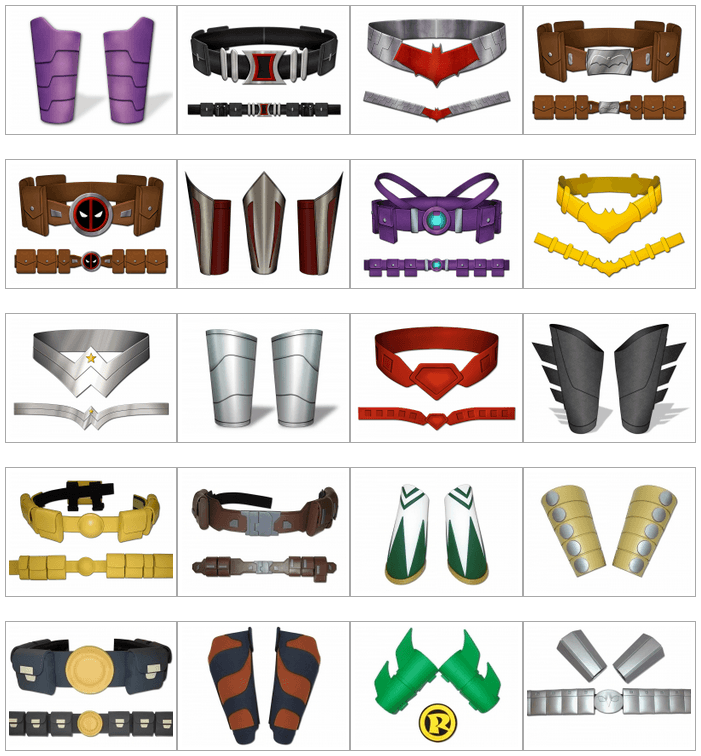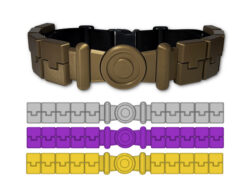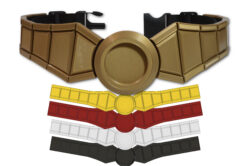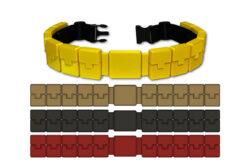
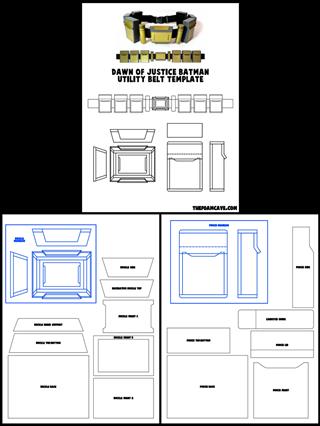
This tutorial will walk you through the construction of the DOJ Bat utility belt. The template is available for purchase here:
If this is your first build, check out the Introduction Page first,
as well as the Supply Page for links to the foam, glue, and necessary tools.
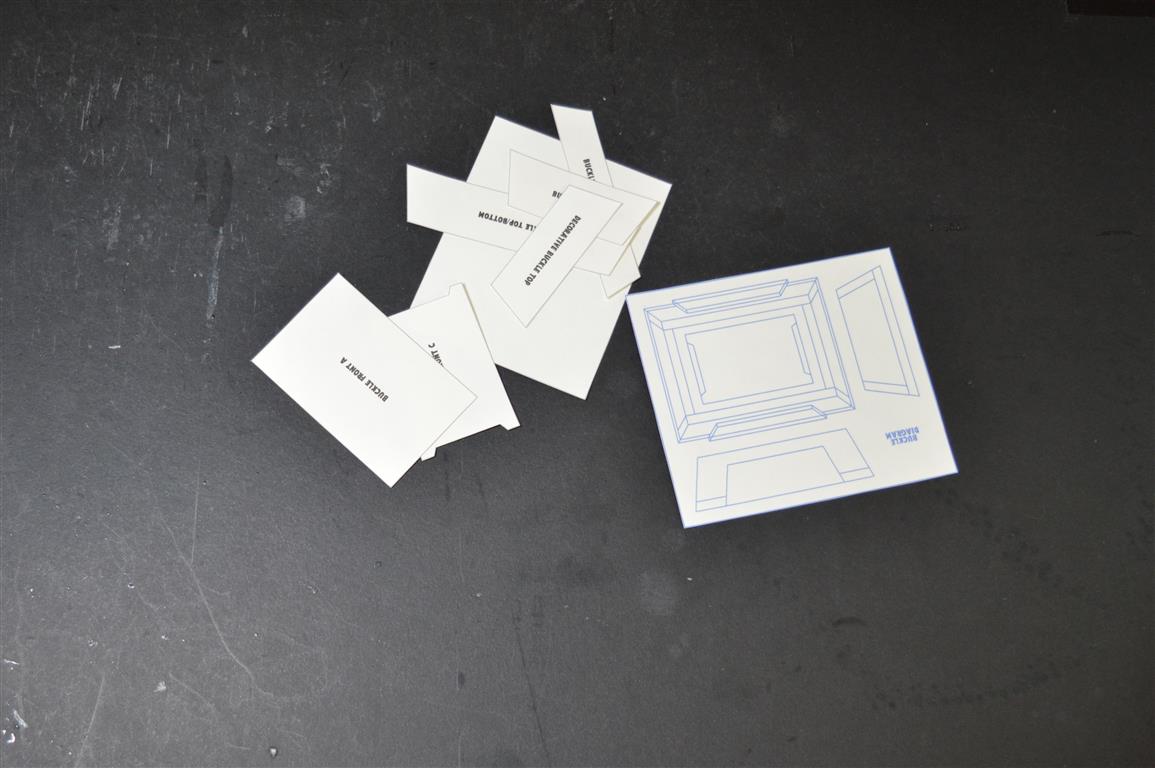
Print out the template onto thick printer paper (ideally a poster board paper) to make it easier to trace. Cut out all the pieces and trace them onto your foam sheets. Use a few pieces of scotch tape to hold the template in place on the foam when tracing. You can use a regular ball point pen; at the moment I like those space pens as they flow smoothly over the foam. I recommend 5mm thick foam for most of these pieces, and a couple will be 3mm or 2mm as noted below.
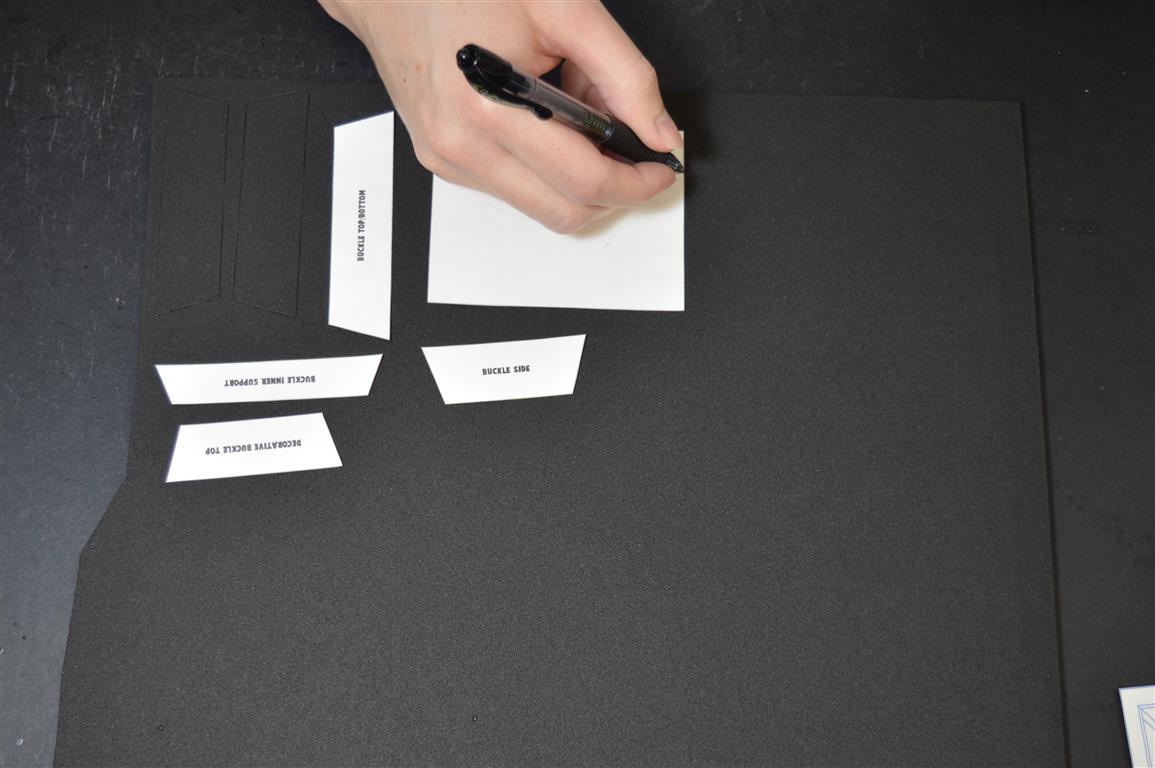
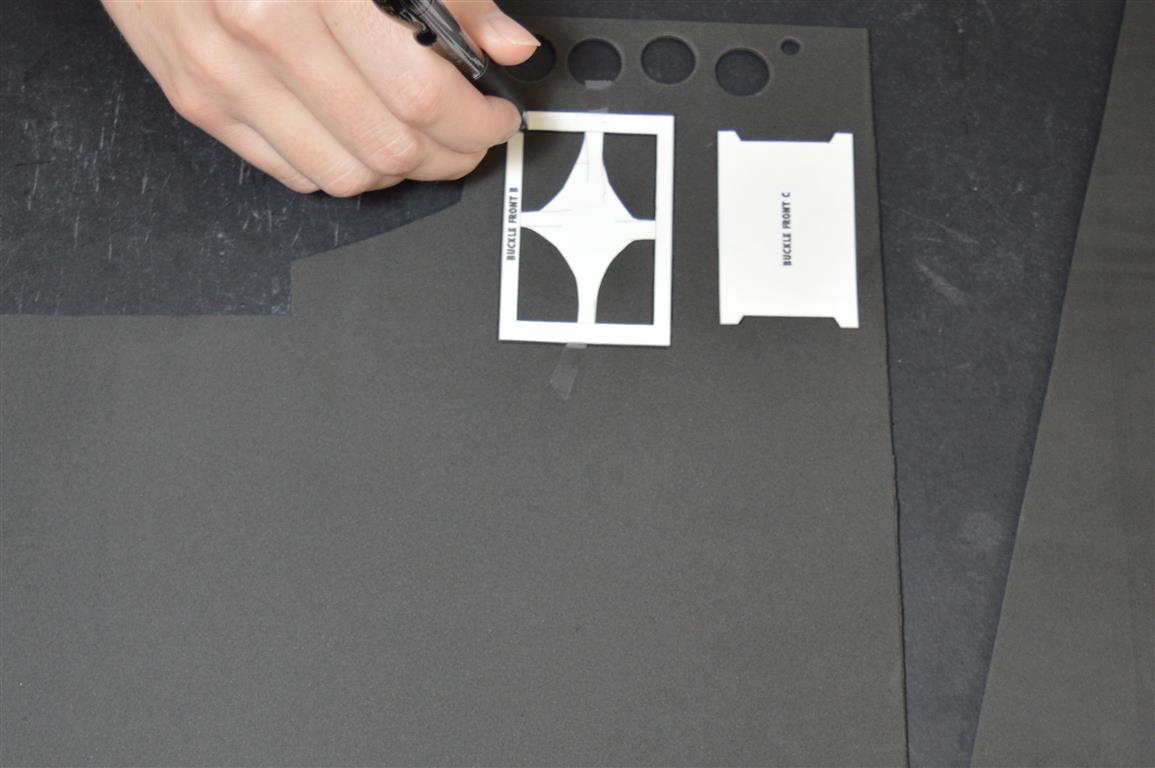
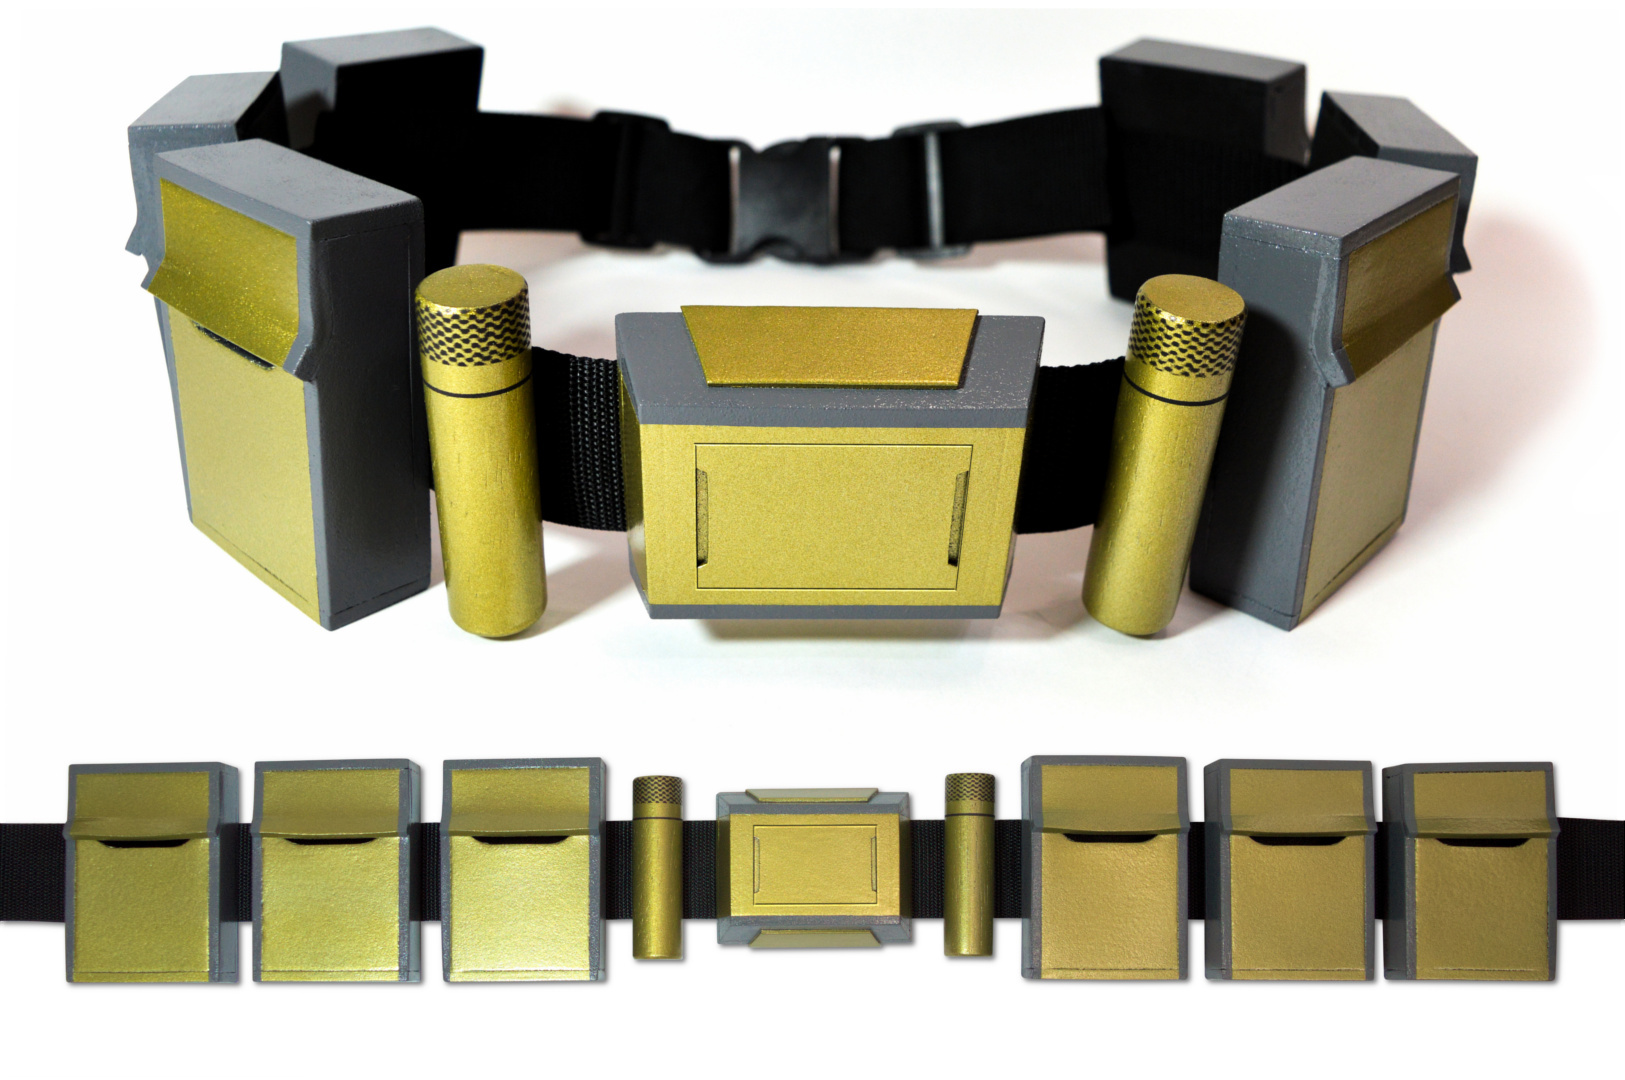
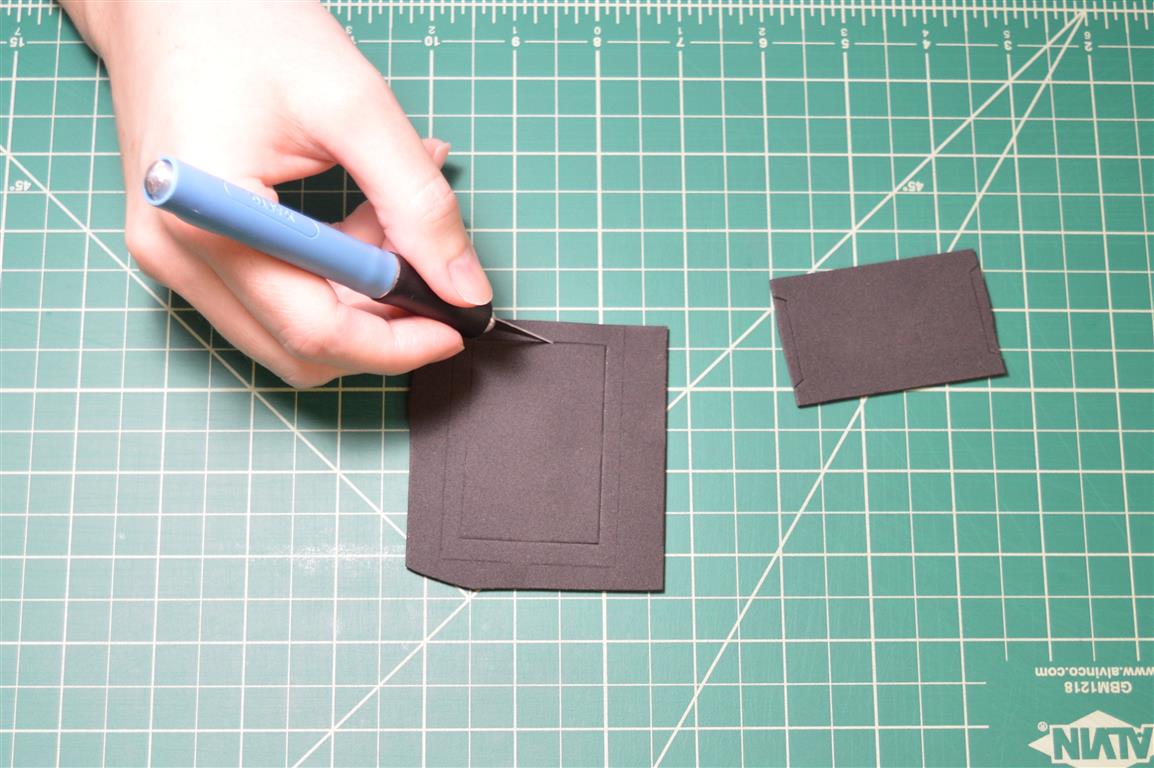
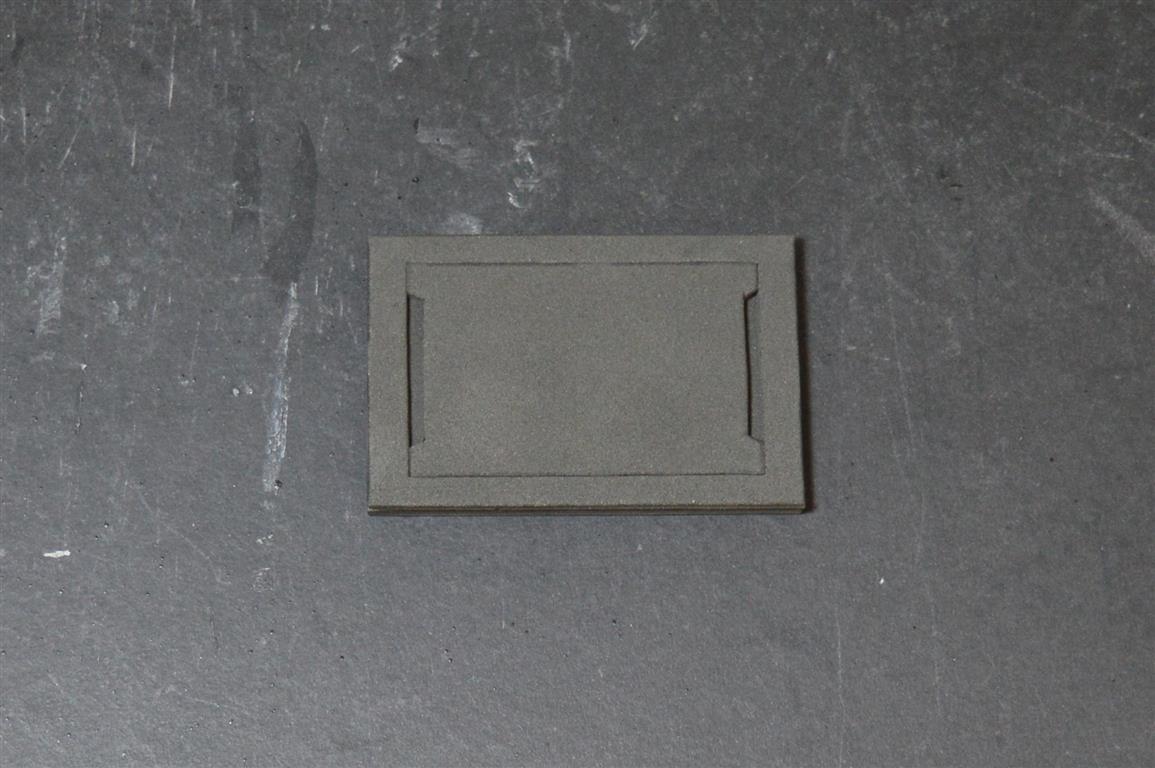
Use a regular pair of office scissors to cut the foam. Cut one Buckle Front B and one Buckle Front C out of 2mm thick foam. When cutting the internal sides of these pieces, it may be easier to use an xacto knife. Also, to prevent pattern growth, I would recommend cutting Buckle Front C out of the inner area of Buckle Front B, instead of a separate piece of foam.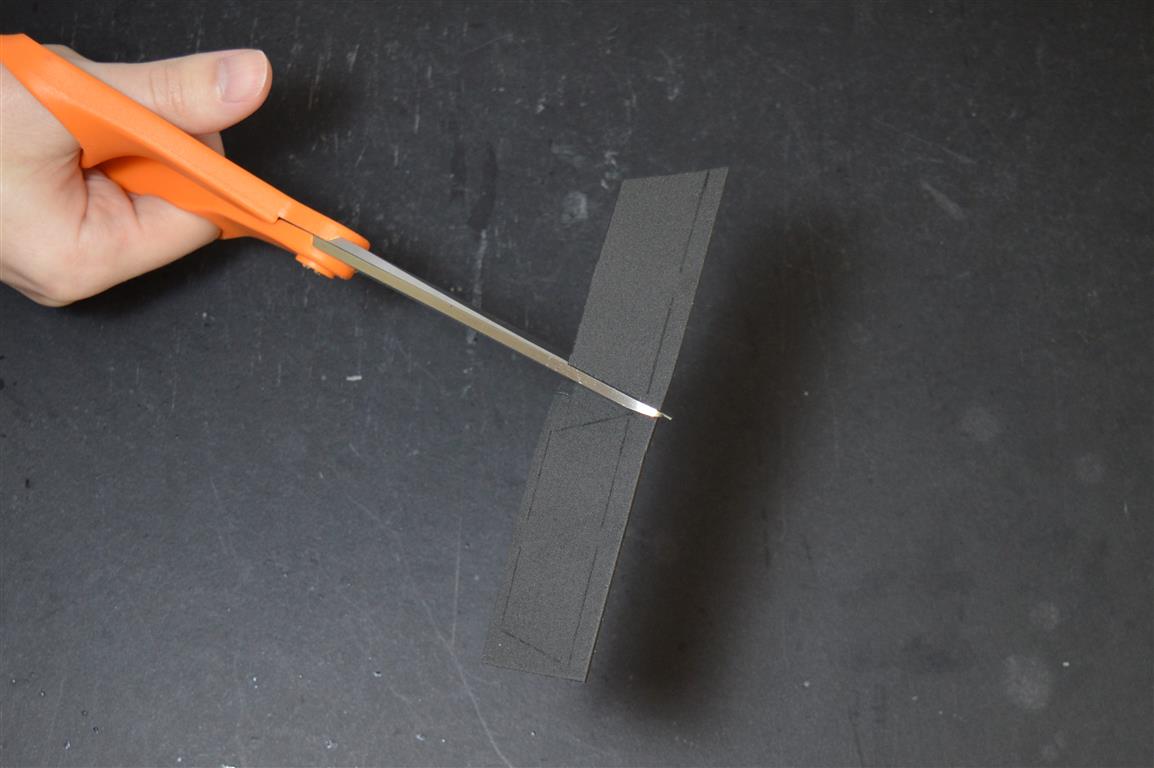

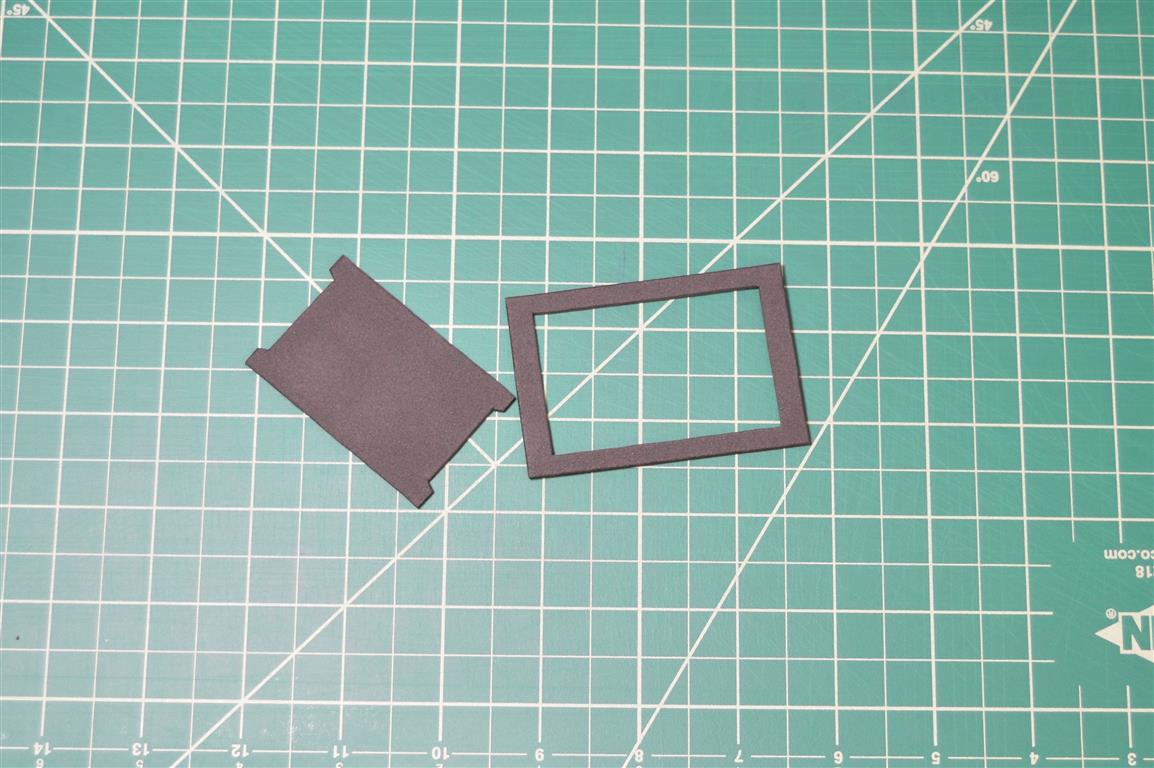
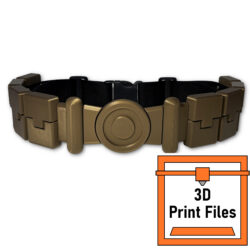
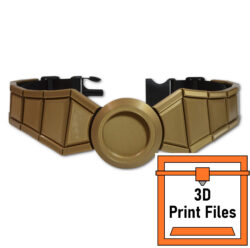
Cut one Buckle Front A out of 3mm thick foam and glue pieces B and C on top of it. I like using super glue for all my projects, mainly Rhino Glue and Fastcap 2p10. To help with alignment, lay them on top of each other where they will go first, and then bend back one corner and apply a small amount of glue and then let that dry before finishing gluing the rest of the piece.
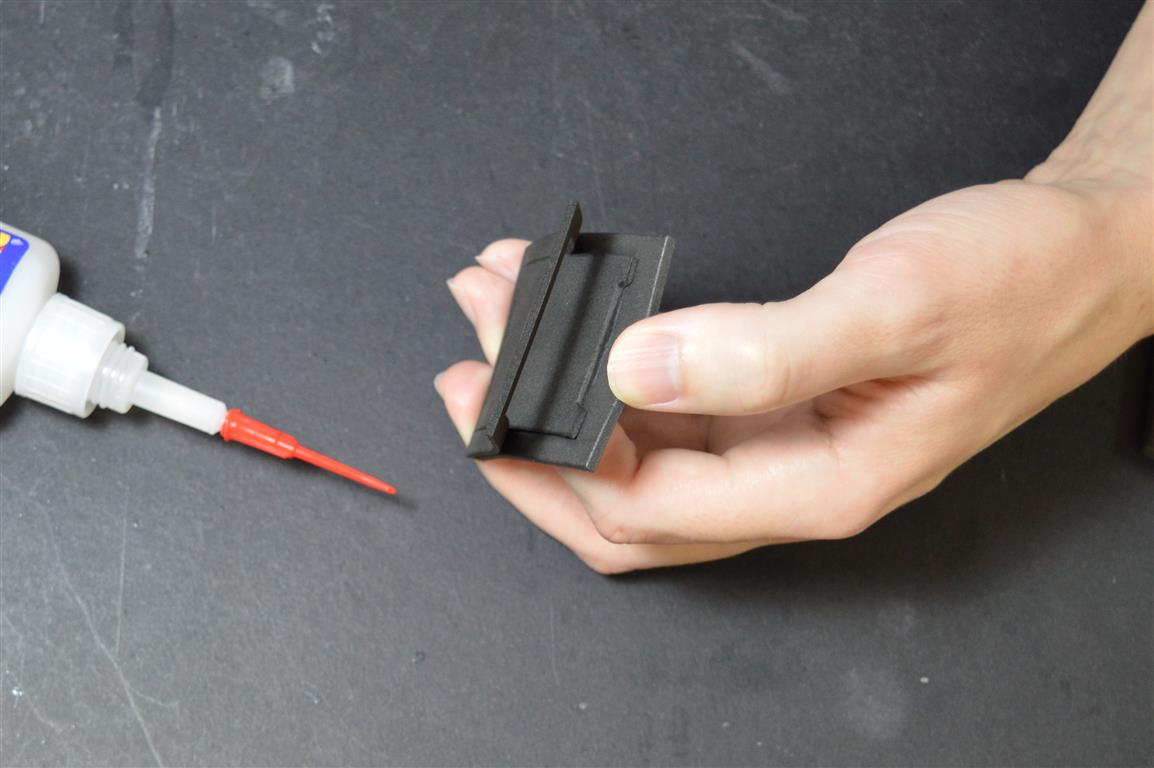
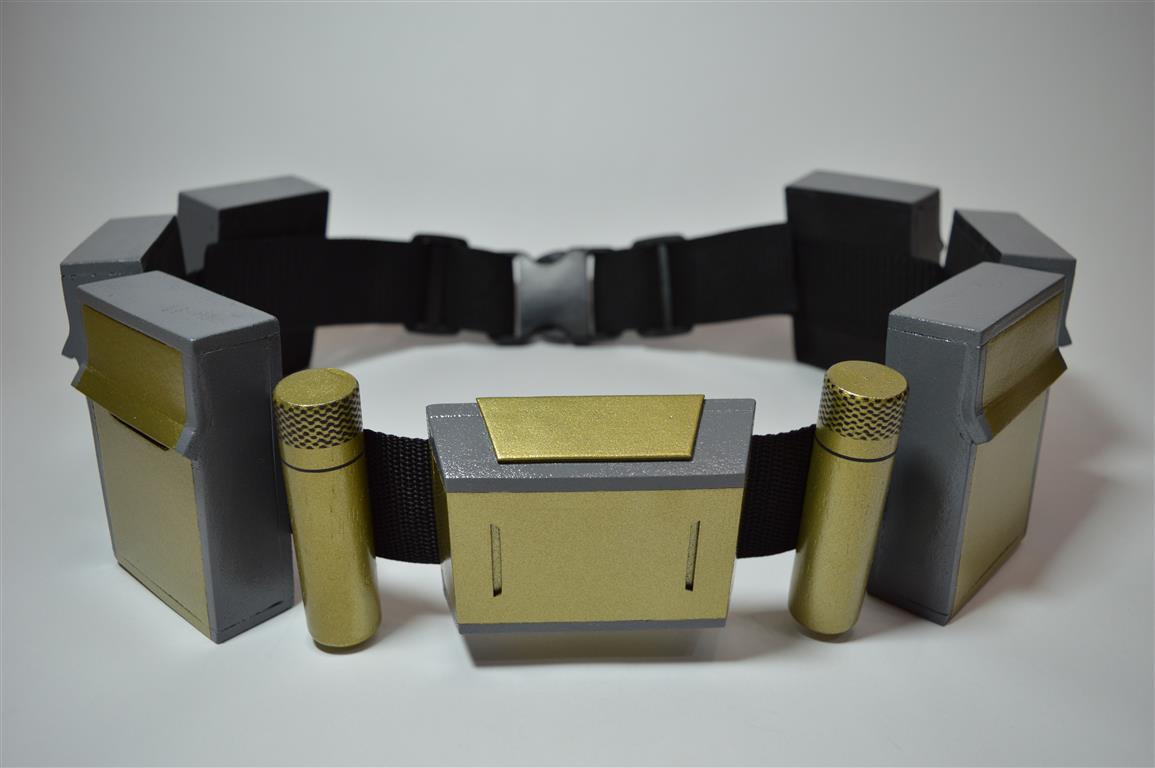
Cut one Buckle Inner Support out of 5mm foam and glue it perpendicular to the back middle of the buckle front. Next, cut two Buckle Side pieces out of 5mm foam and glue them to the sides of buckle front. When gluing, align them so the inside front edges are flush with the buckle front (the outside front edges will extend past the front and then be sanded down later). Cut two Buckle Top/Bottom pieces out of 5mm foam and glue them to the top and bottom the same way you glued the sides.
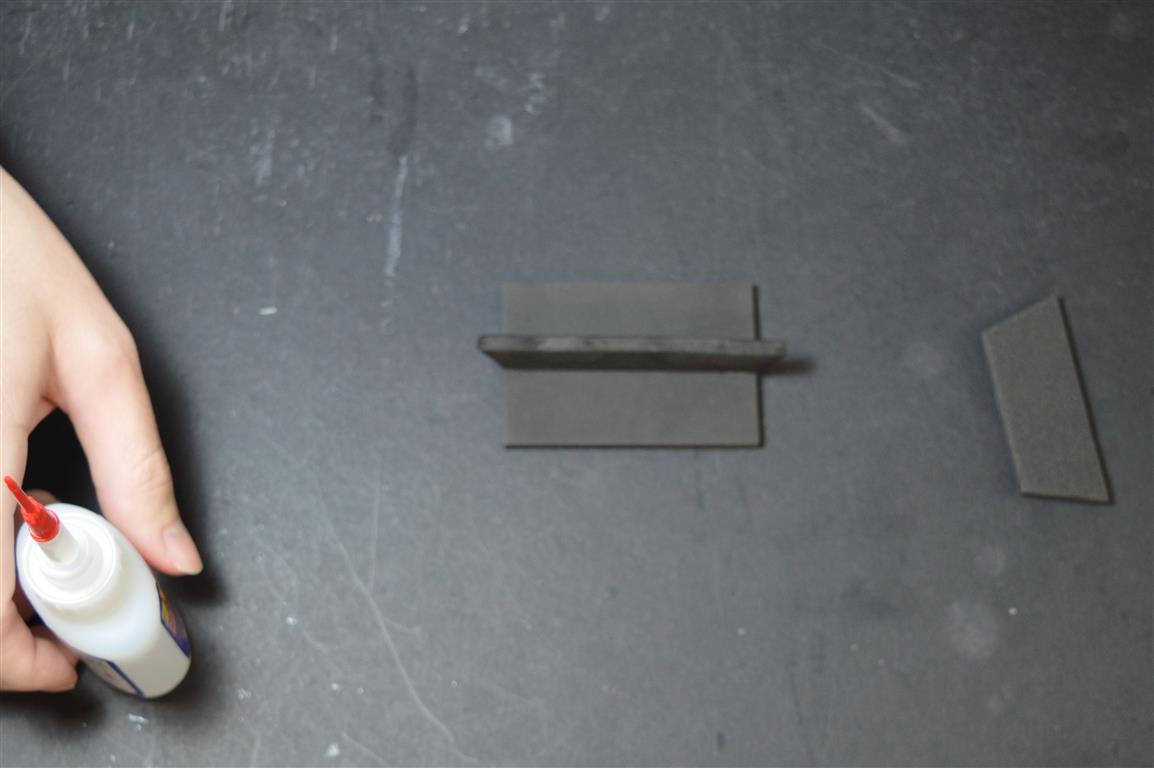

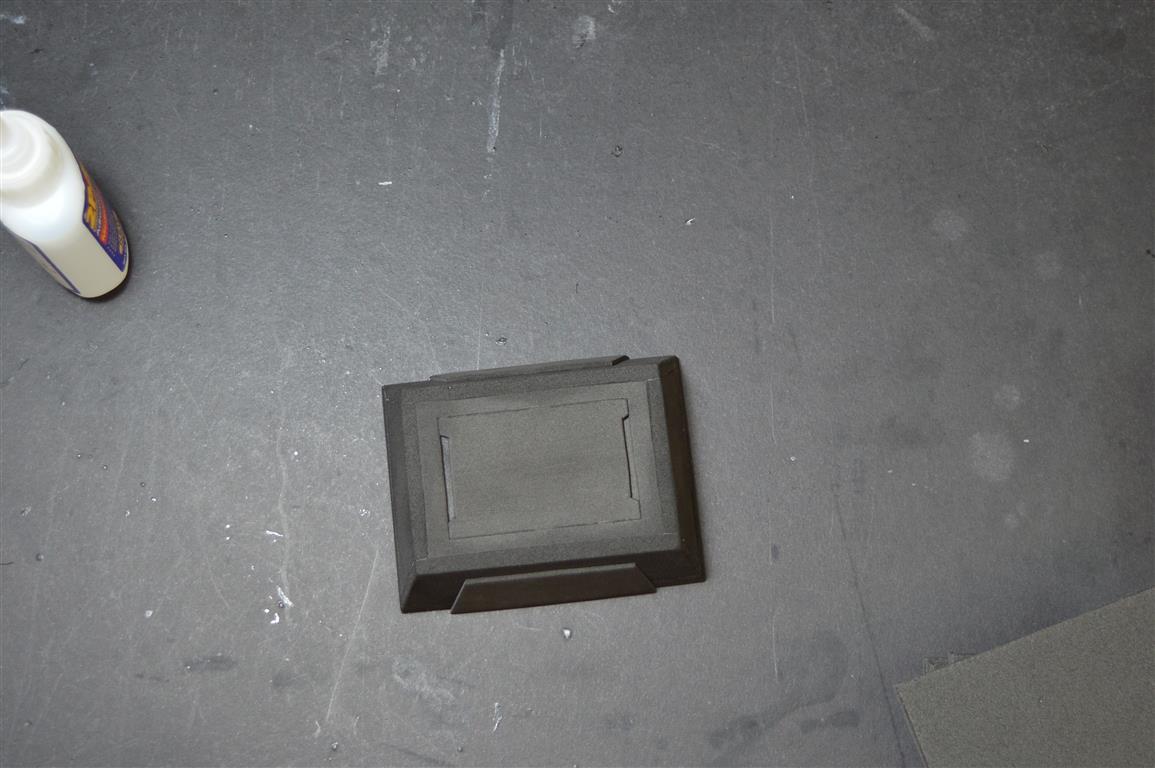
Use sand paper to sand down the back edges of the buckle so that it will lay flush against the buckle back. Cut one Buckle Back out of 5mm foam and glue the buckle top onto the middle of it. After the glue dries, sand flat all of the sides, along with the front of the buckle. I used 80 grit paper first and then 150 grit.


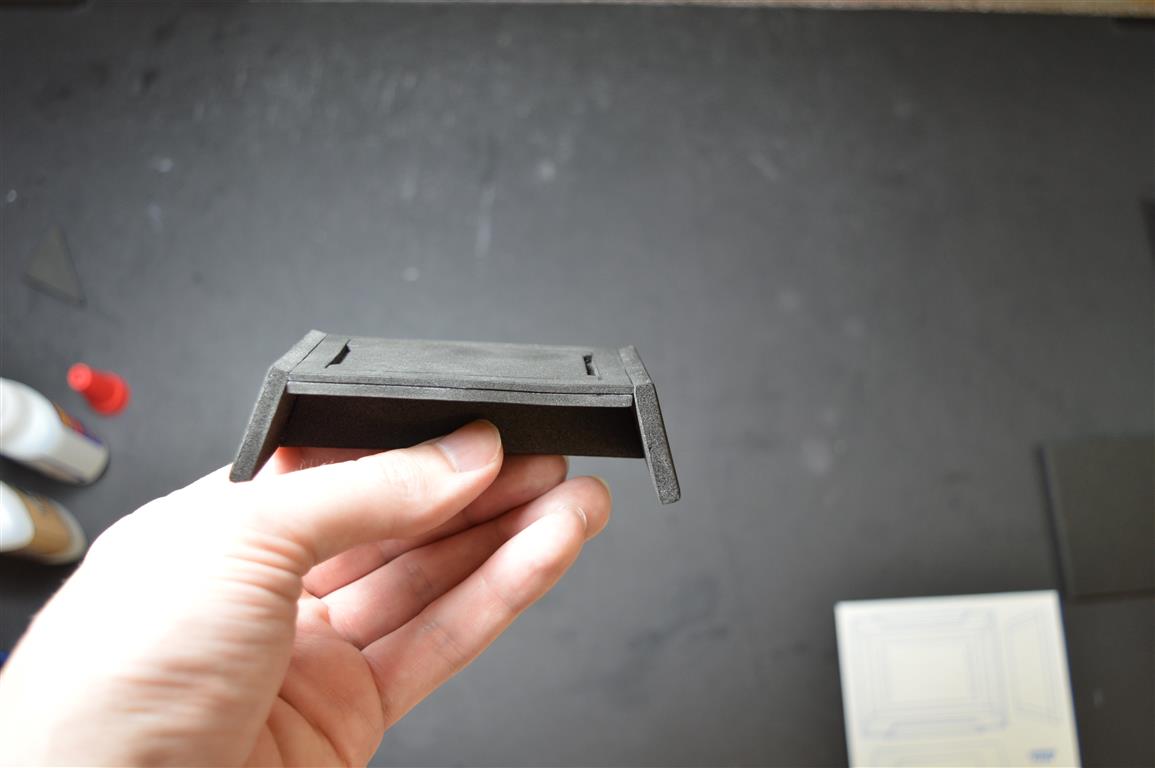
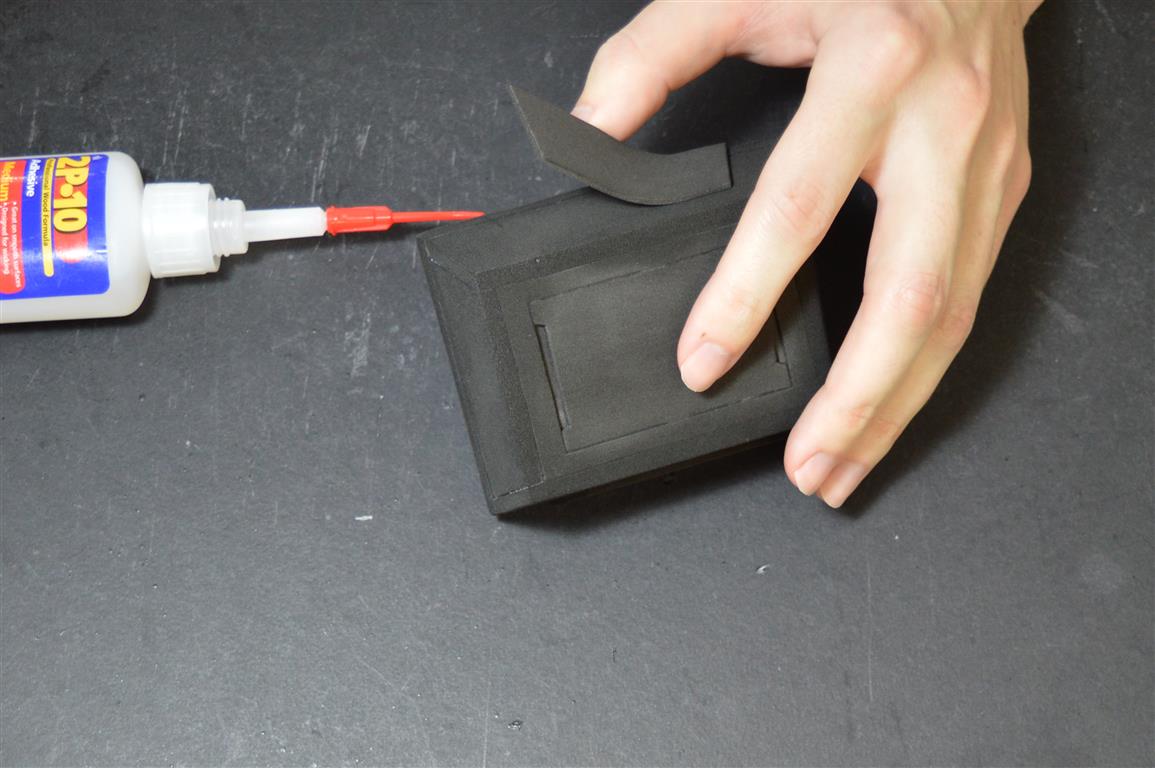
Cut two Decorative Buckle Tops out of 2mm foam and glue them to the top and bottom back edges of the buckle.
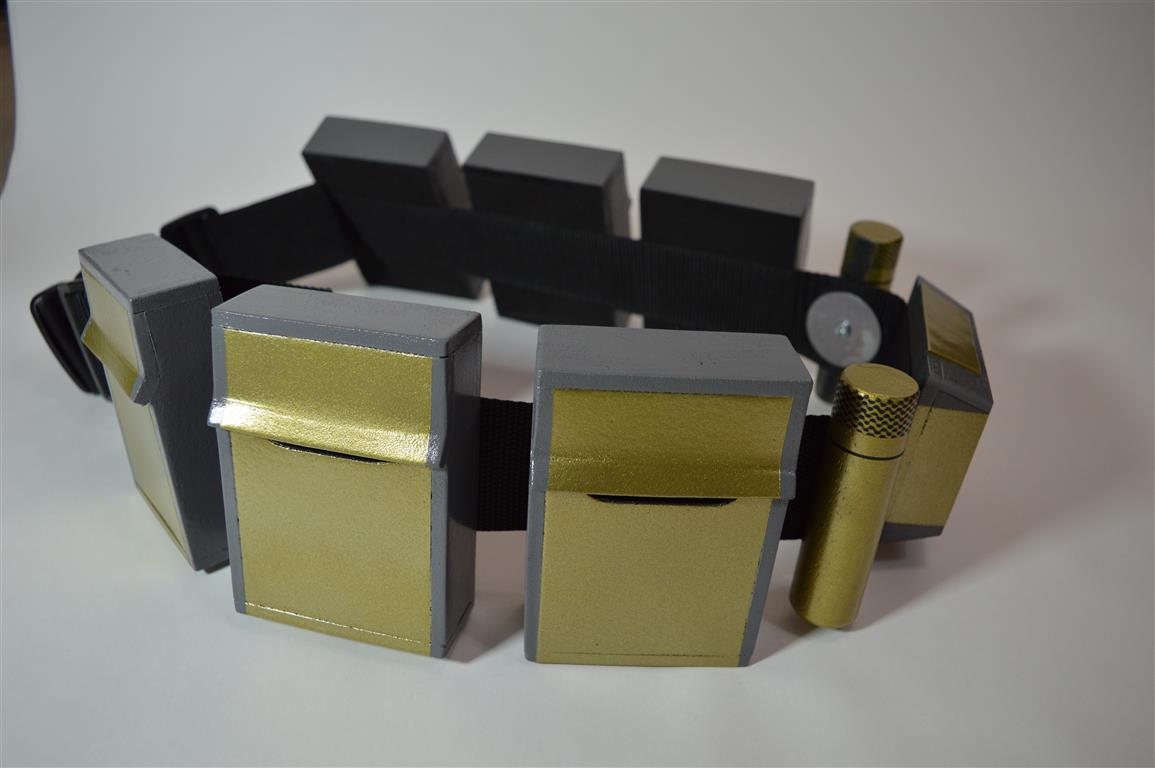
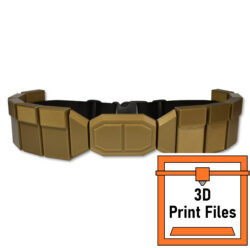
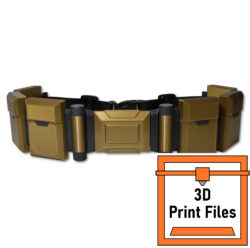
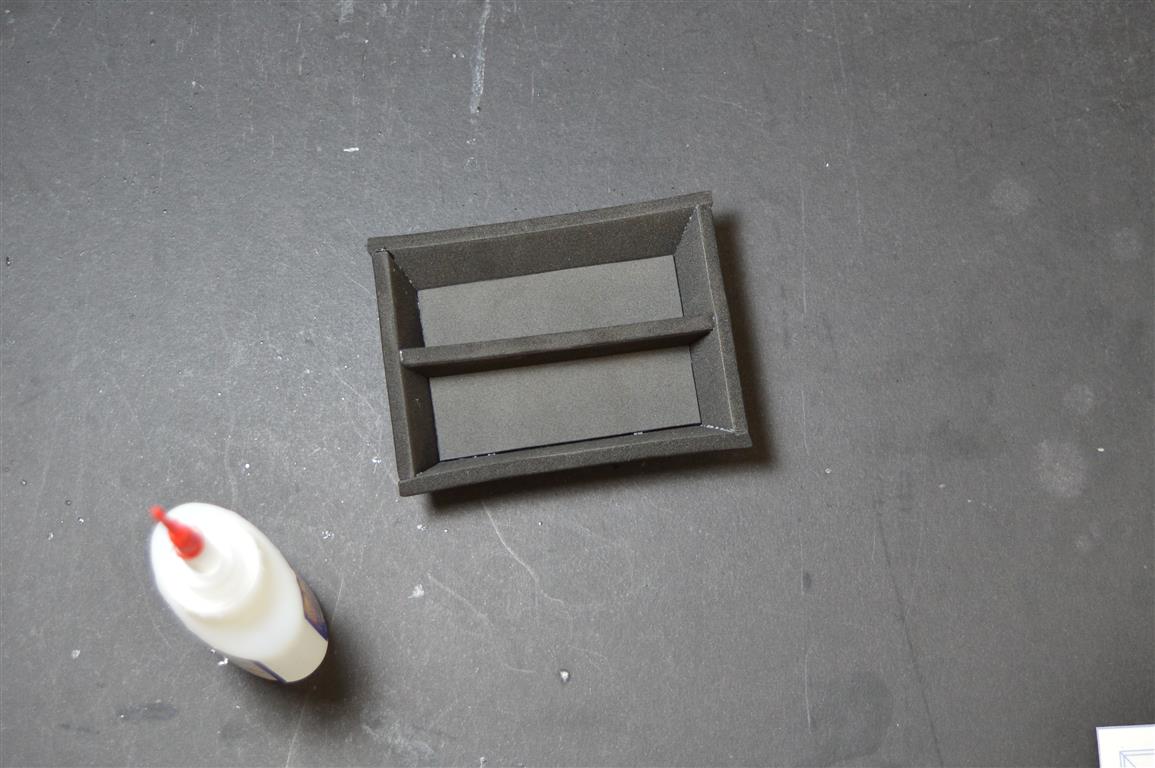
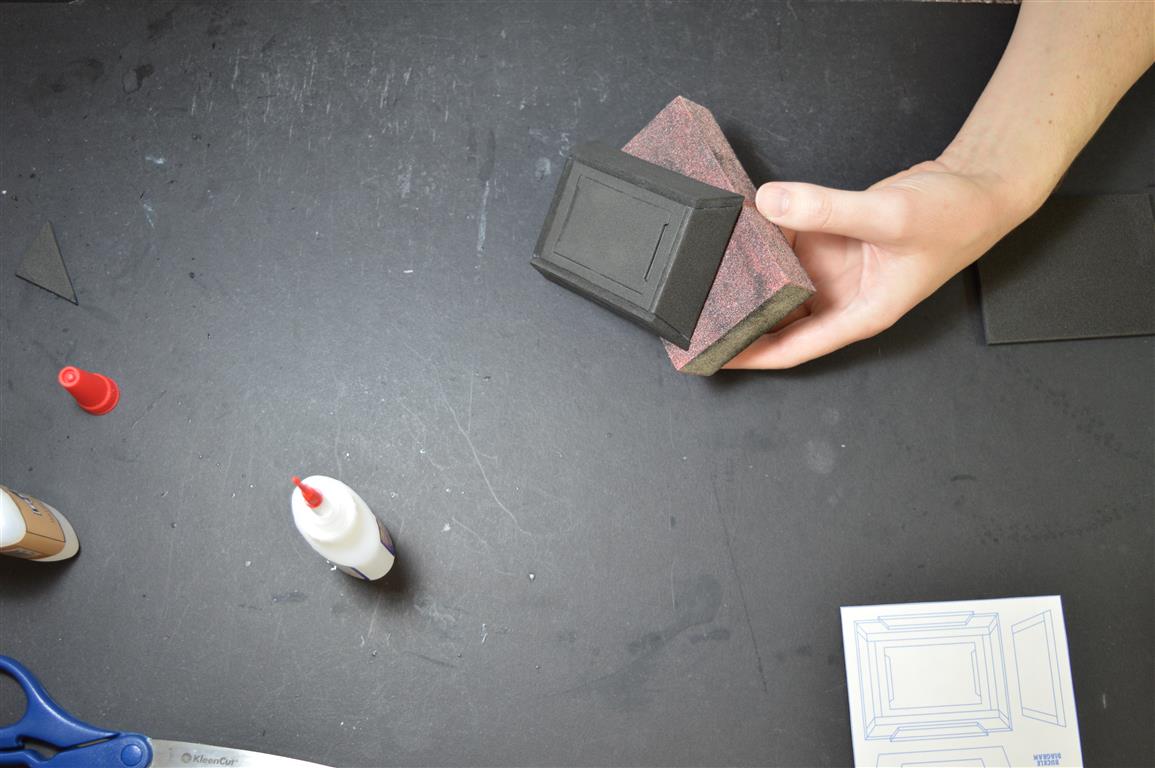
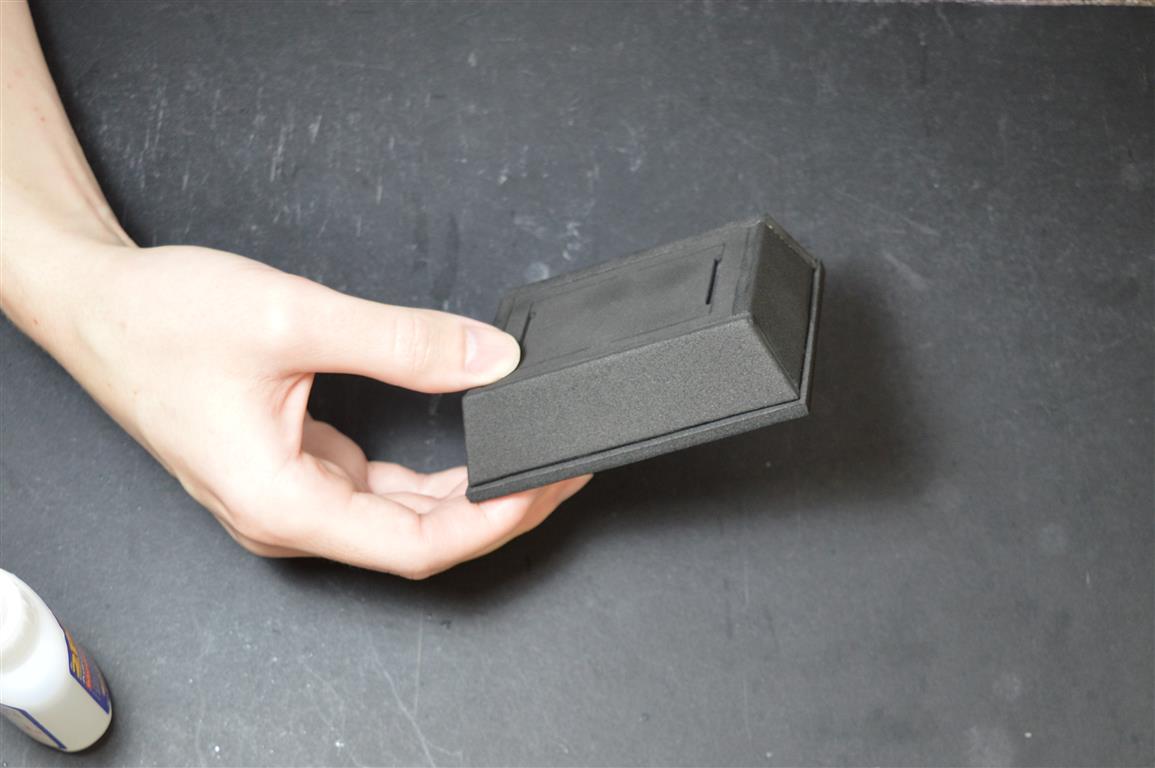
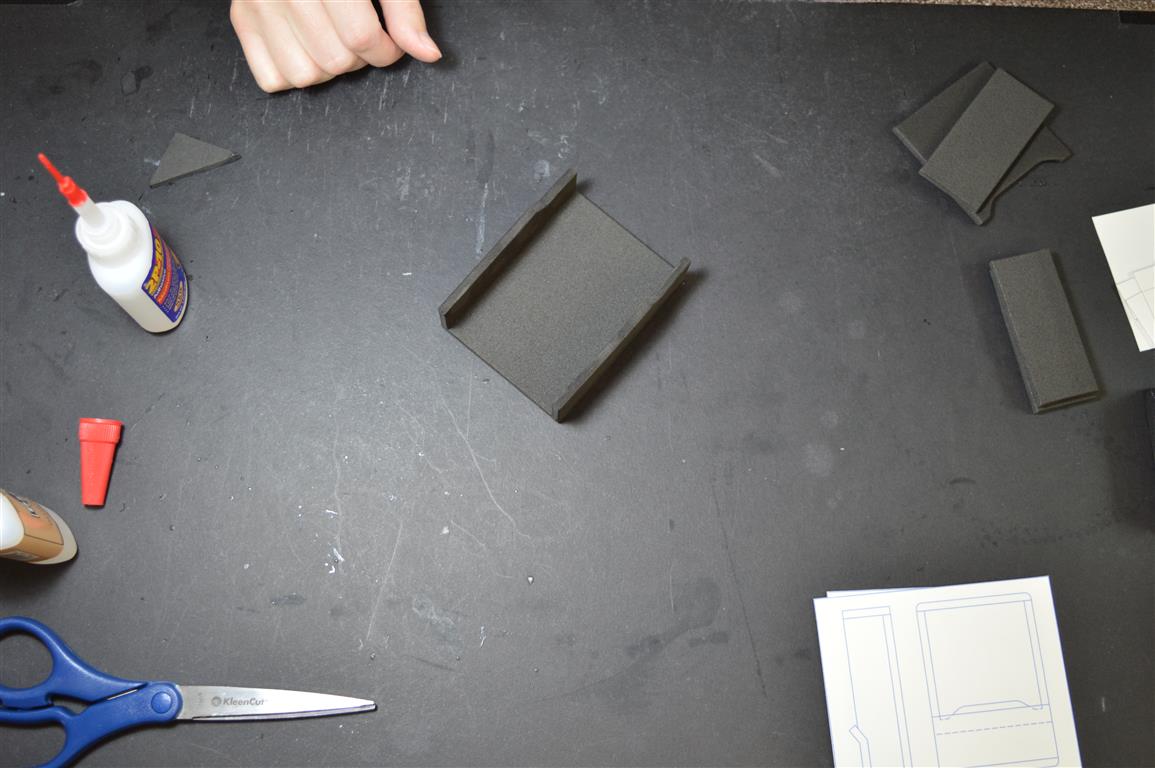
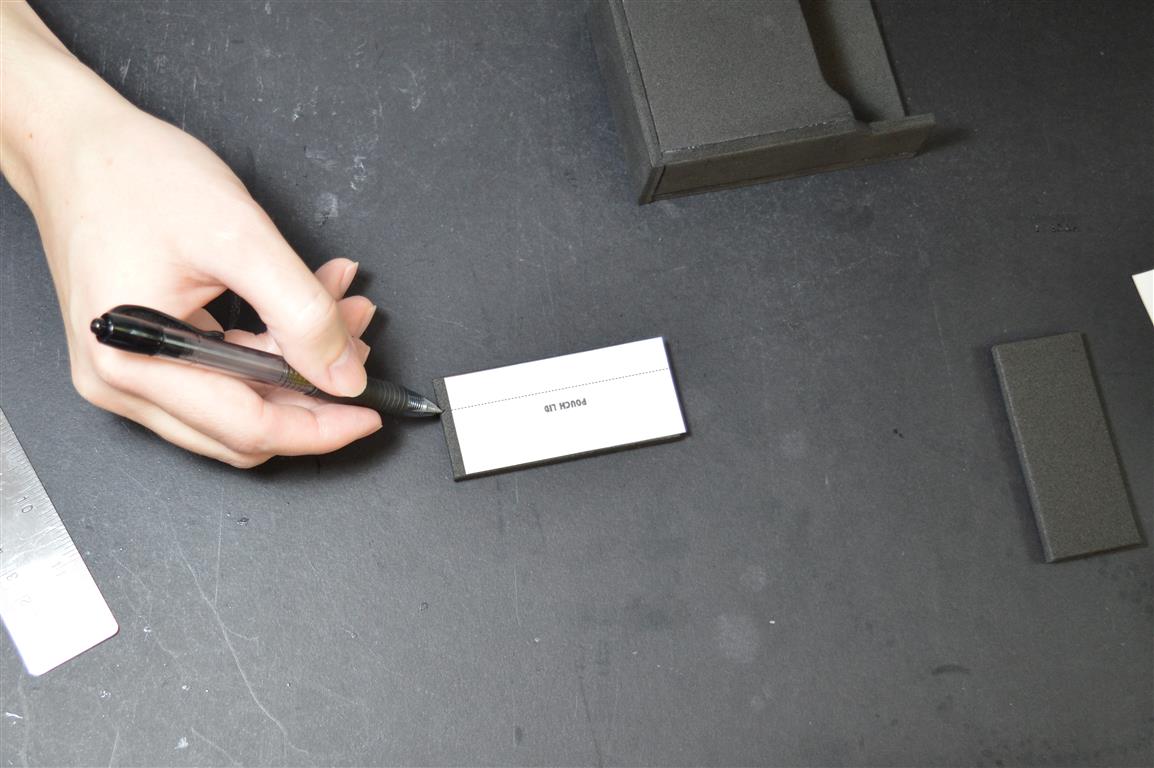
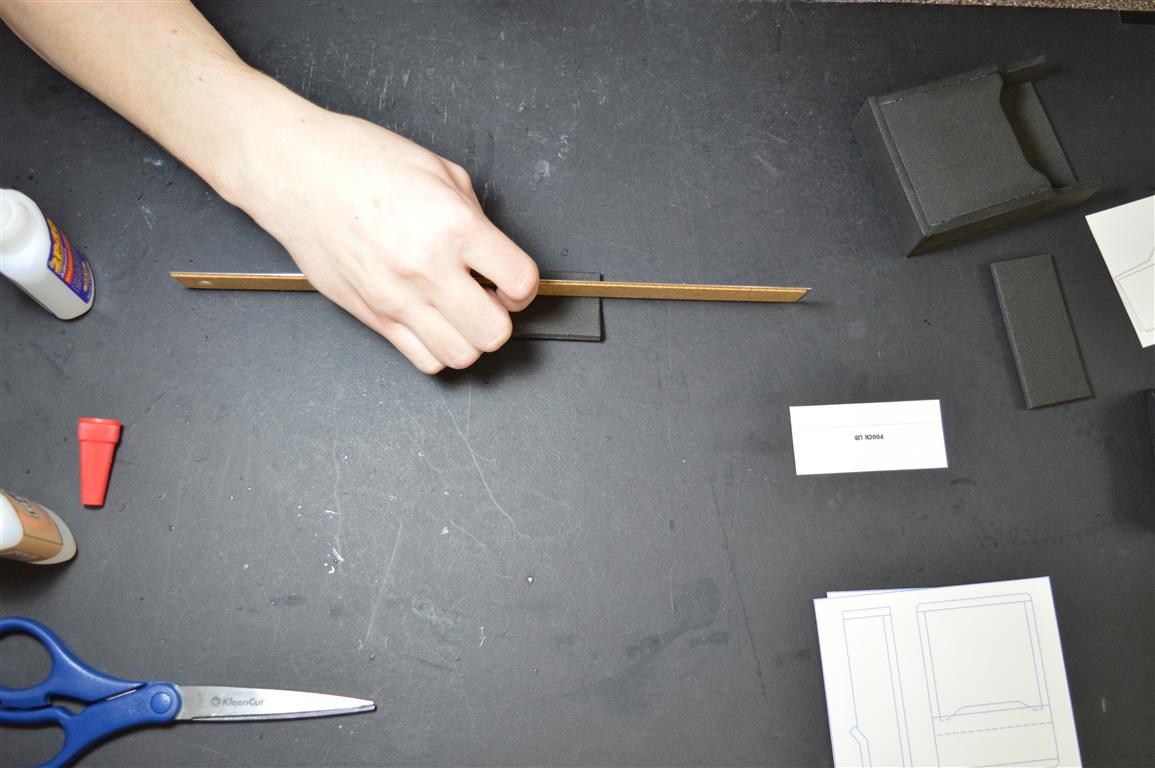
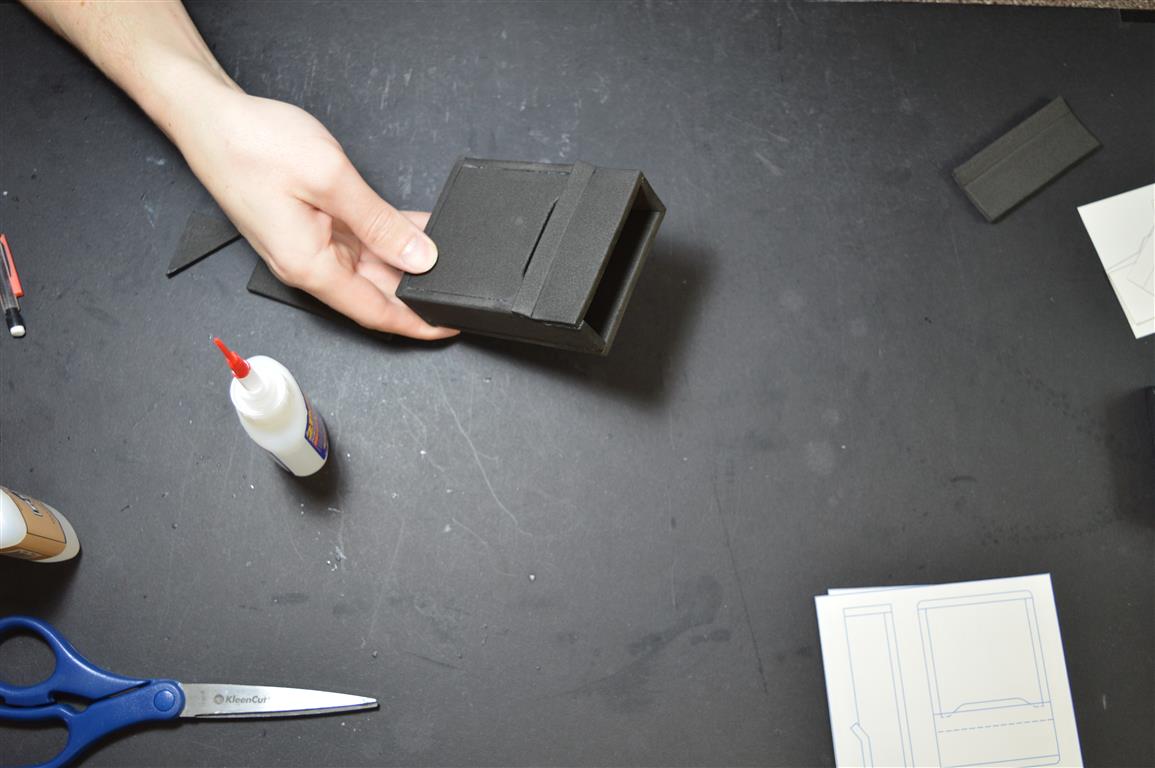
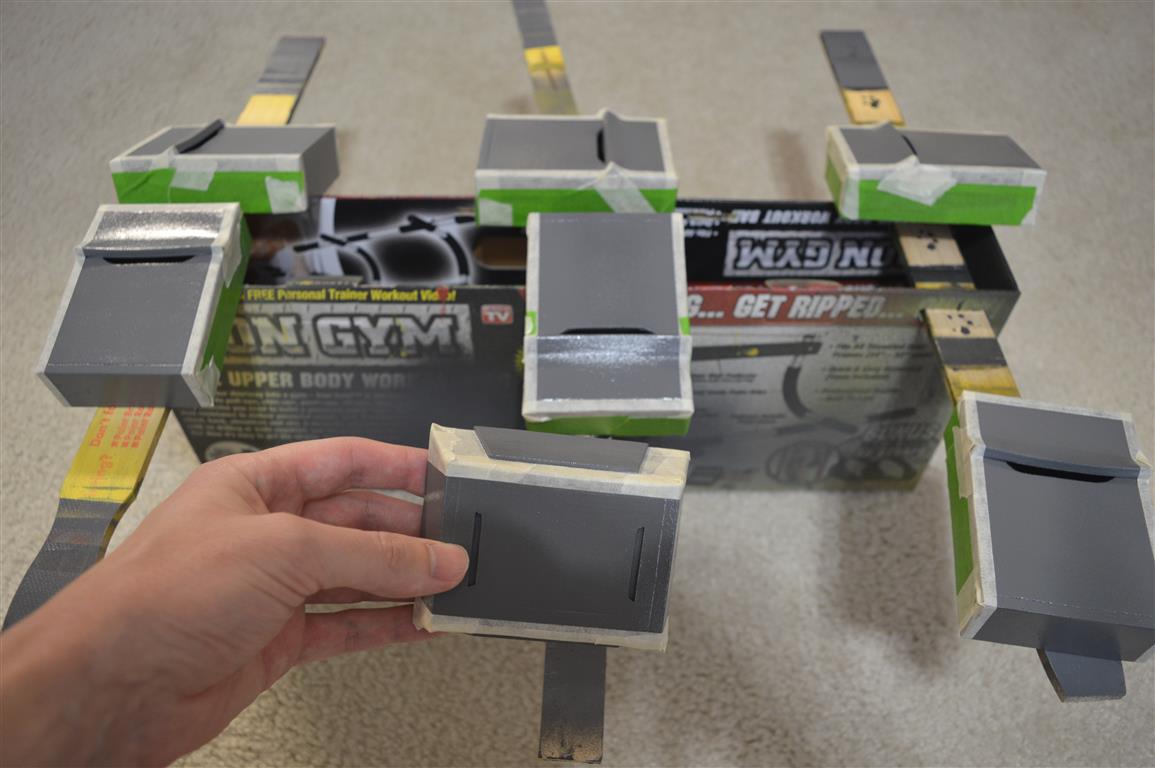
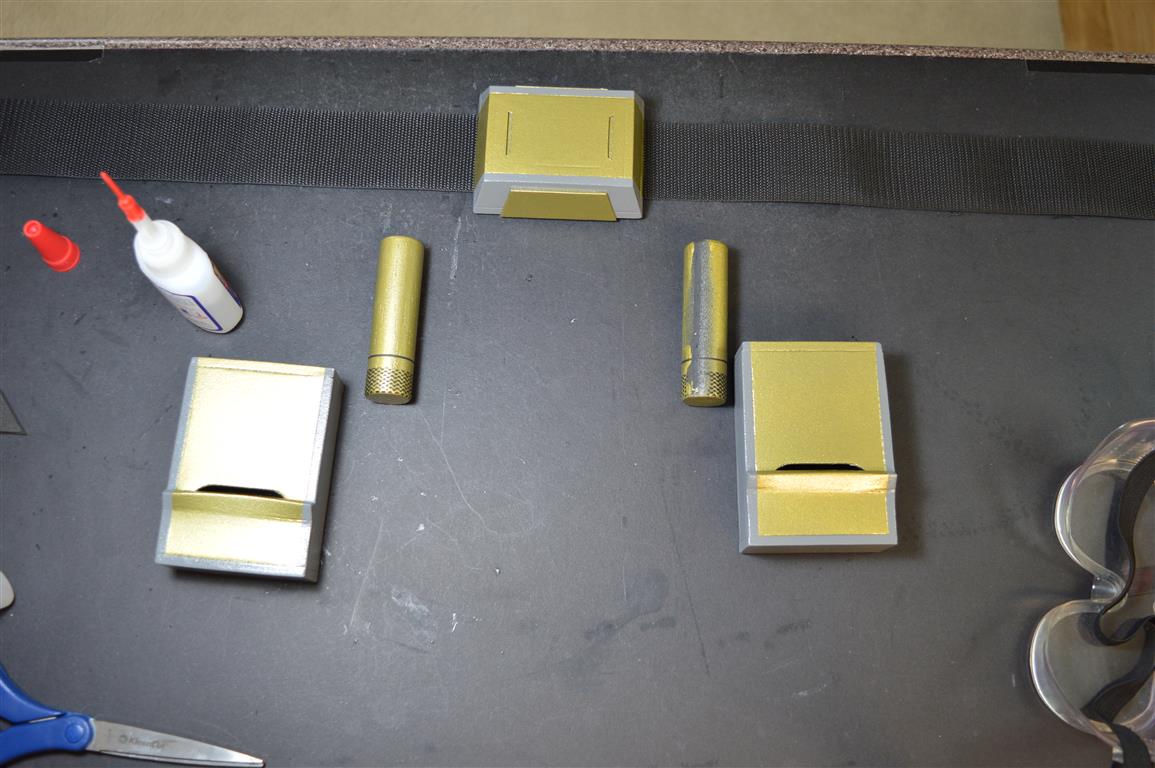
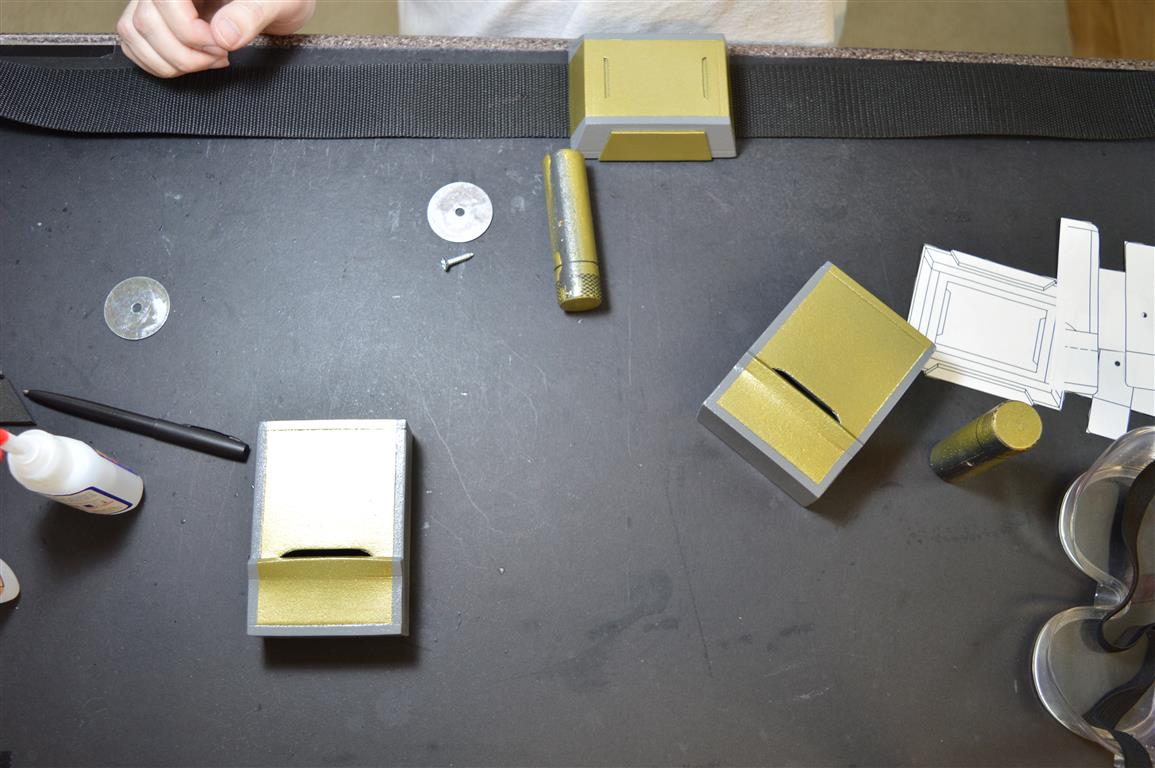
Cut one Pouch Back, one Pouch Front, two Pouch Side’s, two Pouch Top/Bottom’s, and one Pouch Lid, out of 5mm foam. Glue the sides on the top edges of the back, and the front in between the front edges of the sides. Glue on the bottom top/bottom piece. Mark the dashed fold line on the pouch lid piece and use a metal ruler or other similar object to press into the foam along the line to make an indentation.
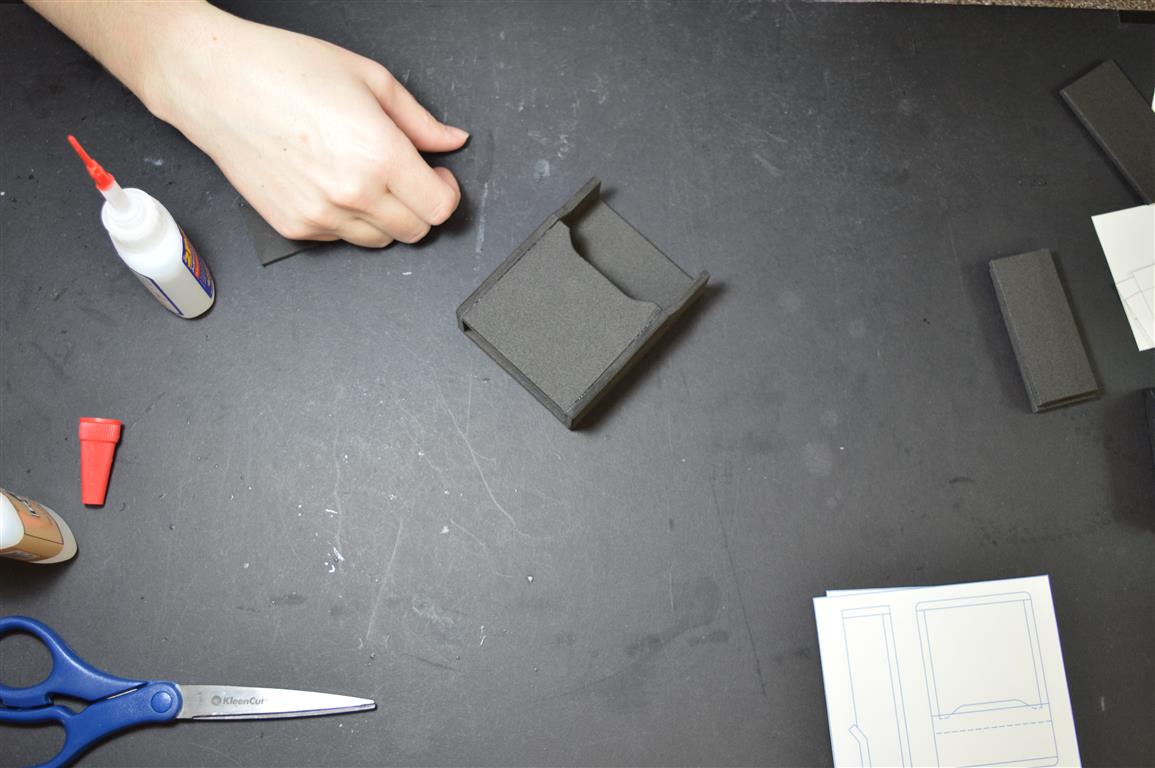
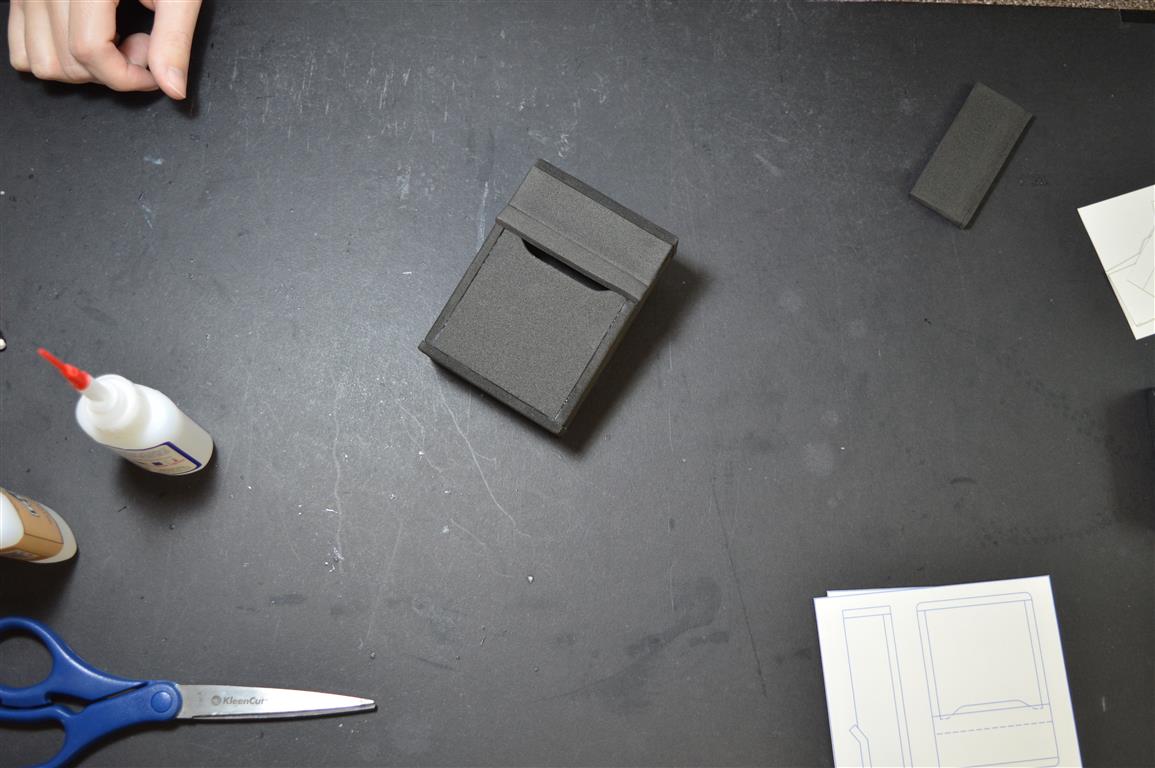
Glue the lid onto the pouch so the top of the lid is flush with the top of the sides, and then glue the top pouch top/bottom piece on top. Repeat the steps for the rest of the pouches. I made these pouches to be non-functional, but it shouldn’t be too hard to turn them into functional pouches if you prefer with a little modification.
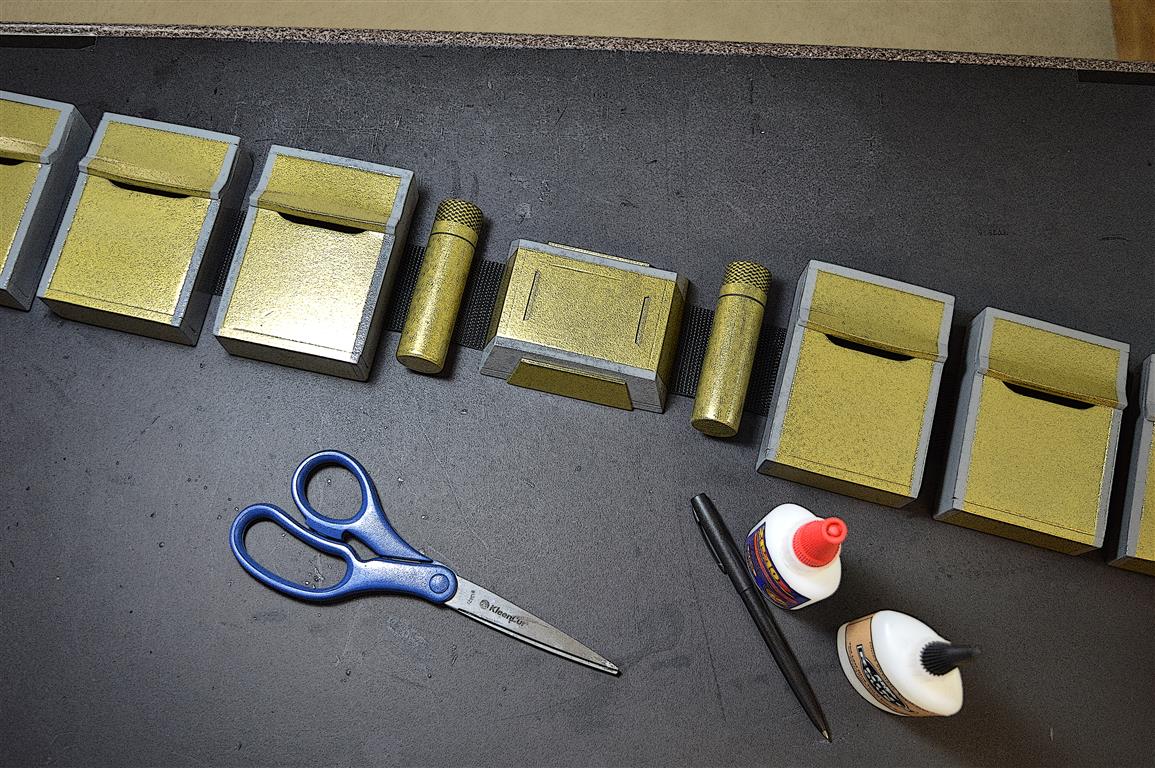
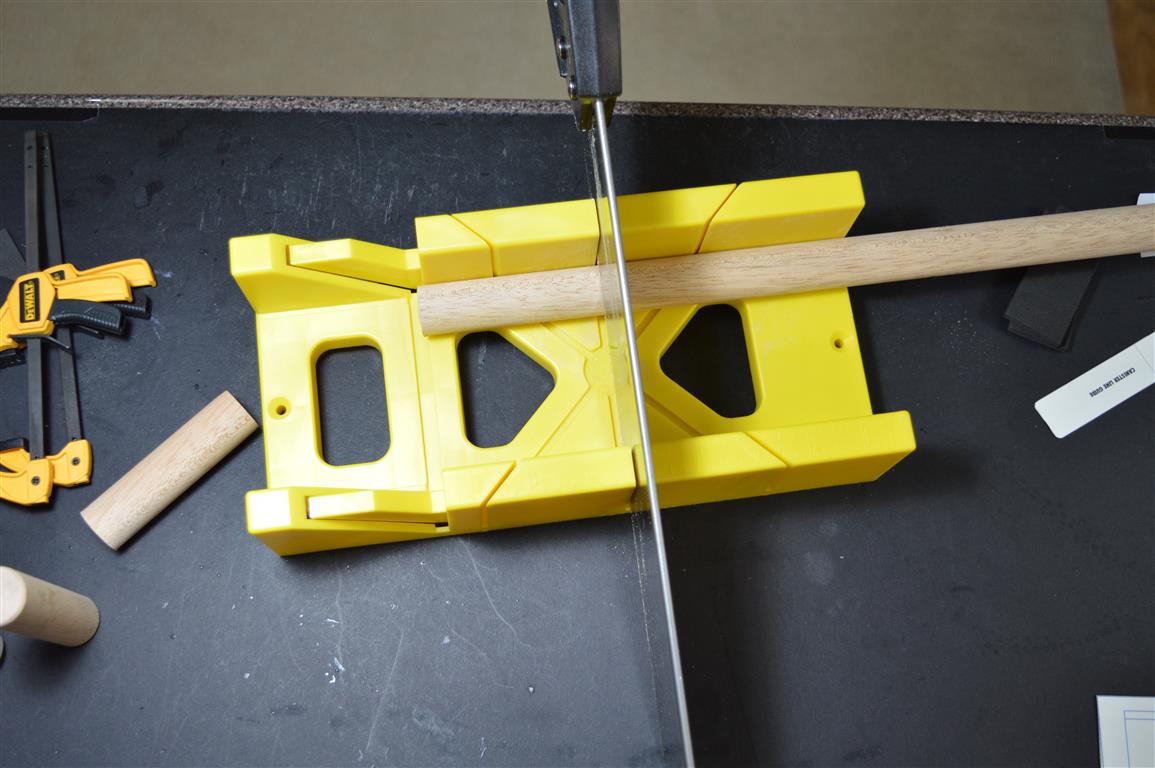
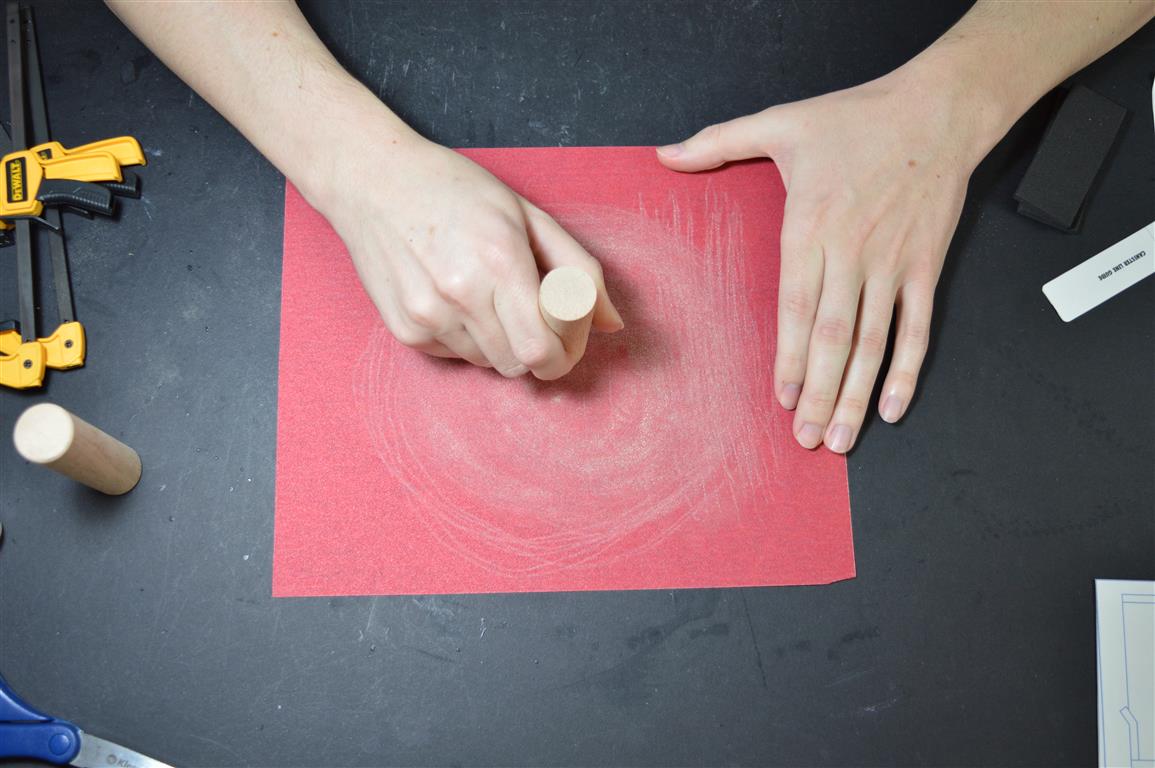
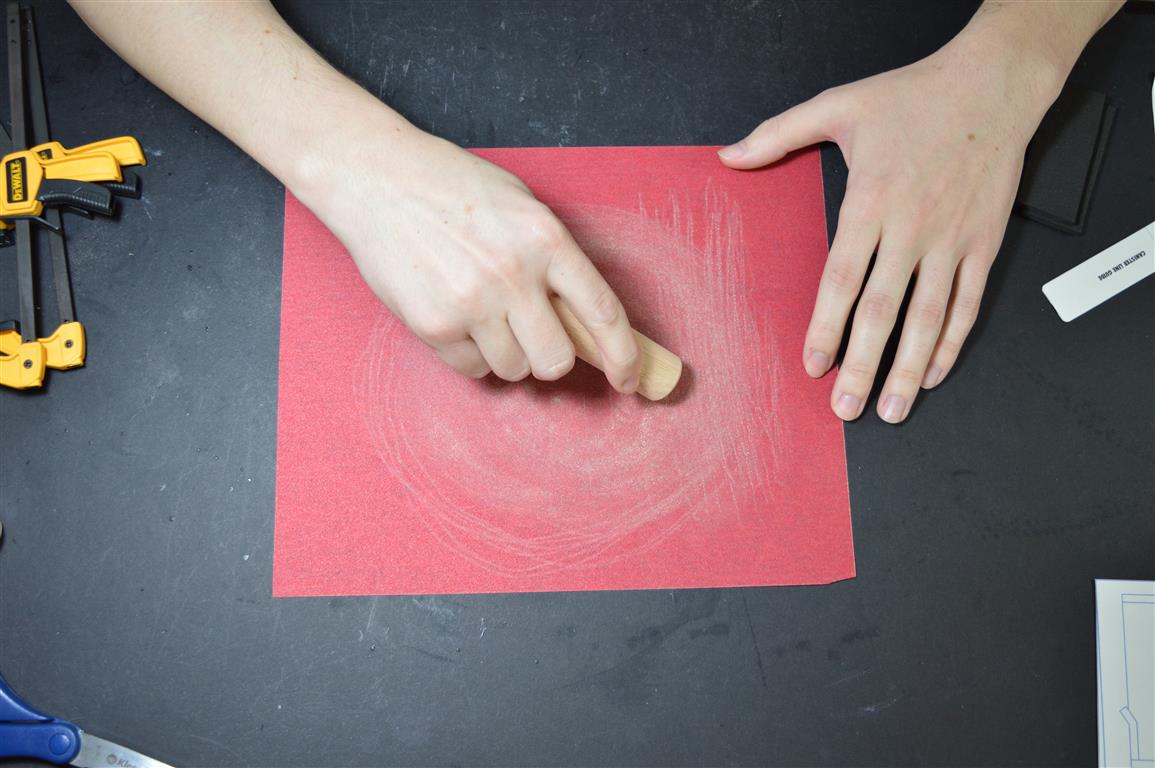
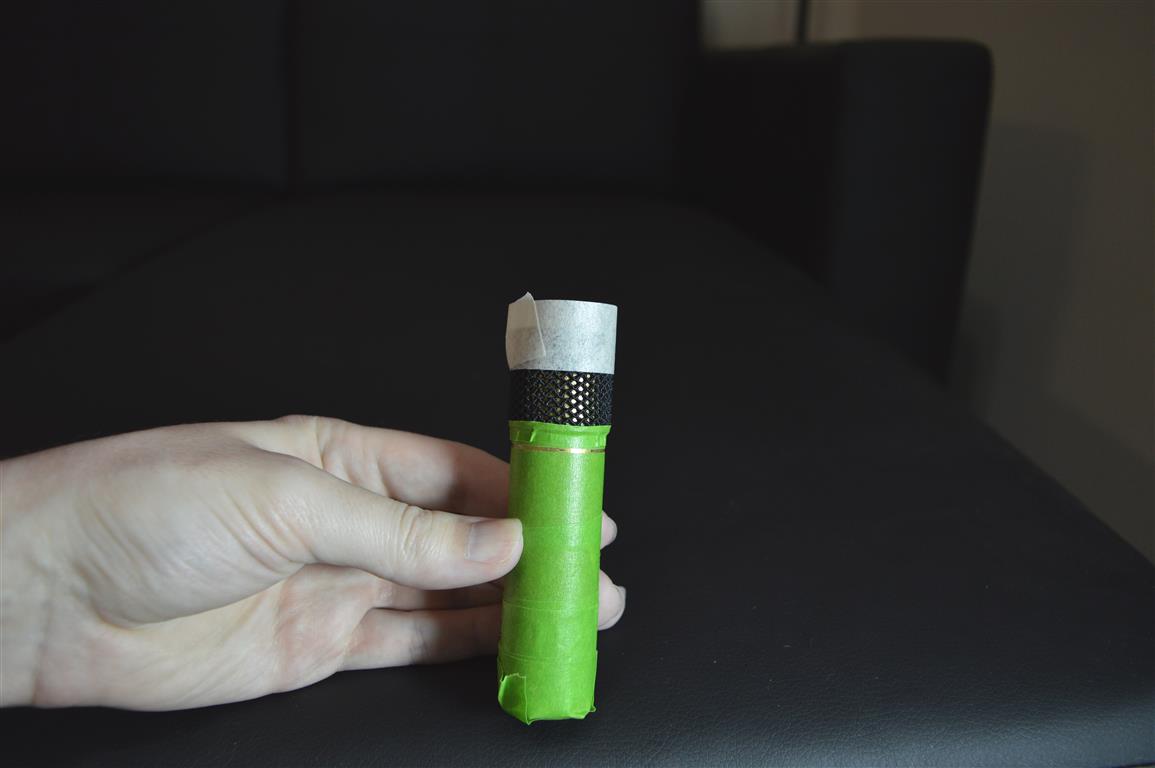
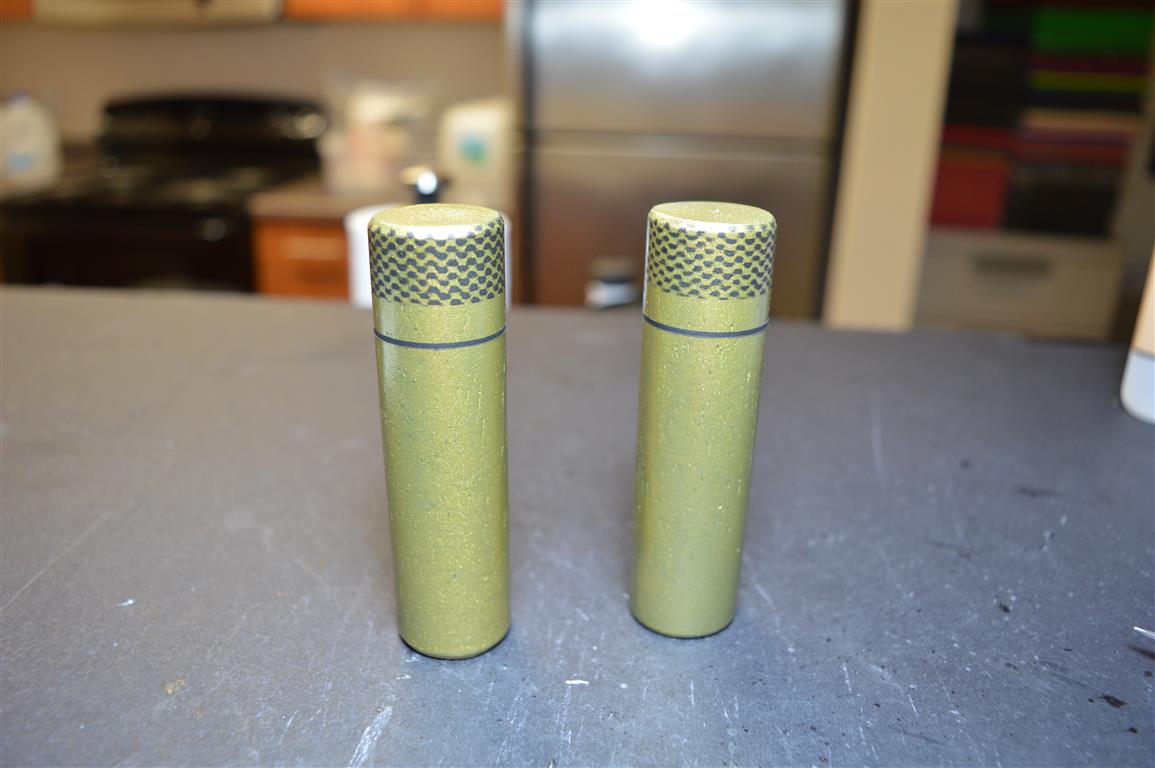
If you want, you can smooth out the surface texture of the foam further by briefly heating it up with a heat gun. If you do this to the front of the buckle, it will also help make the gap between Buckle Front B and C widen and become more visible. Be careful not to heat it up too much though as it can cause the foam to warp and bubble, especially on the front of the buckle as the foam pieces there are very thin. I used 1 inch wooden dowel to make the canisters. Use the Canister Guide to get the proper length, and then cut with a saw. Use the sand paper again to sand down any roughness left by the saw, and then to give the top and bottom edges a slight bevel as desired.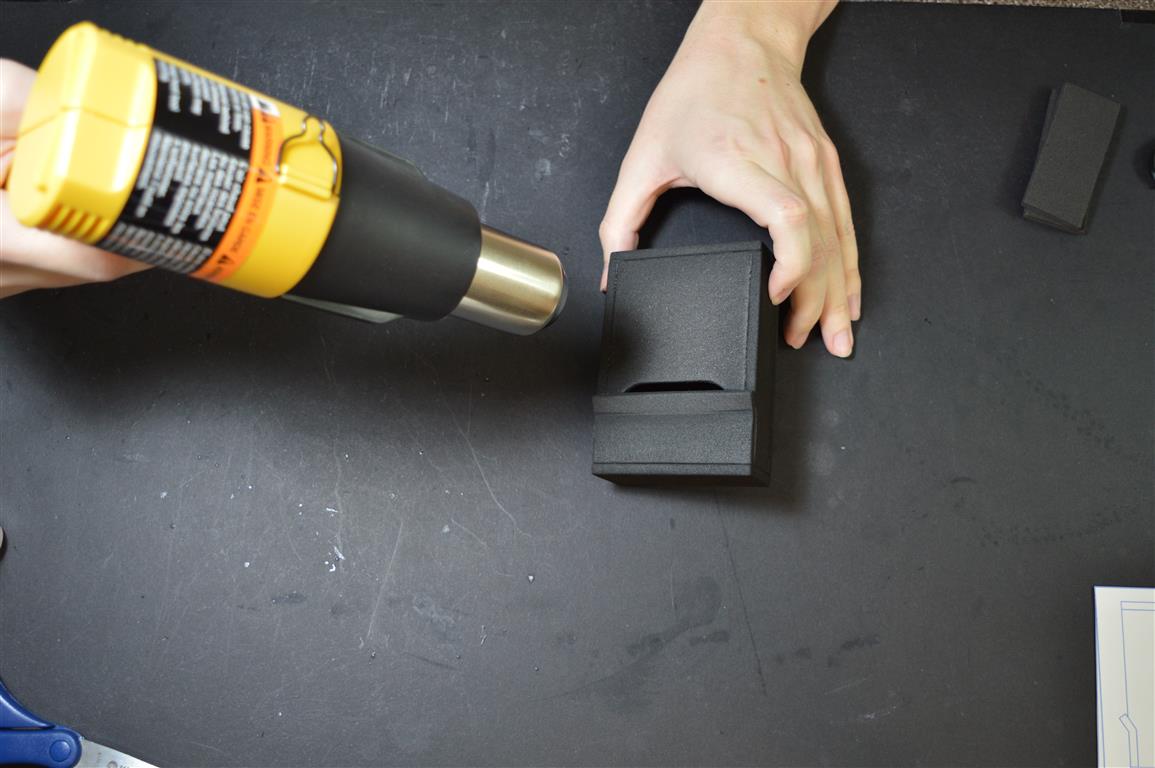
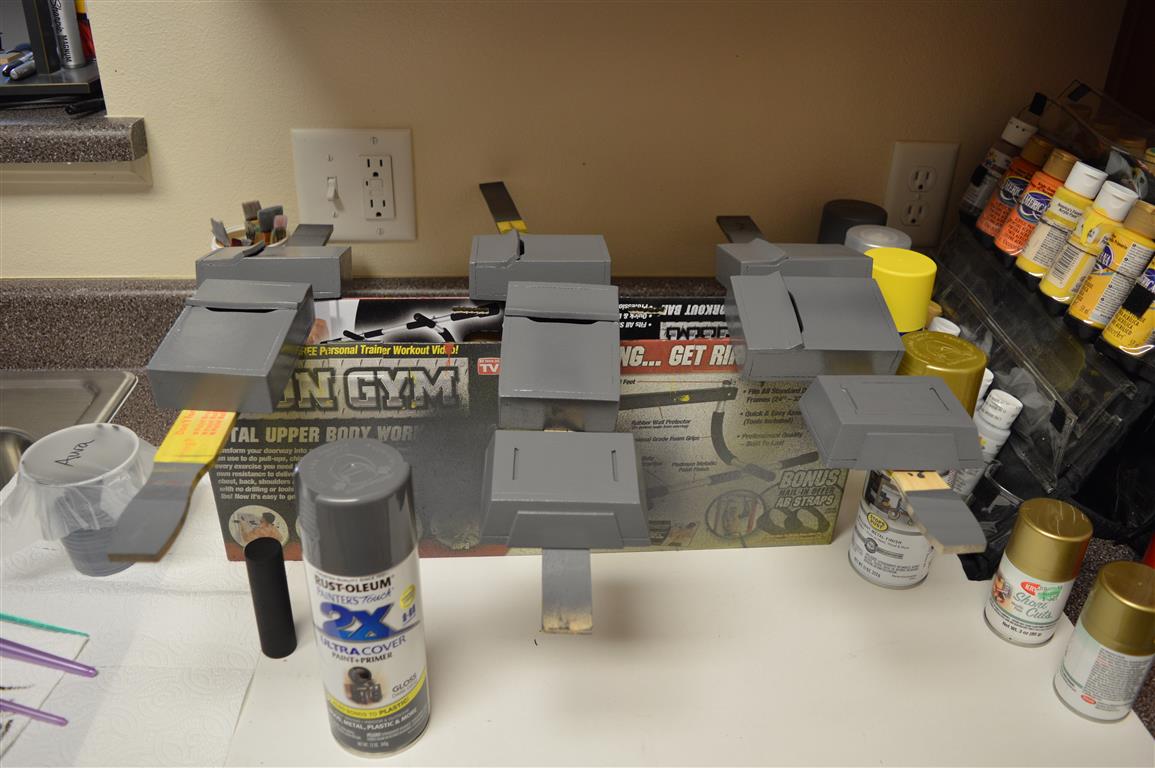
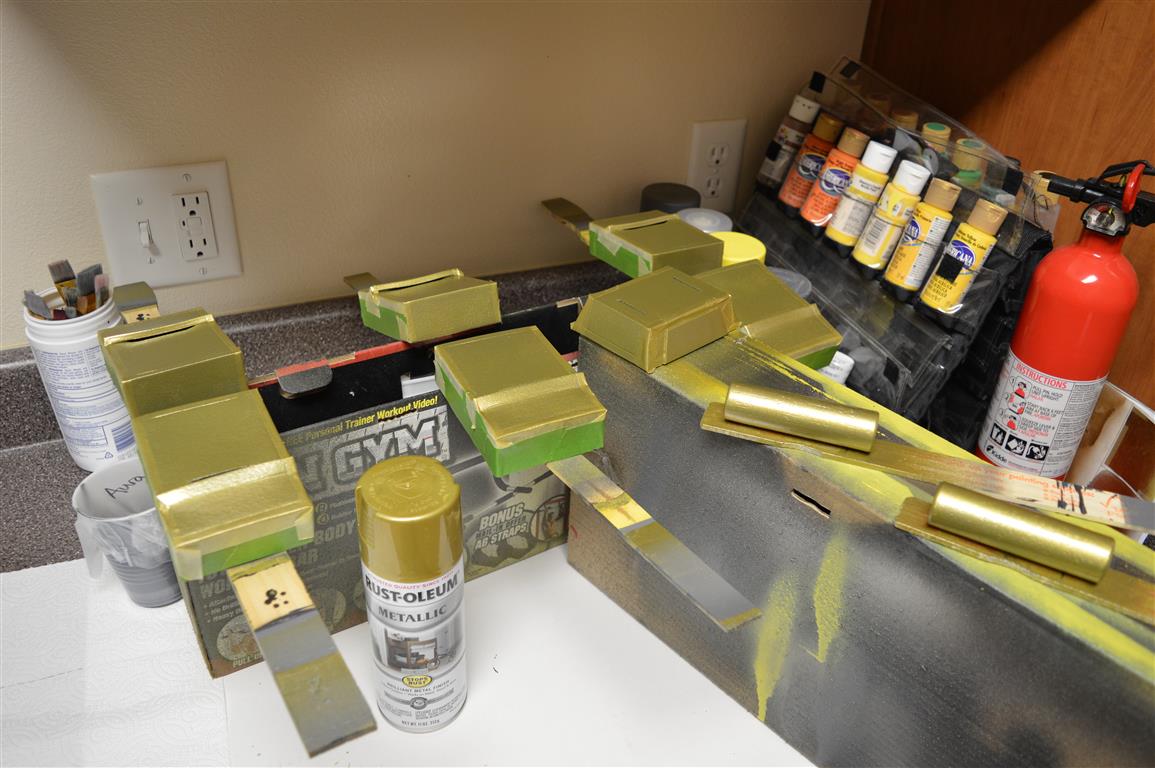
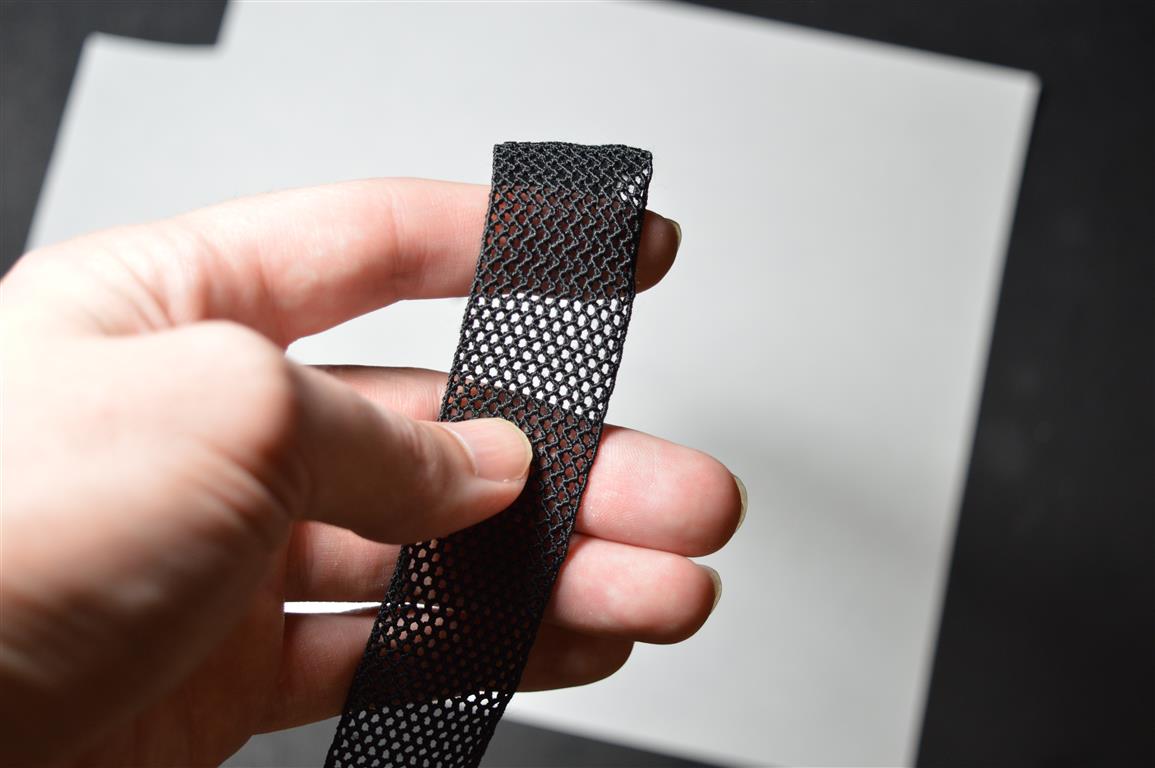
The pieces are now ready for painting. I like to brush on a thick coat of Benjamin Moore Aura first to help smooth out the slight texture of the foam. I used Rustoleum Dark Gray and Metallic Burnished Brass spay paint for the gray and gold colors. After spraying everything gray, I masked off all the final gray areas with tape and then sprayed the gold color. For the canister details, I taped off the line, and then used some mesh ribbon I found at the local fabric store as a stencil, hitting it with some black spray paint. It worked alright but not great. I taped the pieces to paint sticks to make them easier to paint. I also recommend spraying on a couple coats of clear Plasti Dip to help protect the finish. Just make sure to practice spraying several coats onto something else first, as it can become cloudy and speckled if applied incorrectly. For more information on painting, see the Painting tutorial here.


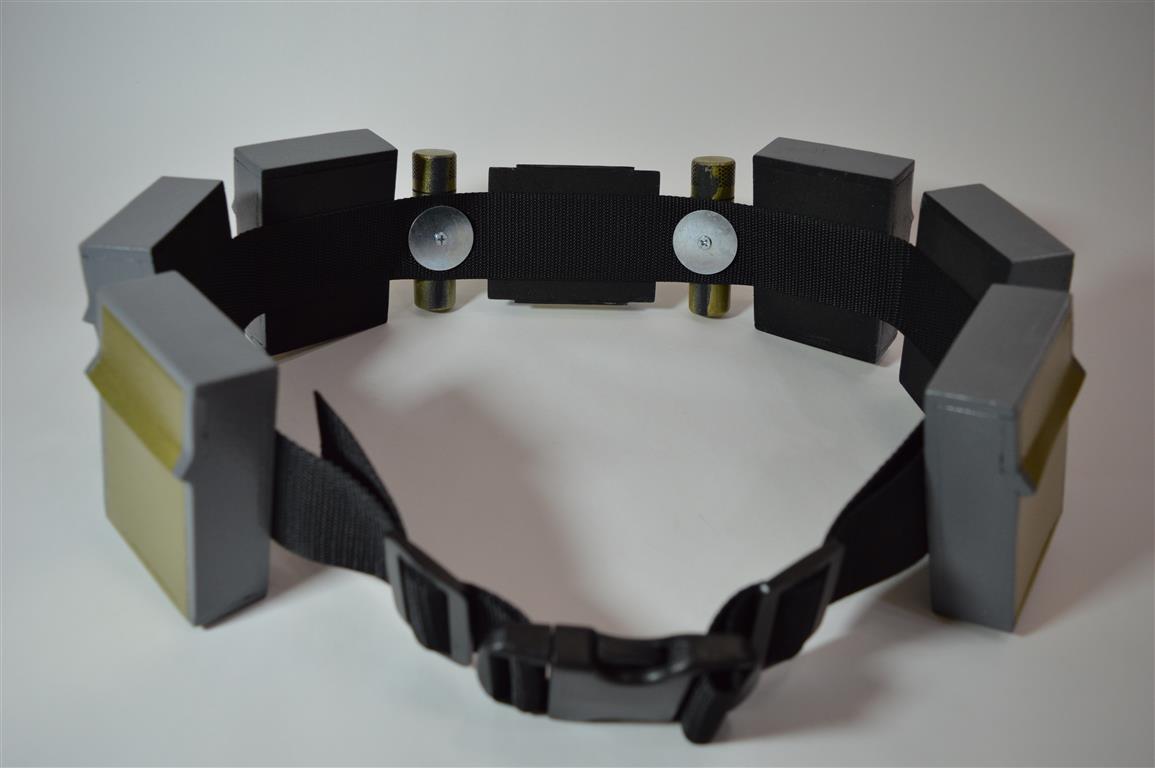
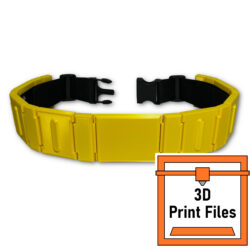
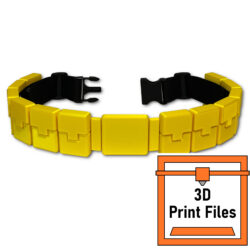
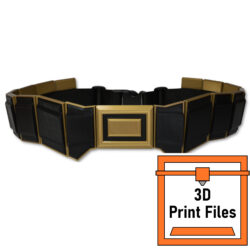
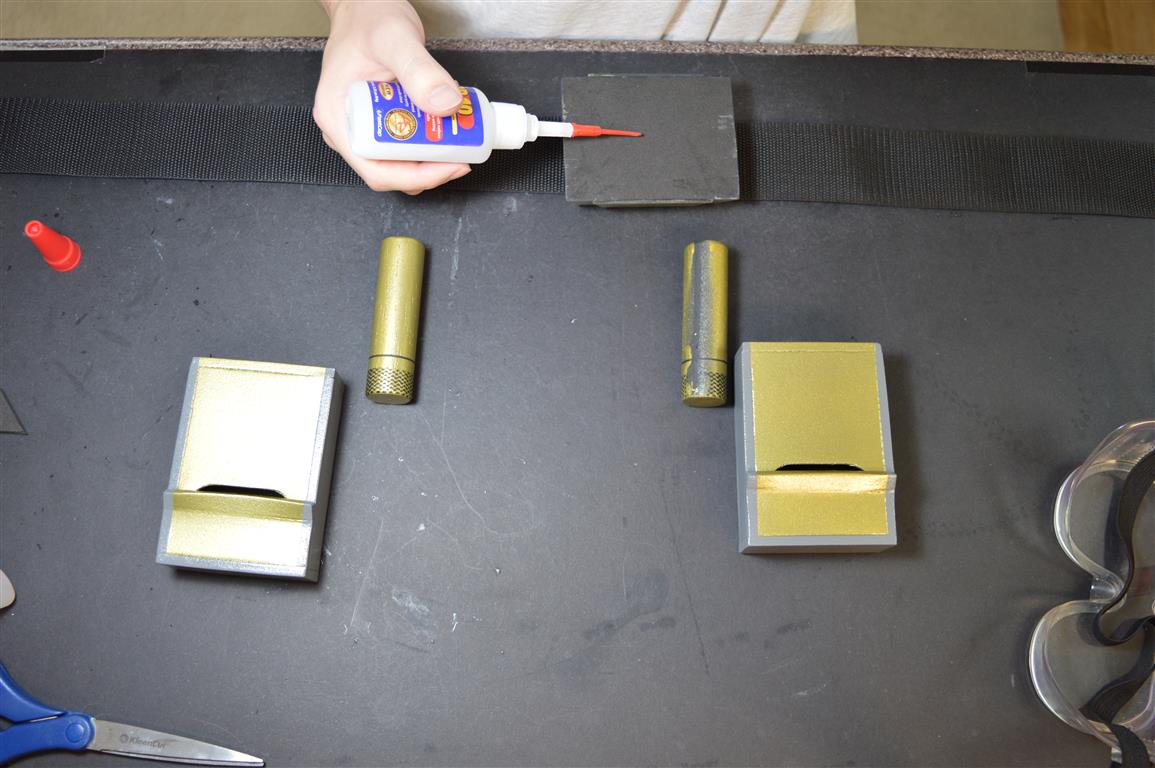
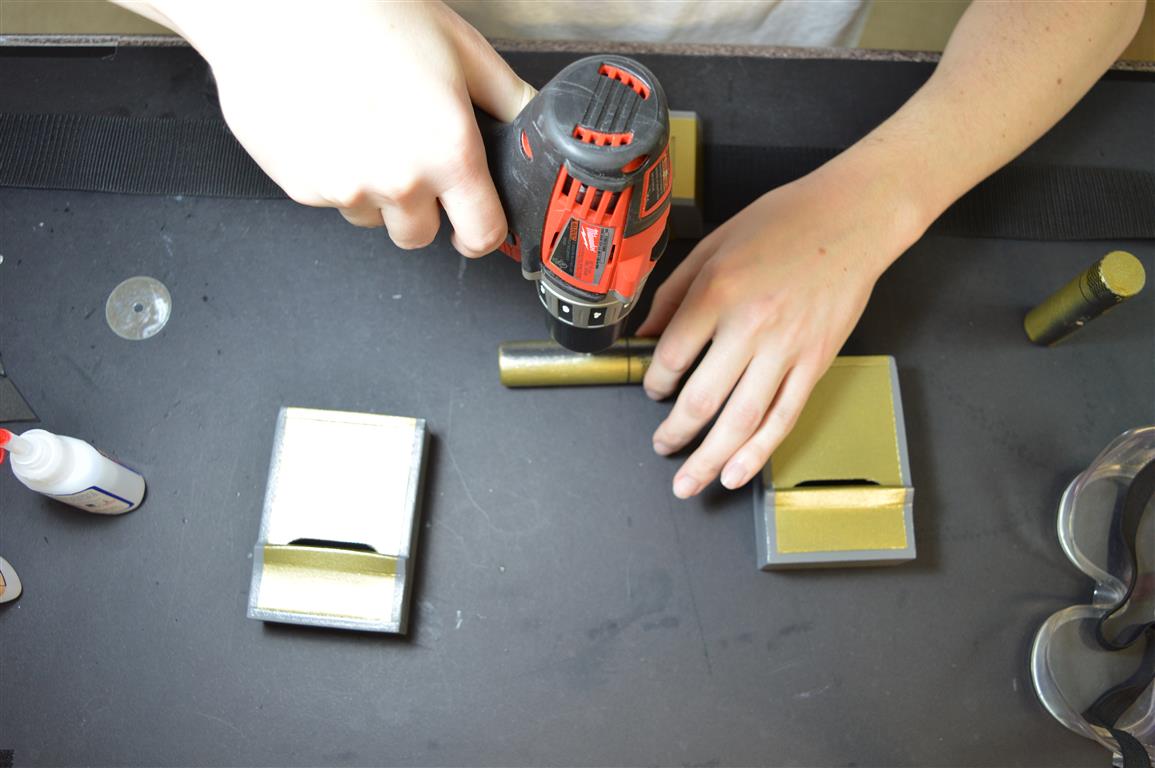
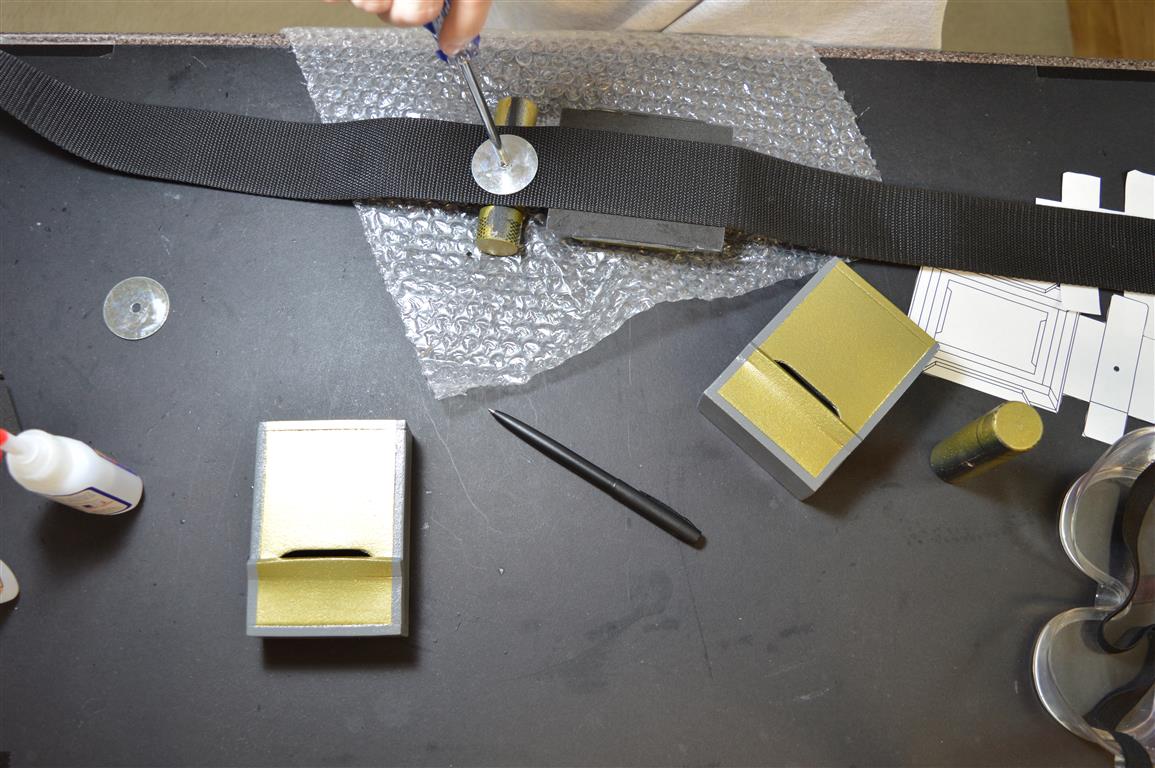
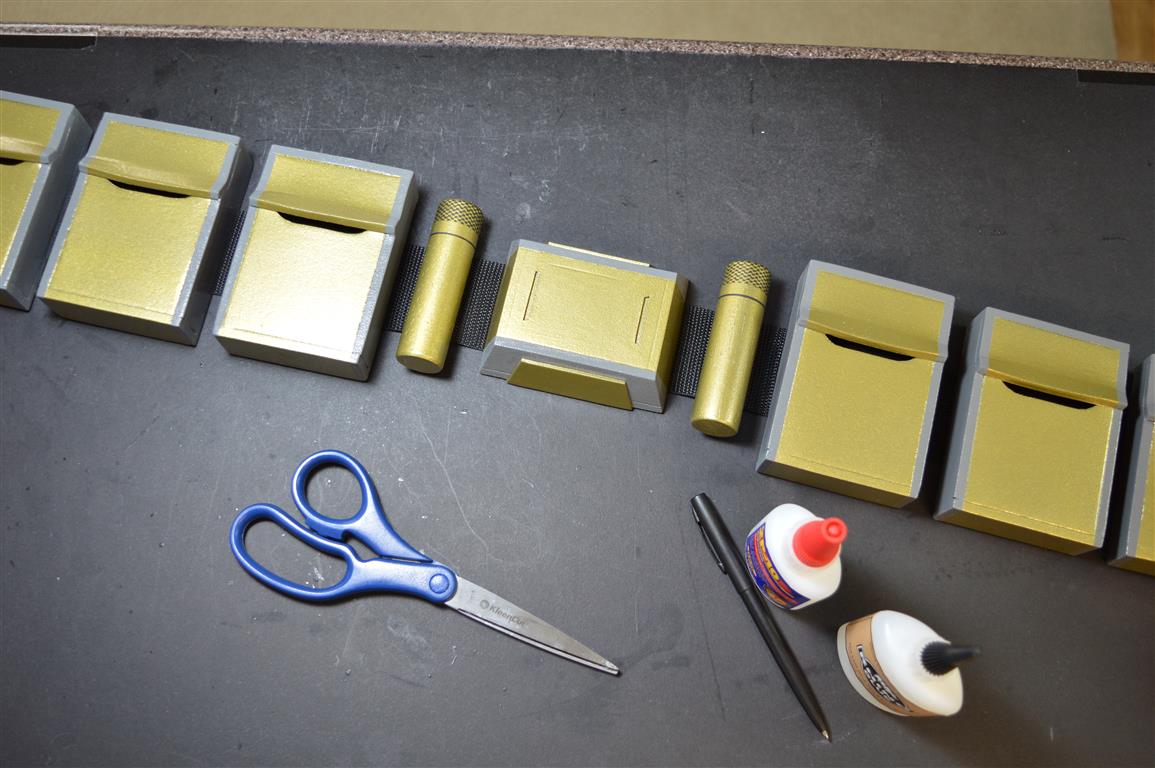
Cut a length of webbing long enough to wrap around your waist and overlap several inches. I used black, 2 inch lightweight polypropylene from strapworks.com. Glue the buckle onto the middle of the webbing. Since the canisters won’t glue well with such a small contact area, I used a screw and washer on the back of each instead. Drill a pilot hole first to avoid cracking the wood, and use a leather punch to make a hole in the webbing. Glue all the pouches onto the webbing as well (I spaced all the pieces 5/8ths inches apart). Finish the belt with a plastic buckle on the ends of the webbing (strapworks again).

I have another, broader tutorial on how to make utility belts here. Check out the shop and the gallery for more templates and project ideas. Have fun!