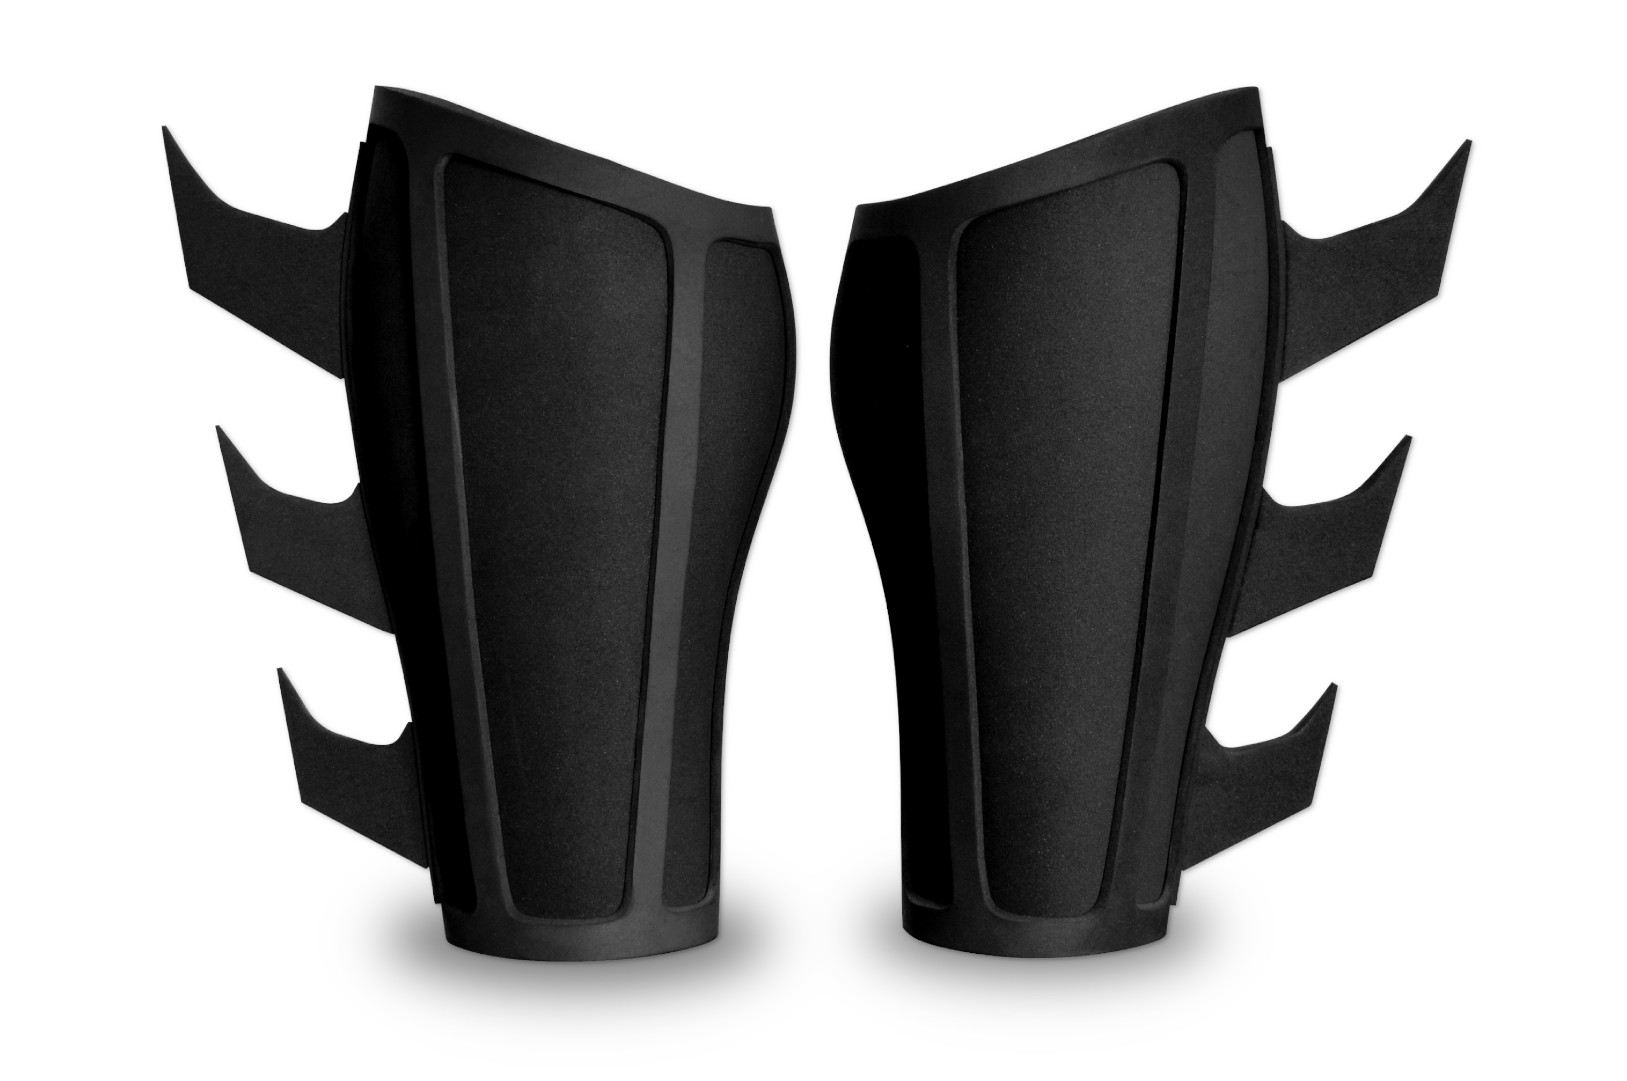
This tutorial will walk you through the construction of the Curved Begins Bat Gauntlets (Ver. 2). The template is available for purchase here:
 If this is your first build, check out the Introduction Page first,
as well as the Supply Page for links to the foam, glue, and necessary tools.
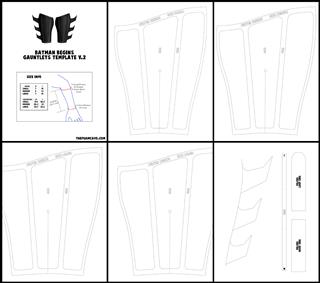
There are three sizes available with this template. Use a cloth tape measure to measure the circumference of your wrist and forearm, and refer to the size chart to determine which size will fit you best. Make sure to measure over whatever costume/clothing/gloves you will be wearing these over. If any of your measurements are more than 1/4 inch larger than listed for a given size, I recommend going with the next larger size. The gauntlets have a slit on the underside that opens and closes with velcro so they can be easily slid over your hands.
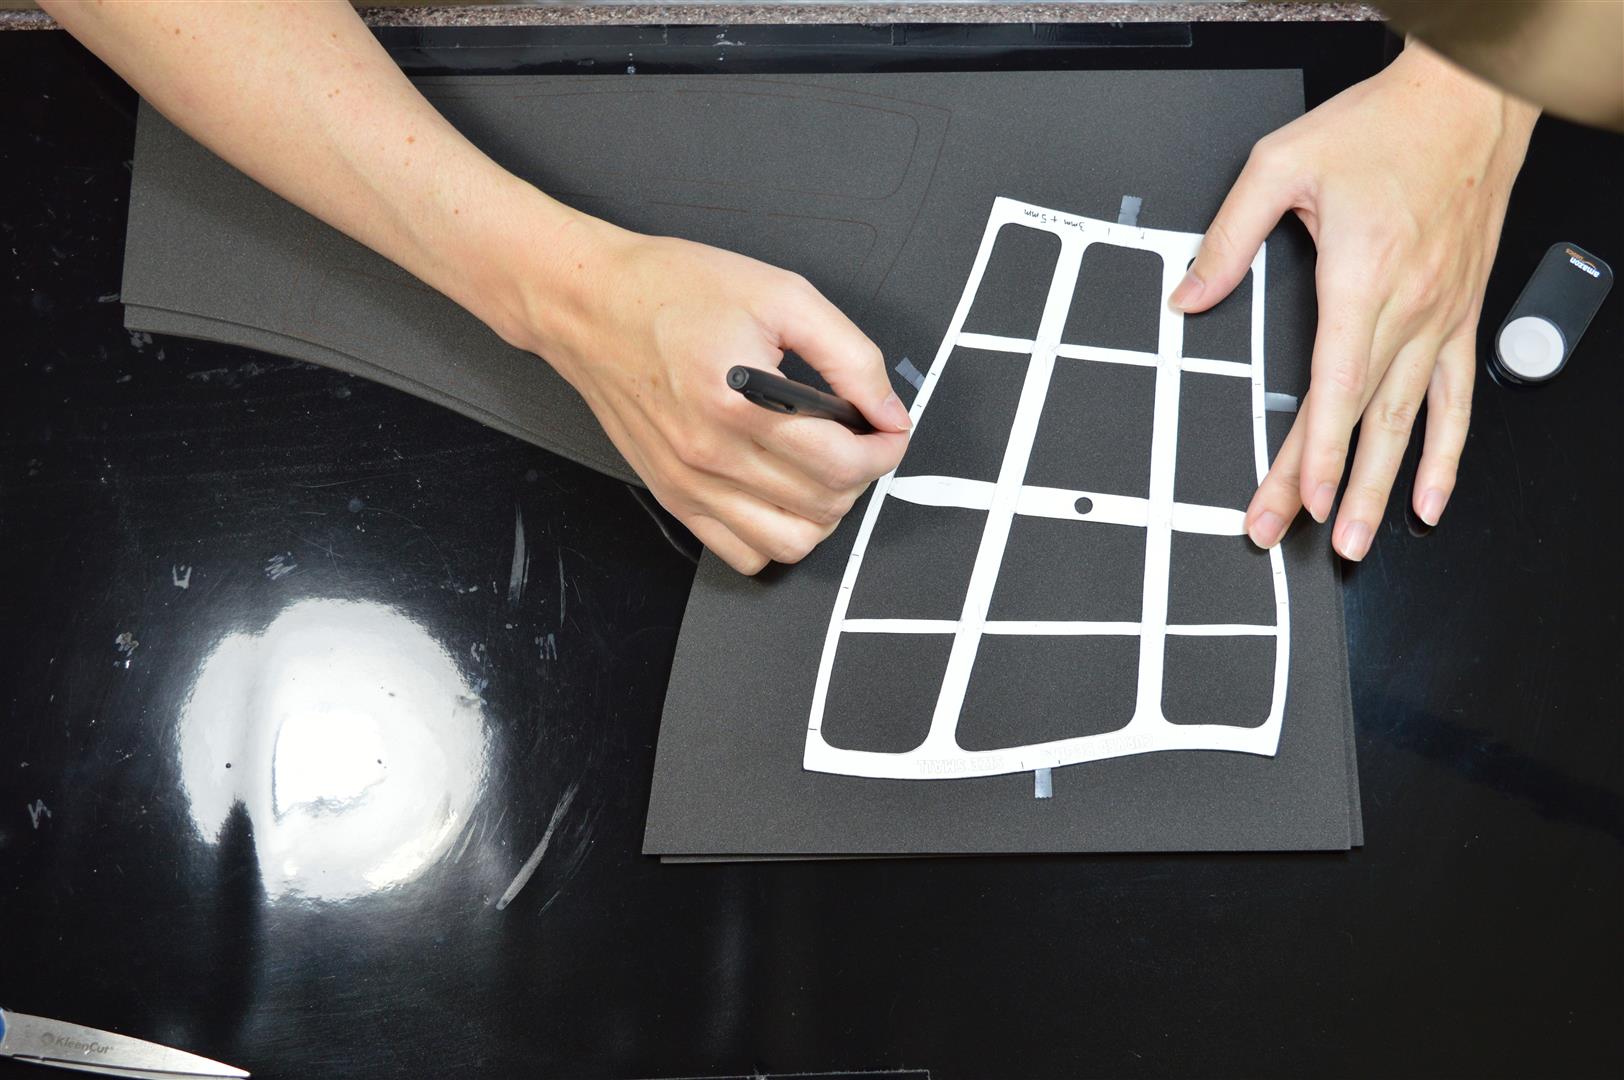
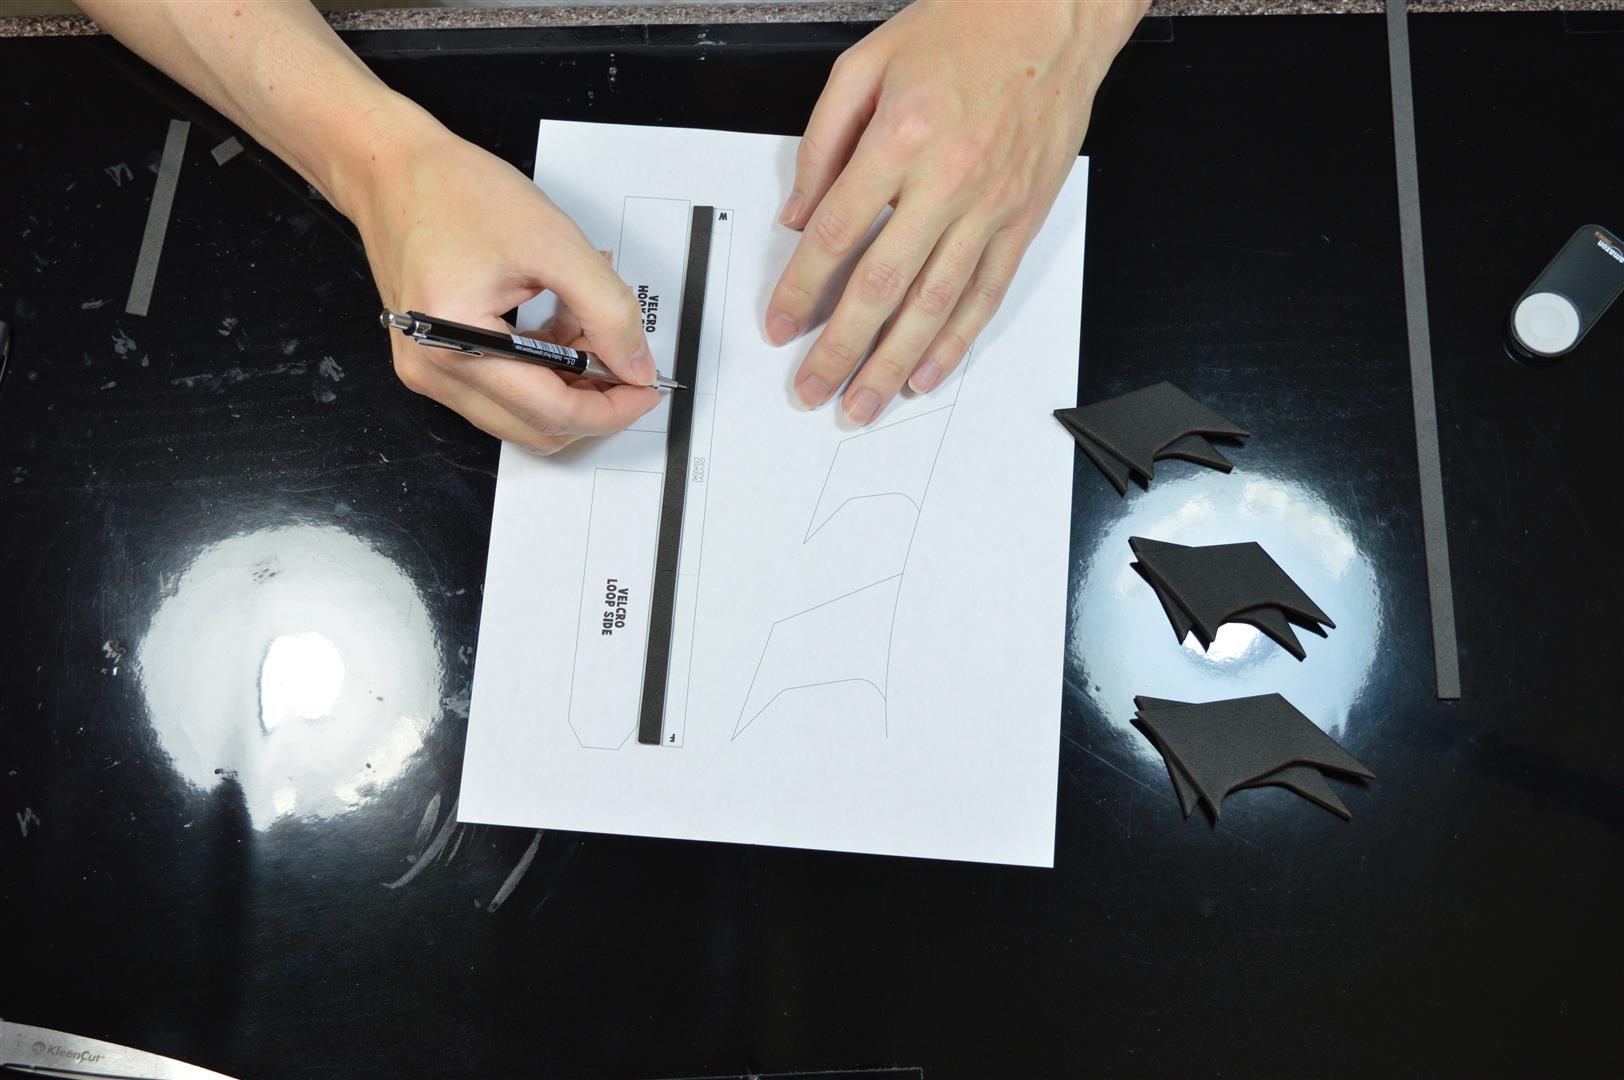
Print out the template onto thick printer paper (ideally a poster board paper) to make it easier to trace. Cut out all the pieces and trace them onto your foam sheets. (If making the large size, the two pages will need to be taped together – hold it up to light or place the printouts on a sun-facing window to see through the paper and correctly align both halves.) Use a few pieces of scotch tape to hold the template in place on the foam when tracing. You can use a regular ball point pen; I like space pens as they flow smoothly over the foam. The template is half of a gauntlet, and the other half is identical but mirrored so just flip the template over to trace the other half. I recommend 3mm thick foam for top ribbed layer, 5mm for the base layer, 2mm for the fin base, and 5mm for the fins.
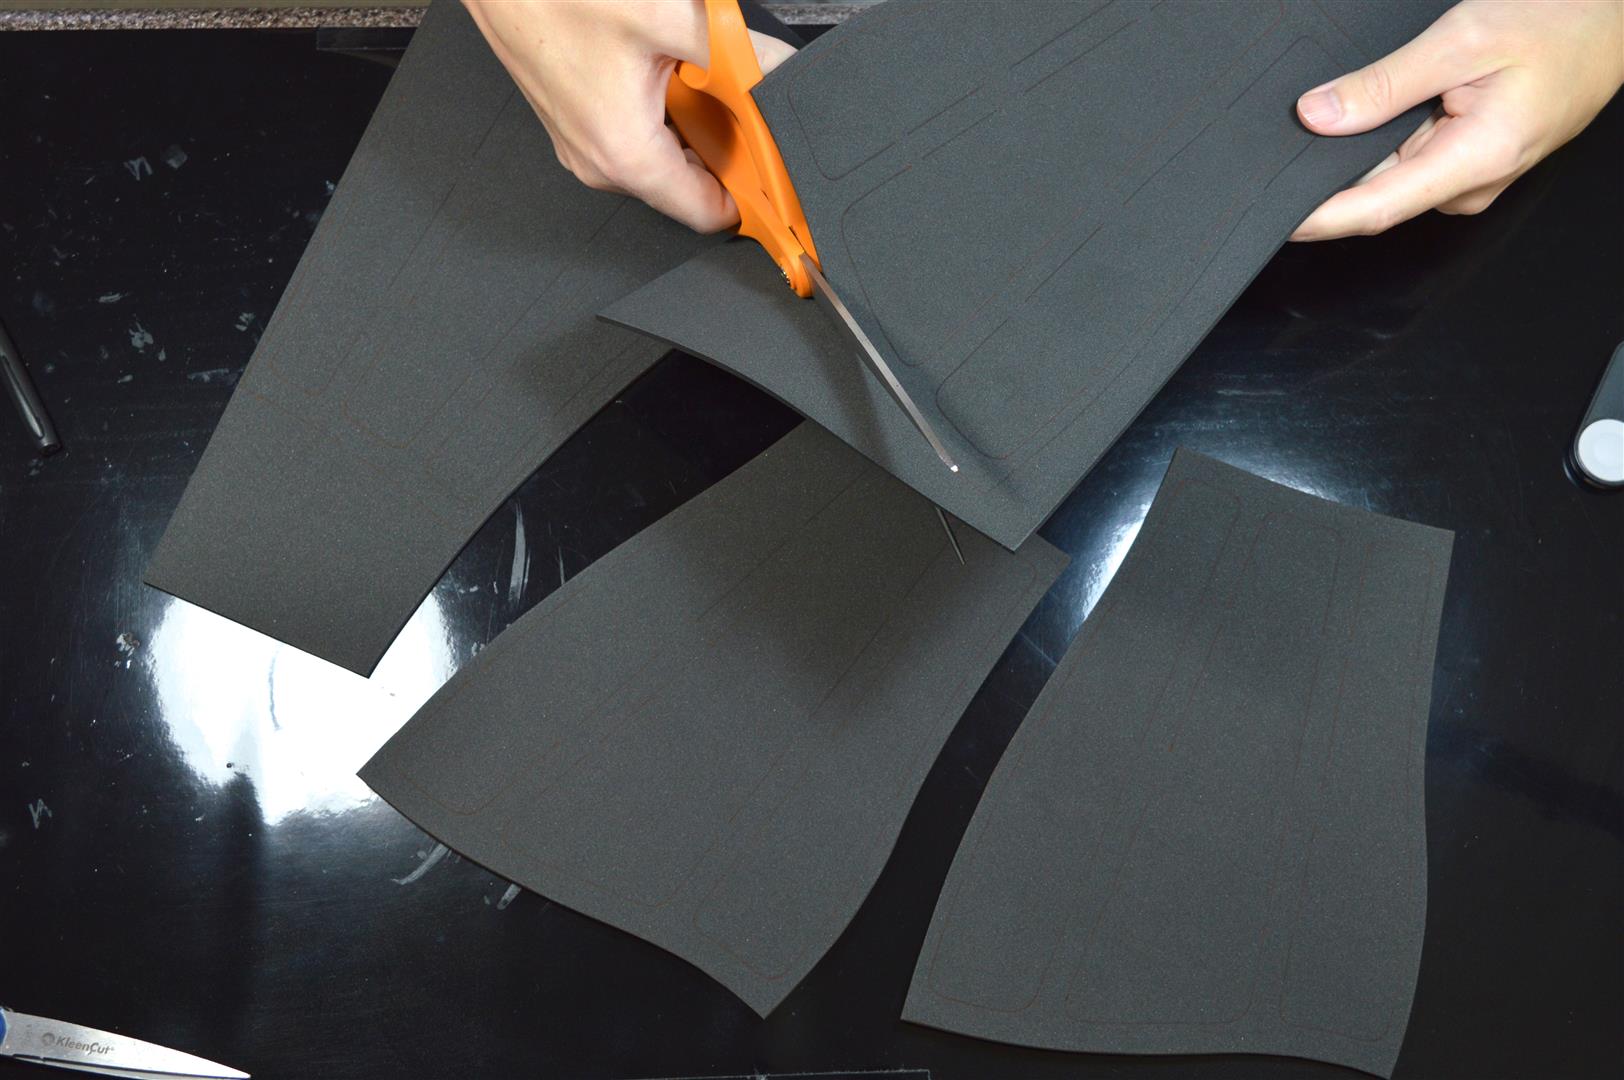
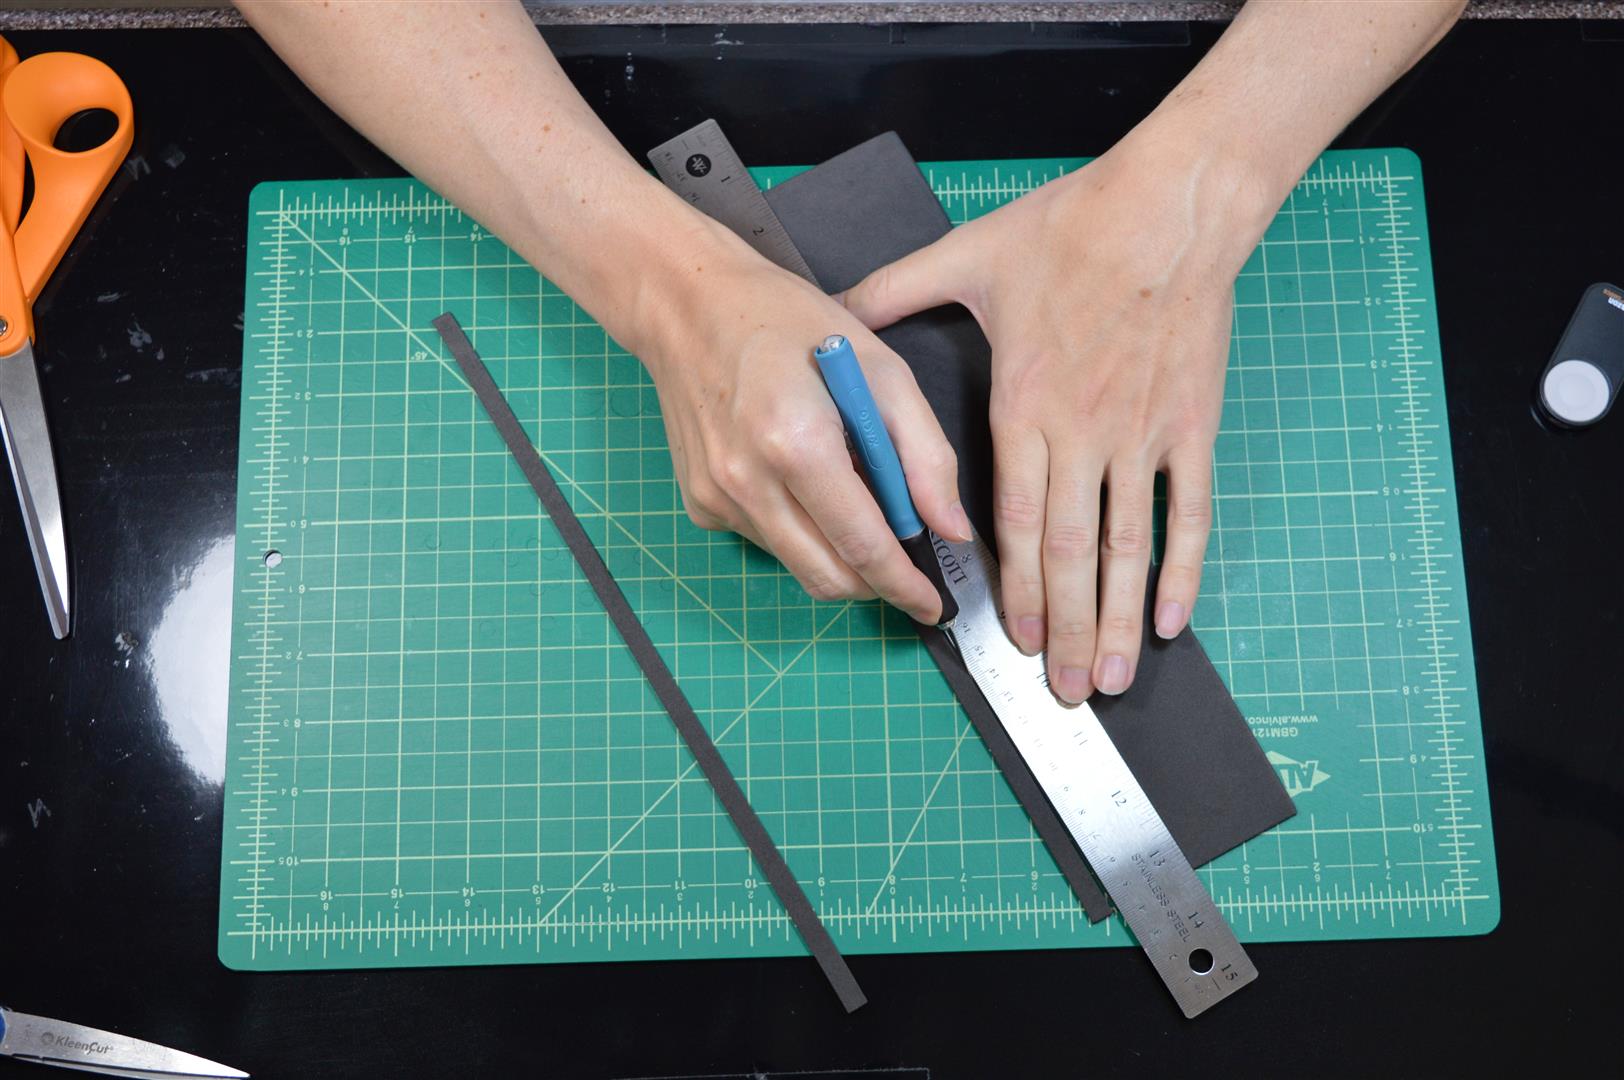
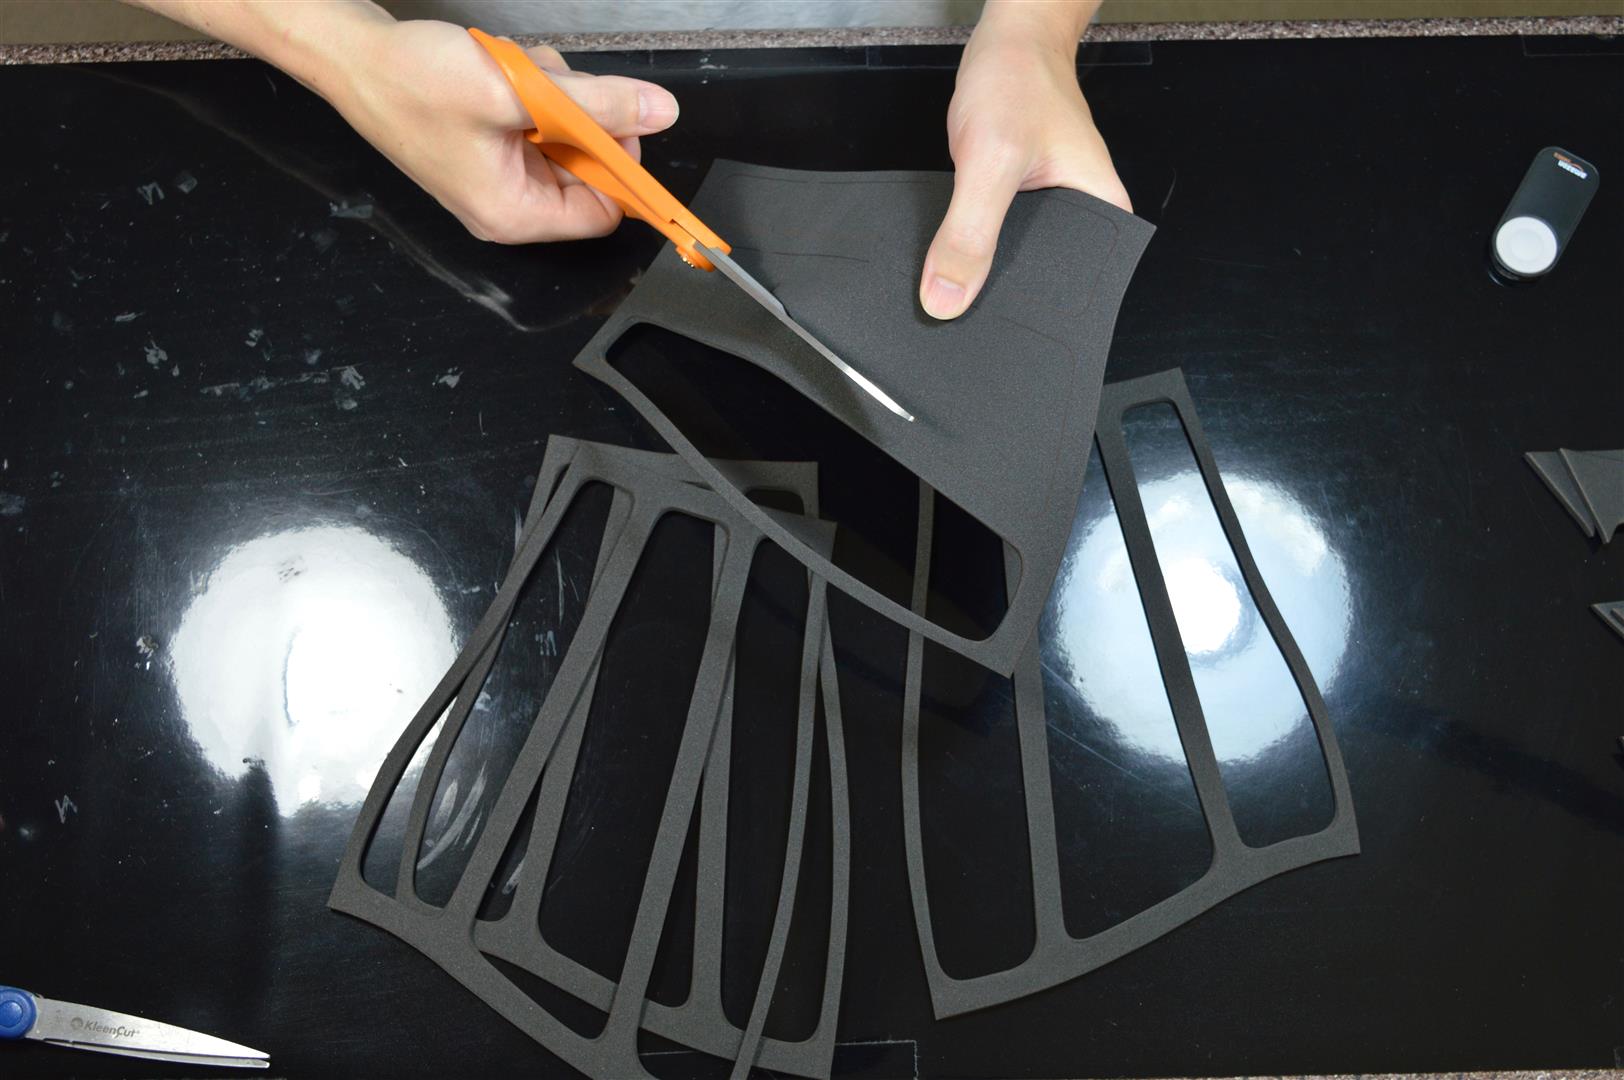
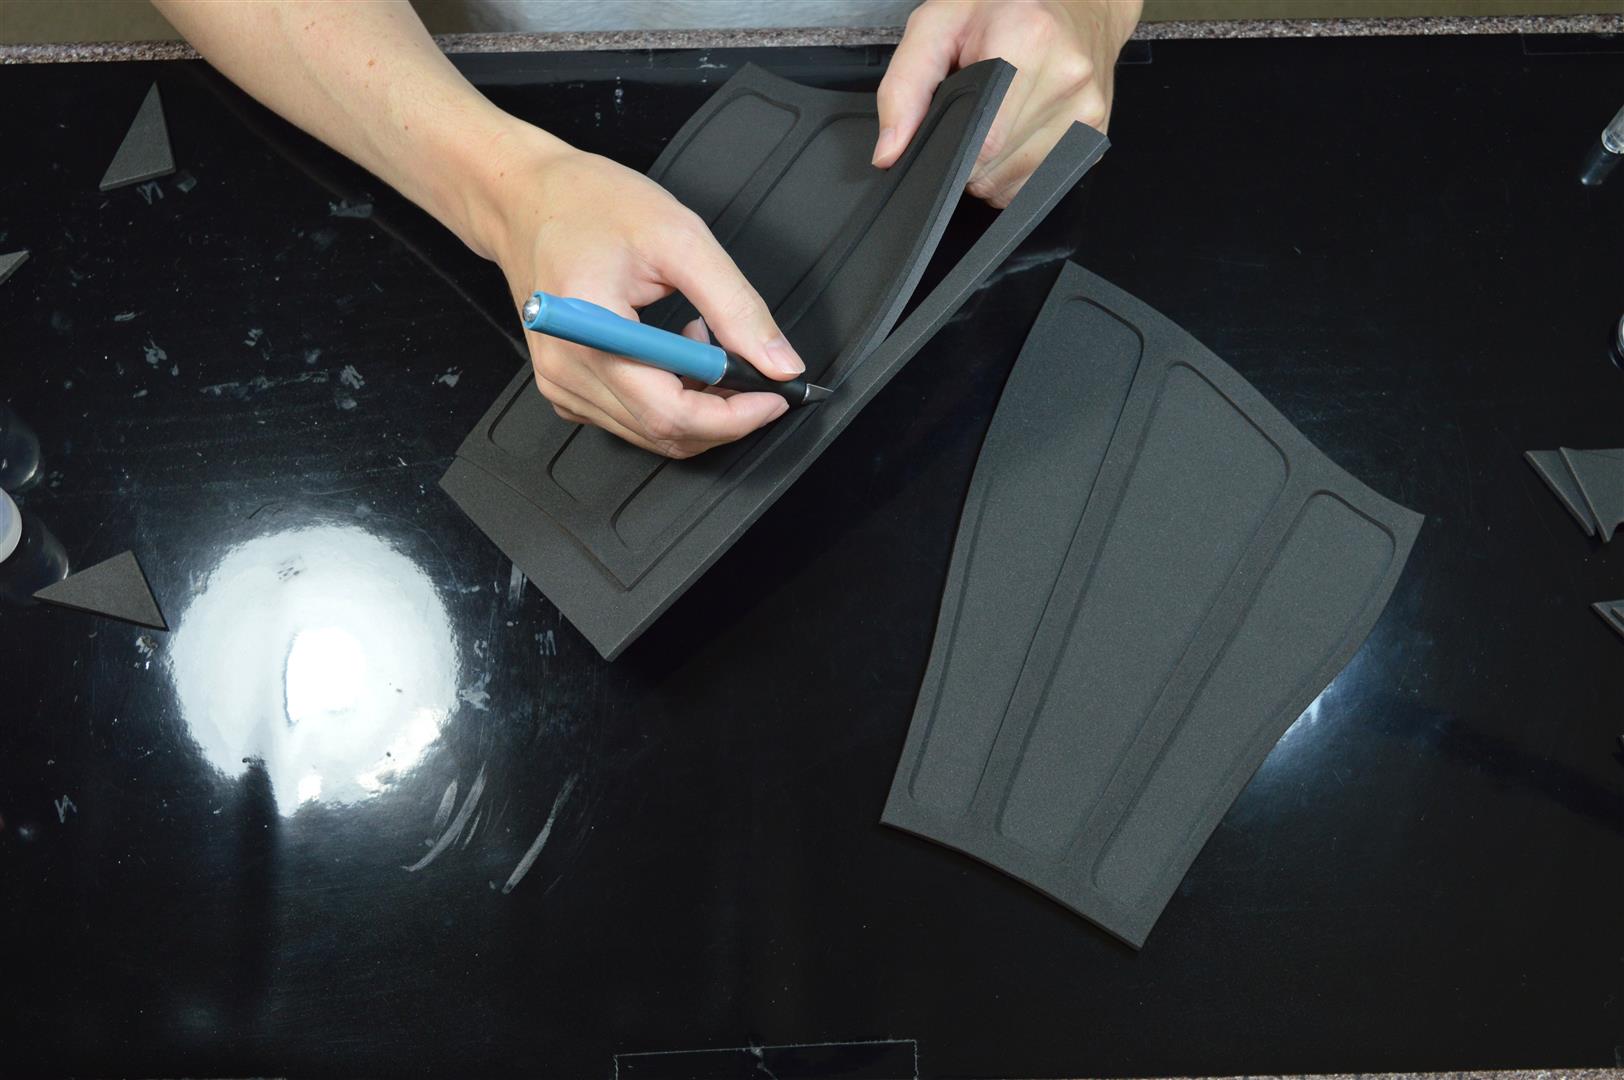
Cut out the shapes with scissors. For the ribbed top layers, only cut the outside perimeter to start with. (This will make the next tracing step much easier and more accurate.) For long, straight cuts like the fin base, I find it easier to use a ruler and xacto knife rather than scissors.
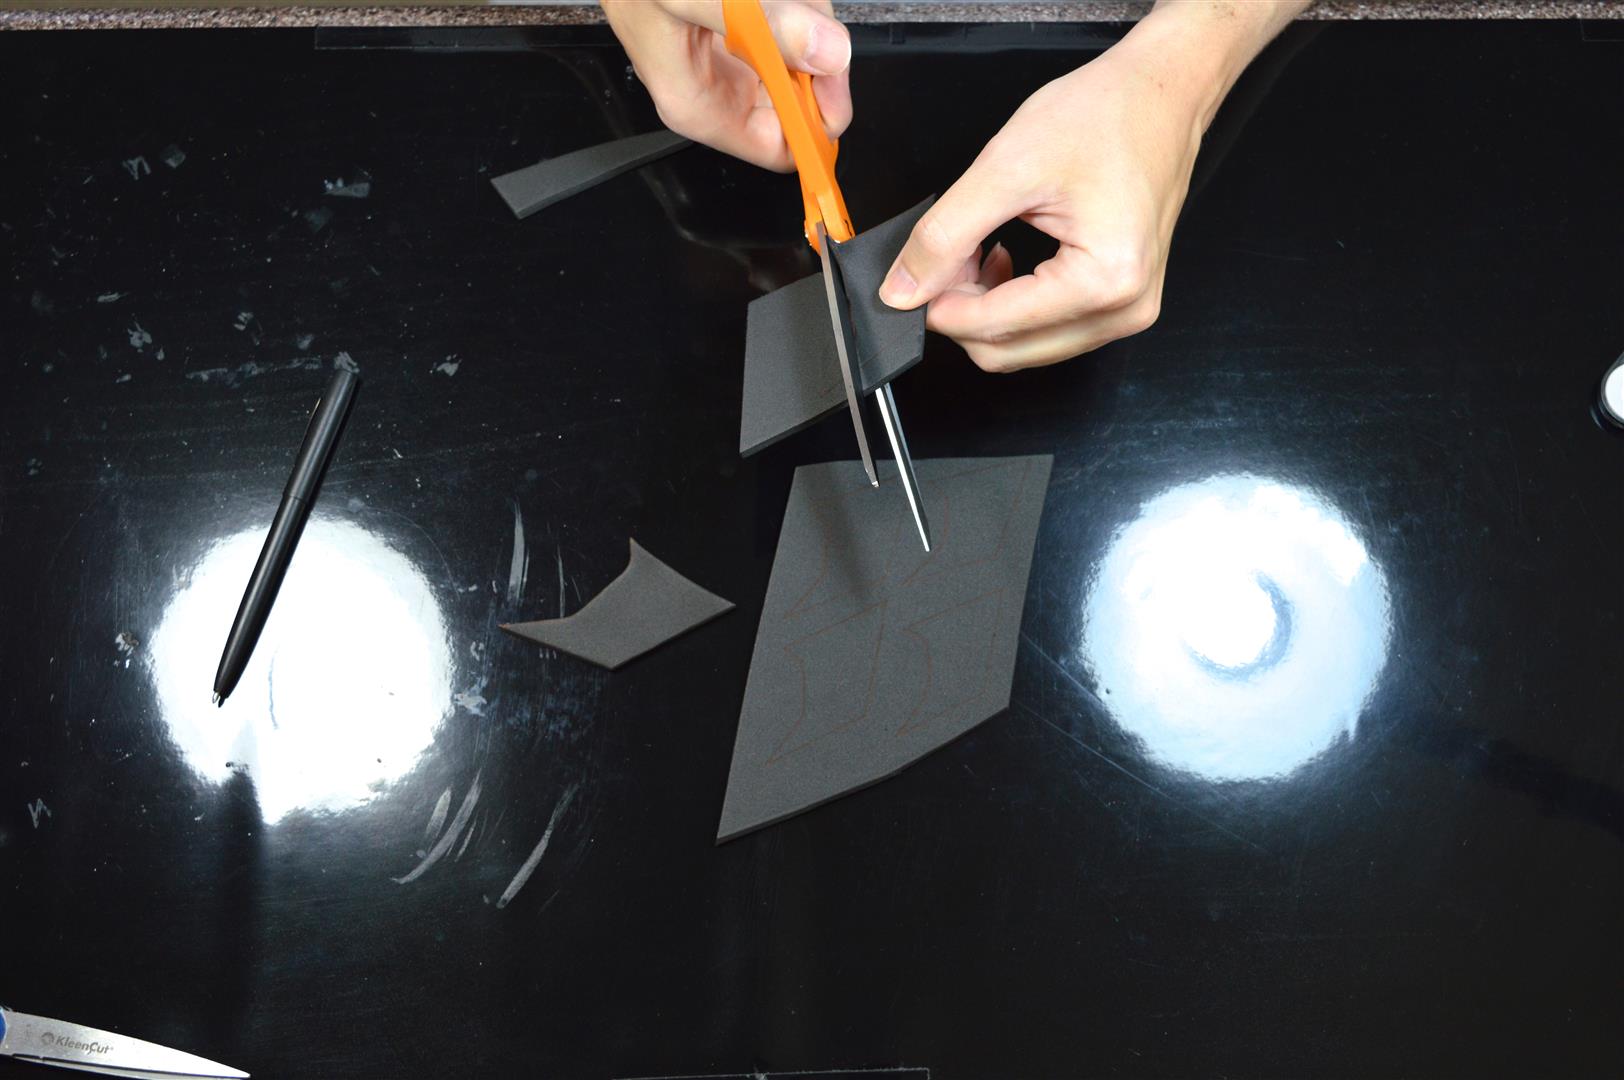
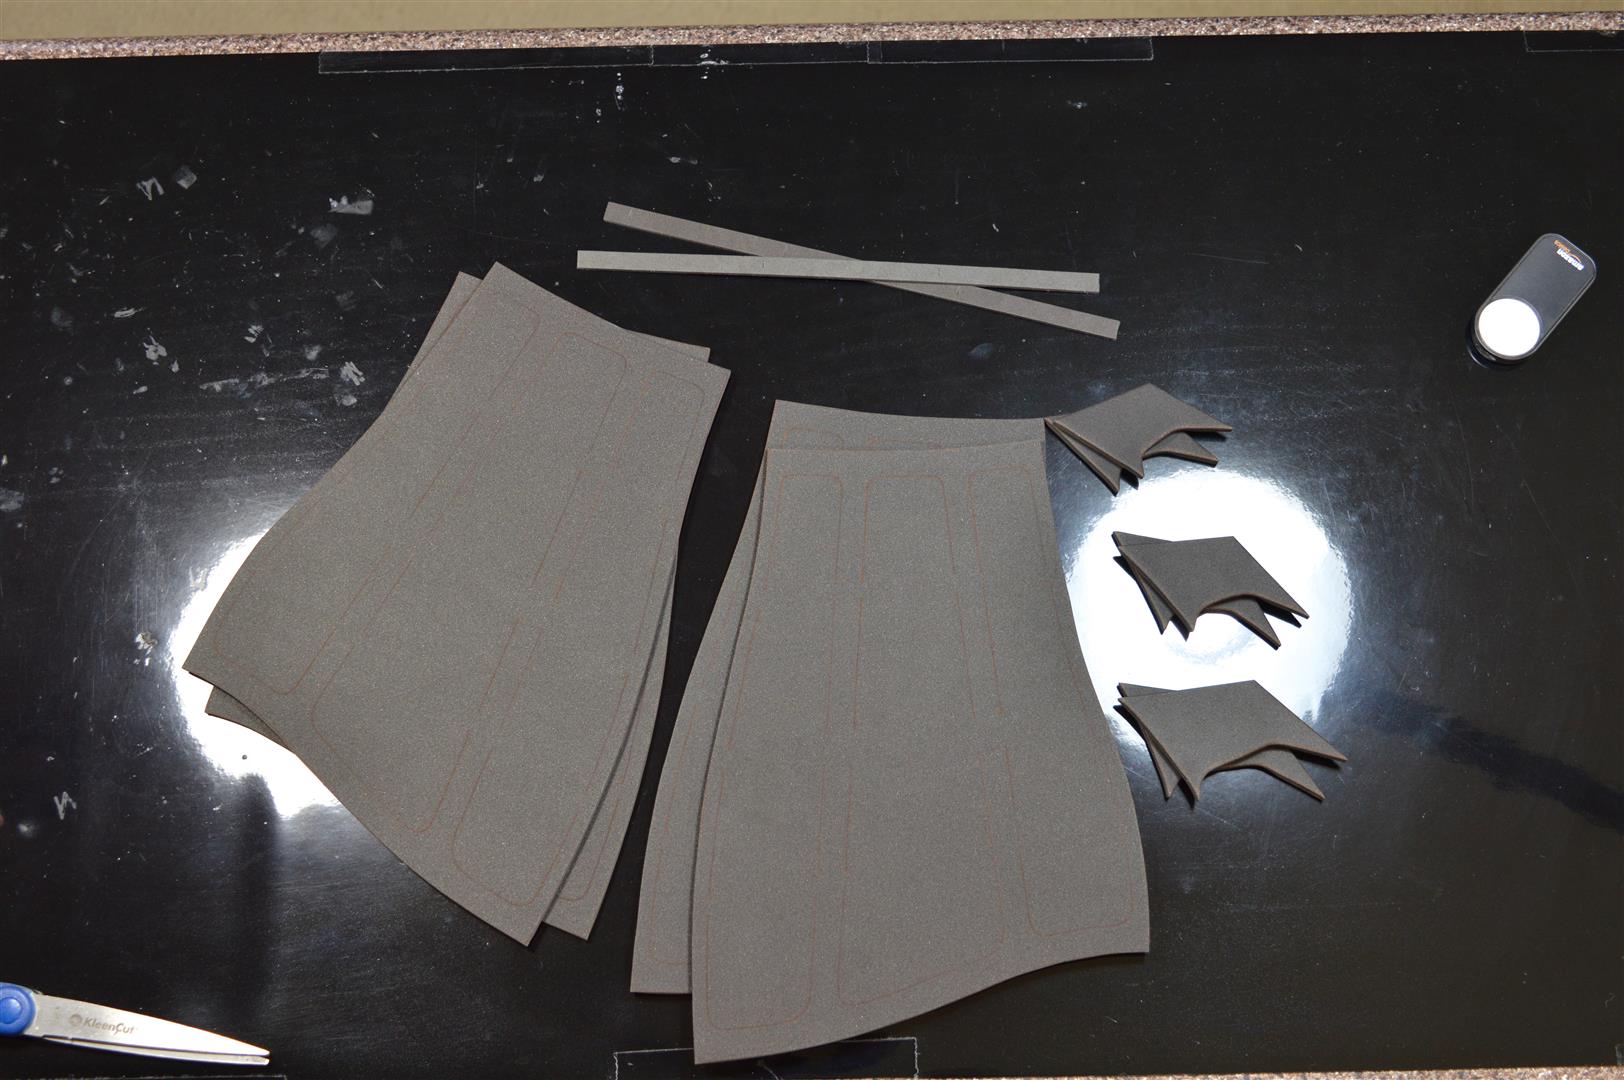
Trace the outer perimeter of the ribbed top layers onto the 5mm sheets. (Trace the foam pieces rather than the paper template as they will likely be bigger.) These outlines will help with alignment when gluing to maintain the proper shape of the ribbed sections. Next, transfer the dashed lines on the fin base pattern onto the fin base pieces. This will help you with proper spacing and placement of the fins when gluing them on at the end. Finally, finish cutting out the rest of the inner sections of the top ribbed pieces.

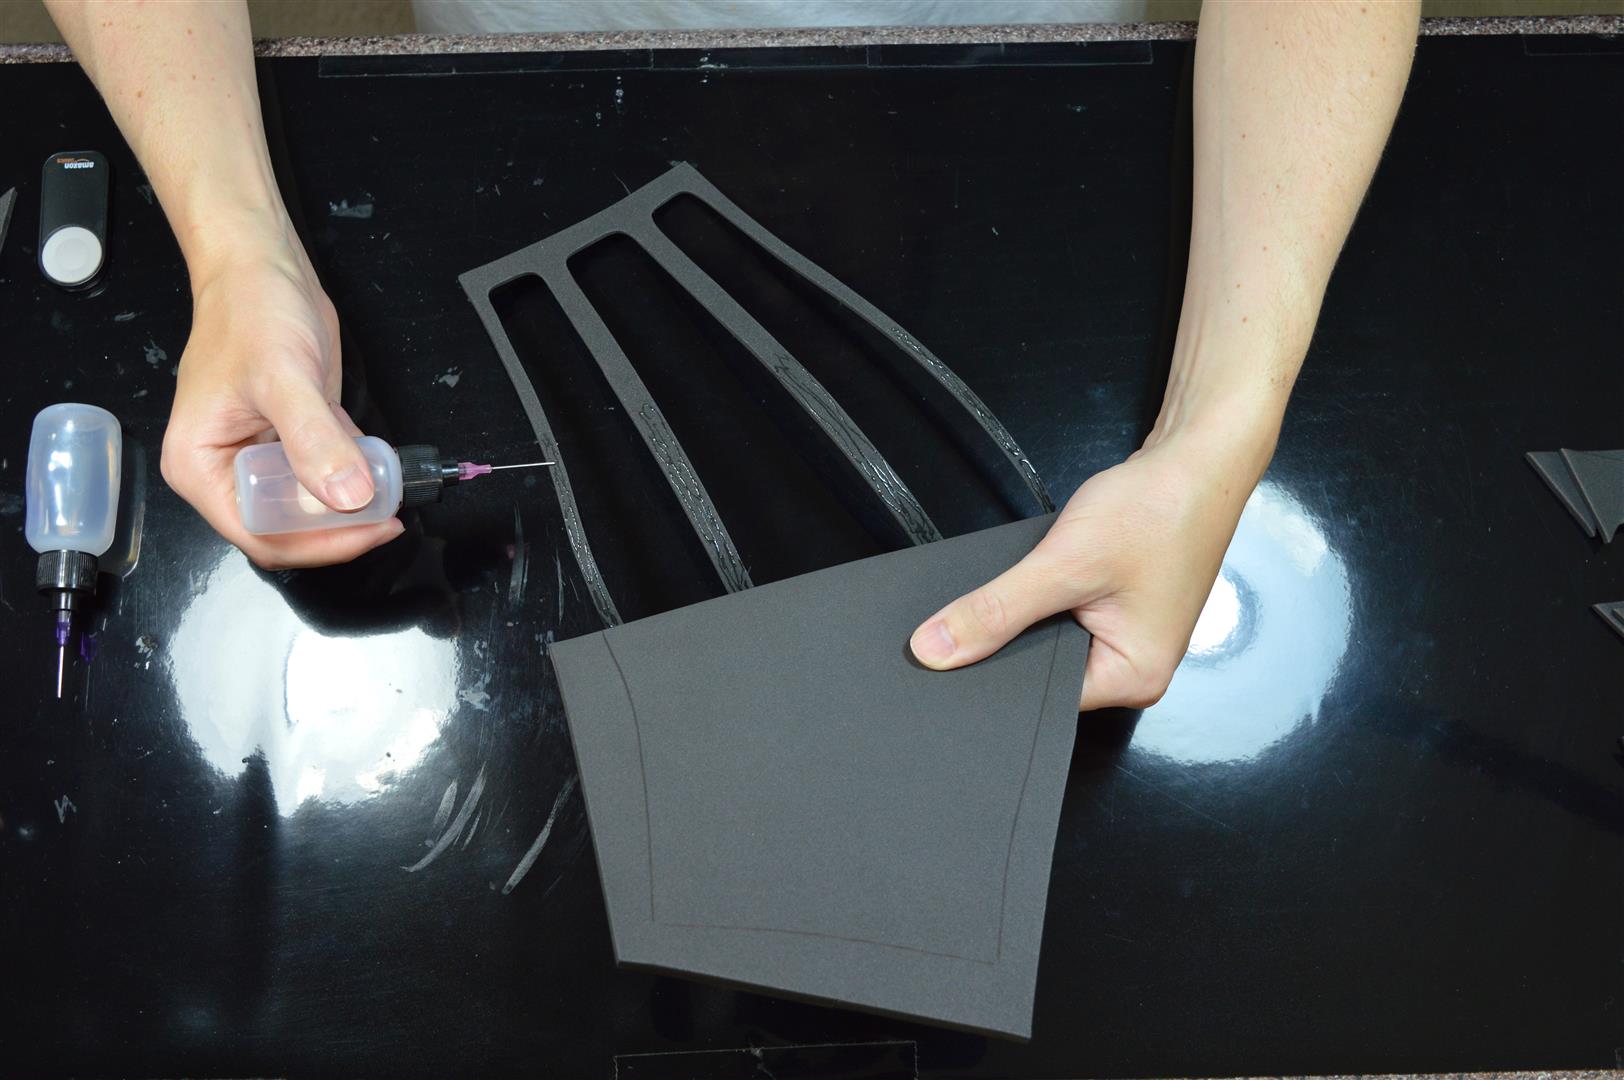
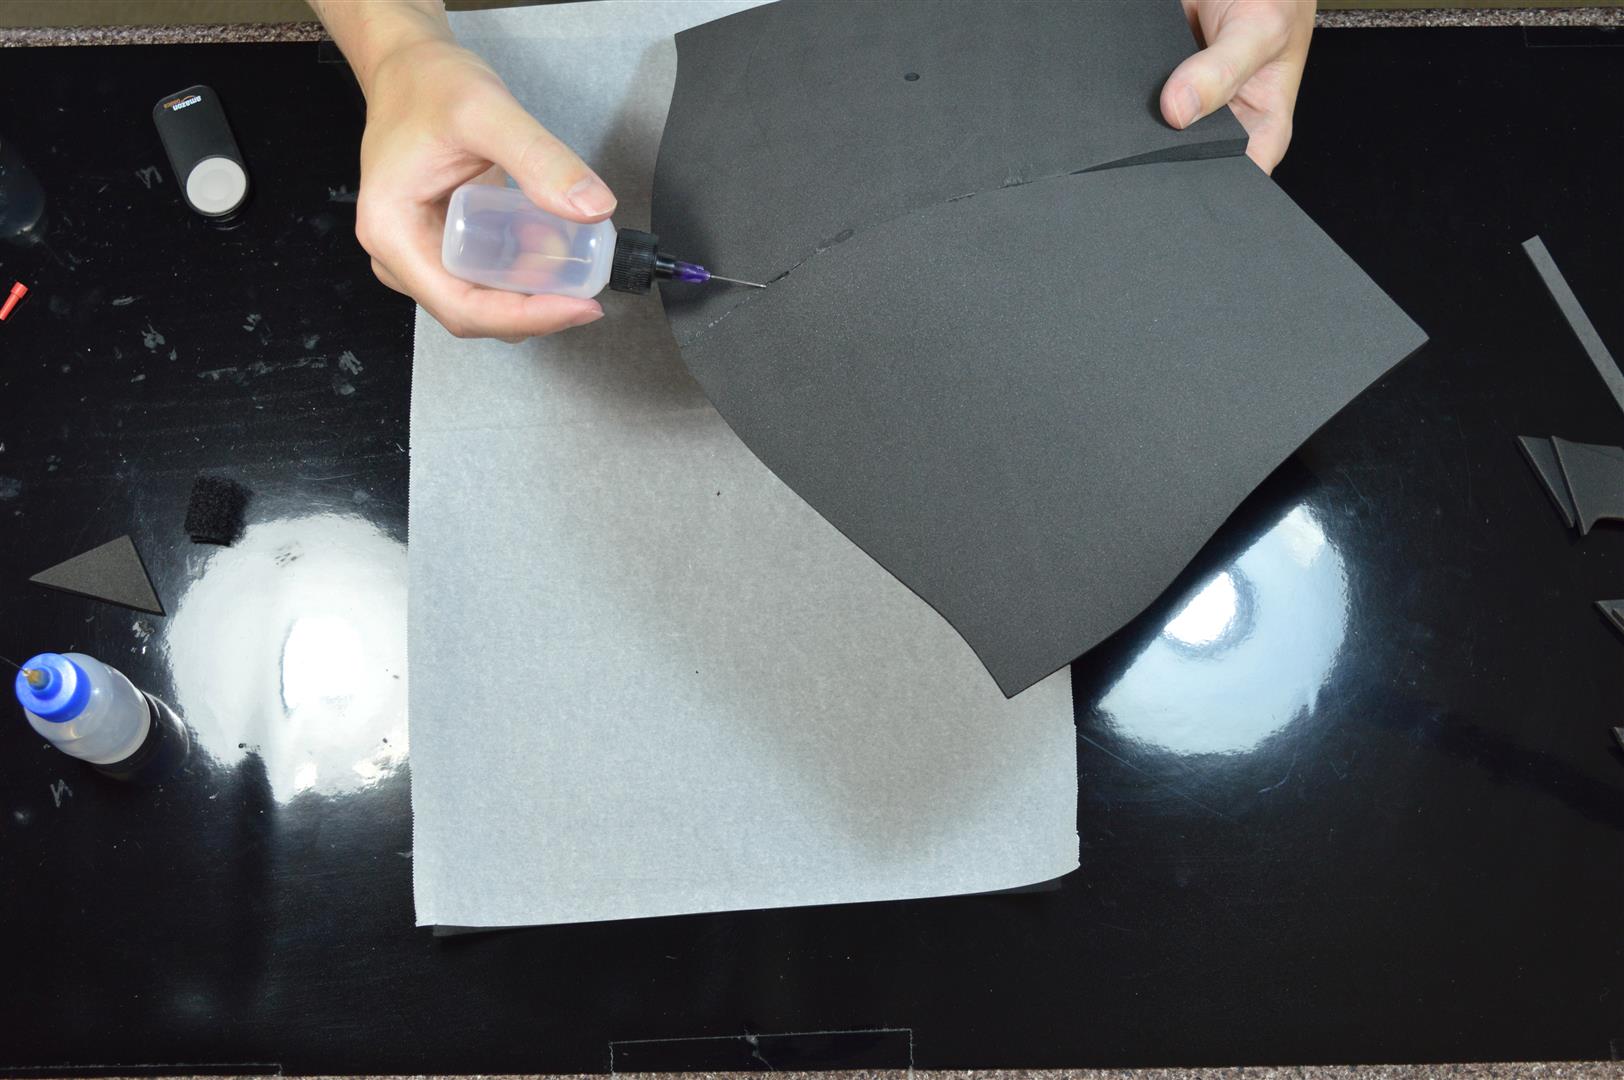
Align a top ribbed piece over the outline marks on the 5mm foam sheets. Press down on the top layer to hold it in place, and then peel back one of the top corners slightly. Apply a small but even amount of glue to the exposed underside of the top layer. I use super glue. Lower the corner back down and press gently on it for about 10 seconds to let the glue set.
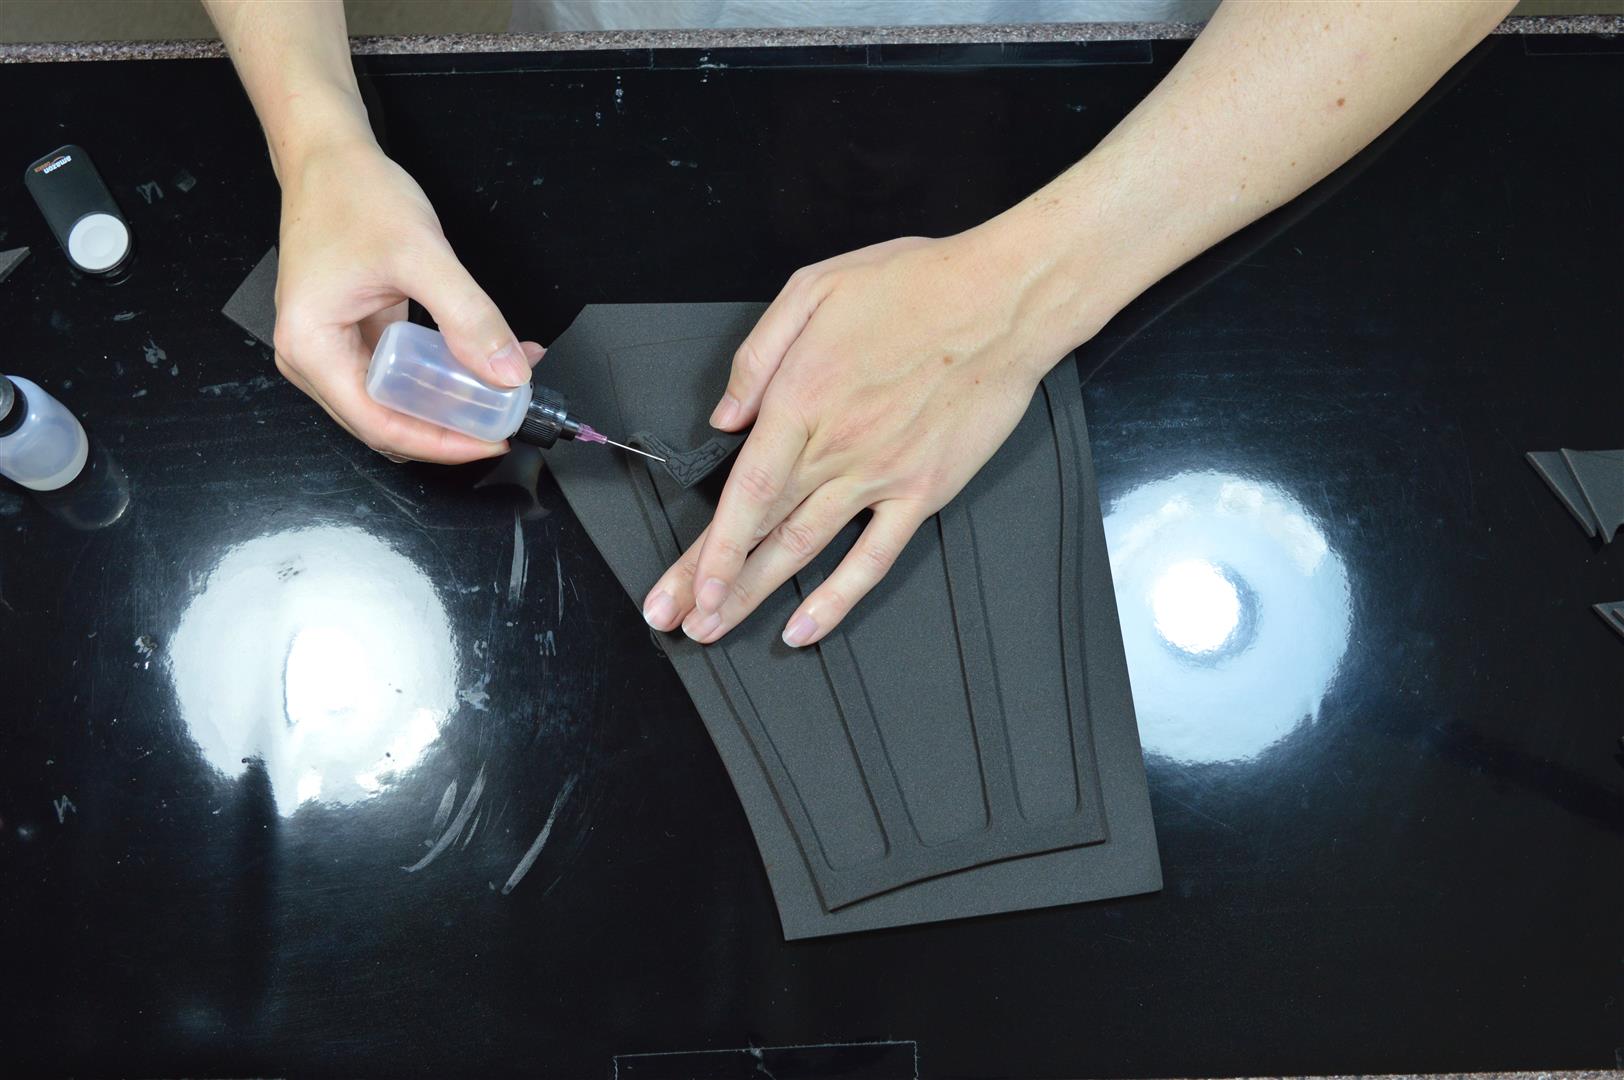
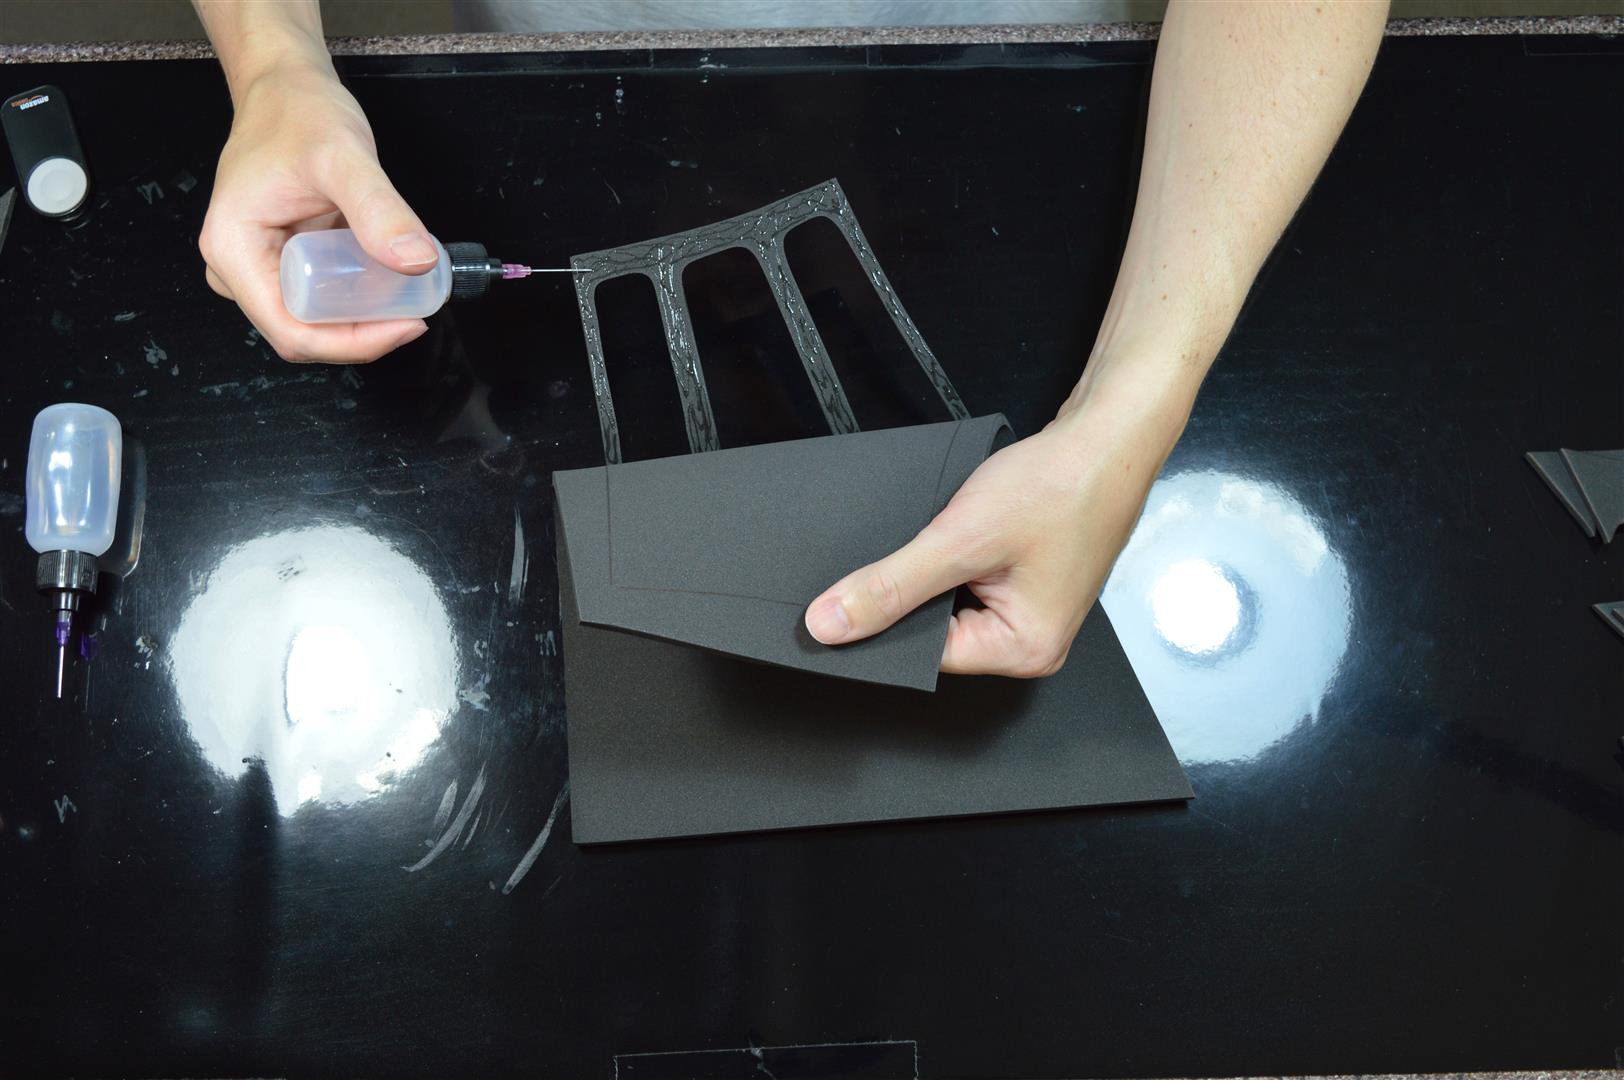
Flip over the pieces and apply glue to the underside of just the top rib. Flip it back over press and hold the pieces together, ensuring the top piece is in alignment with the outline mark when putting them together.

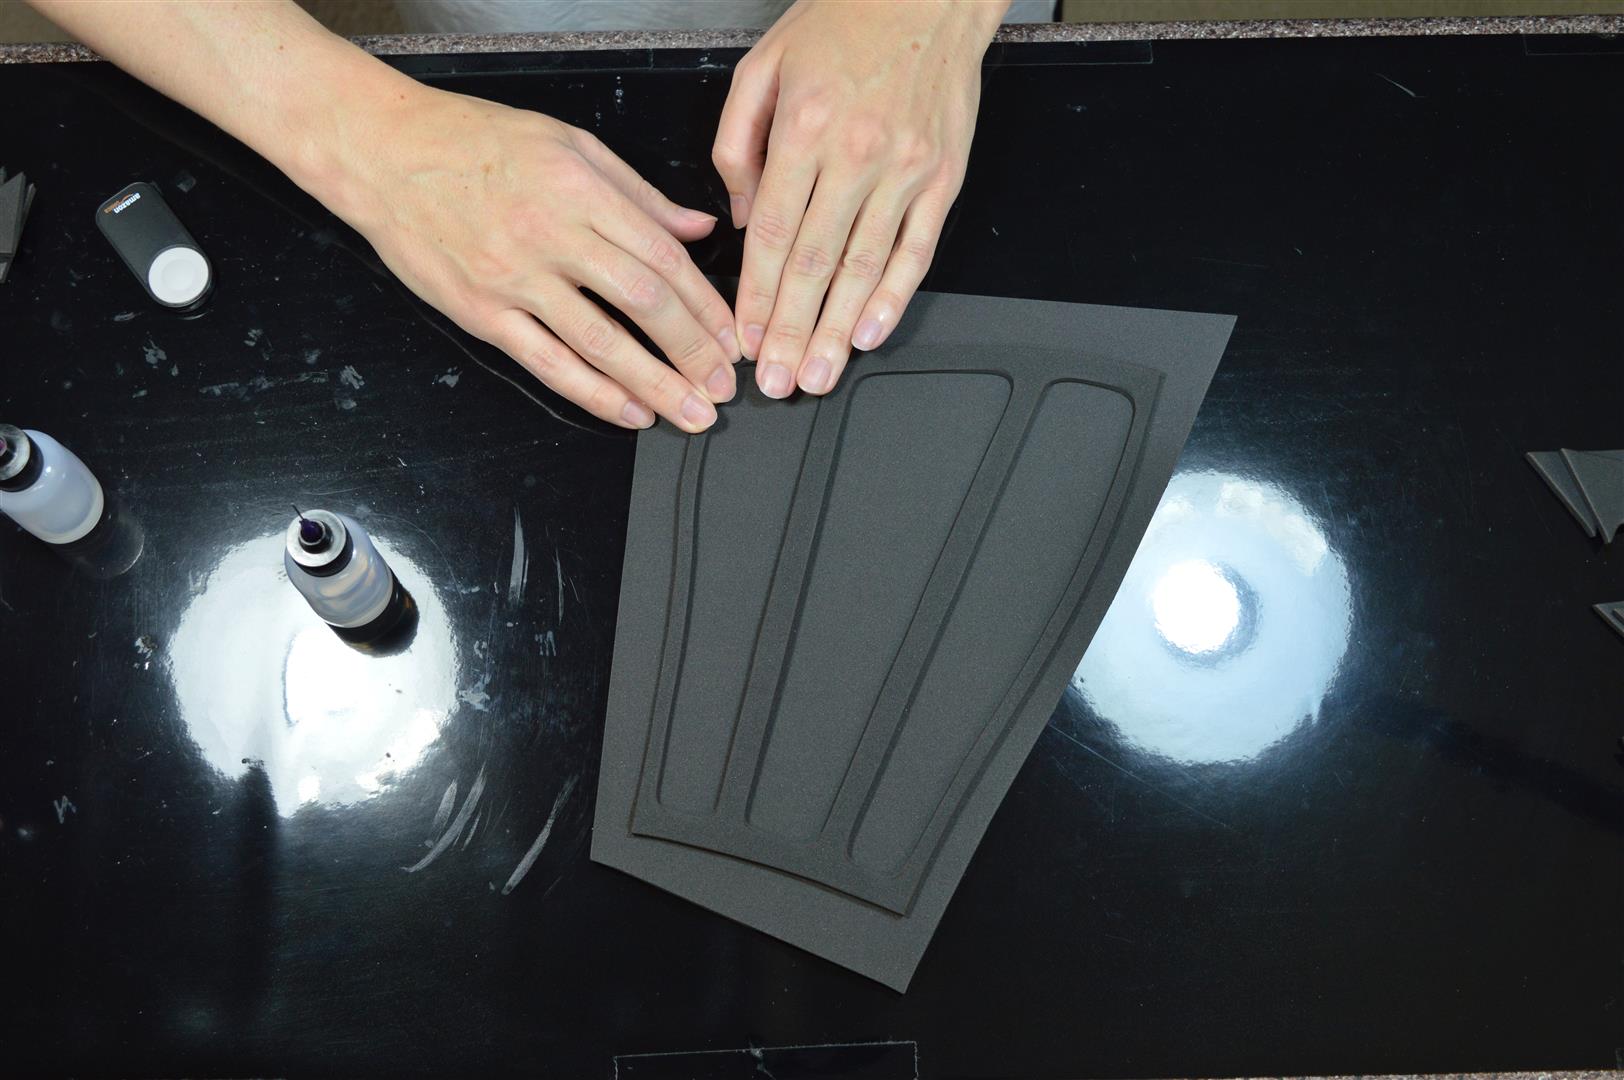
Flip it over again and apply glue to the top half of the remaining ribbed piece area. Flip it back over and slowly lower it down, ensuring alignment with the outline for the outer ribs, and that the inner ribs are approximately evenly spaced and straight. Press down until glue dries, moving your fingers around every couple seconds to apply pressure to all sections.
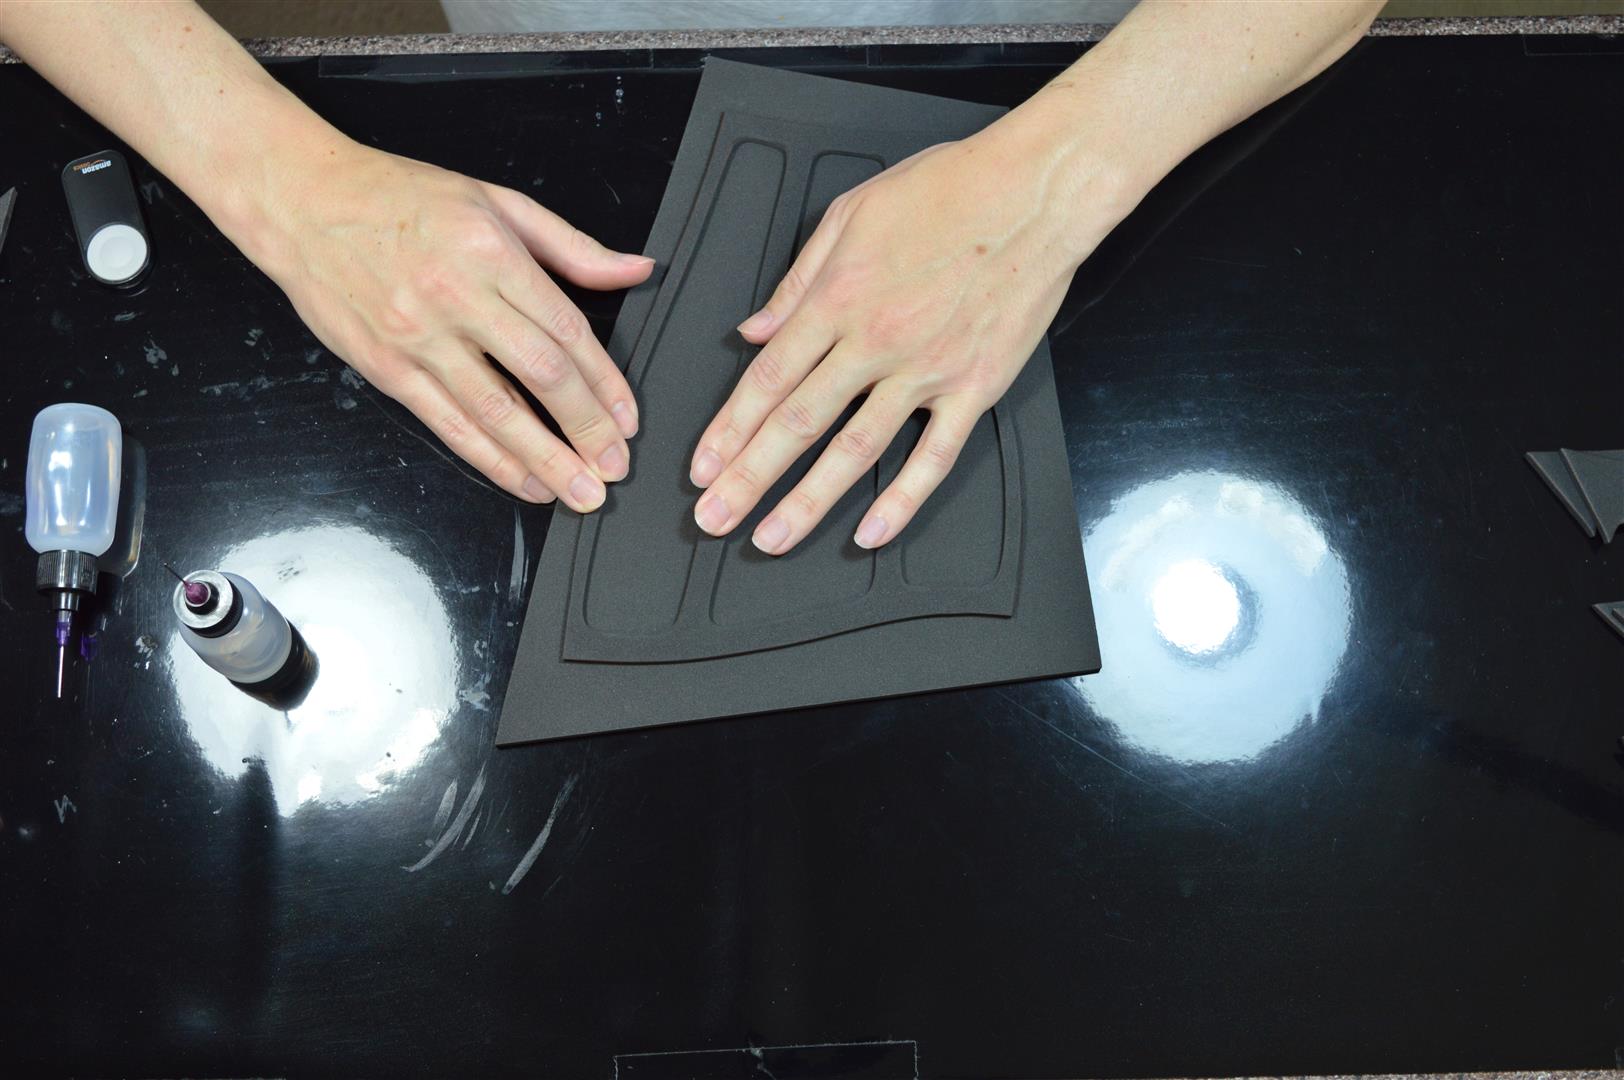
Repeat the process to finish gluing the rest of the top layer. Use a scrap piece of foam to wipe off any excess glue squeeze out. Repeat for the 3 other main gauntlet pieces.
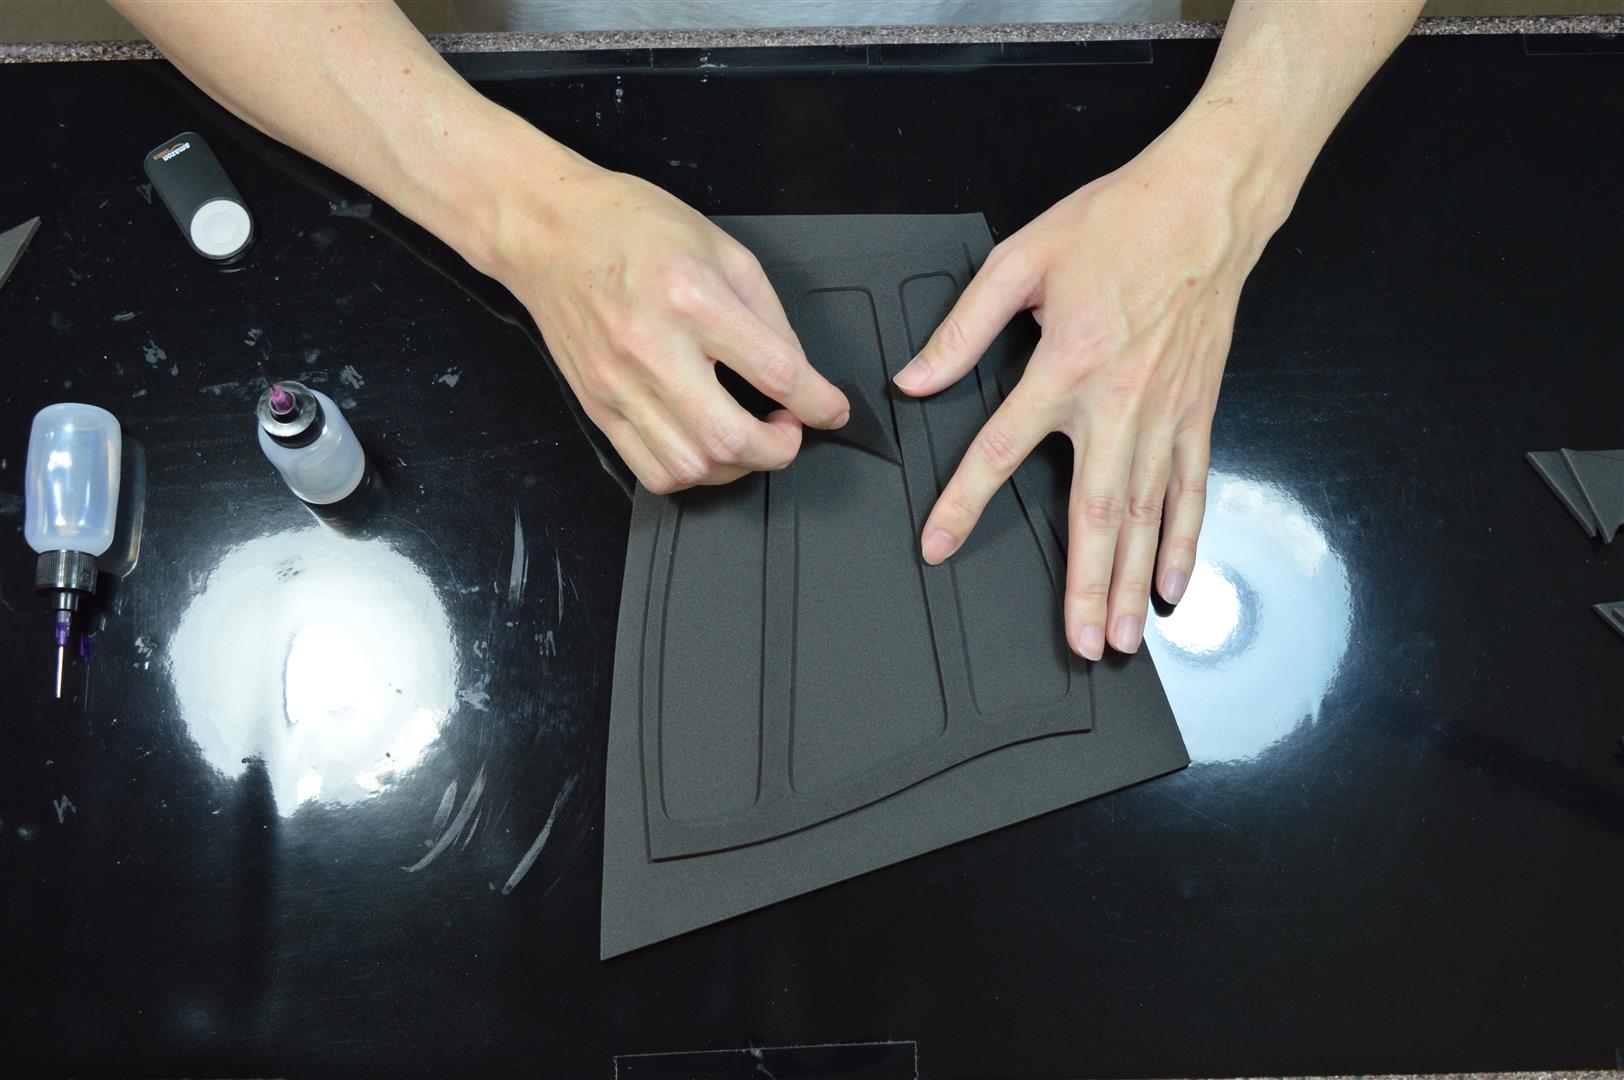
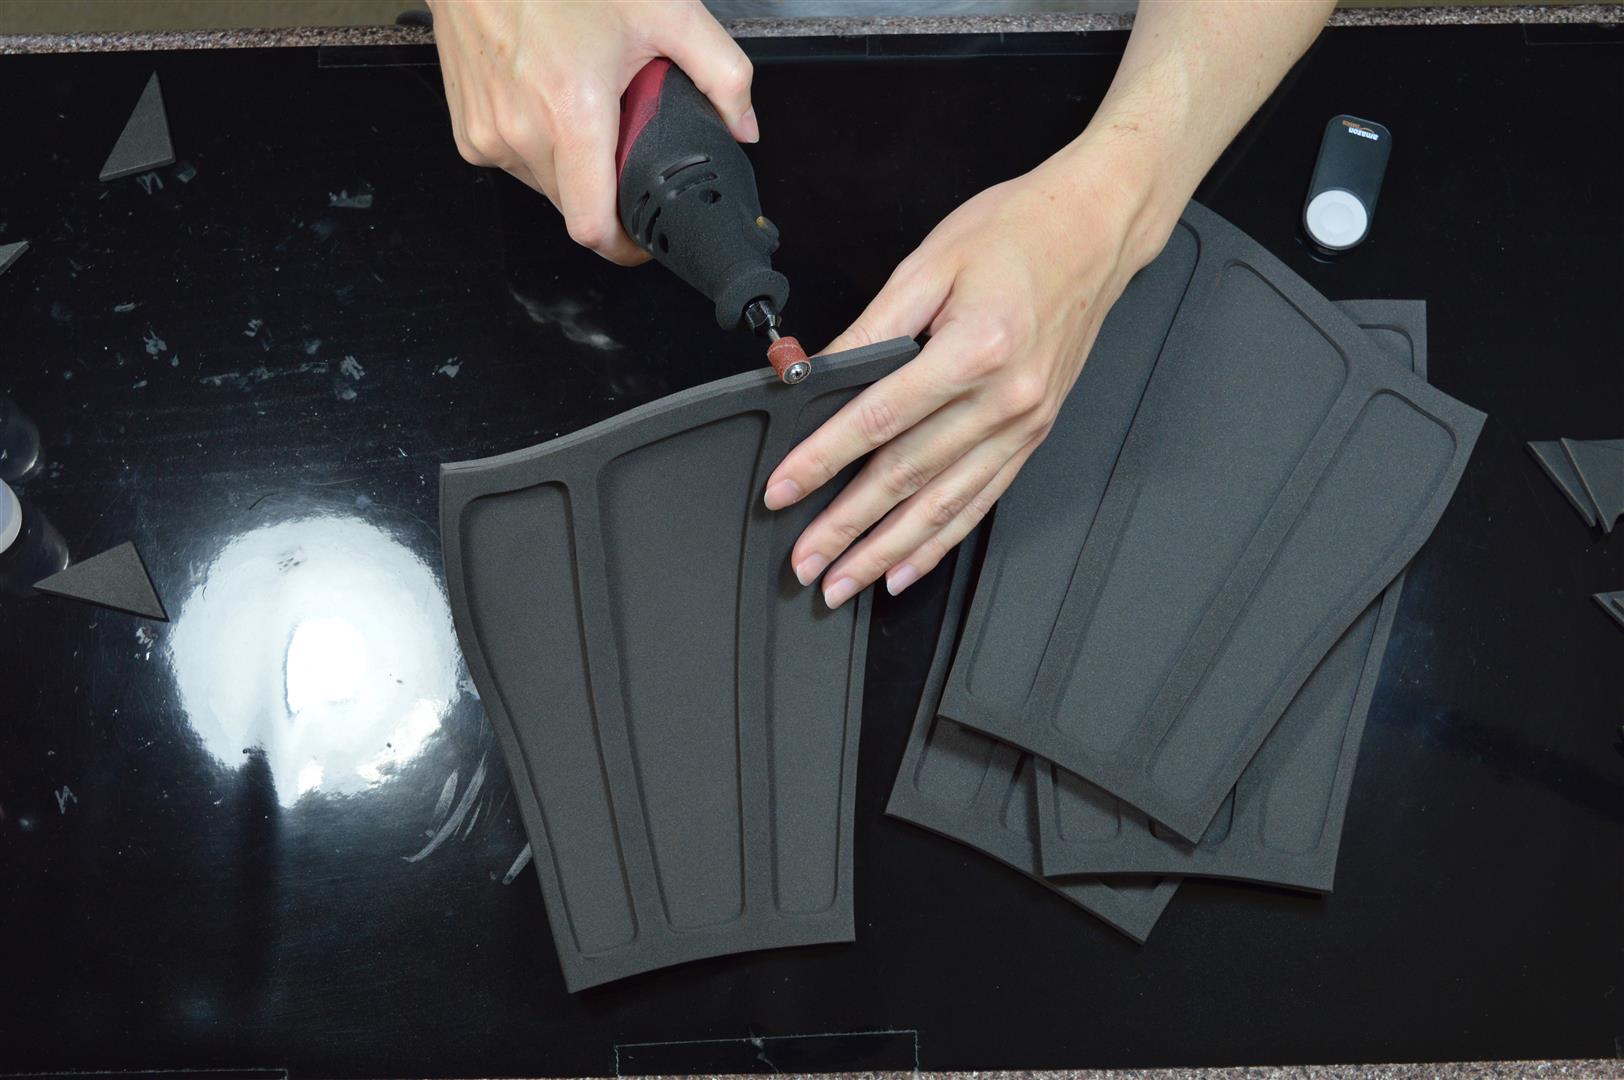
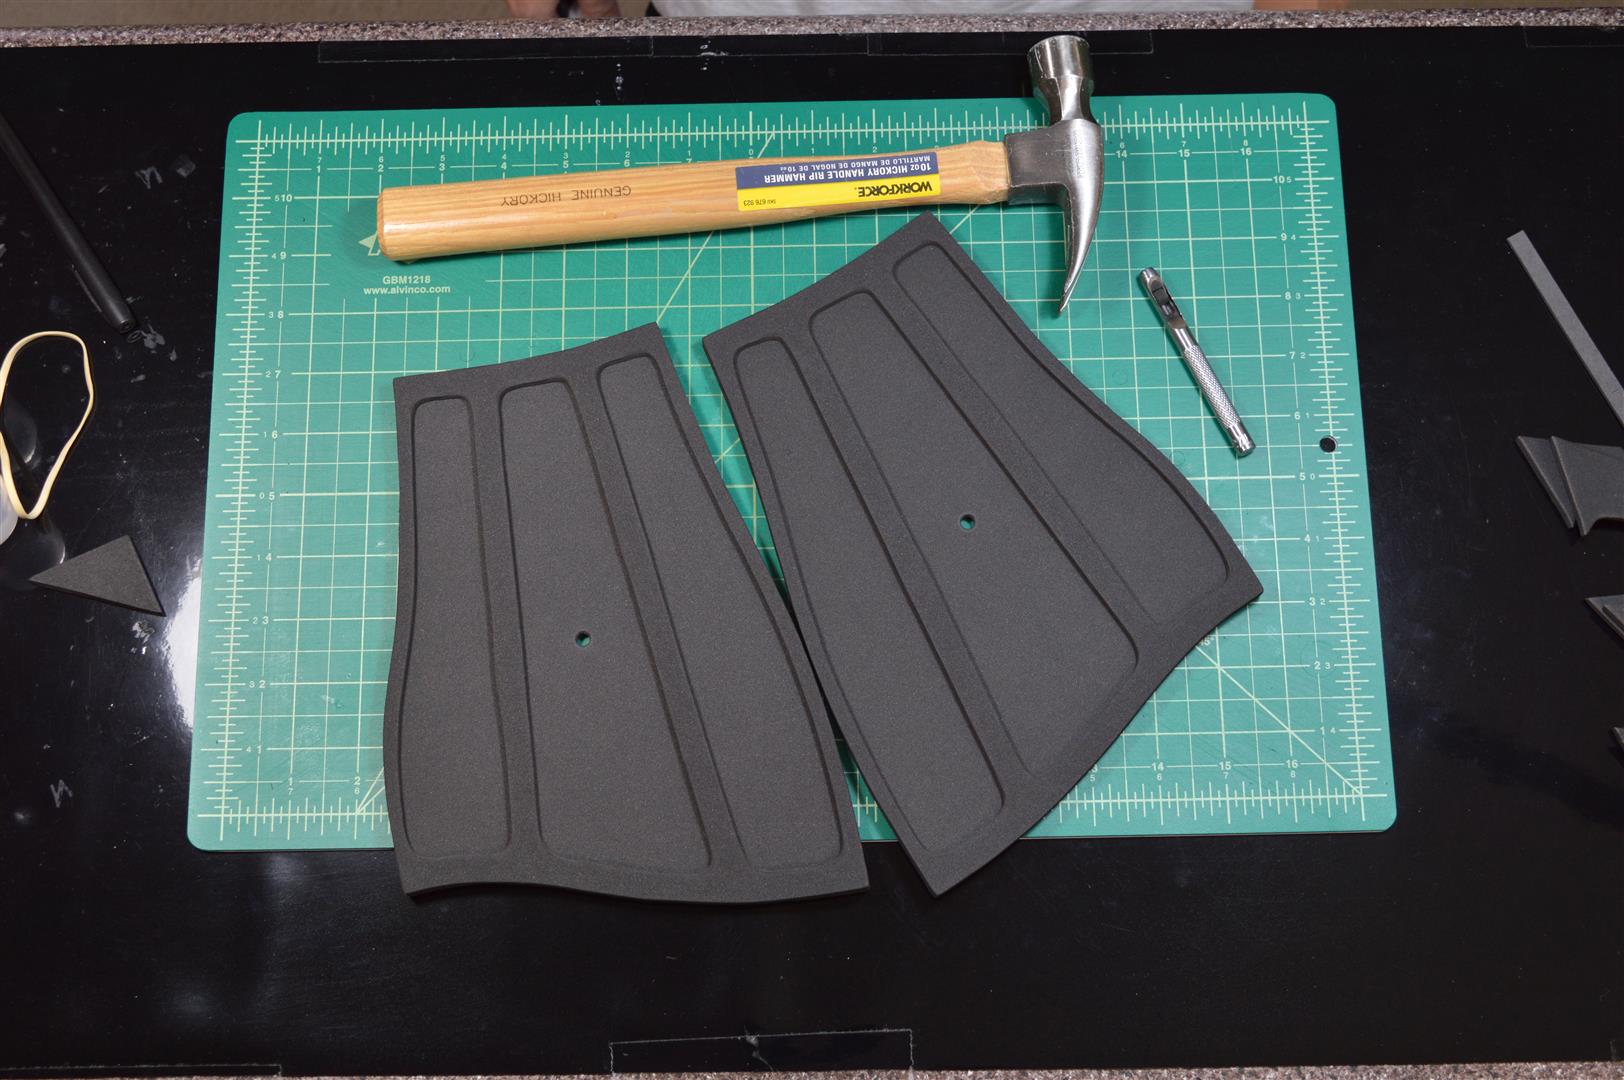
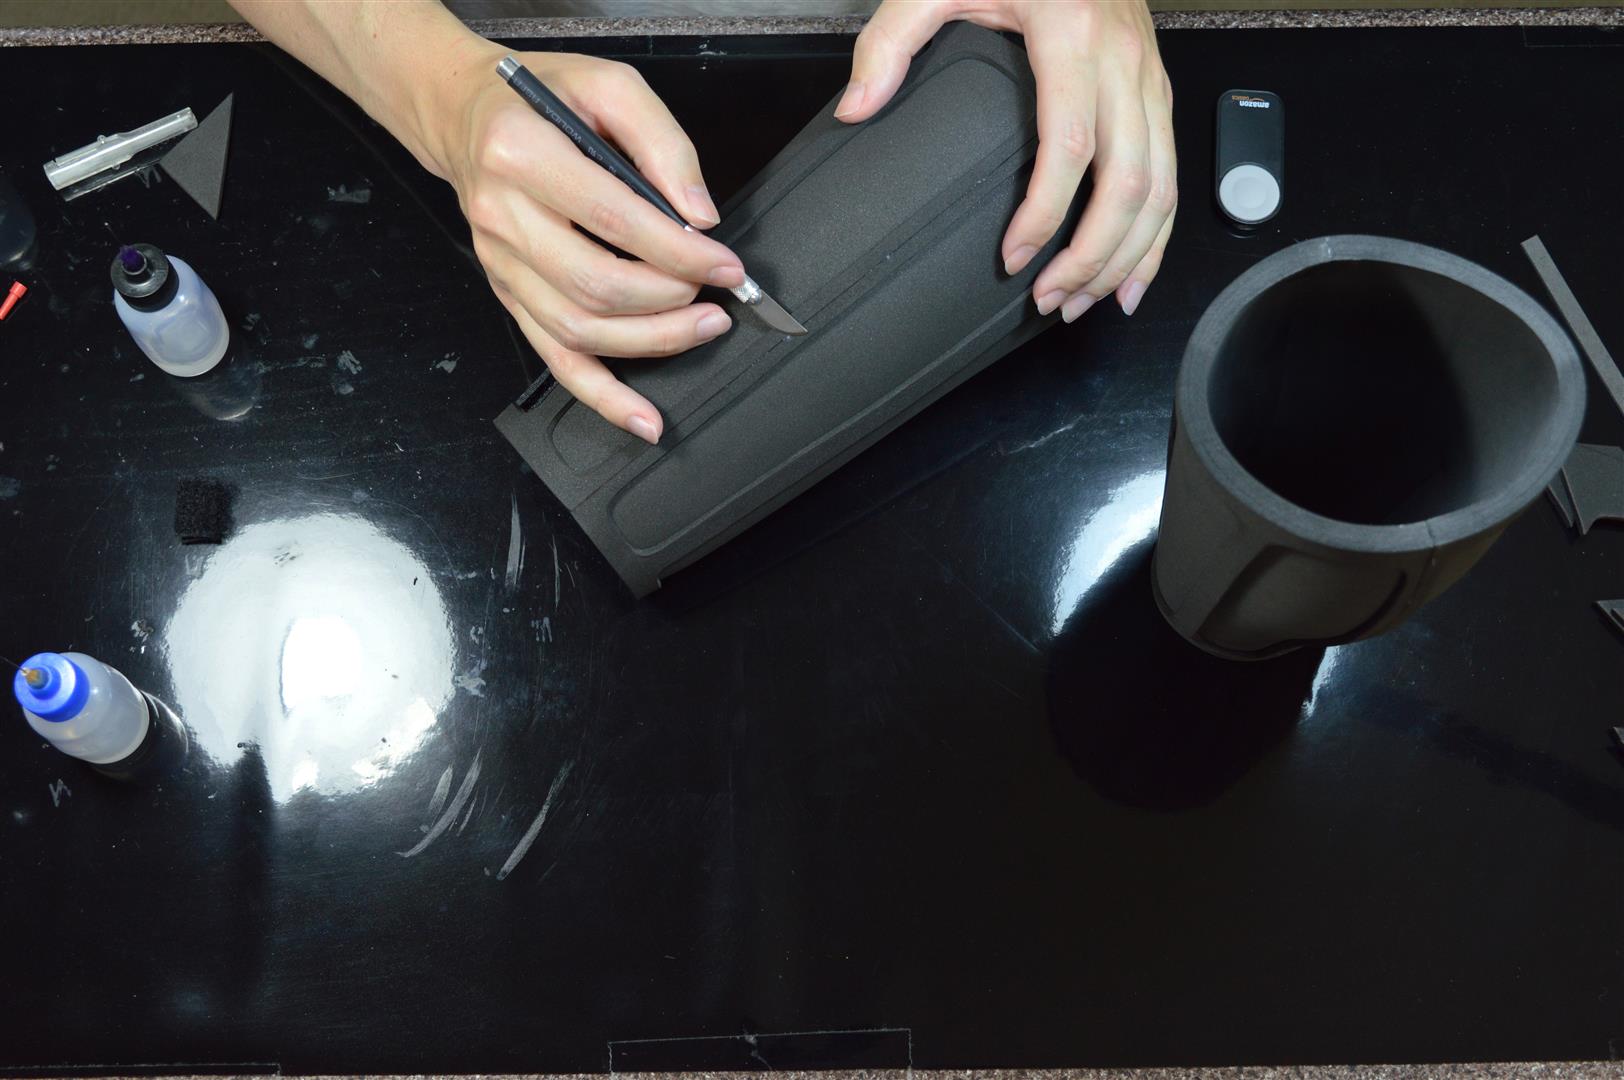
After the glue fully dries, use an xacto knife to cut around the outer perimeter of the pieces. If you would like to clean up the look of the edges, you can do so by gently sanding it with a dremel and sanding drum bit. The foam gets ground down very quickly, so be careful not to do too much. Wipe the foam dust off with a wet cloth and trim any frayed edges left over with scissors.
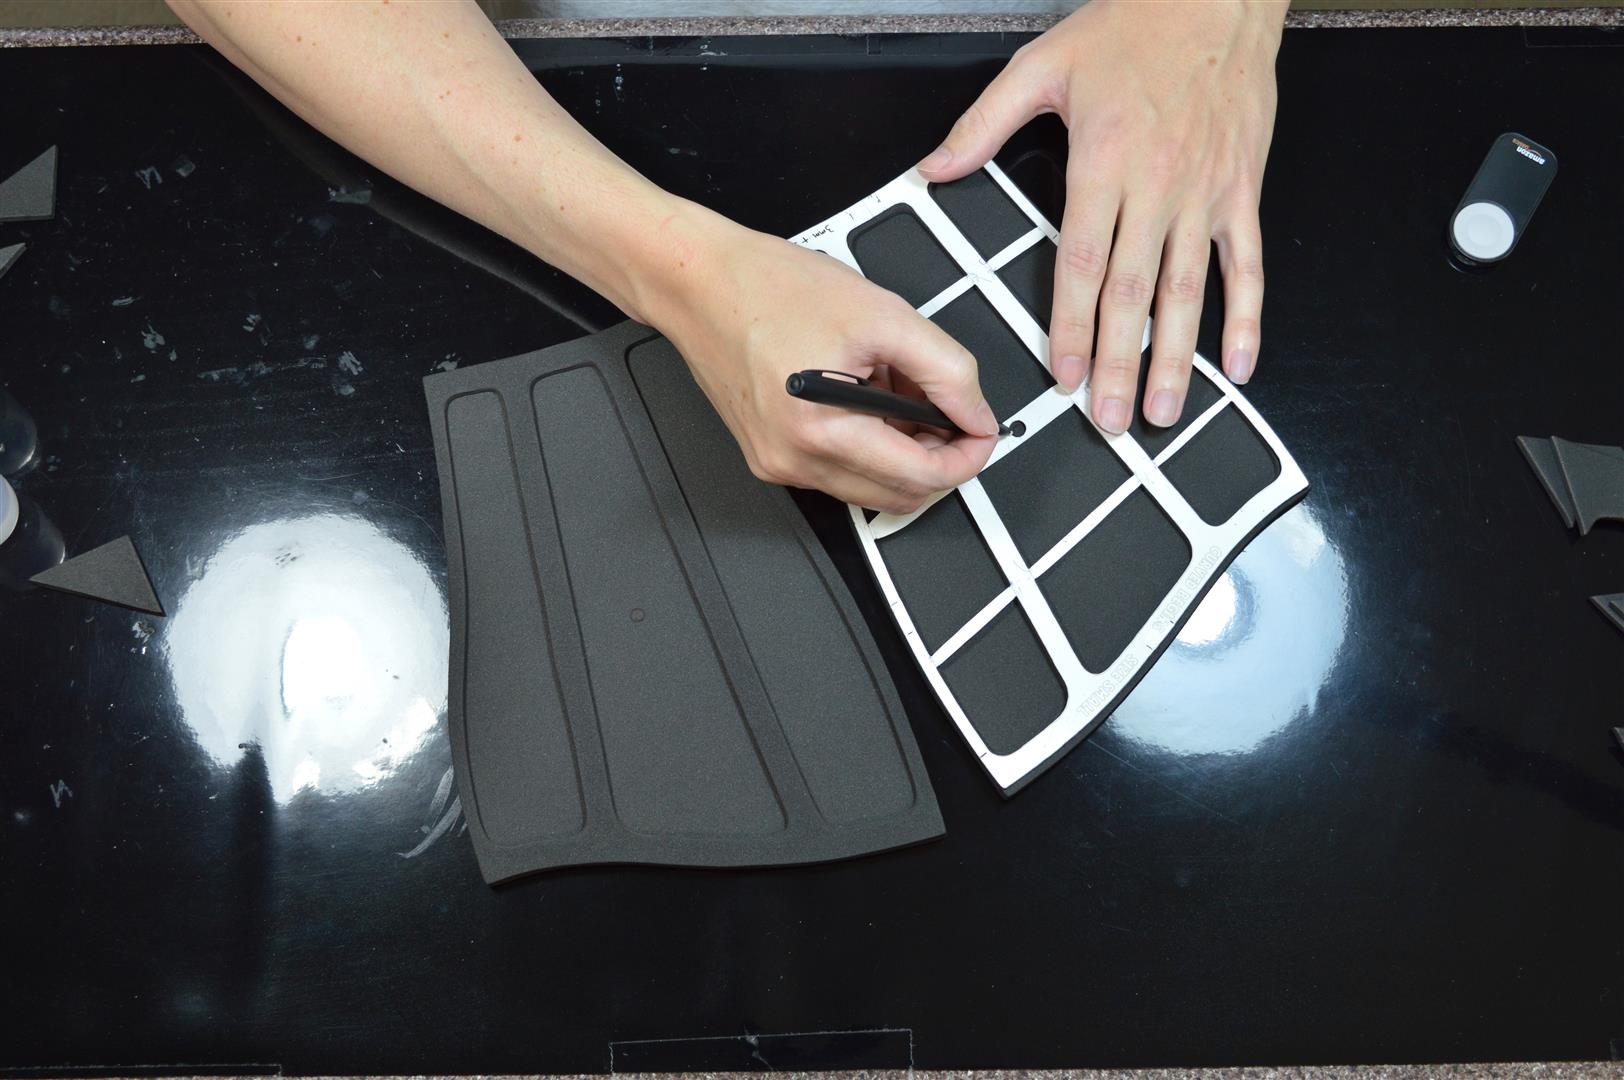
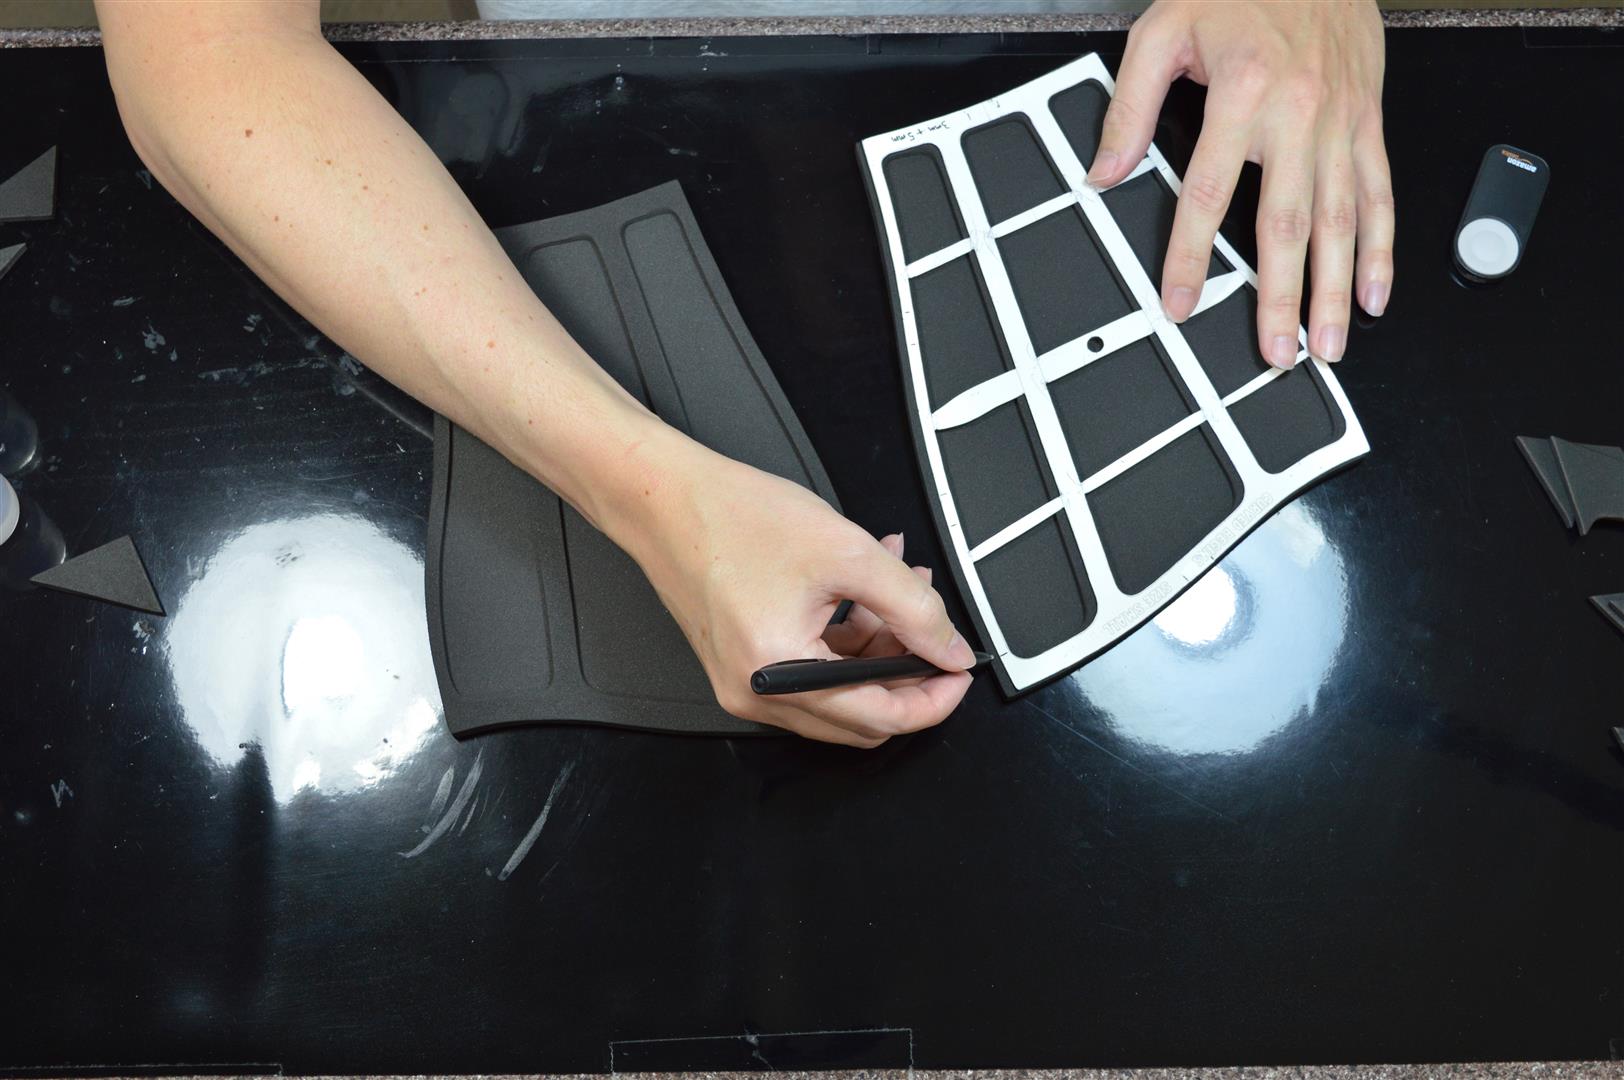
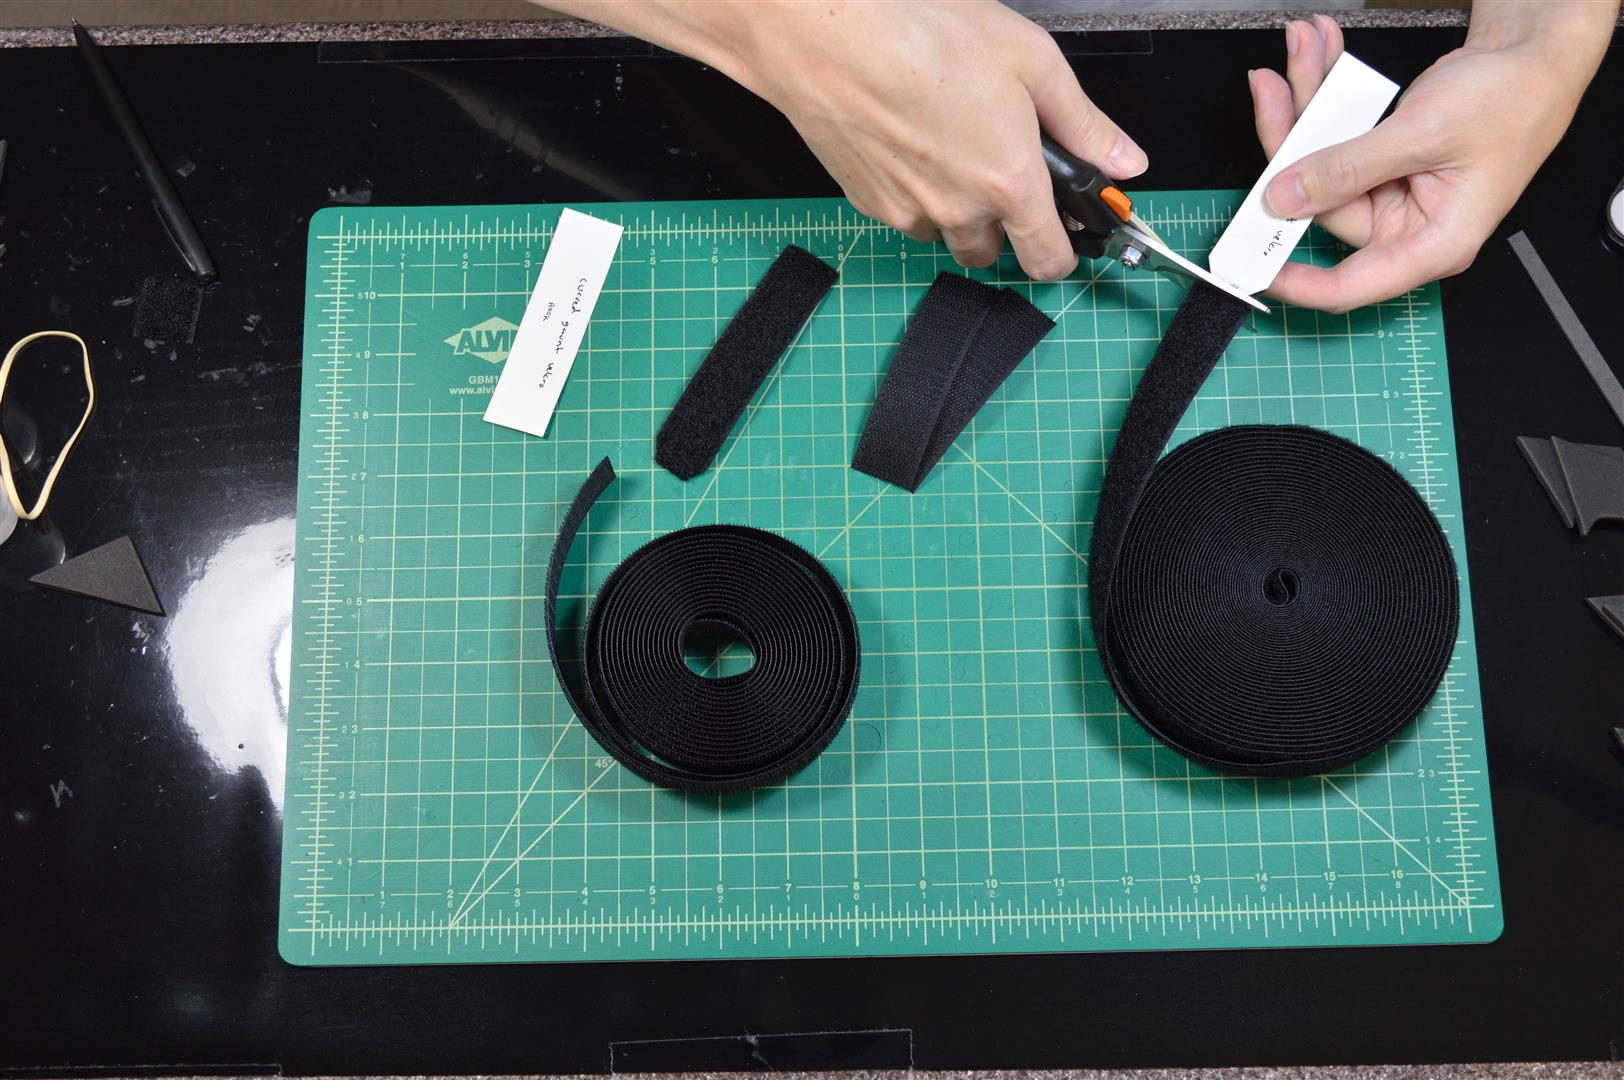
The hole can be made in a number of ways. I like using a leather hole punch and hammer over a cutting mat. Also, if you haven’t done so yet, go ahead and cut the strips of velcro you will need. I use 1 inch wide velcro, cut to the dimensions and shape on the last page of the template. There are two hook side pieces and two loop side pieces.
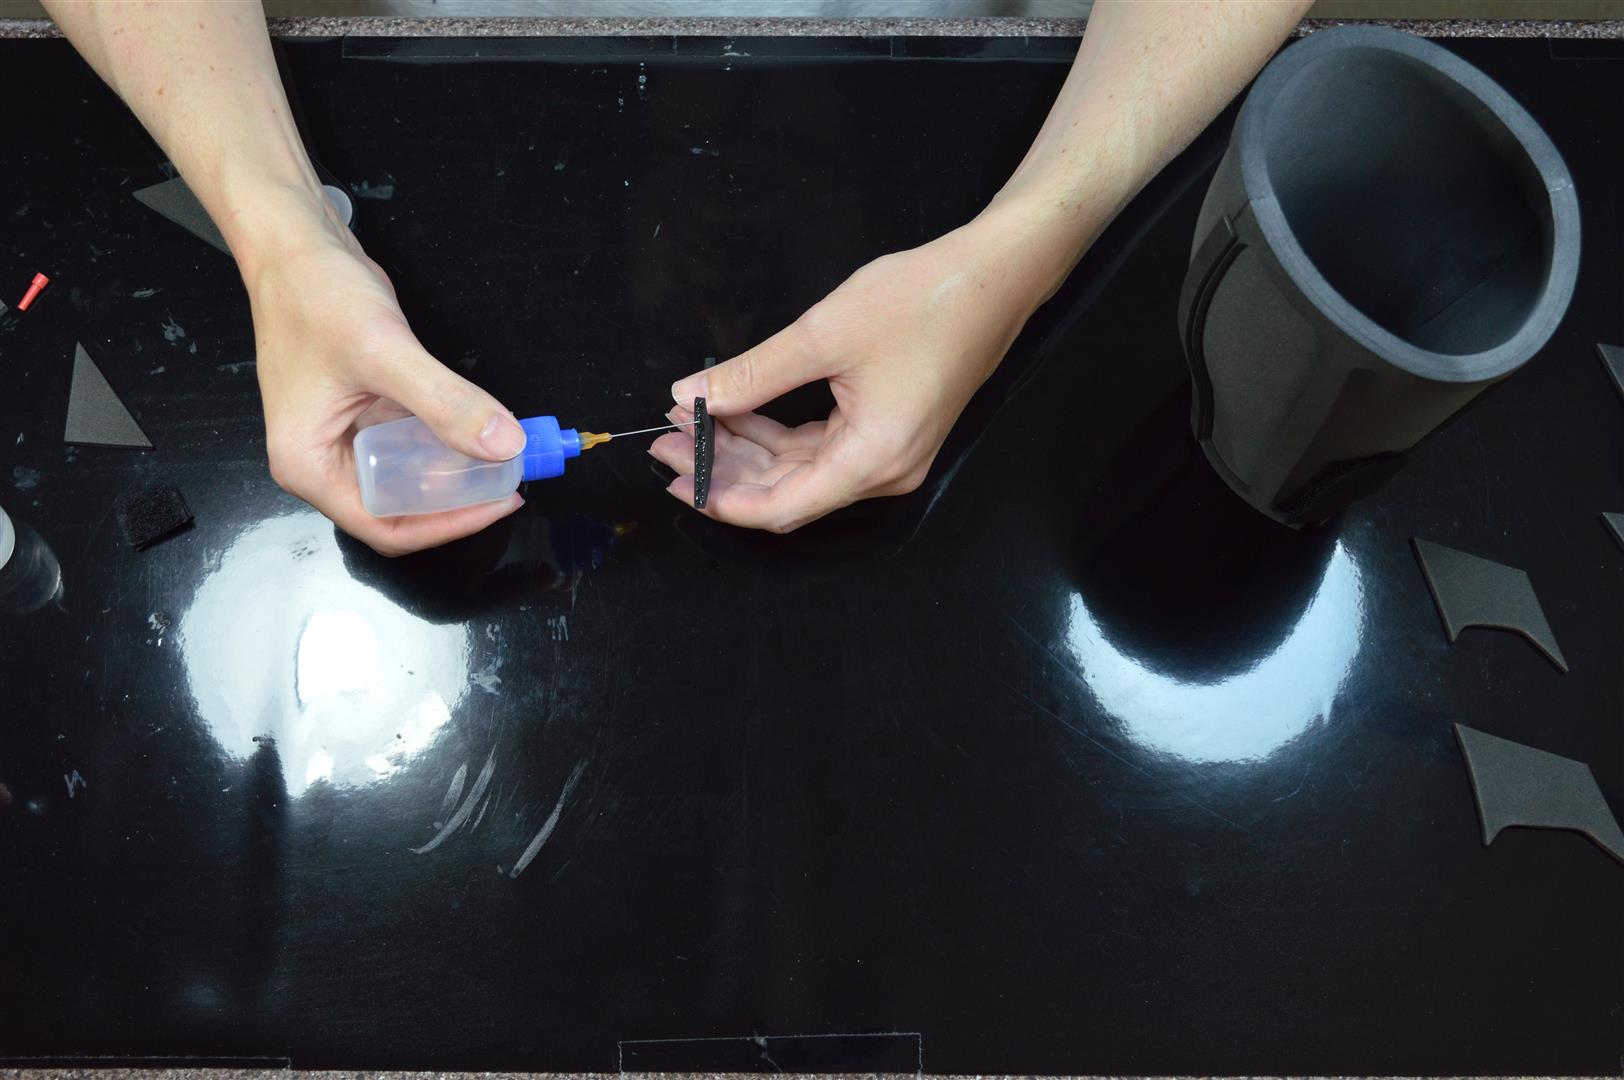
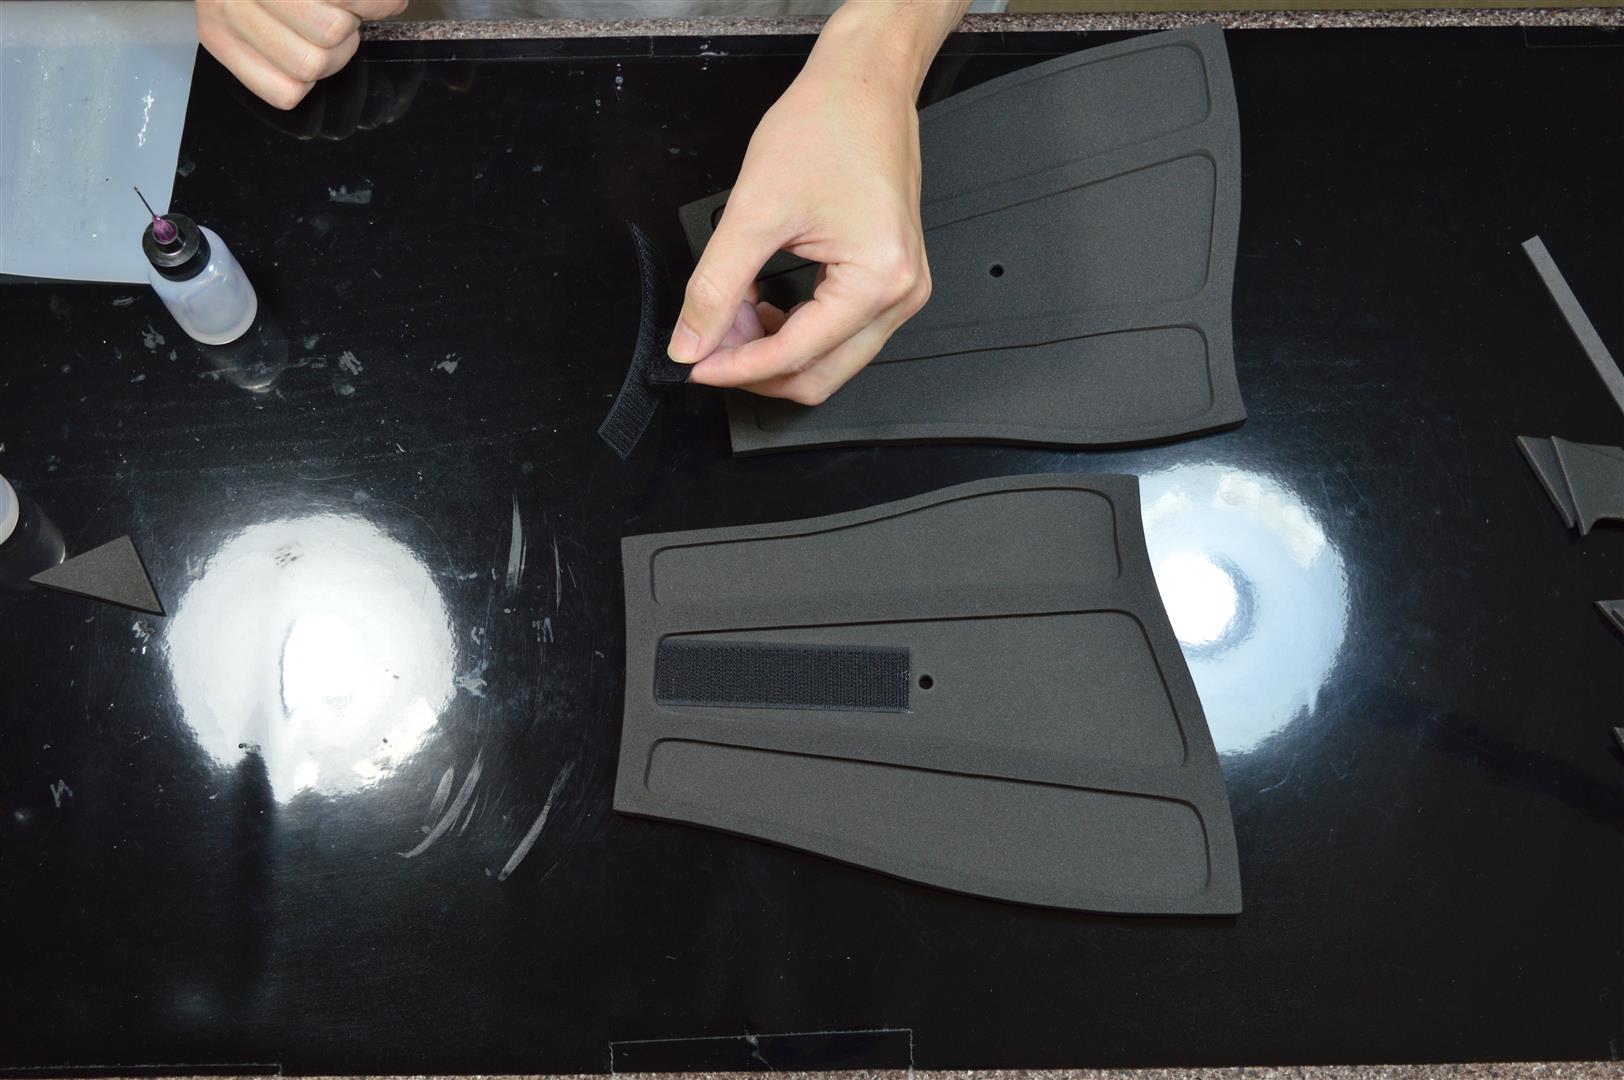
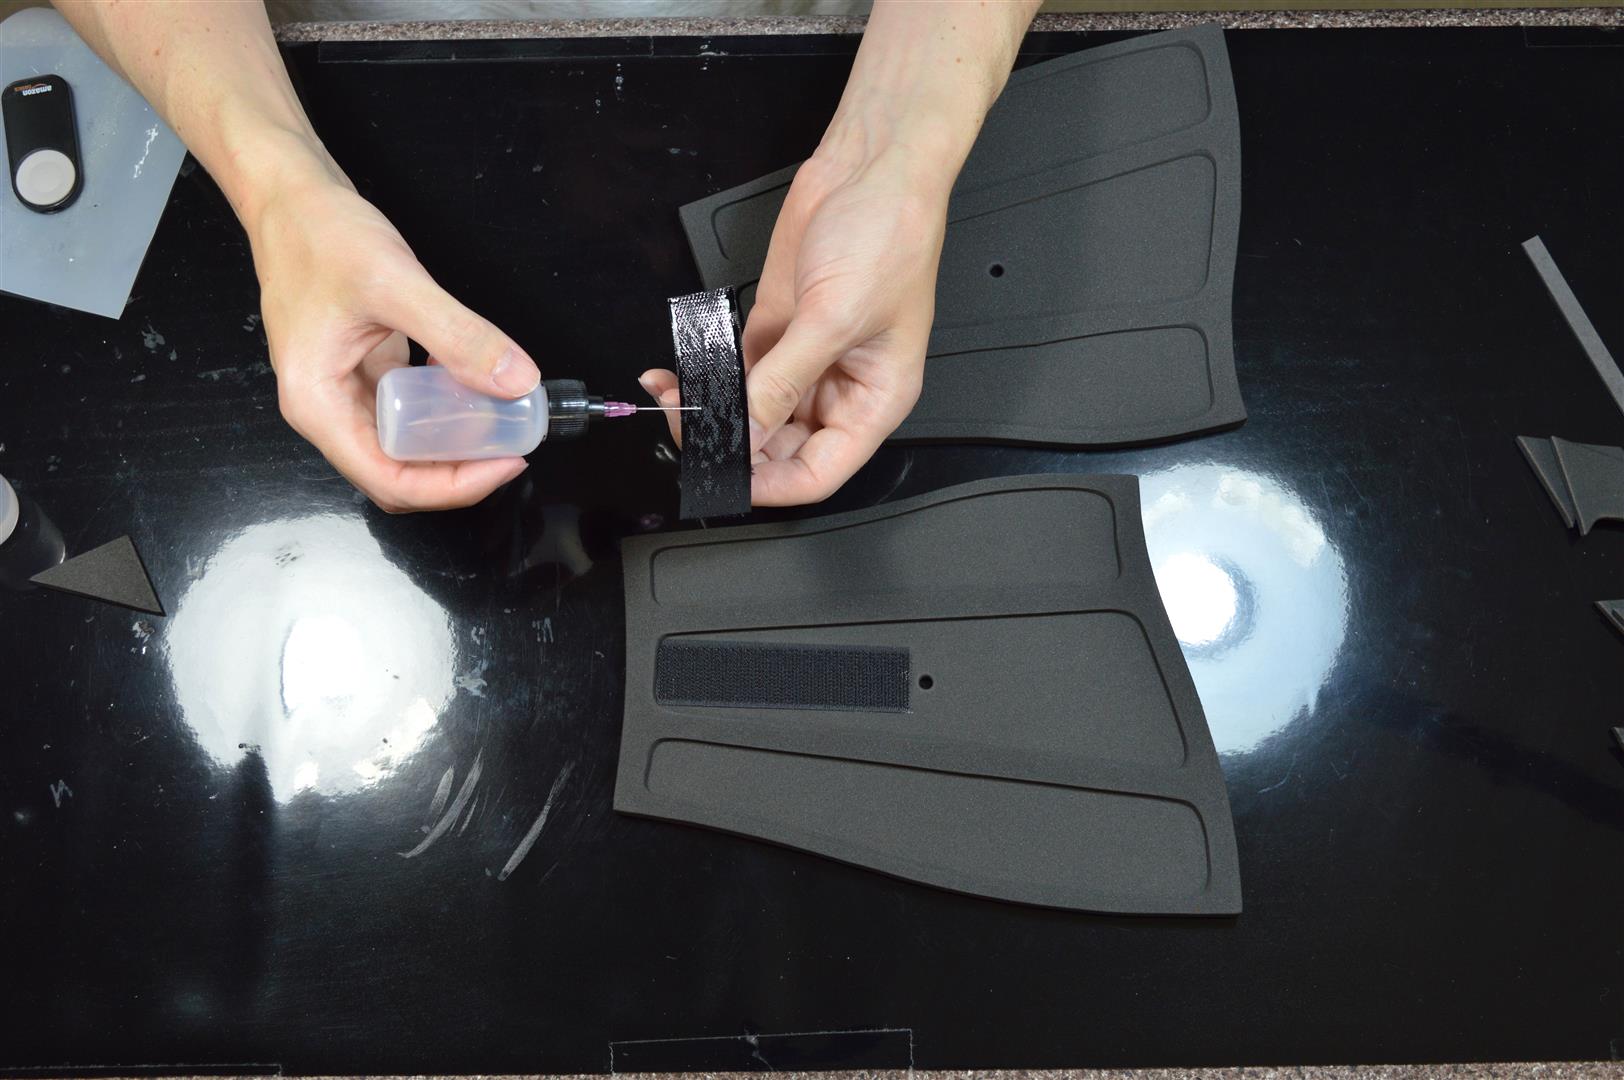
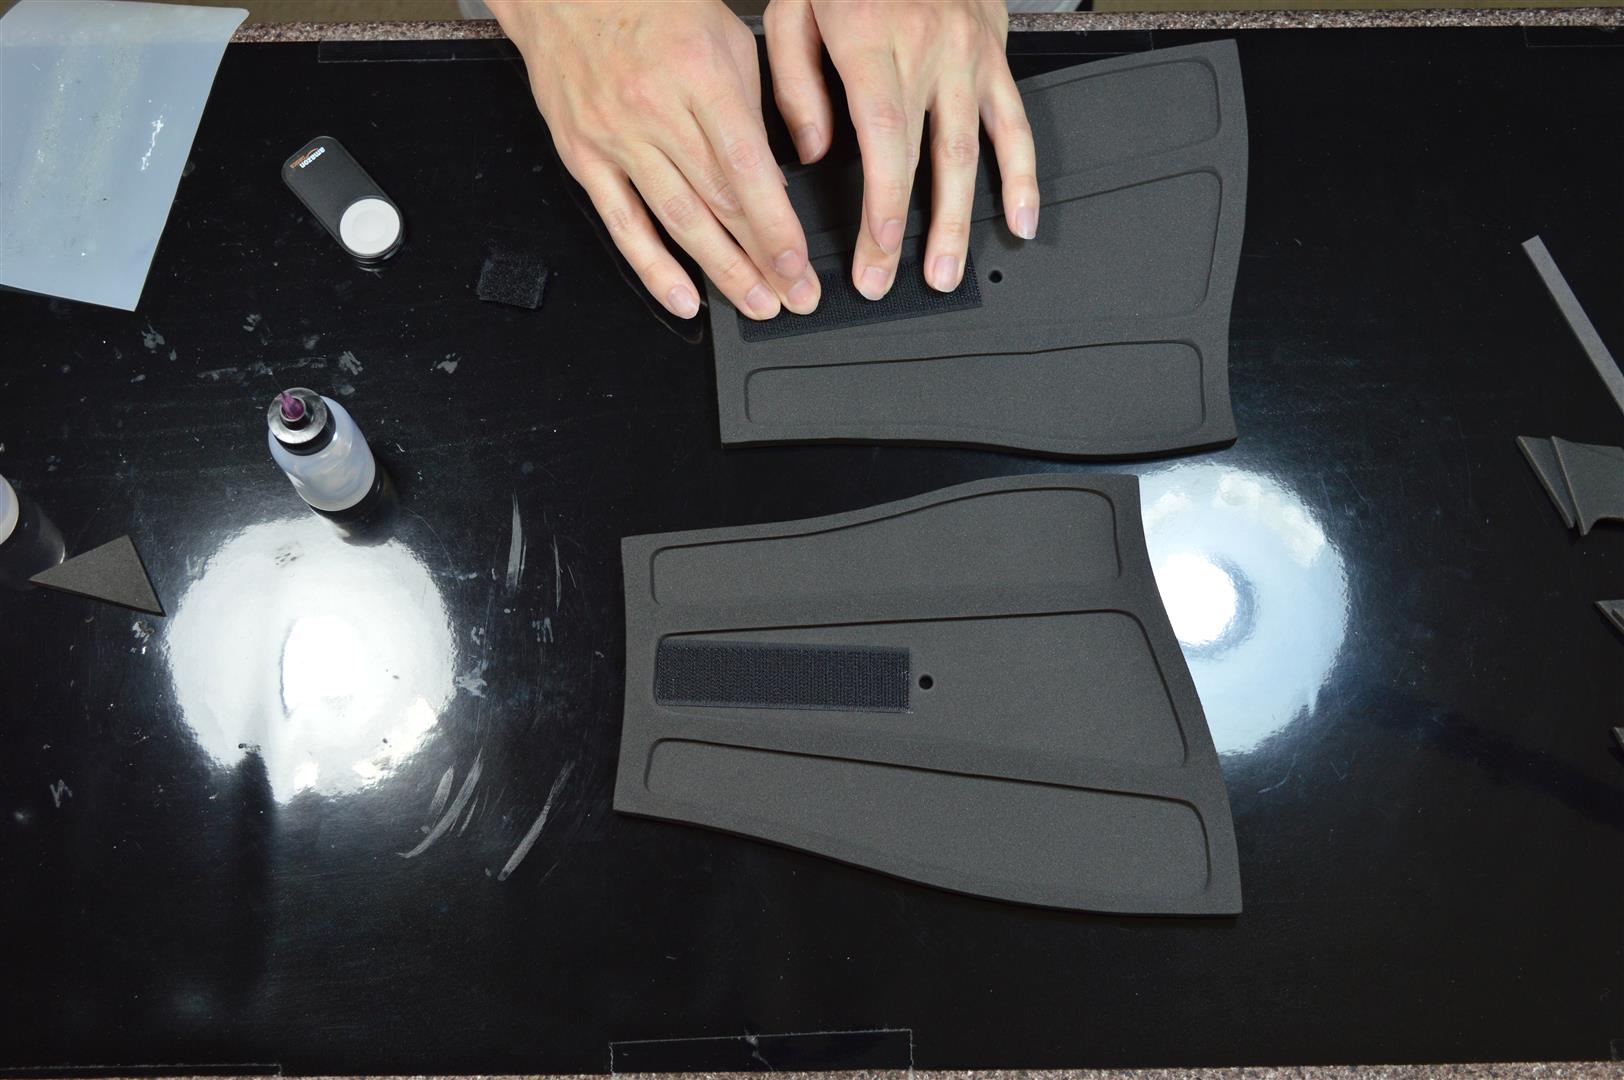
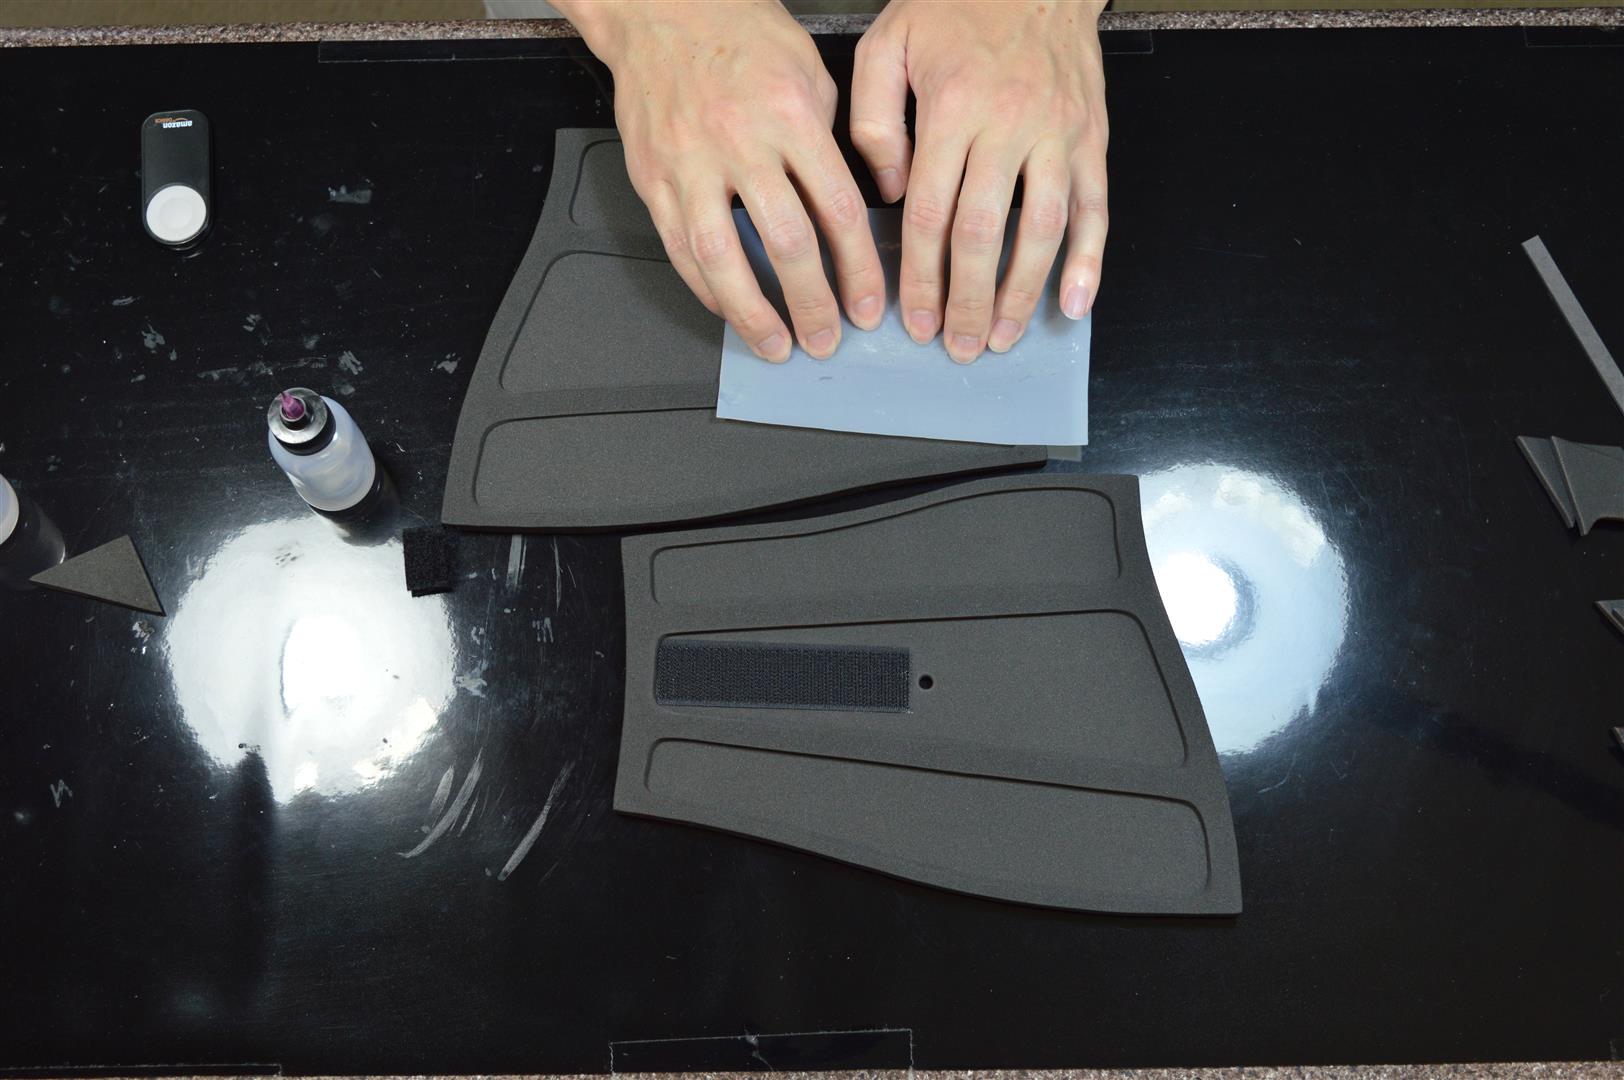
Next, glue the hook side velcro pieces onto the two gauntlet pieces with the holes in them. You can use a scrap piece of loop-side velcro stuck to the velcro pieces to give you a handle to hold them while applying the glue. I use a cut-off piece of a silicone craft mat (they sometimes come with hot glue guns as a nonstick surface to rest the glue gun on) to press down on the velcro pieces to ensure they stick well edge to edge without getting my fingers stuck on the superglue. Hold the velcro pieces down for as long as necessary for the glue to fully dry.
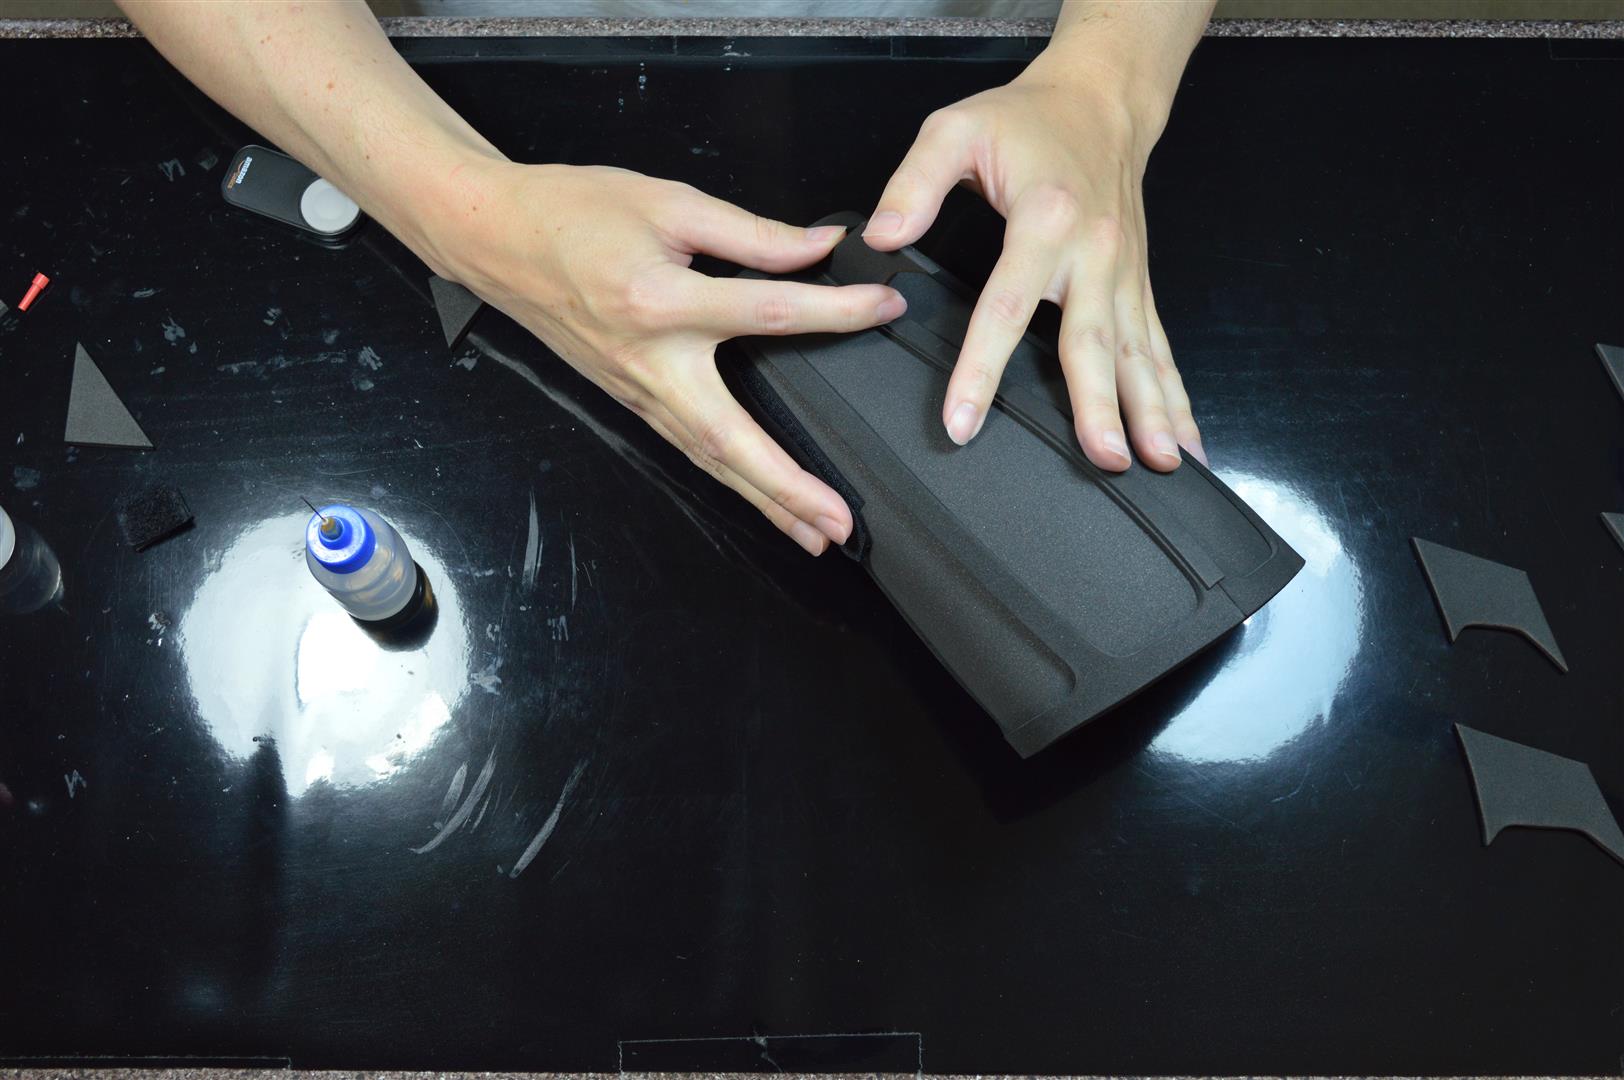
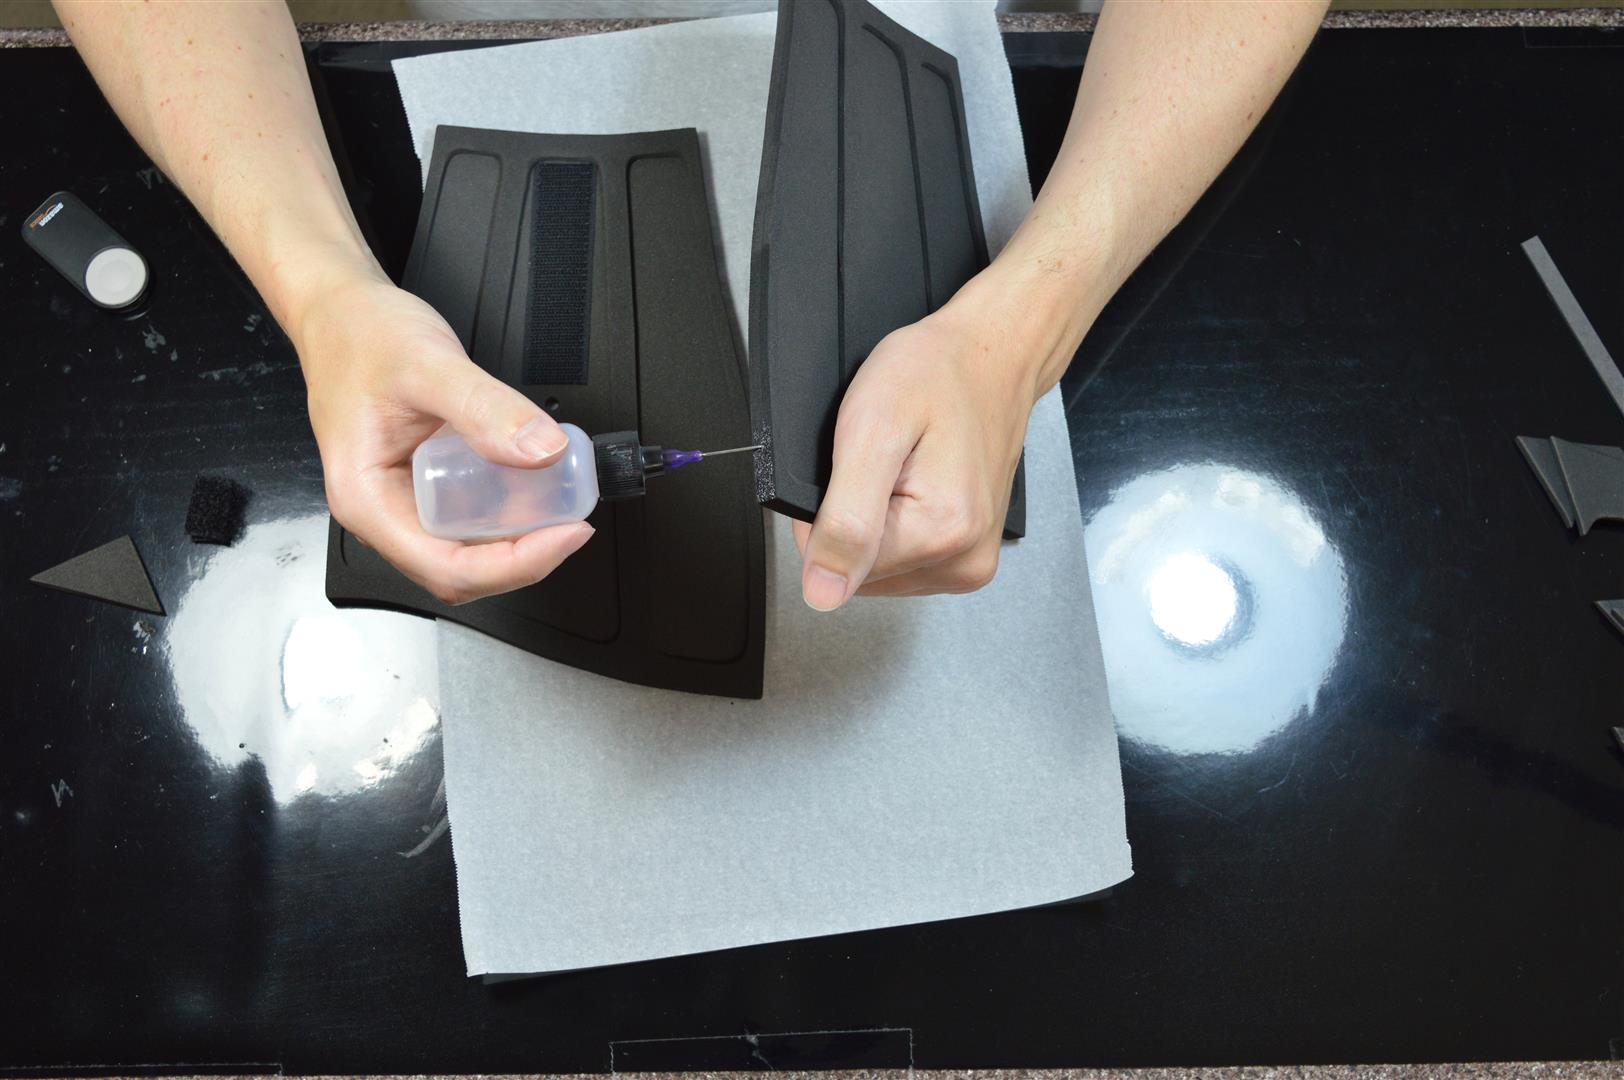
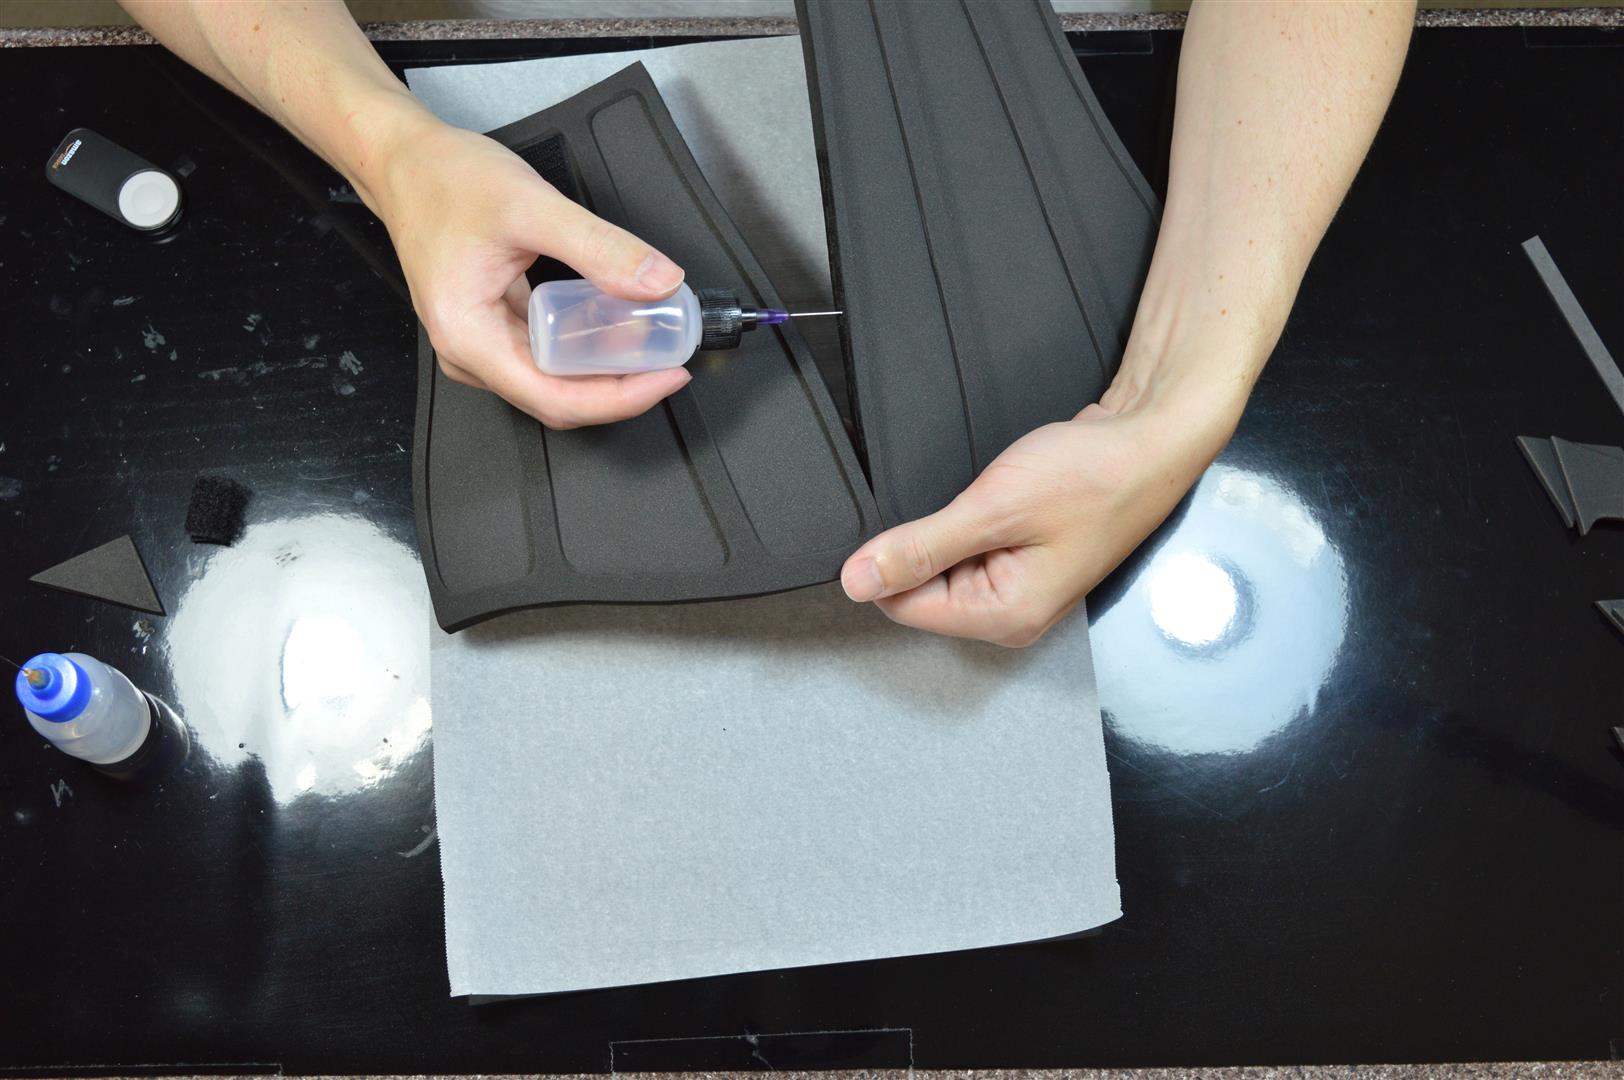
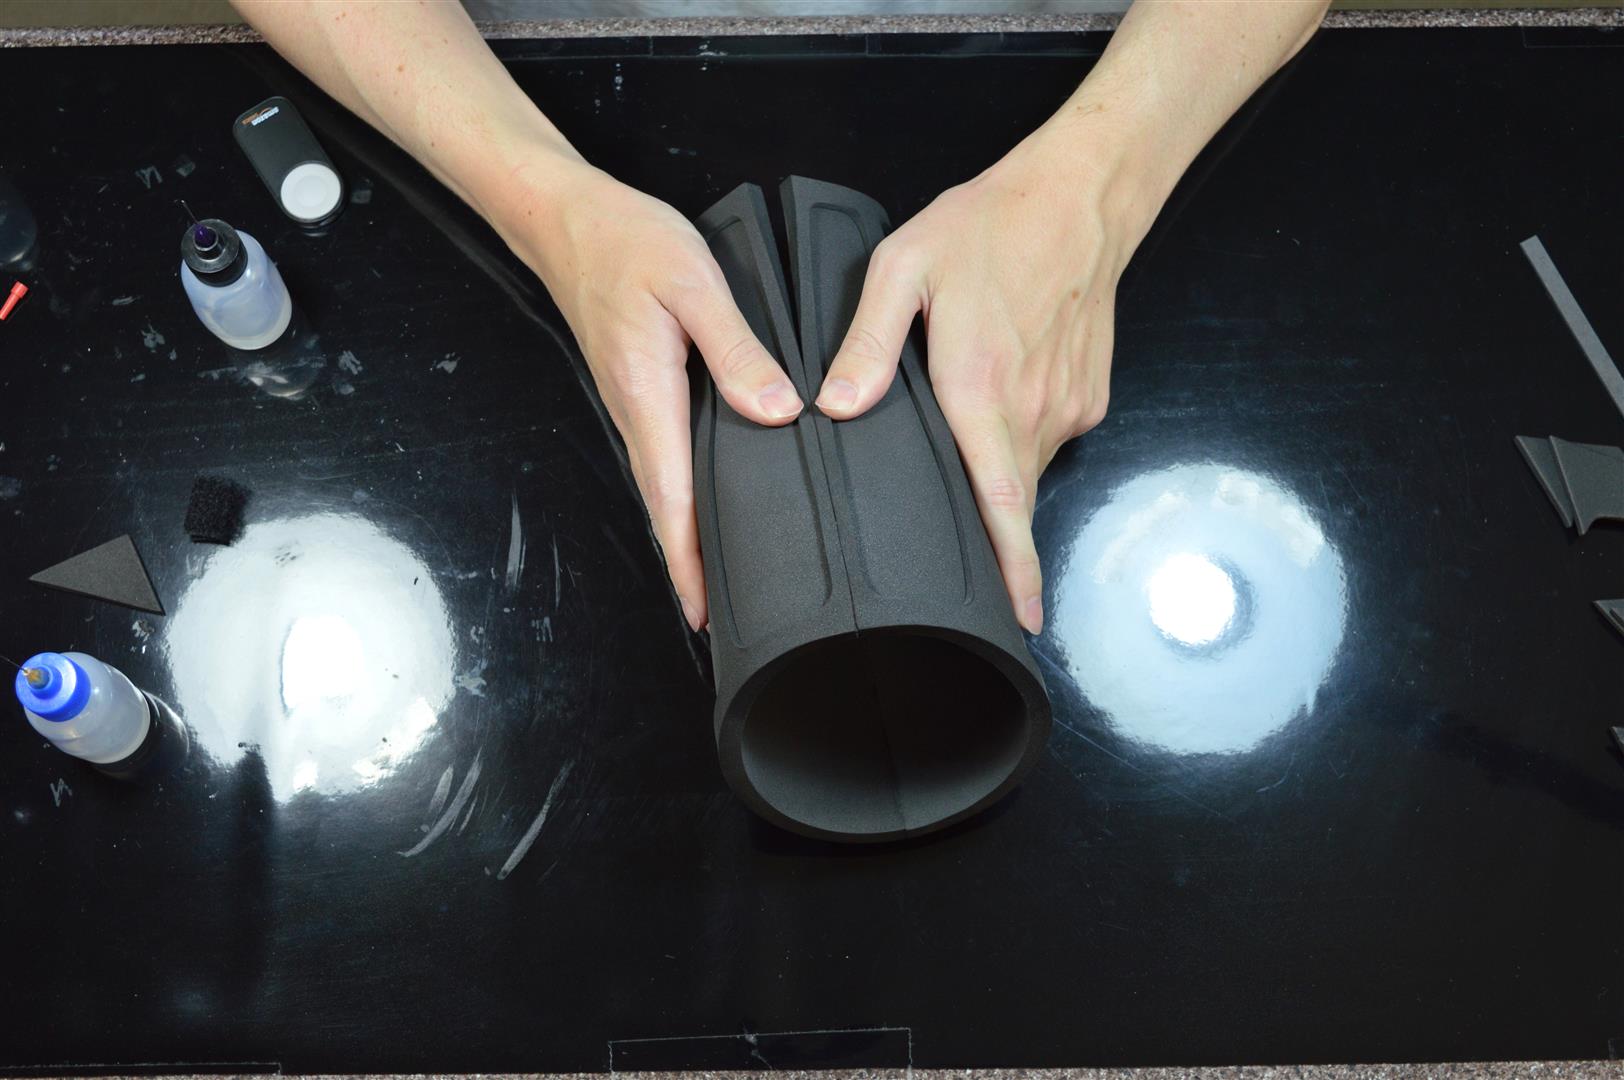
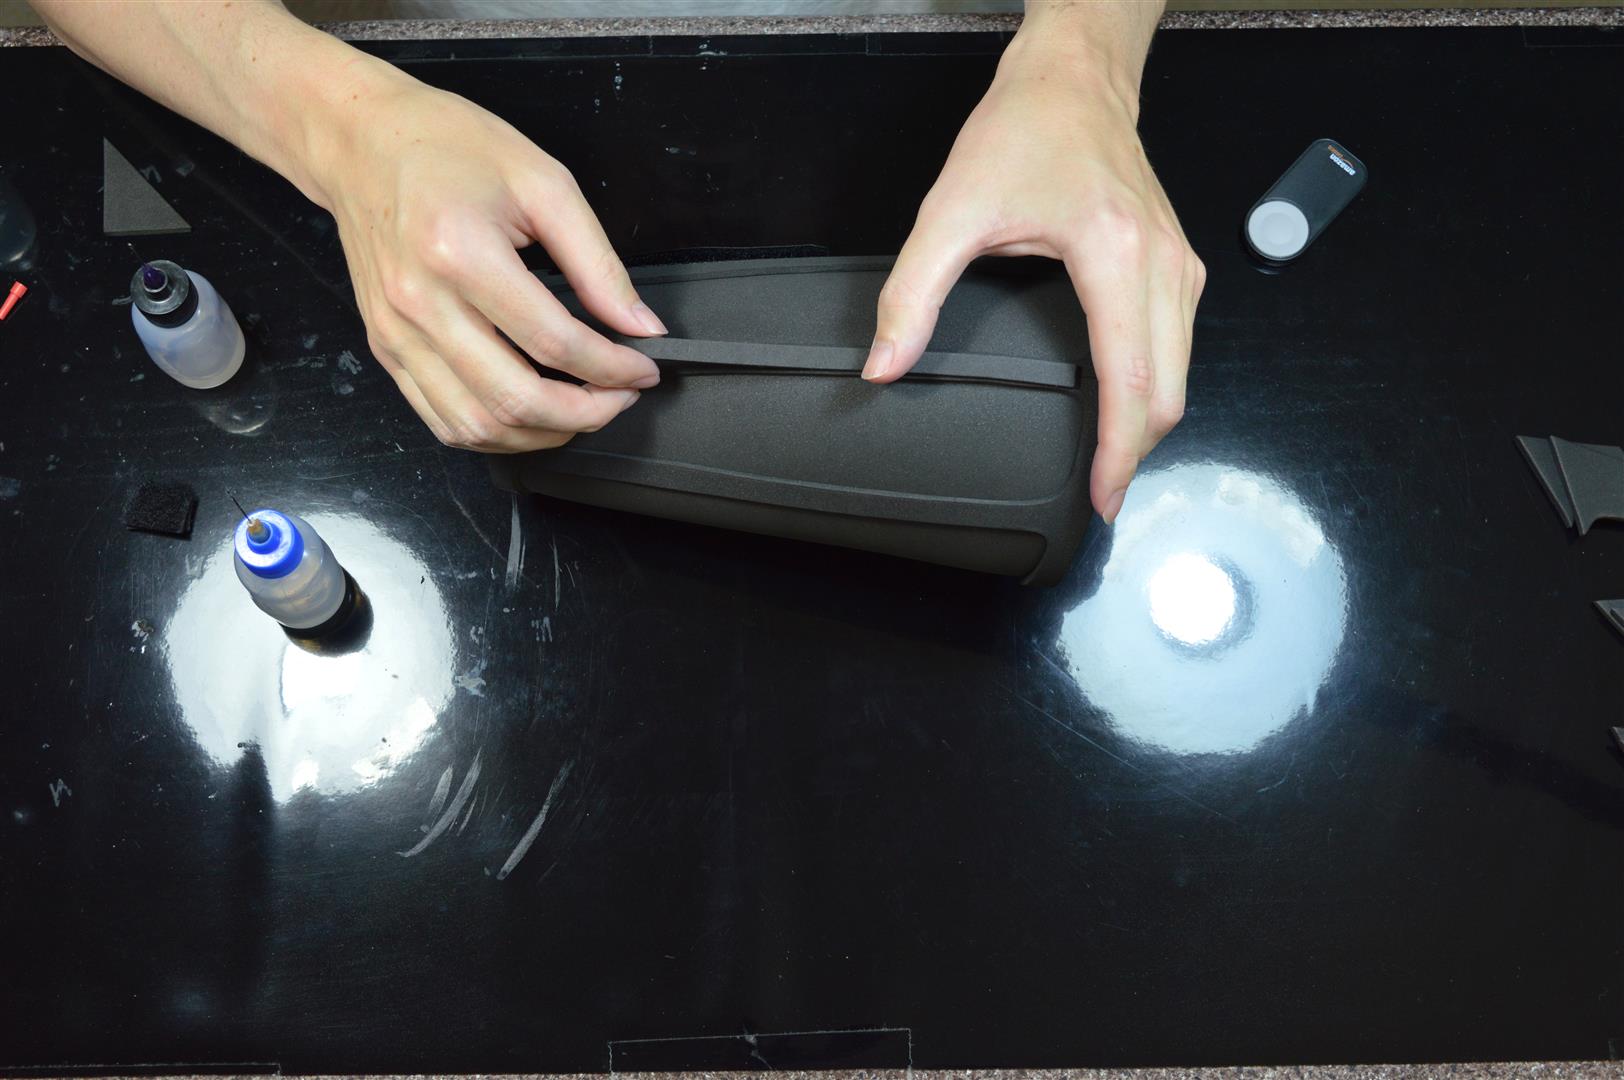
The glue up for the main gauntlet pieces is a little tricky due to the curvature. The key is to just go slow and work in small sections. I start with the forearm-end on the tall sides and glue them together little by little, holding it together and letting the glue dry fully before moving on to the next section. It can help for some sections to lay the pieces flat on a table and slide them together. (You may want to place a non-stick sheet like parchment paper or a silicone mat on the table for the glue squeeze-out.) Allow the previously glued sections to bend and curve as you move down (rather than trying to keep everything flat) and that will help bring each next section closer together for gluing.
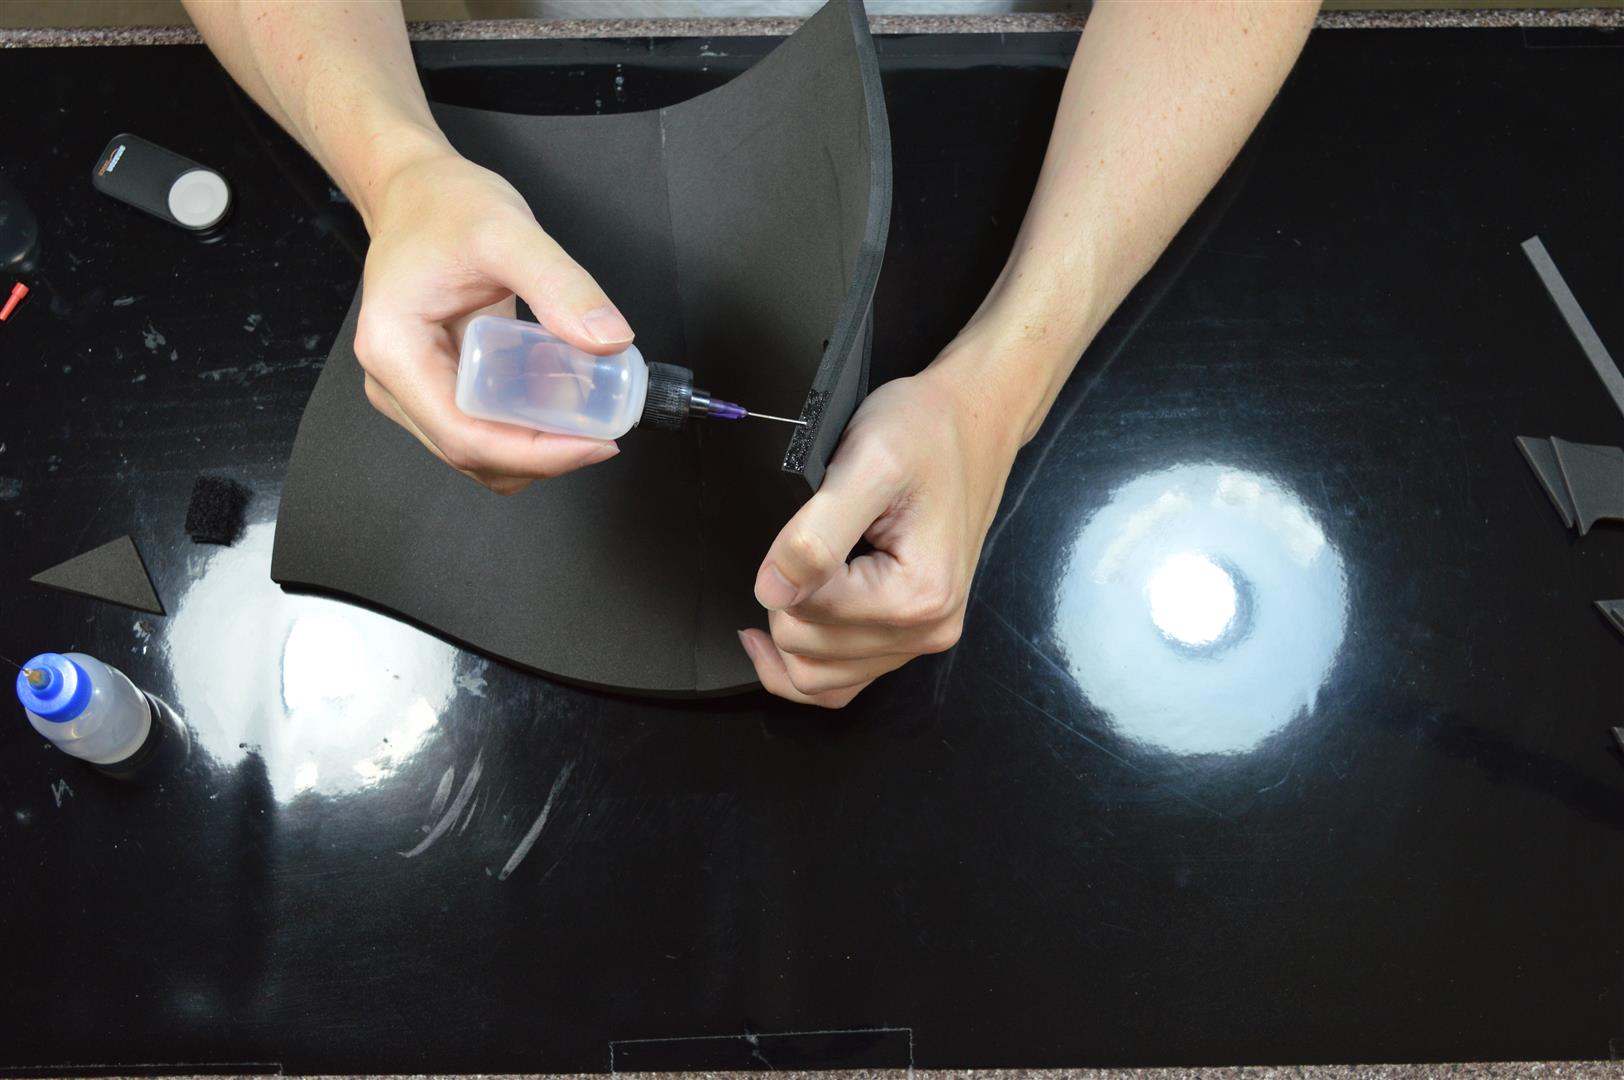
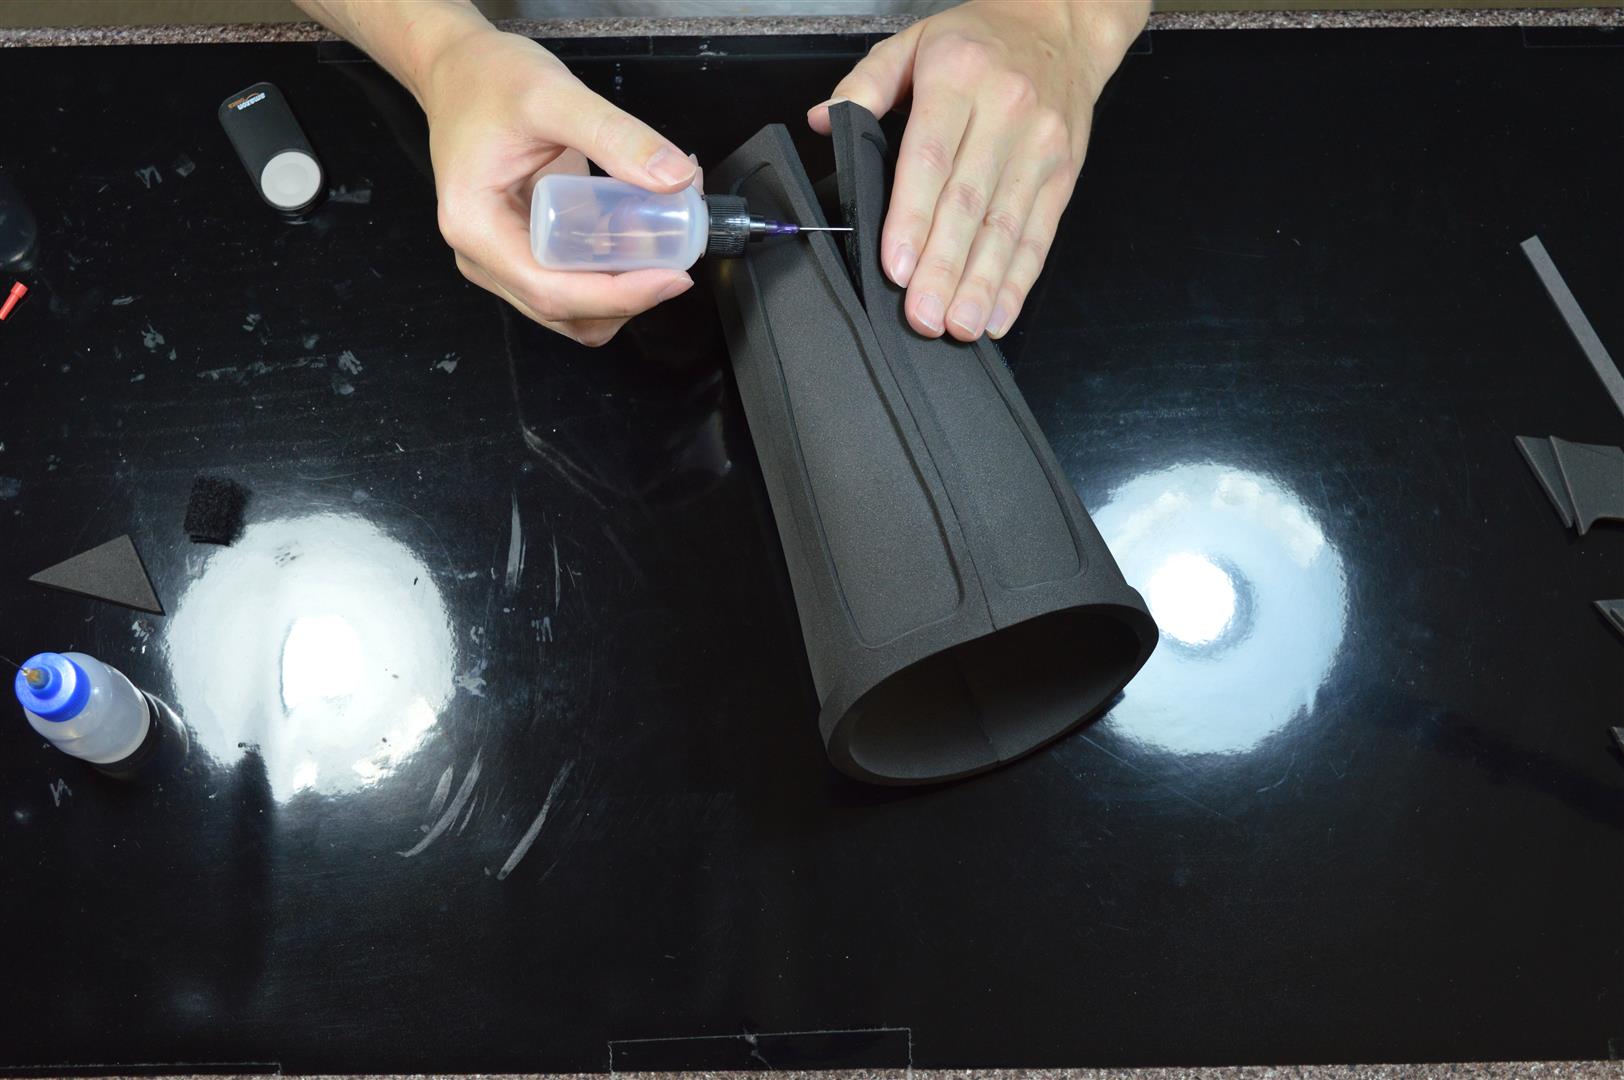
Step by step: Apply some glue to the top inch or so, and then hold the two sides together until fully dry.
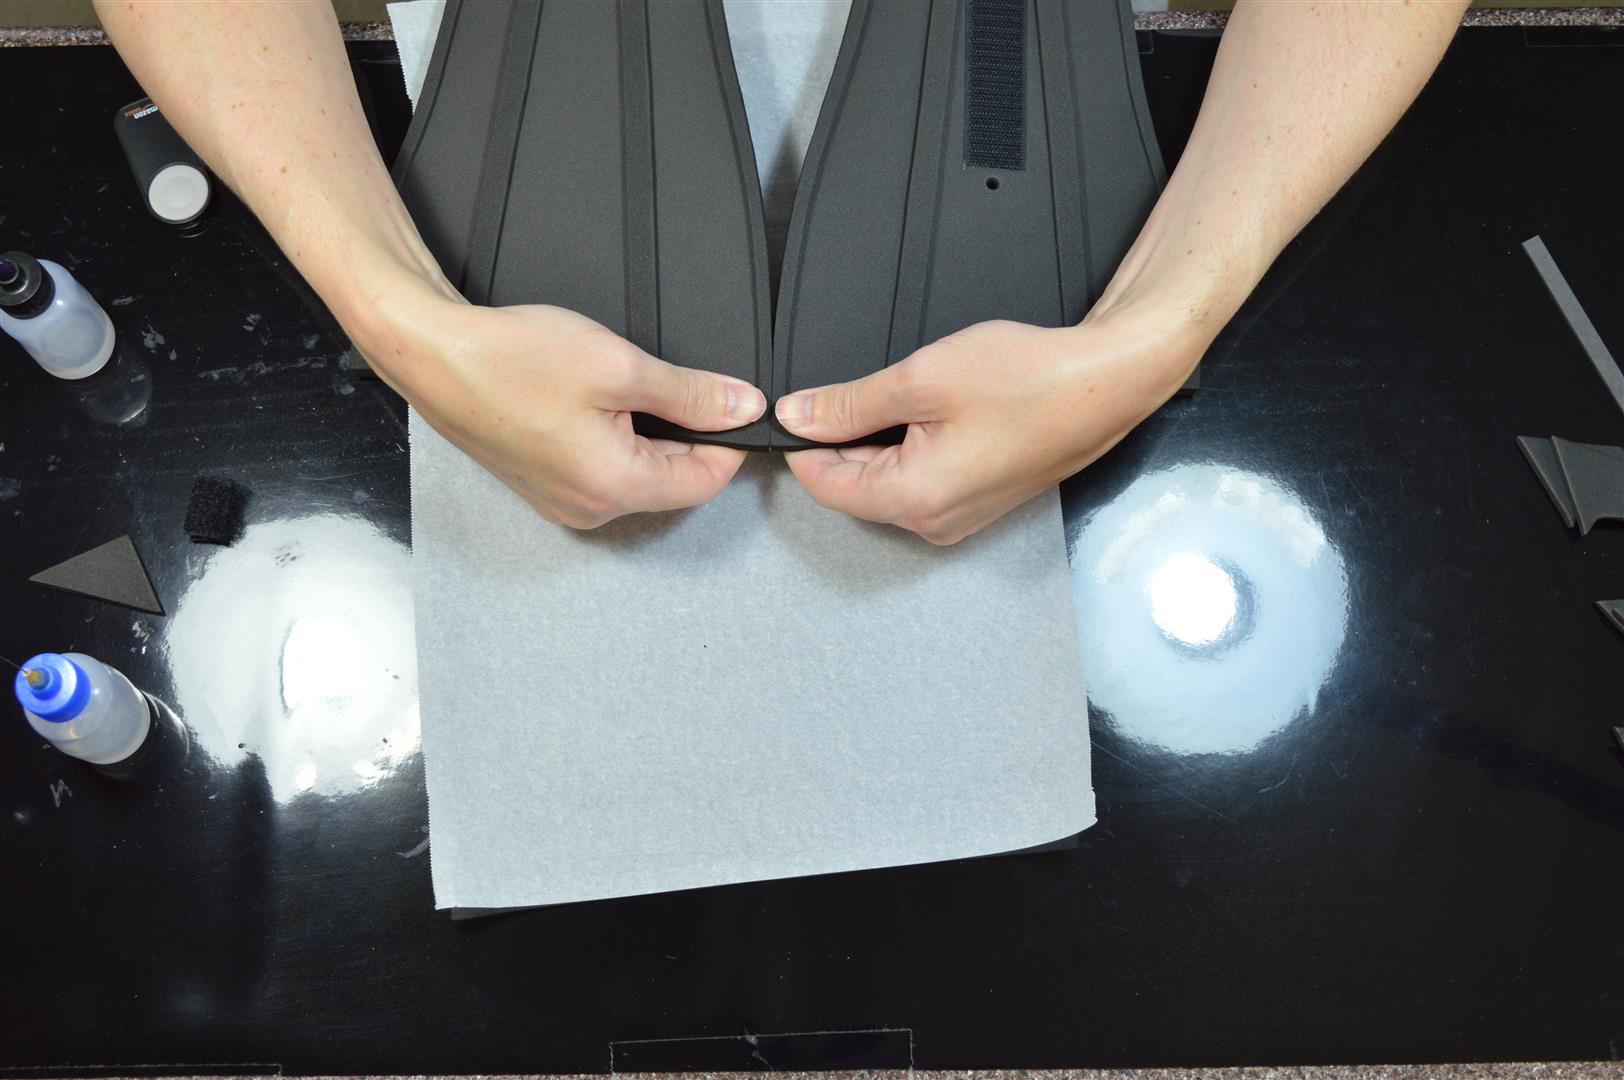

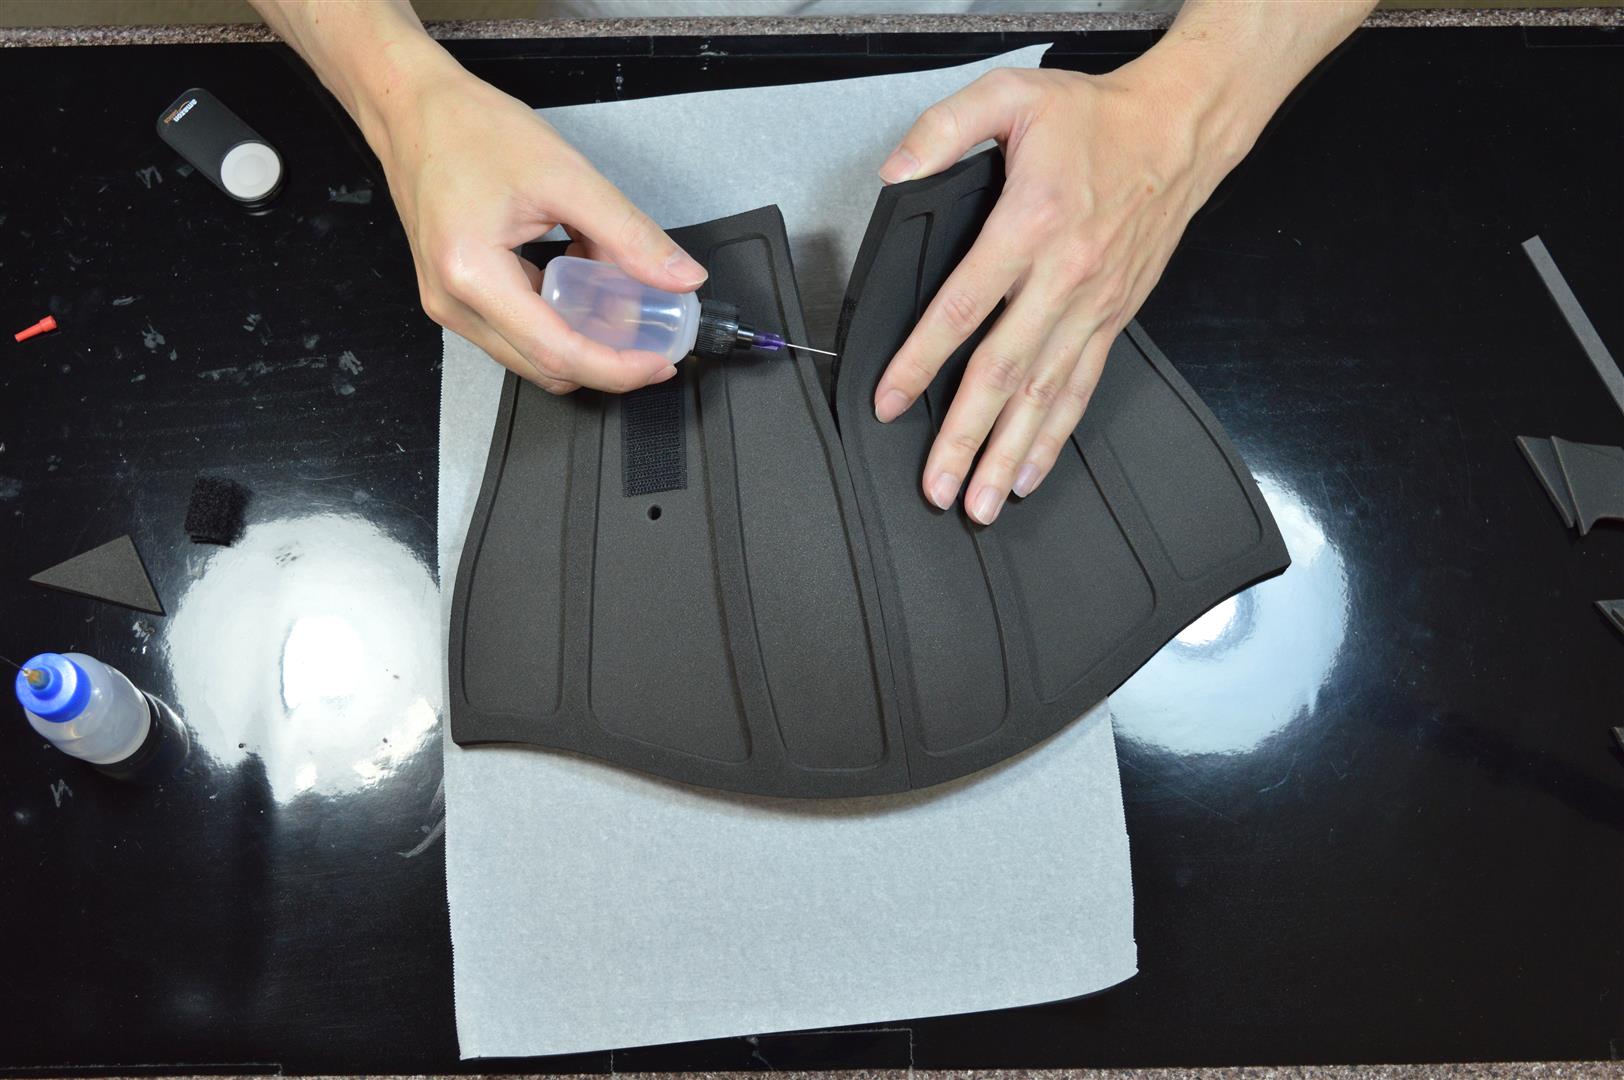
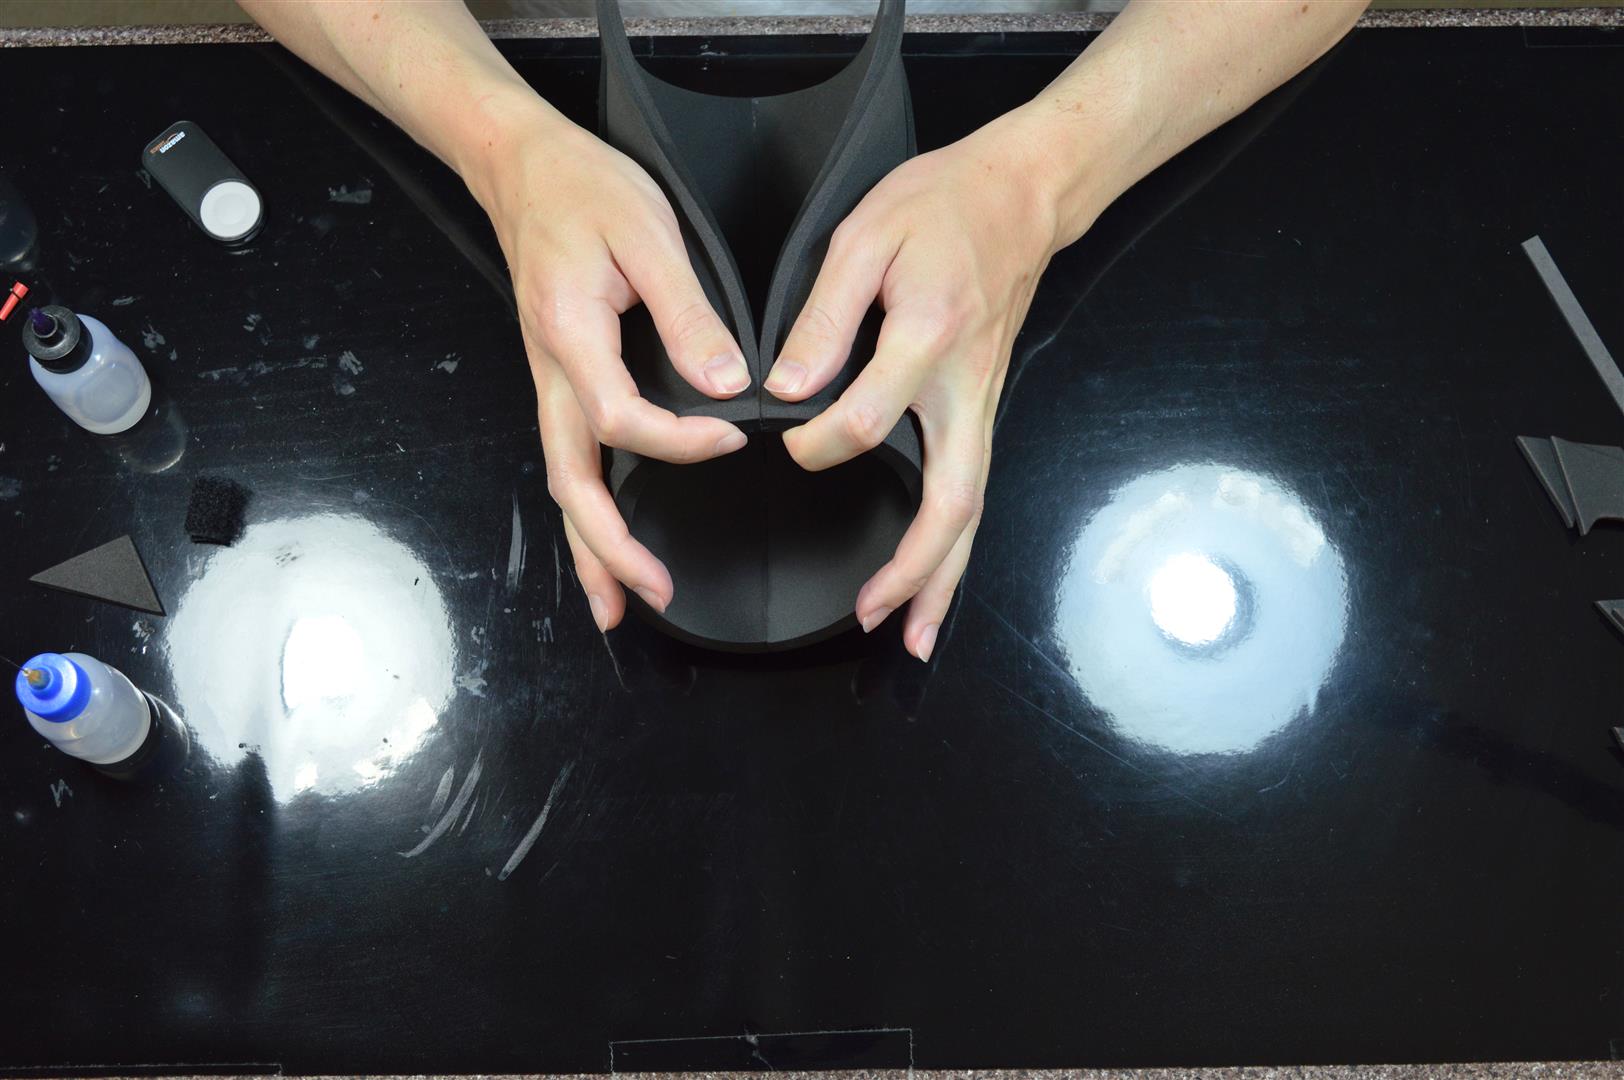
Apply glue to half of the remaining distance and bring the sides together. And then finally, glue the remaining section. For these sections, let the top edge of the gauntlets curl away from you.
As you approach the end of each side, keep an eye on how the pieces are lined up. Because foam can stretch and compress, the sides can get out of alignment such that one piece will be longer than the other and will overhang the end of the gauntlet. If you notice this starting to happen, you can correct it by stretching/compressing one of the sides while gluing the last few sections. It doesn’t take much force, just a gentle push or pull before joining the pieces and holding until the glue dries.
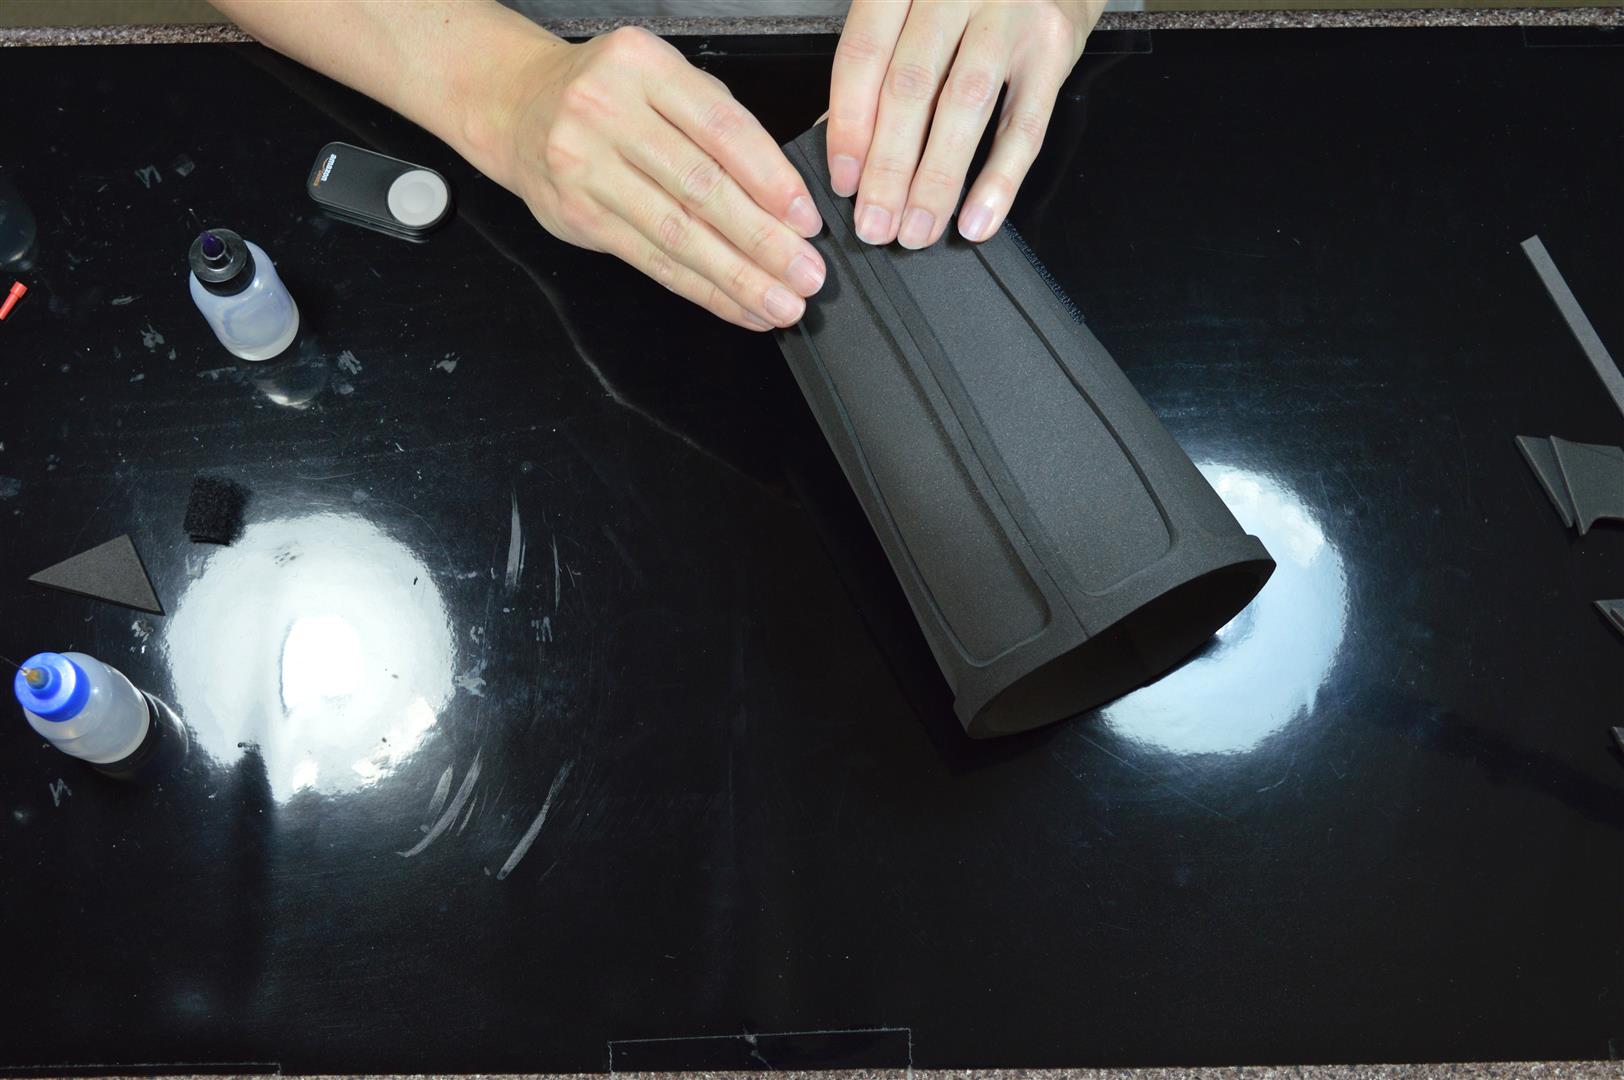
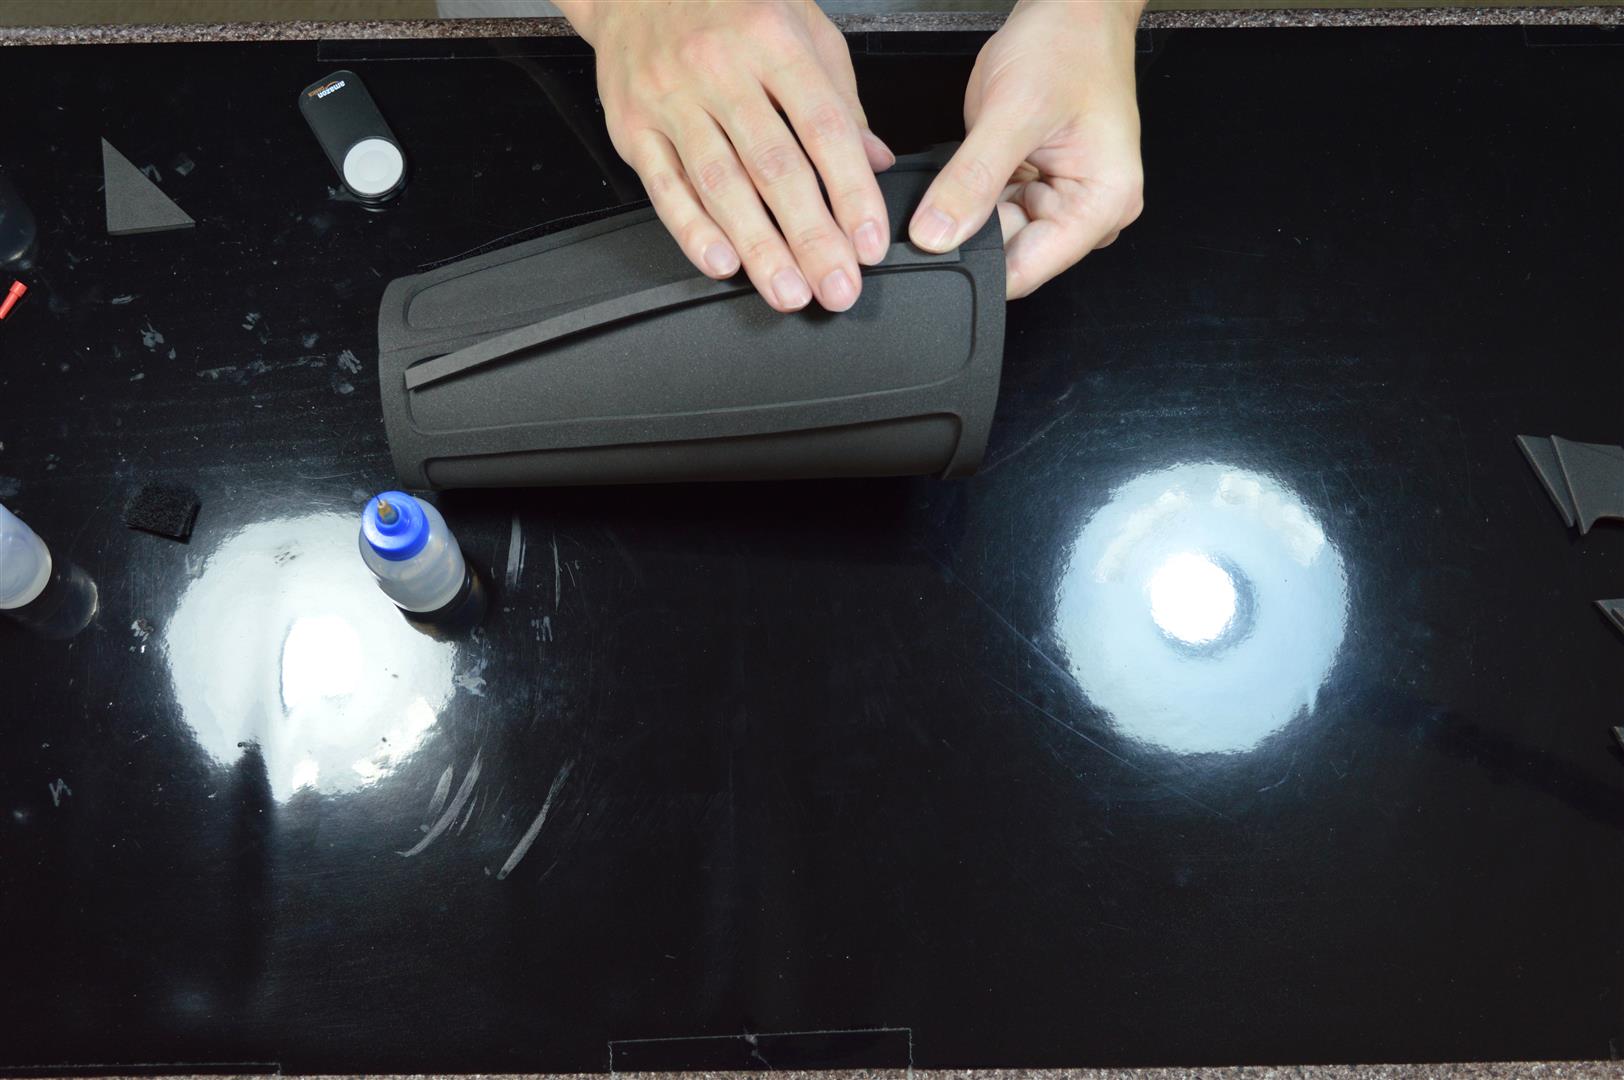
Focus on the top edge of the foam during each glue up section. And then after each section dries flip the gauntlets over and add more glue to the underside if needed, and hold it until it dries again.
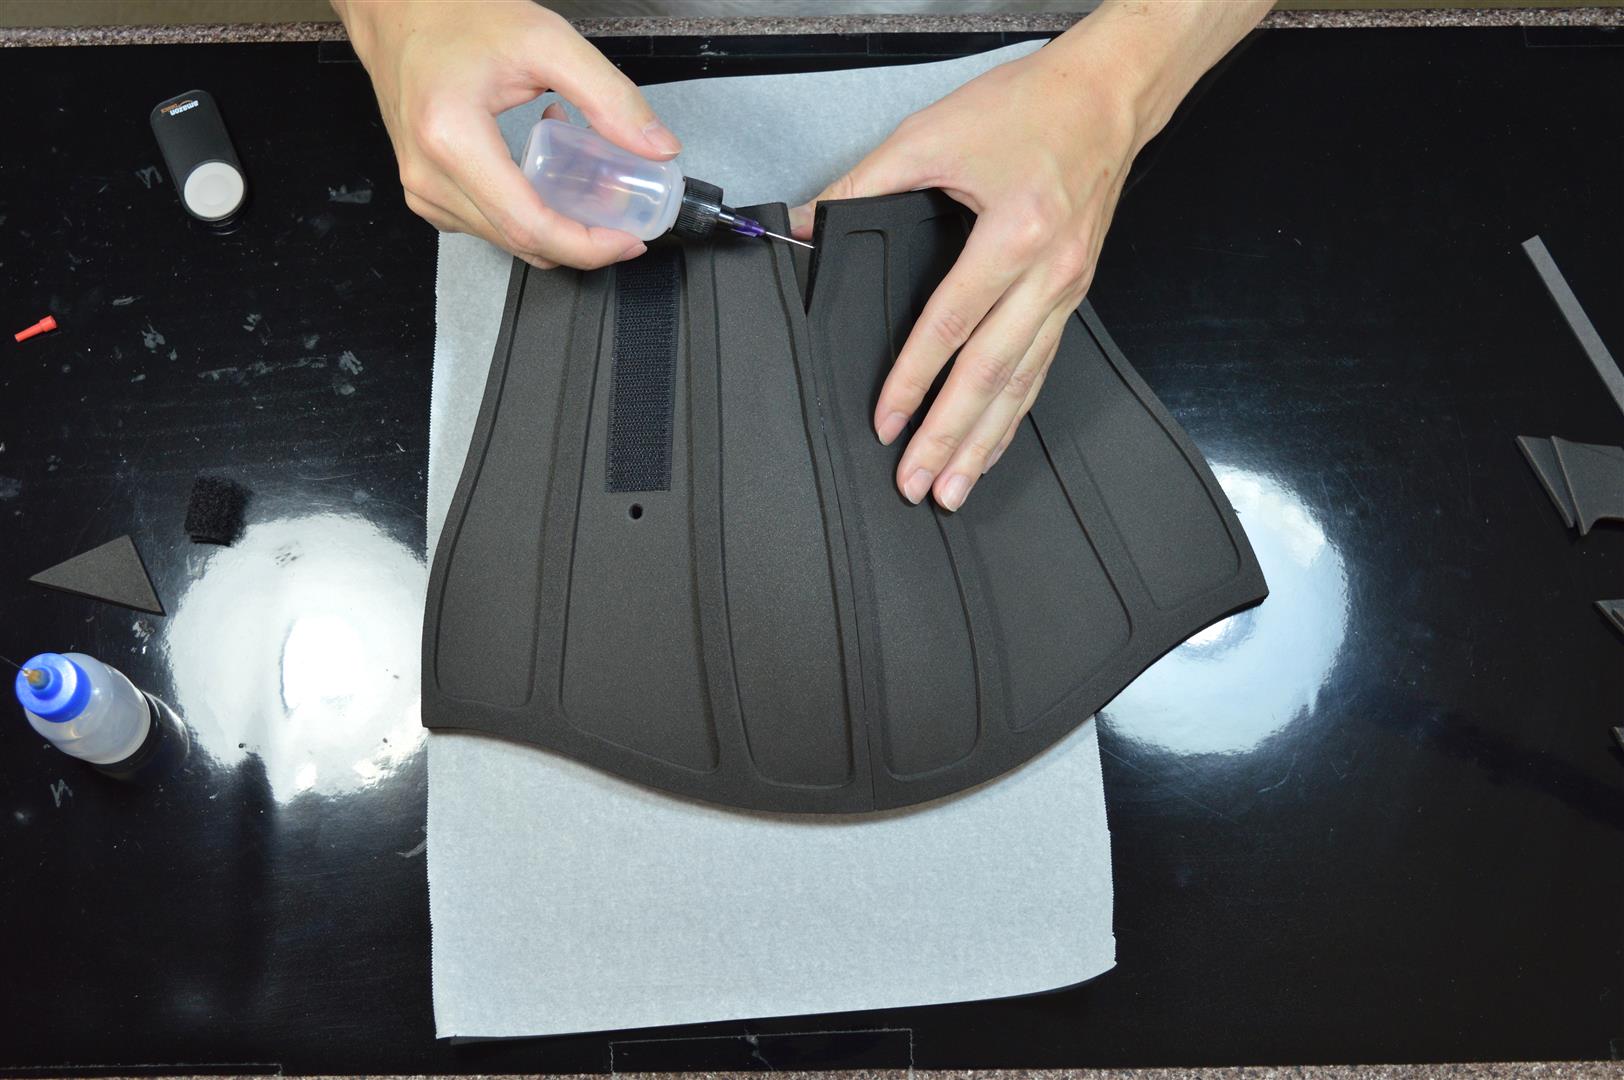
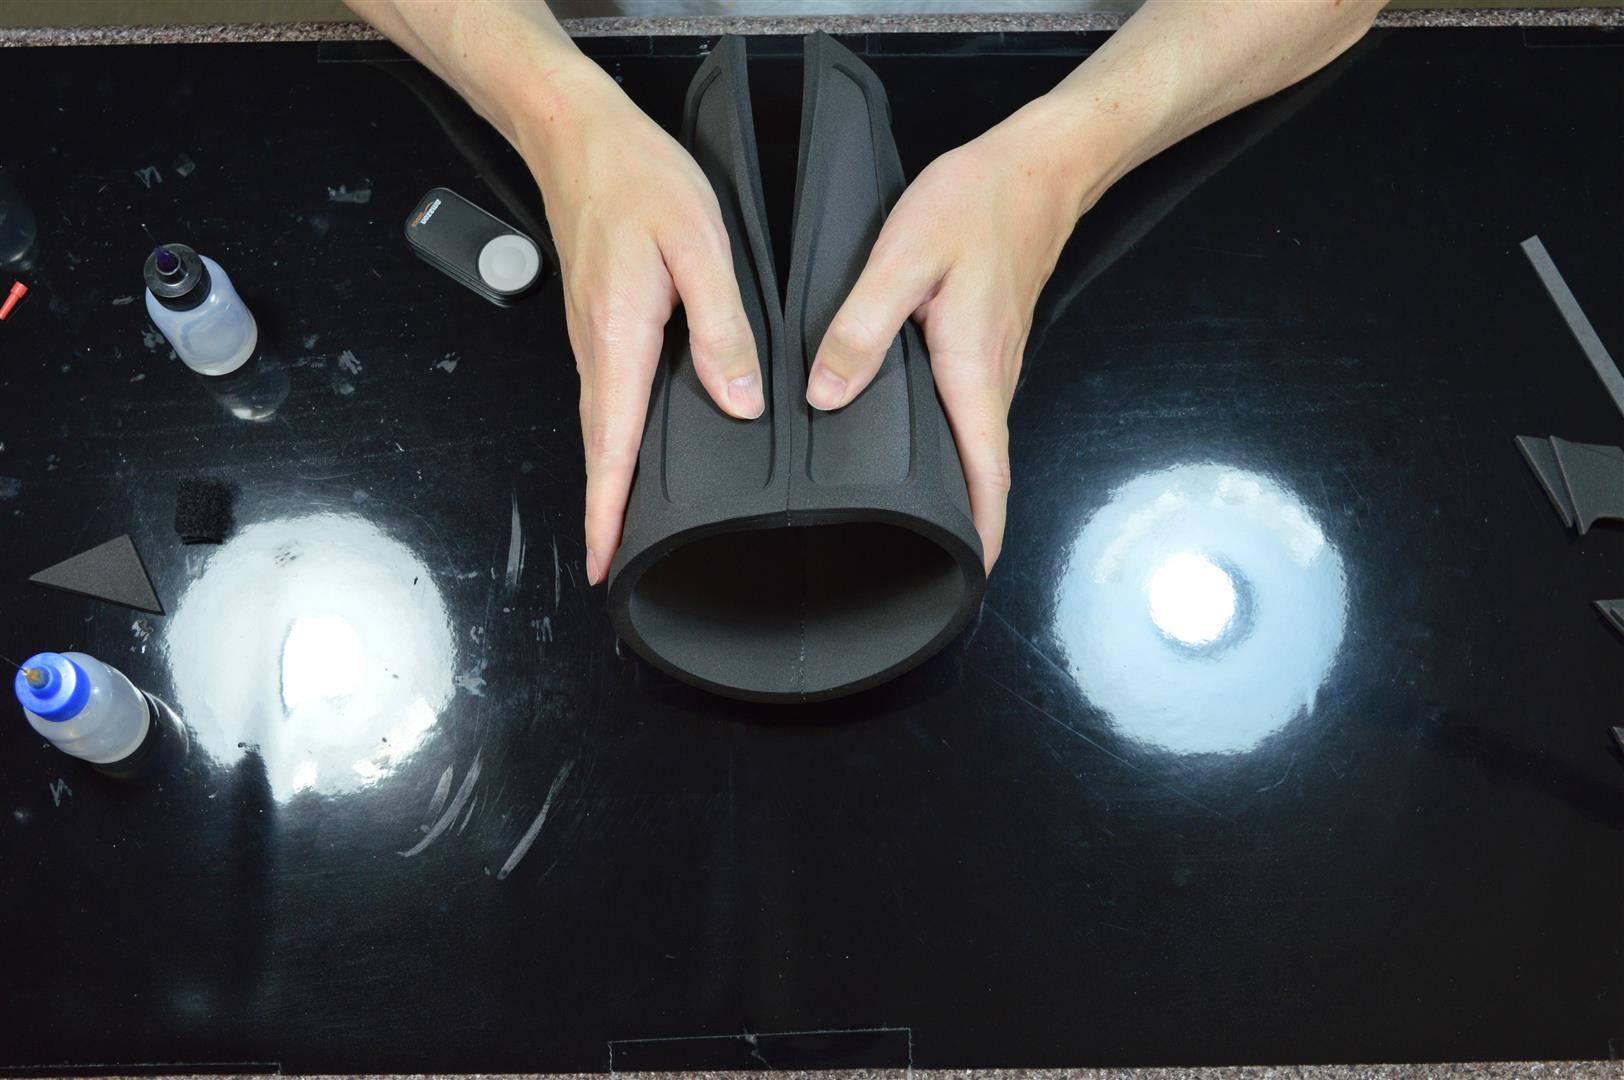
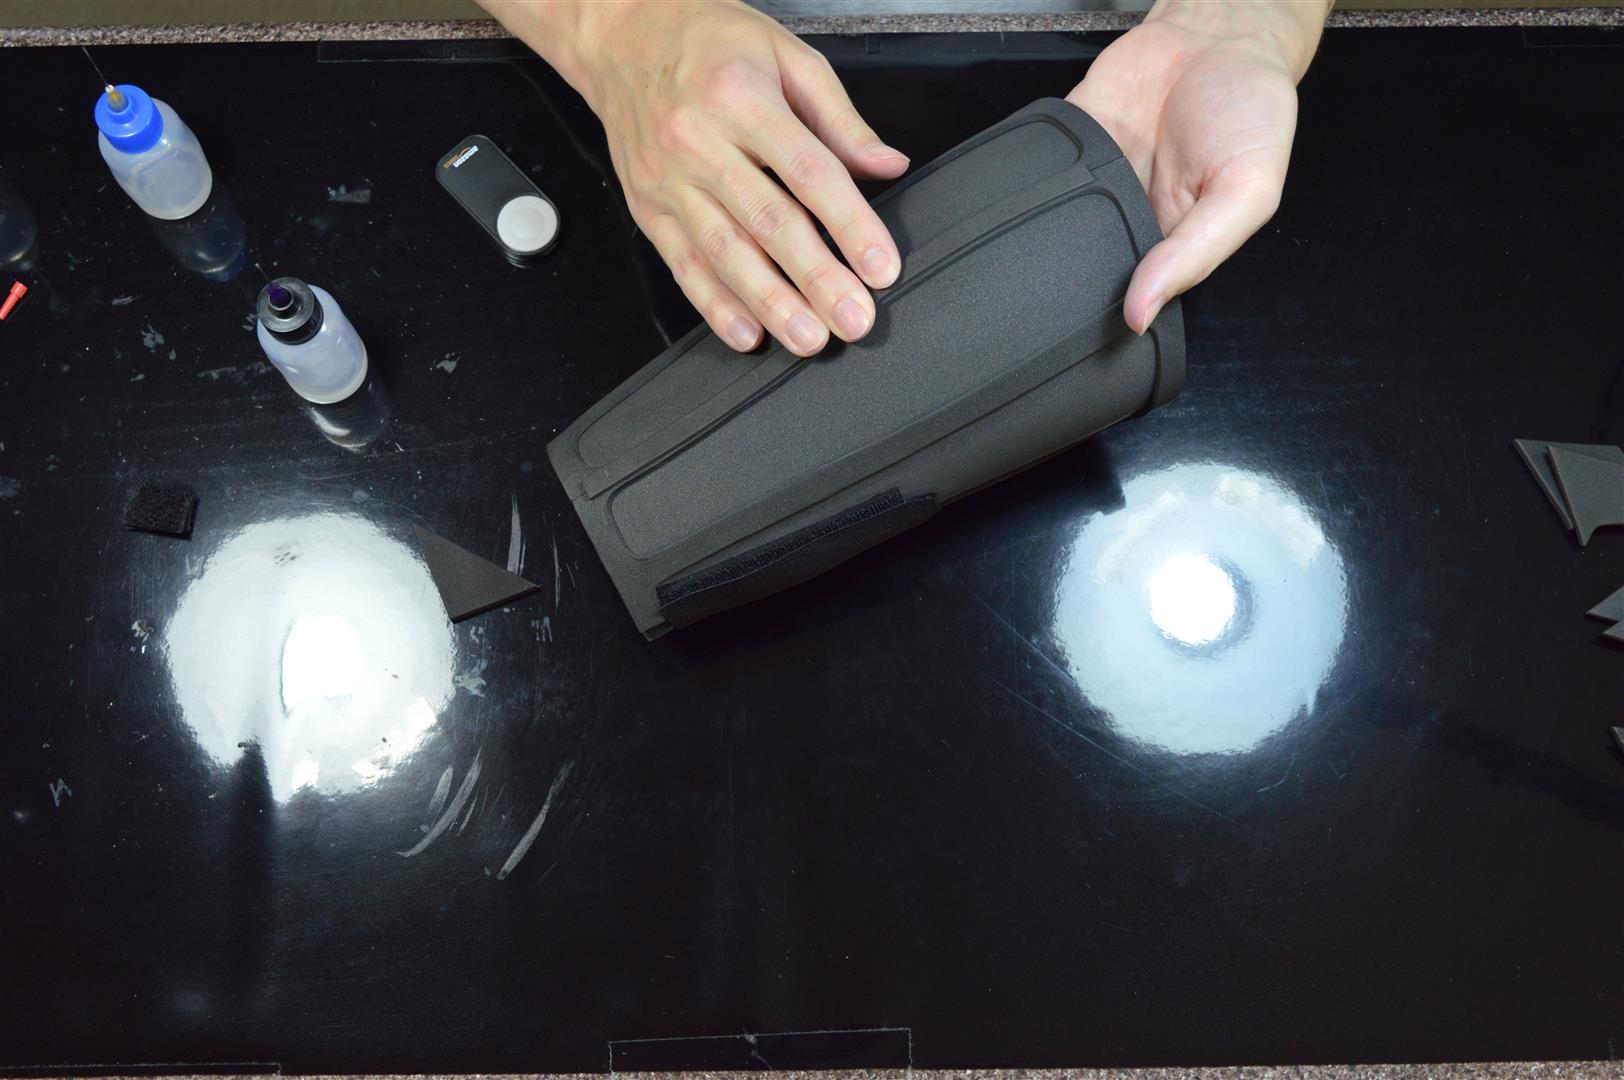
After the tall side is done, flip the gauntlets over and start the process again on the short side. Start with just one inch again.
Next, glue the next two inches. It helps if you push these parts inward towards the center of the gauntlets when bringing them together.


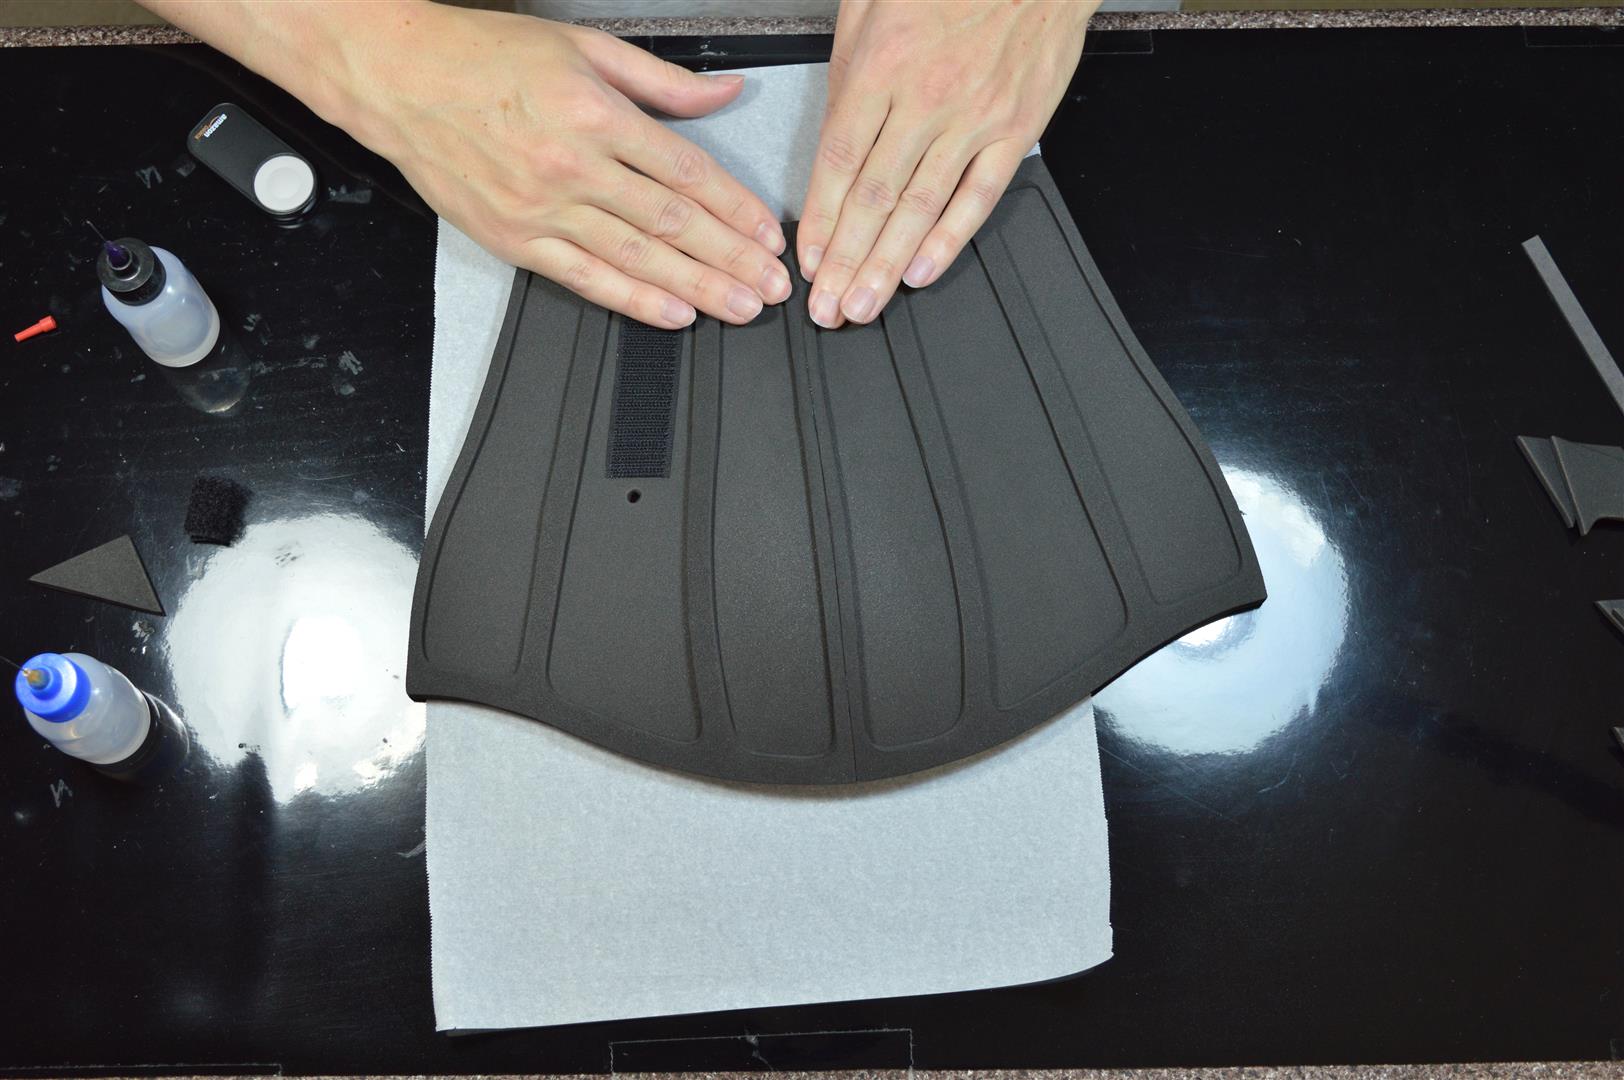
And then half of the remaining length, and hold till dry.

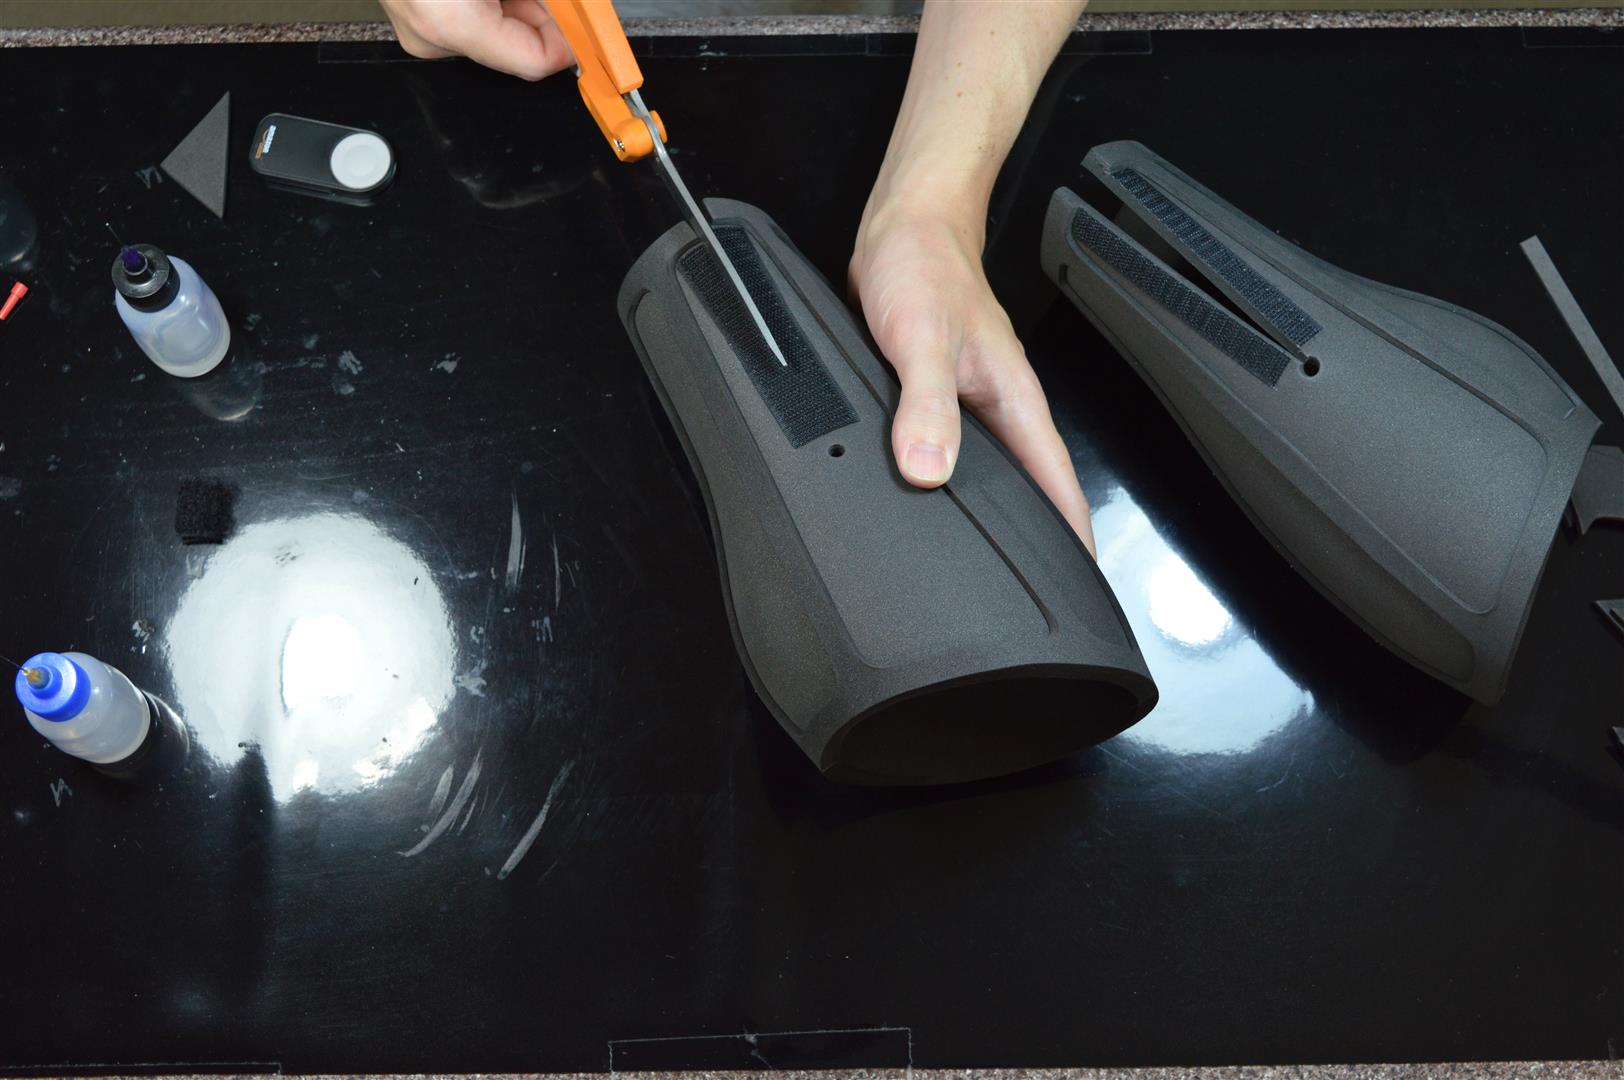
Cut open the gauntlets down the middle of the velcro from the wrist side to the center hole. If there are any large glue crystals on the outer seam, they can be carefully cut off with the xacto knife. It may also be a good idea to use a strip of sandpaper on the inside glue seam to smooth down any rough spots that may irritate your skin when sliding the gauntlets on and off.
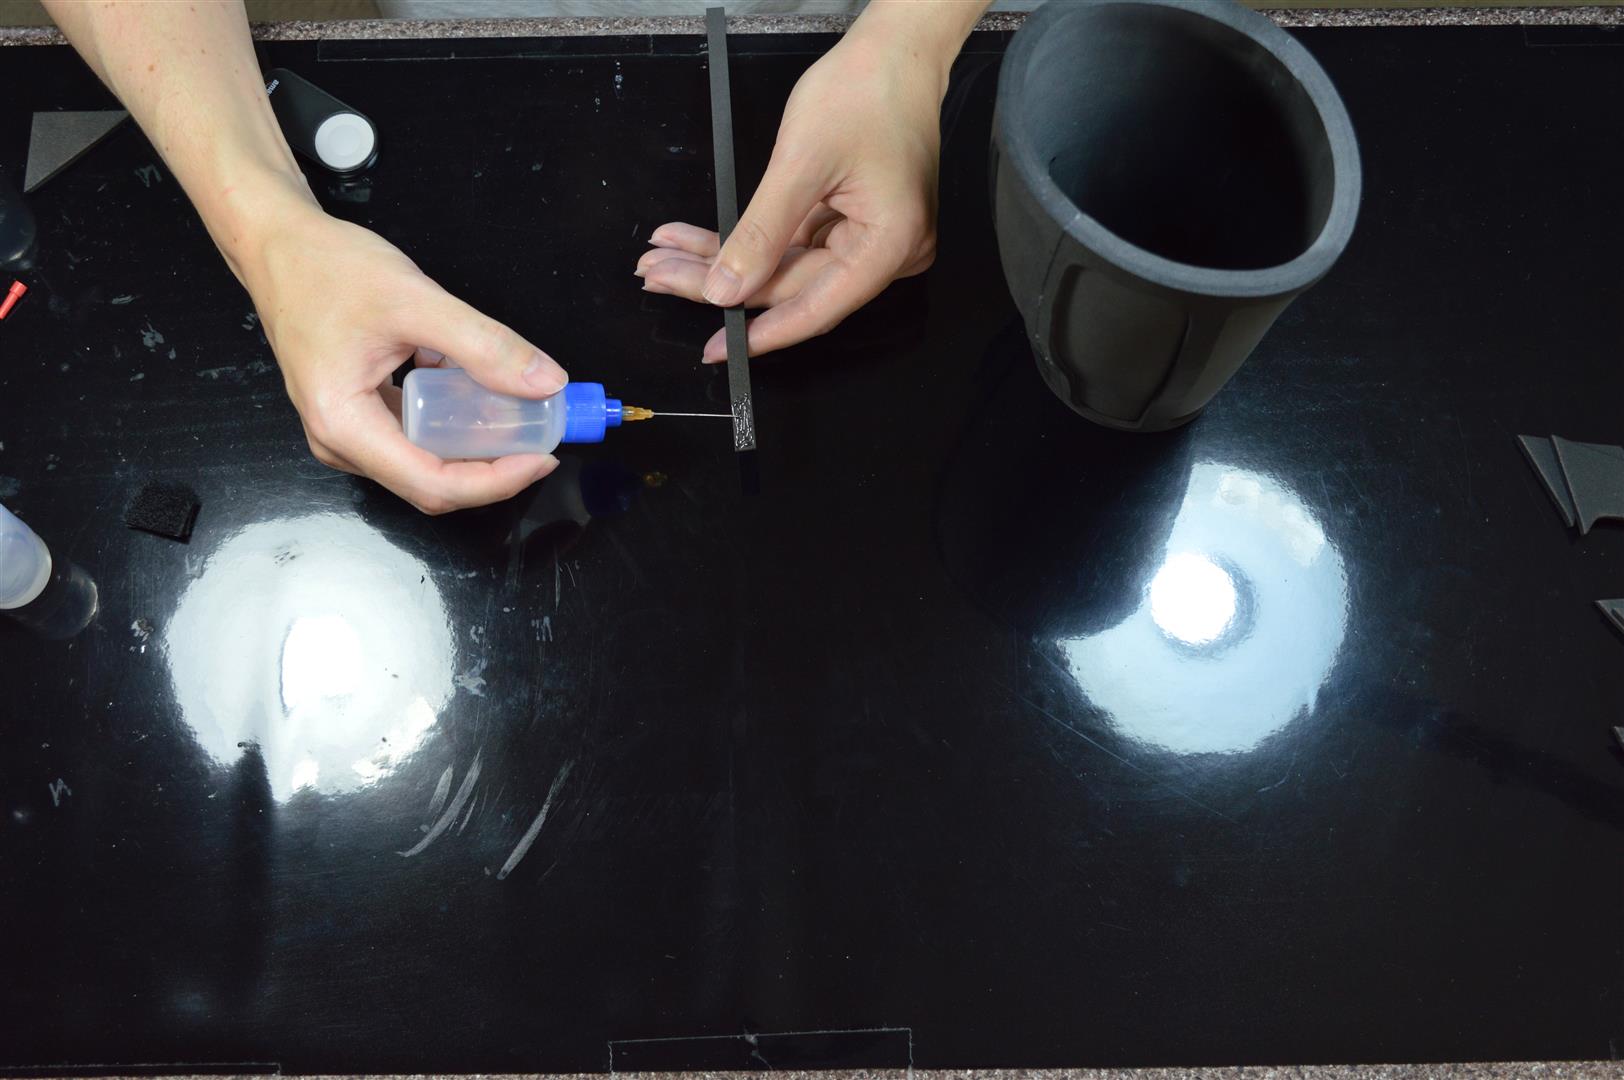
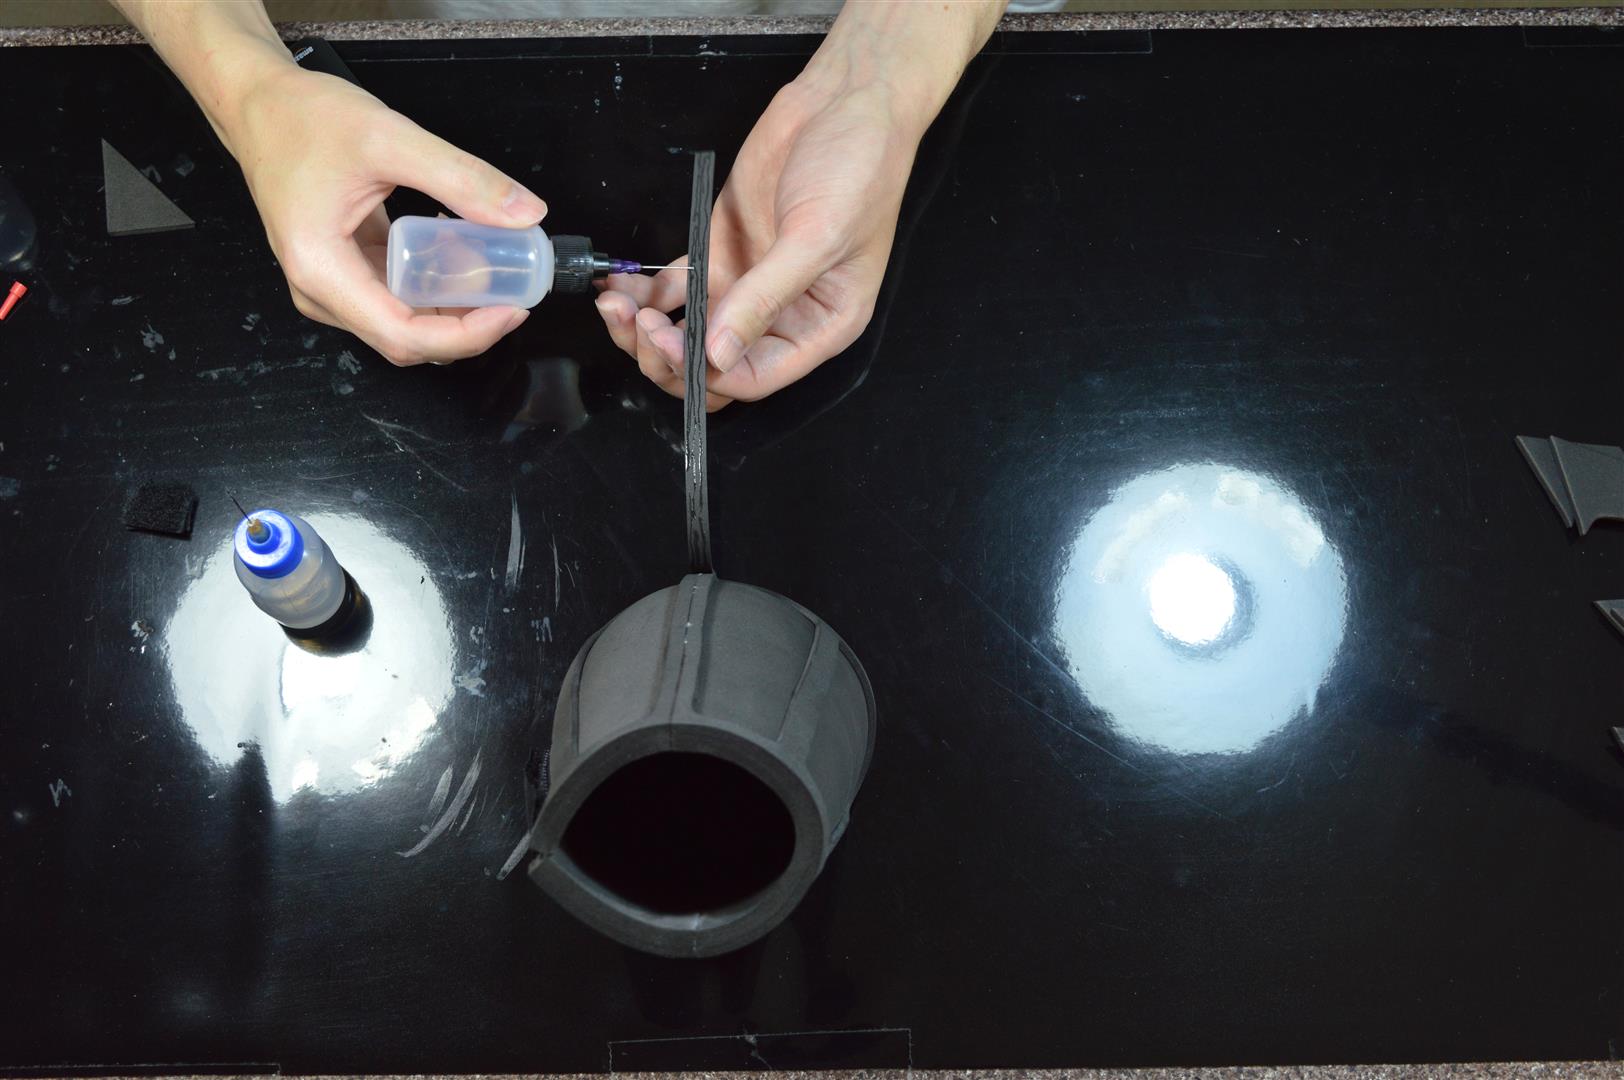
You can glue the remainder of the fin base piece either all at once or in shorter sections. Slowly lower it down and try to keep it centered on the glue seam line, and then press and hold it until it dries.
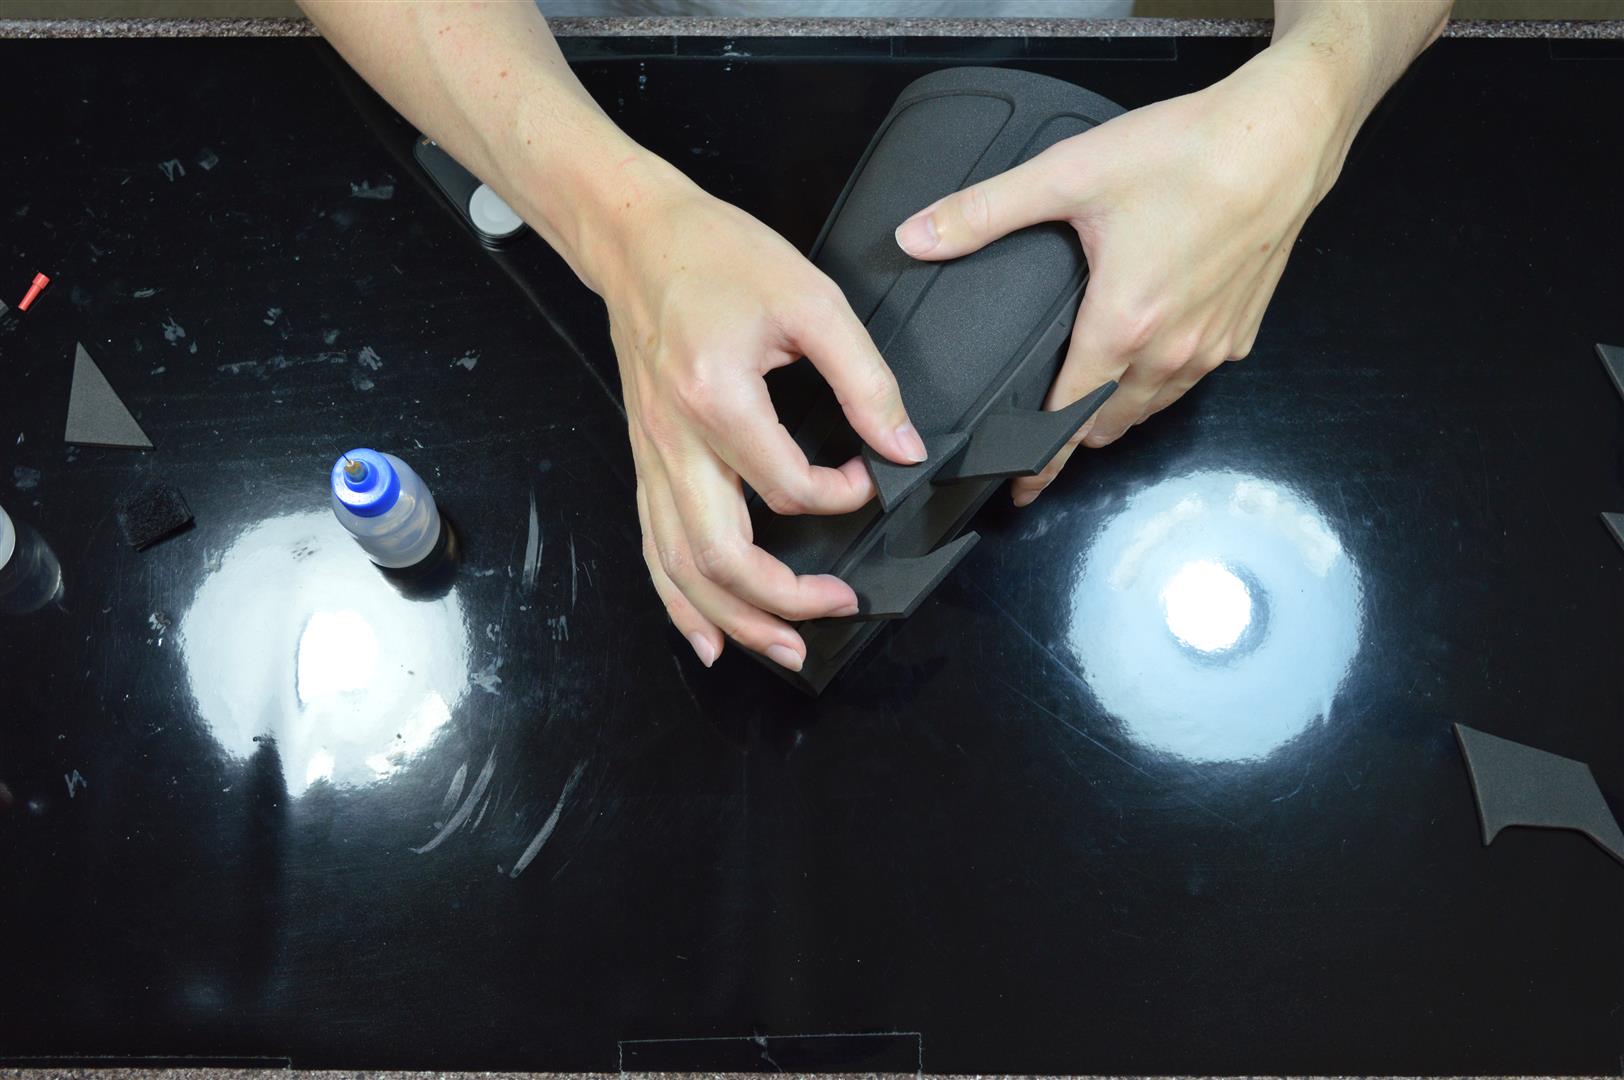
Apply glue to the bottom side of the smallest fin, and place it on the fin base so the front edge is touching the first dashed guide line (next to the “W” on the template). Next, glue the medium sized fin so its front edge is on the middle dashed guide line. And finally, glue the biggest fin on the last guide line. Use a scrap piece of foam to wipe off any glue squeeze out before it dries. Put the loop-side velcro pieces onto the glued velcro pieces to finish the gauntlets.