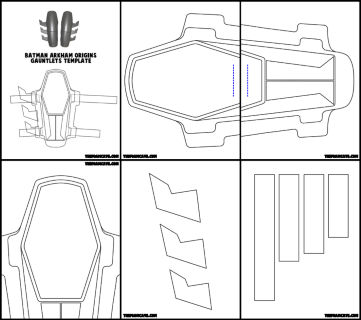
This tutorial will walk you through the construction of the Ark Origins Bat gauntlets. The template for these gauntlets is available for purchase here:
If this is your first build, check out the Introduction Page first,
as well as the Supply Page for links to the foam, glue, and necessary tools.
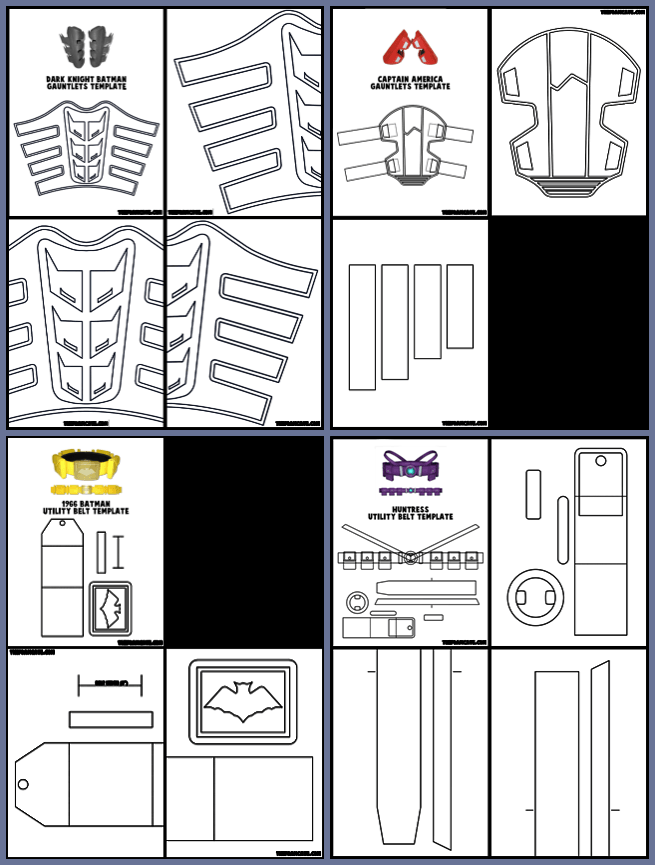
Print out the template onto thick printer paper (ideally a poster board paper) to make it easier to trace. You may have to print it out a couple times to get enough copies to cut out all the layers separately. Tape together the sections that extend across two pages- hold it up to light or place the printouts on a sun-facing window to see through the paper and correctly align both halves.
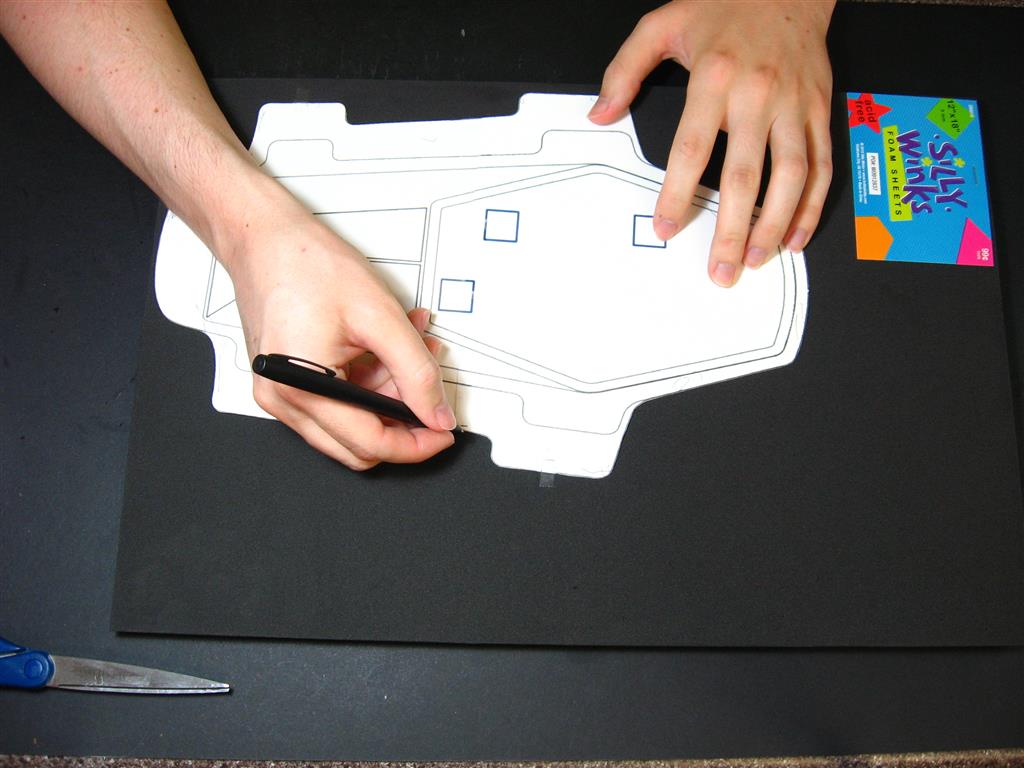
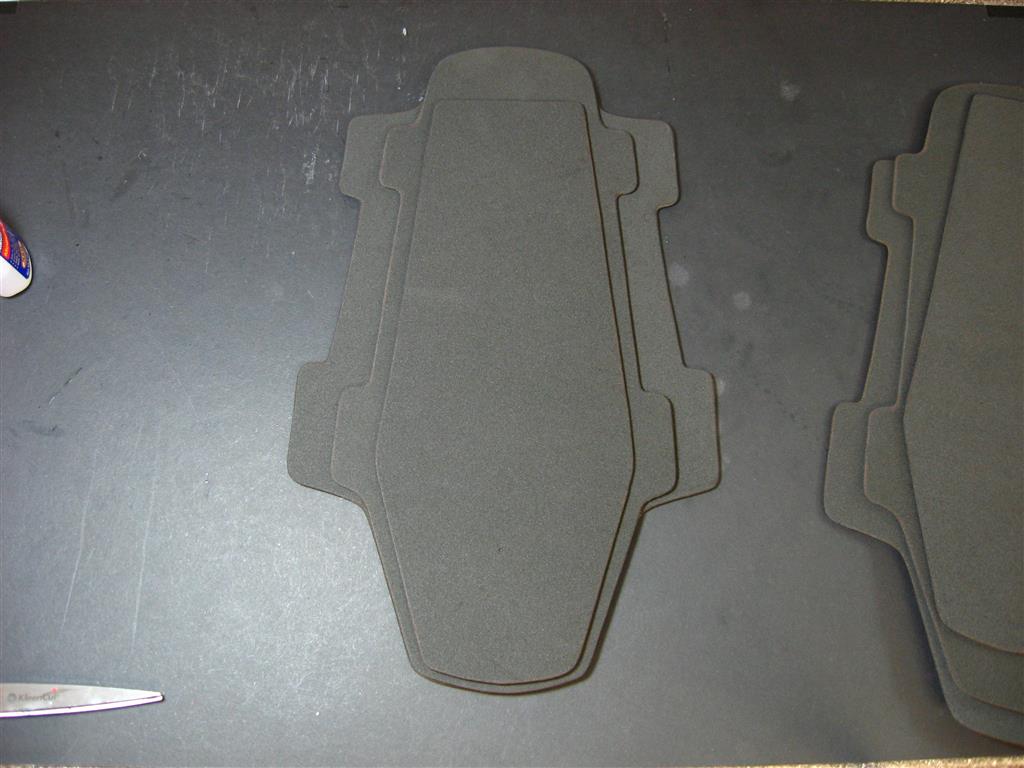
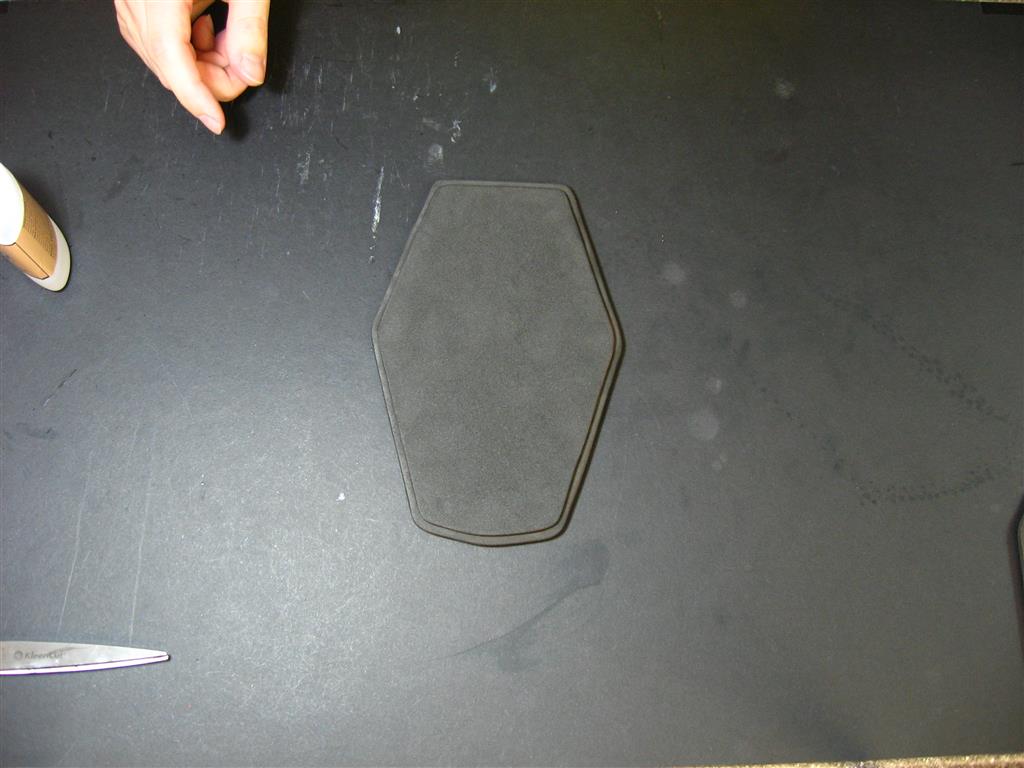
Cut out all the pieces and trace them onto your foam sheets. A regular ball point pen works fine on the foam. The gauntlets will be build up in layers. The top turtle shell shaped piece is made of one 3mm thick foam layer on top of two 5mm thick layers. The rest of the layers are made of 3mm foam, with the exception of the fins and straps, both of which are either 5mm or 6mm depending on the type of foam you have available. As you will see below, for some of the double layers you only have to trace the template shape once, as the second layer should be cut directly around the first layer after gluing it down. It will make more sense below.
Use a regular pair of office scissors to cut out all of the pieces.

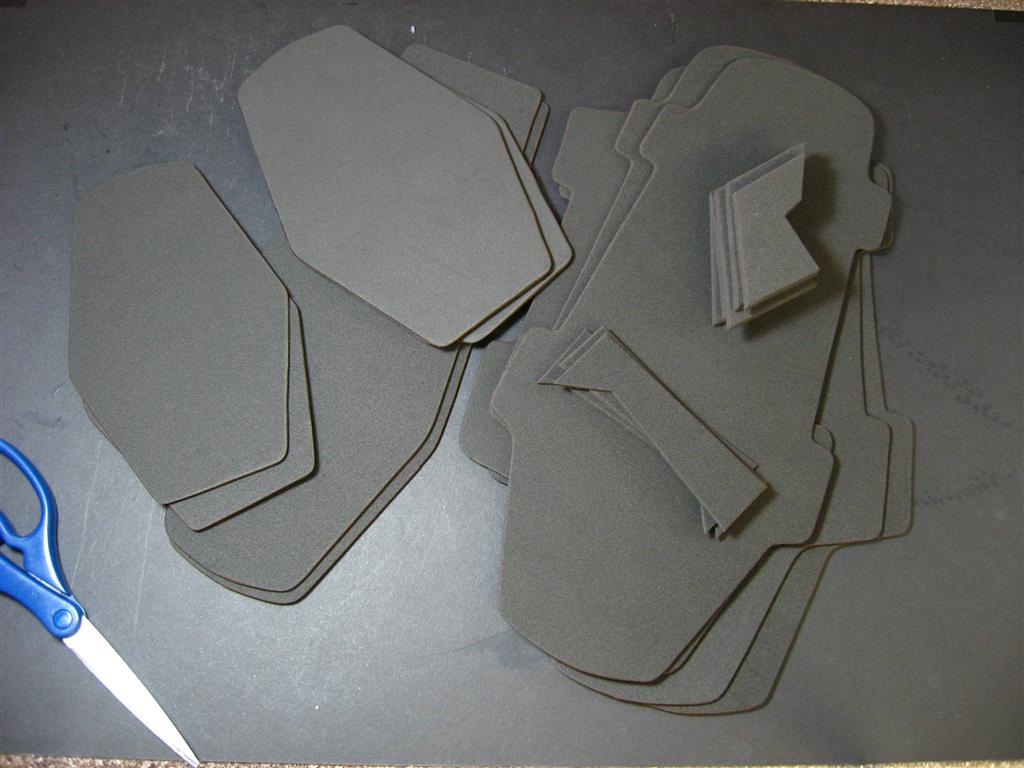
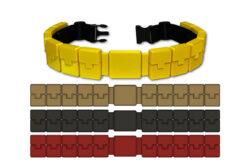
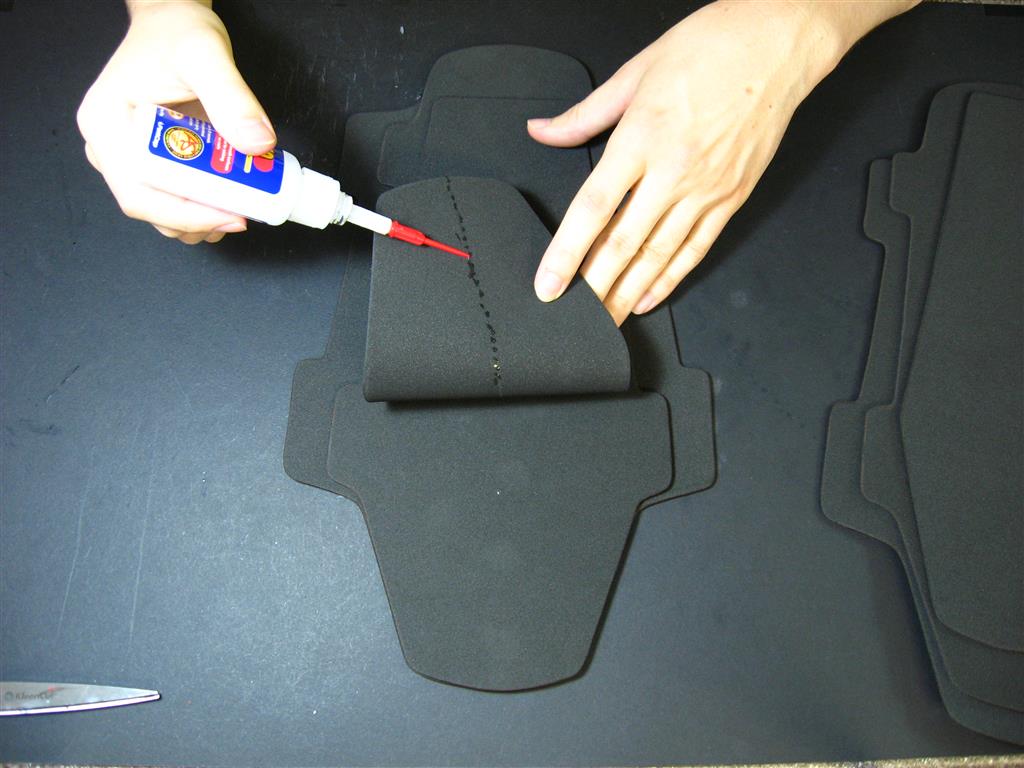
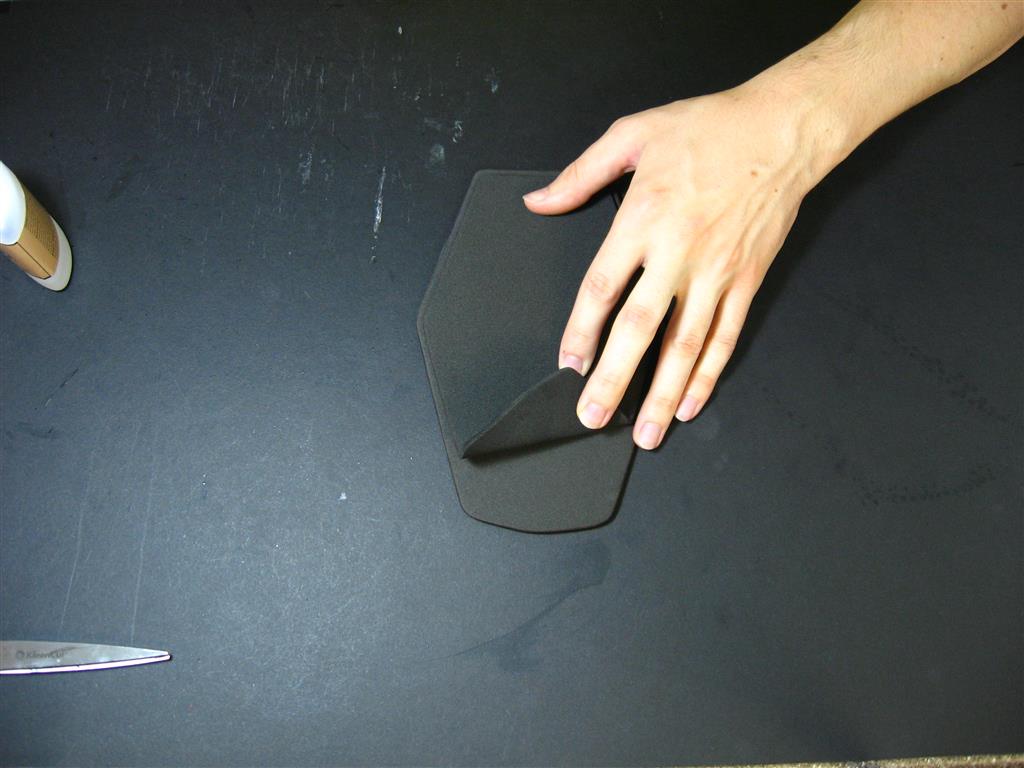
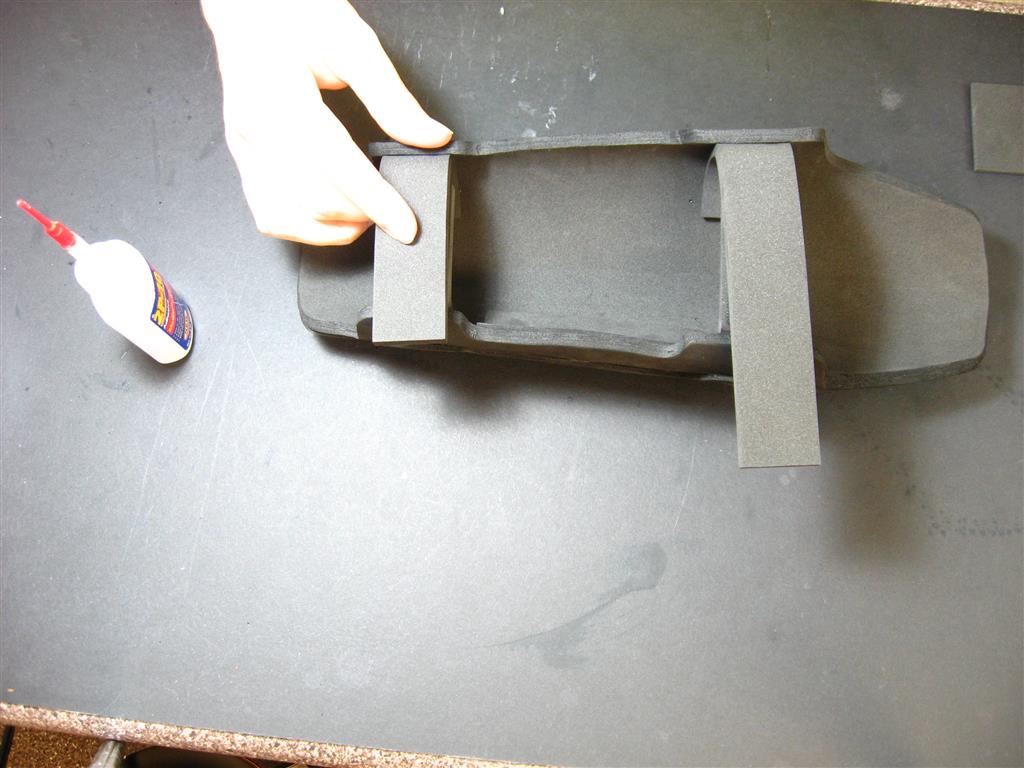
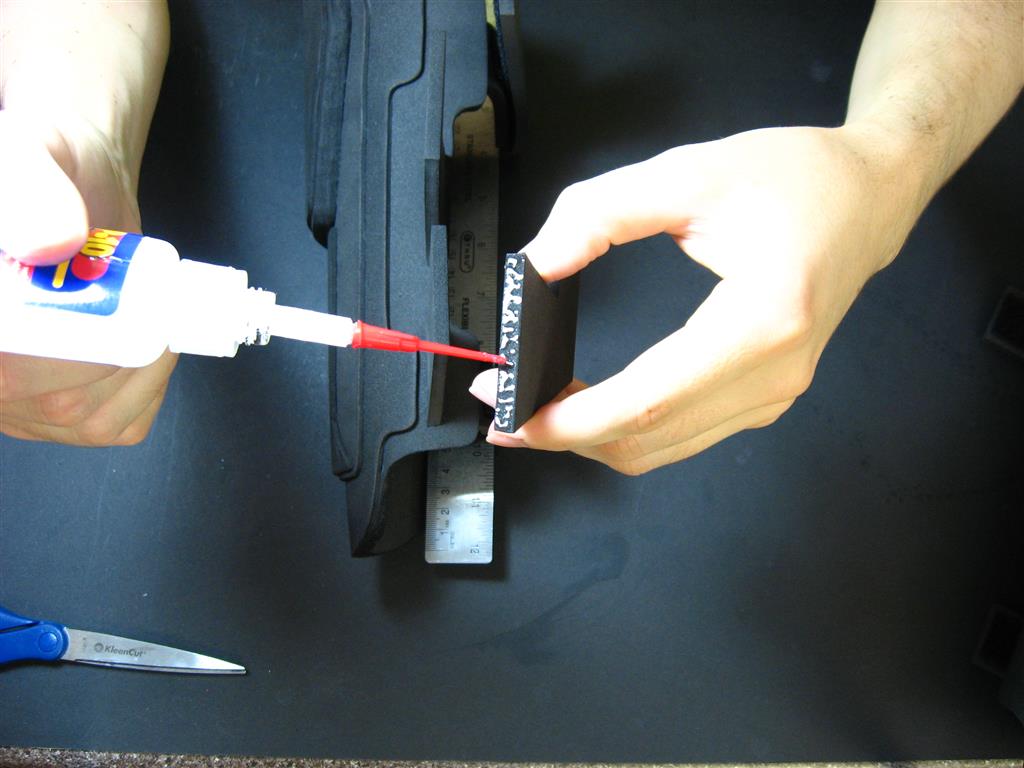
Lay the middle layers on top of each other so they are centered correctly. Hold down the top layer so it stays in place, and then bend back half of it and apply a bead of glue down the center ( I use a variety of super glues, mainly one called Rhino Glue). Lay it back down and press and hold it in place for 10 seconds to let the glue set. Continue the bead of glue to the other end of the layer on the other half. You are not fully gluing these layers down yet, this thin line of glue is simply to keep all the layers in the correct alignment when you glue them later on. Do the same center-line-gluing on the next layer, and then for the bottom layer place a full sheet of foam underneath and do the same.

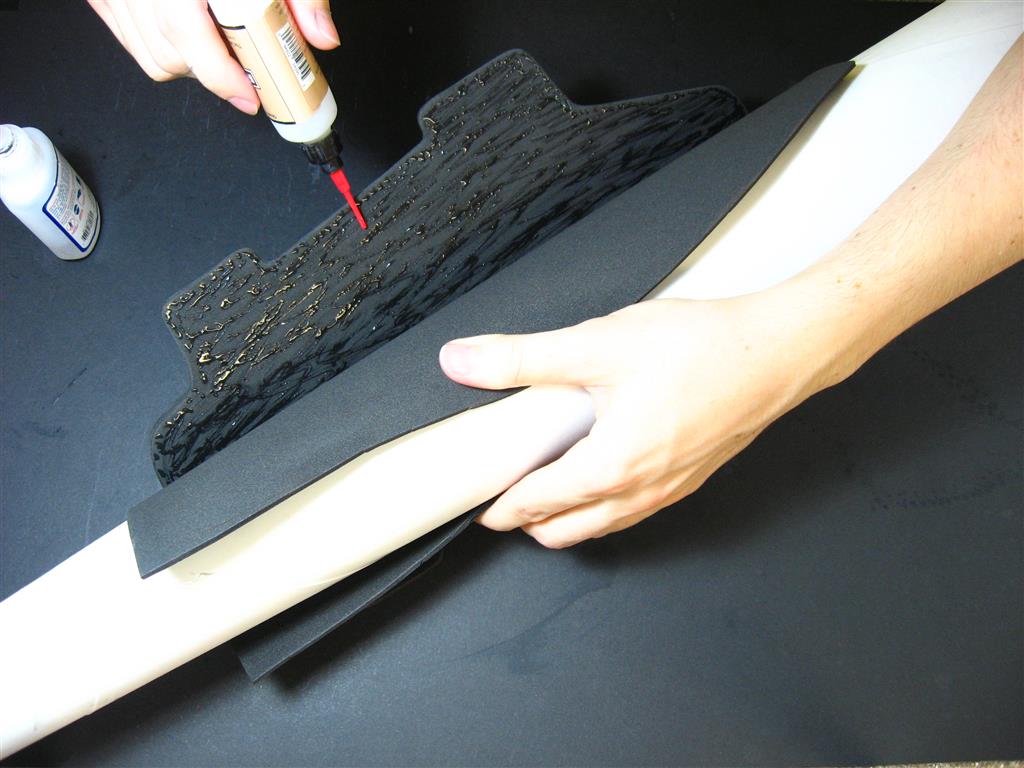
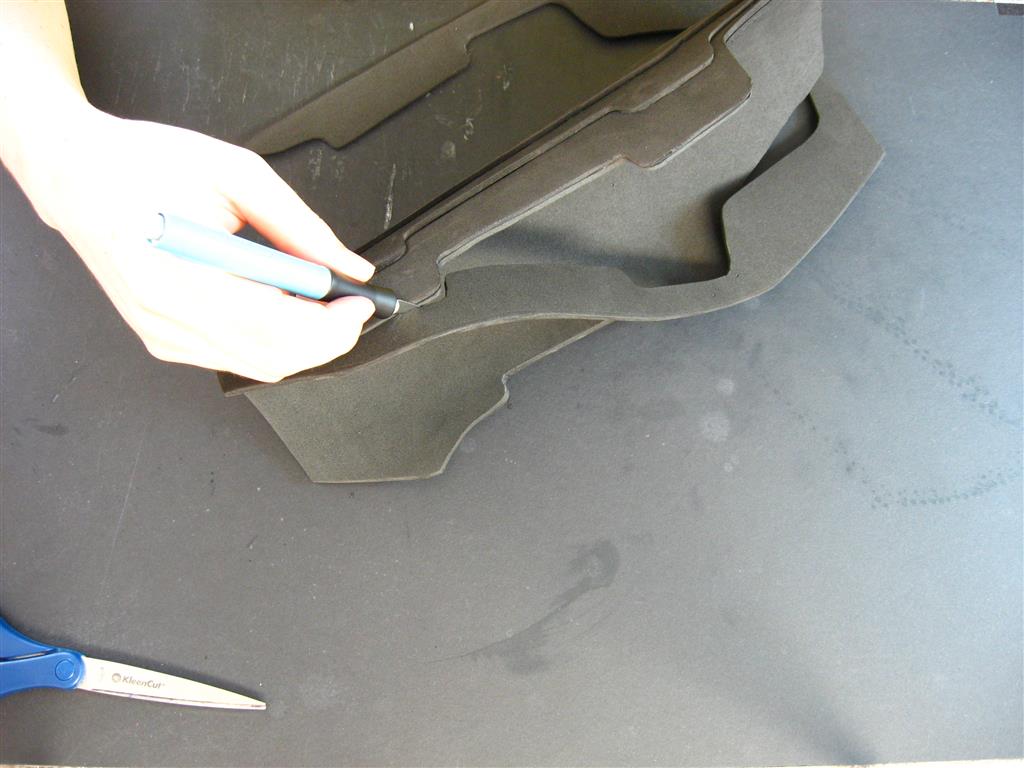
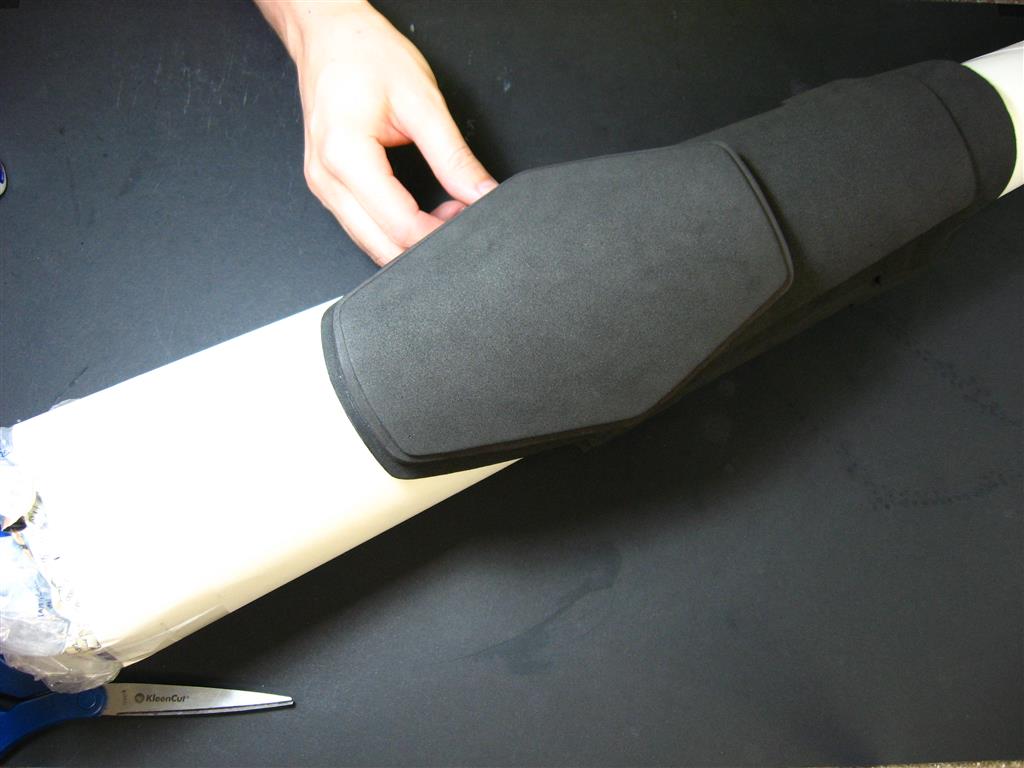
Whenever you are gluing several layers that you want to stay in a curved position, it is best to hold them in that curved position while you glue them together. I recommend making a simple cone-shaped tool to help with this. Mine is made of a large, rolled up sheet of poster board paper that is stuffed with plastic grocery bags and taped shut. You can bend the gauntlet layers around this while gluing them together. Wrap the layers around the cone and bend back the second-to-bottom layer. Apply glue to the underside of the layer and then bend everything back around the cone and hold it while it dries. You can glue one side of each layer at a time, or both at the same time if you are currently in your hotel room at the con. Glue the rest of the layers the same way. The layers will retain their curve after they dry.


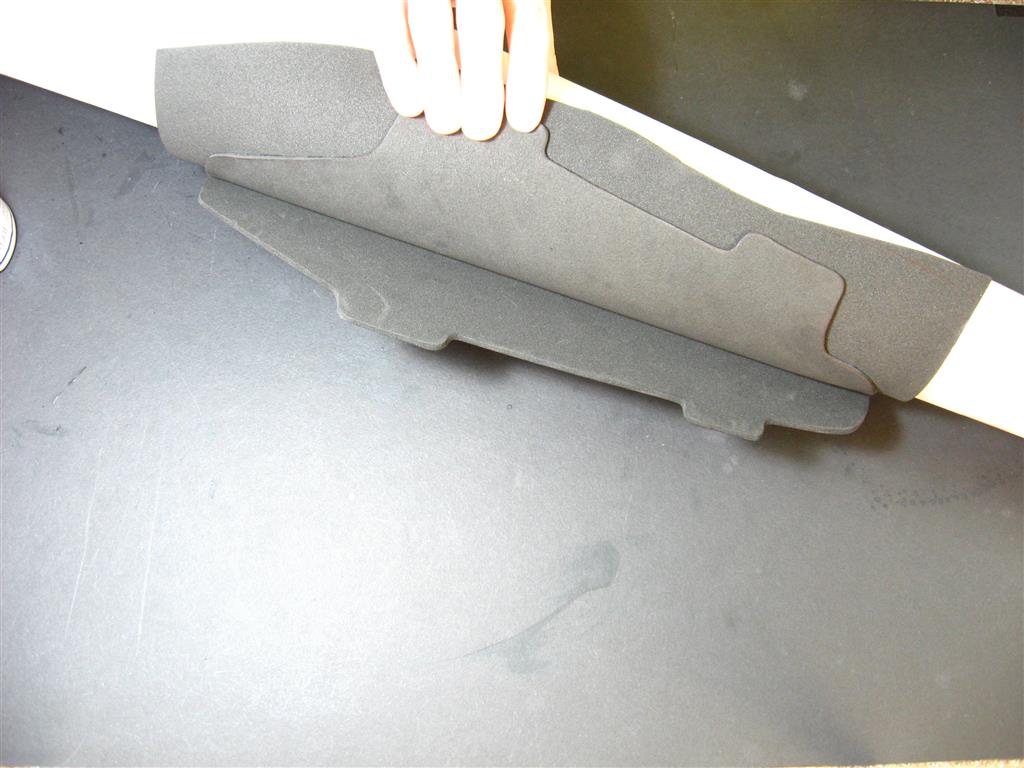
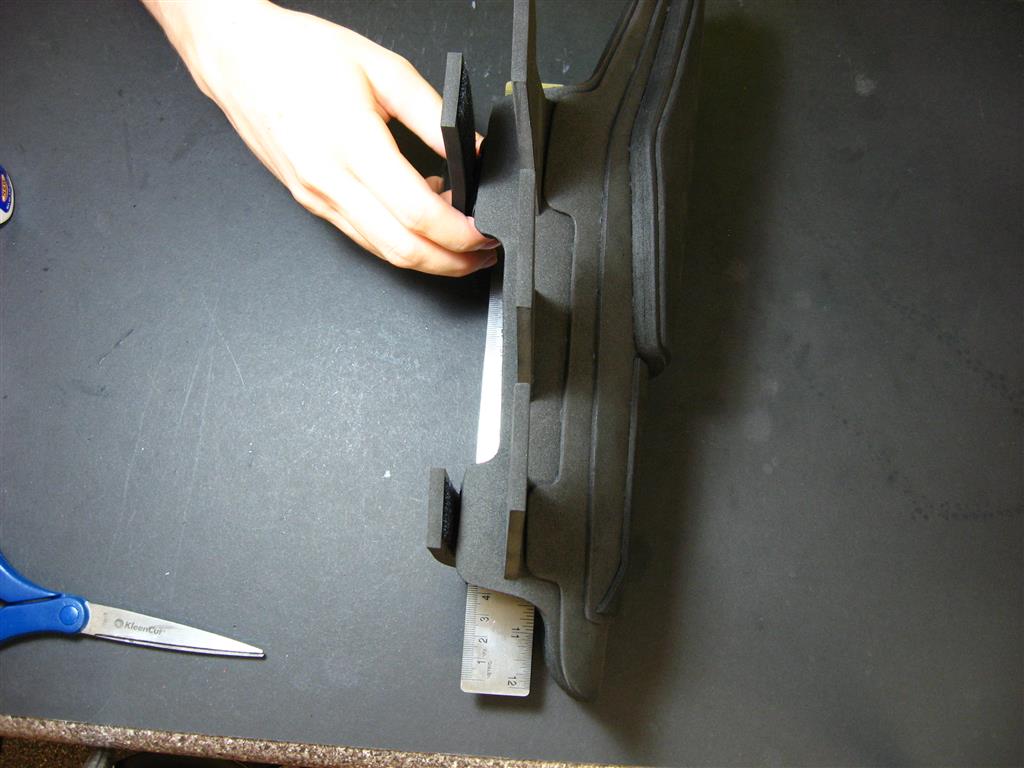
Glue together the layers of the turtle shell piece in a similar fashion. You can glue the top 3mm layer fully to the top 5mm layer while they lay flat, but then use the cone to glue another full sheet of 5mm foam onto the bottom while curved.
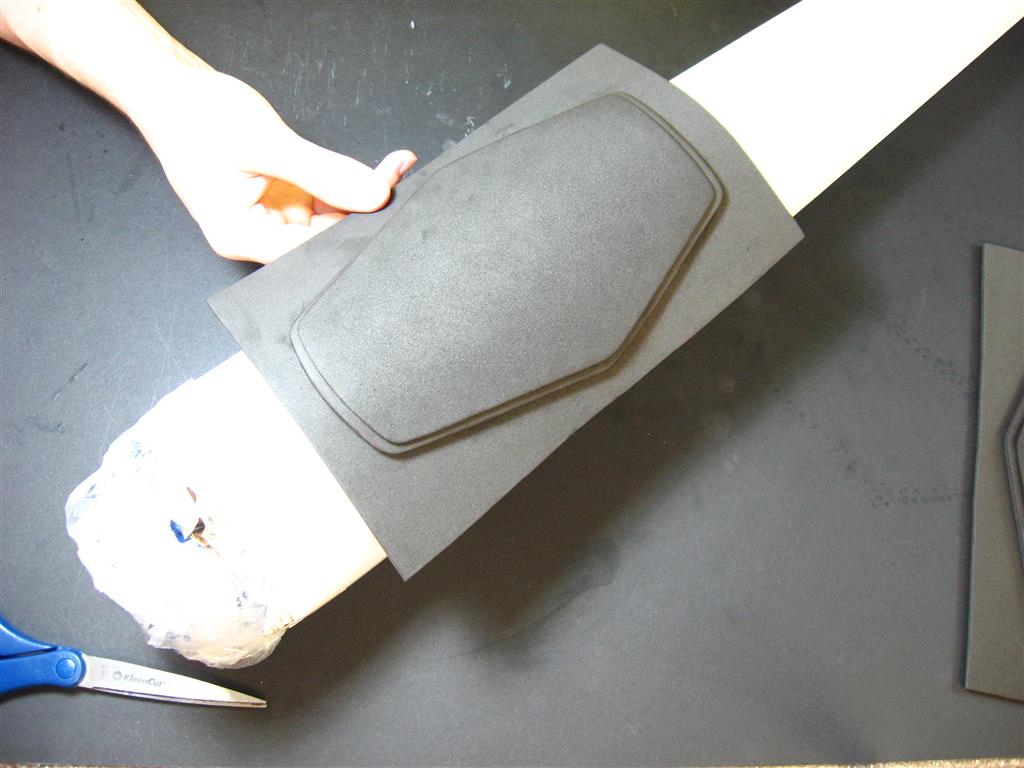
Use an exacto knige to cut the bottom full sheets of both the main gauntlet layers and the turtle pieces, around the bottom layer. Use a dremel with a sanding bit to smooth all the edges.

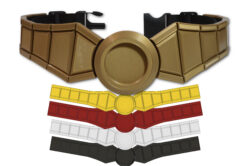
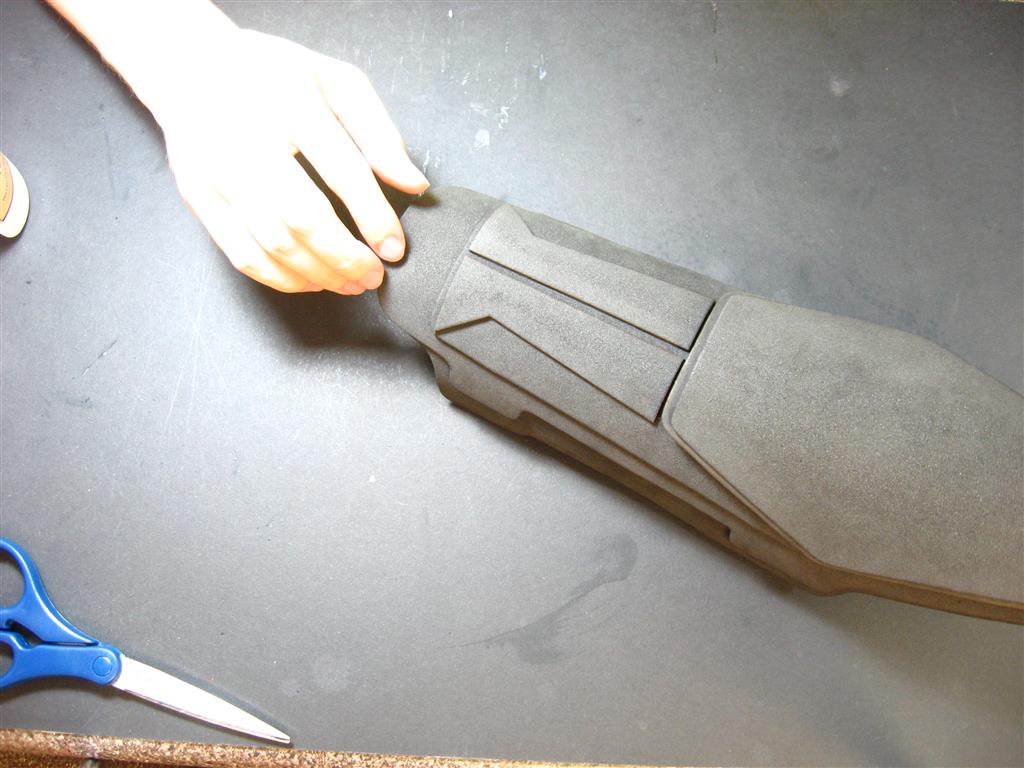
Use the cone again to help glue the turtle shell pieces to the rest of the gauntlet, along with the decorative pieces at the front of the gauntlets. You can try to use the “align, hold, bend-back-a-corner, glue” technique, but if the turtle piece is not bendable enough you may have to glue it all in on take. If so, use both hands to slowly lower the piece down onto the gauntlet, making gradual alignment adjustments as they get closer. Super glue does not allow much adjustment time after the two pieces touch each other. You may have to brush up on your Lunar Lander skills before attempting it.

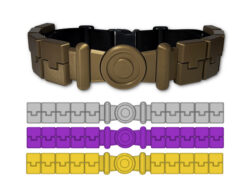
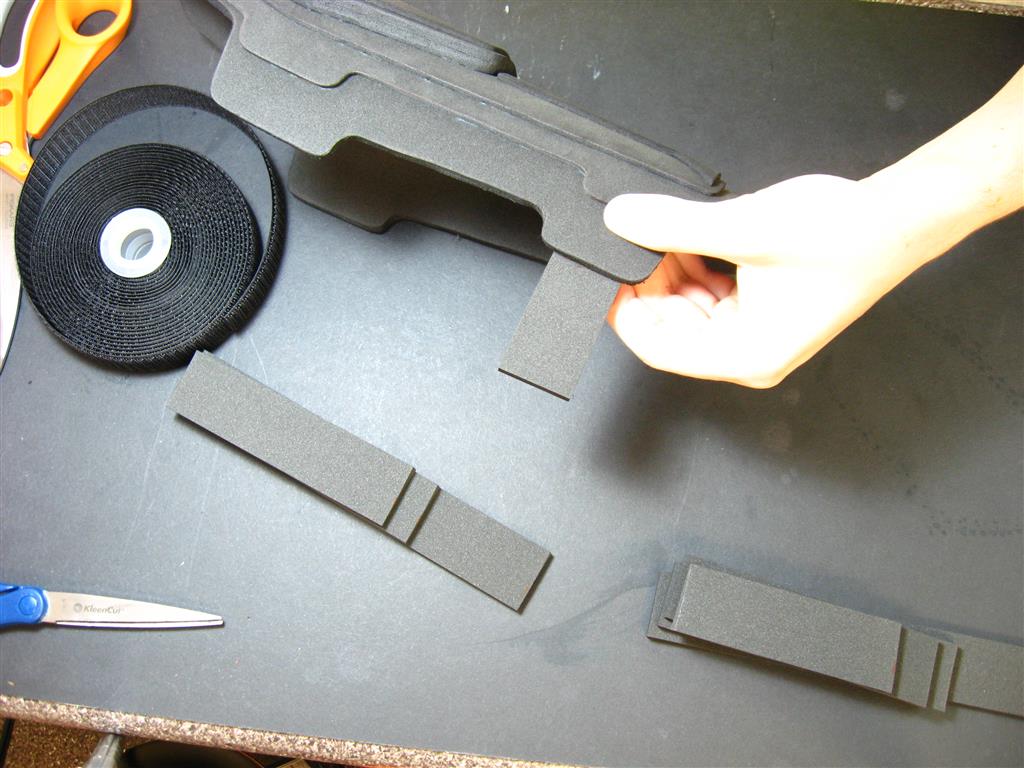
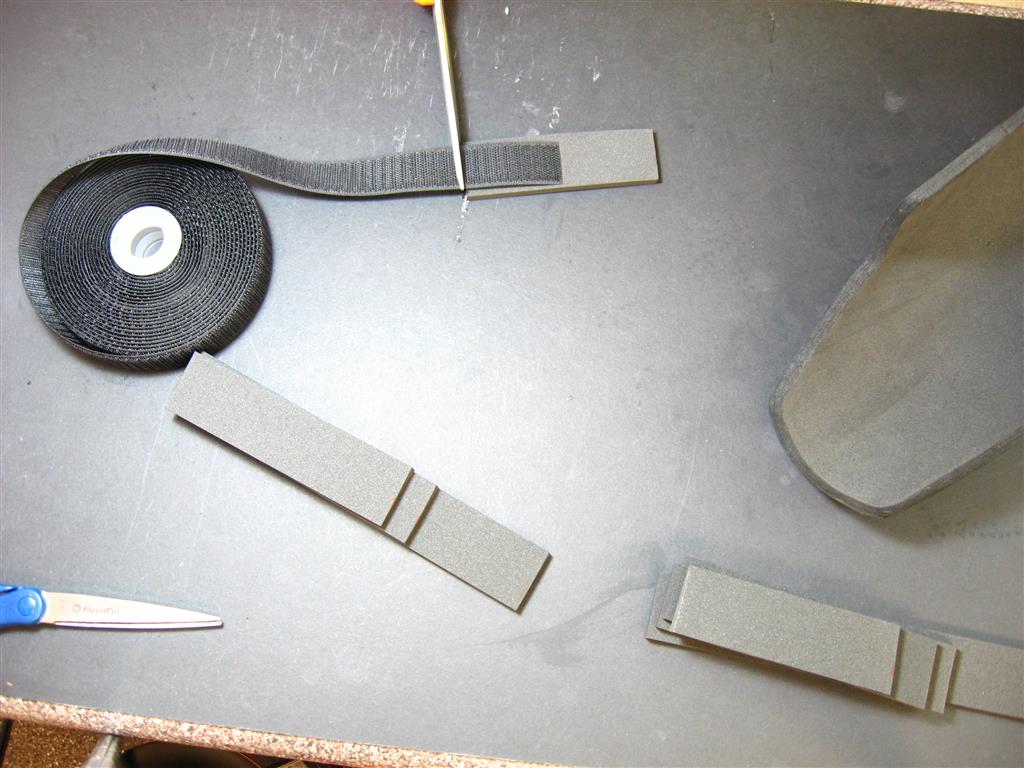
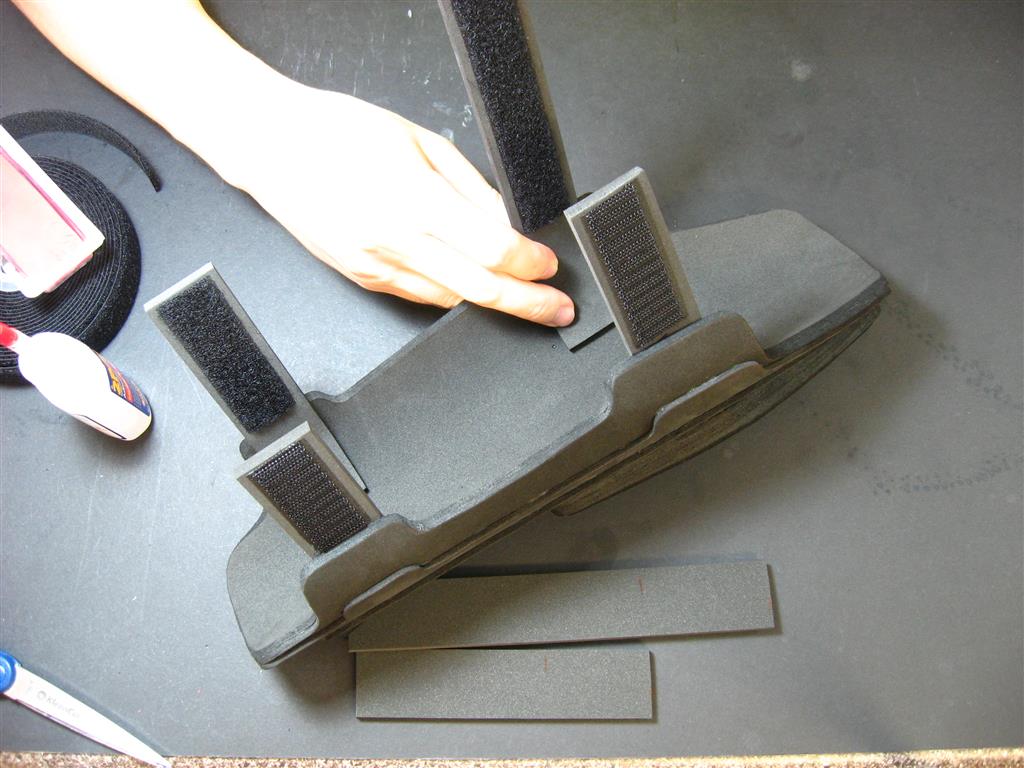
The two shortest straps go on the outside edge of the gauntlets (which will be different between the right and left arms). Position the shortest strap where you want it to sit on your wrist and bend it to the side to see what angle it needs to be at to meet the other side of the gauntlet at roughly the same spot. Mark where the side of the gauntlet meets the strap with a pencil. Cut a length of hook-side velcro that reaches to the pencil line and glue it to the same side of the strap that the line is on. I use a scrap piece of plastic packaging to hold the velcro in place when gluing to avoid gluing my fingers down as well. Apply glue to the rest of the strap on the same side and glue it in place using the pencil mark to get it in the correct angle. Glue the forearm strap the same way. Glue the two longer straps to the other side of the gauntlets in the same way, with the only difference being using loop-side velcro and this time the velcro will go on the other side of the straps so it comes into contact with the velcro on the other straps.
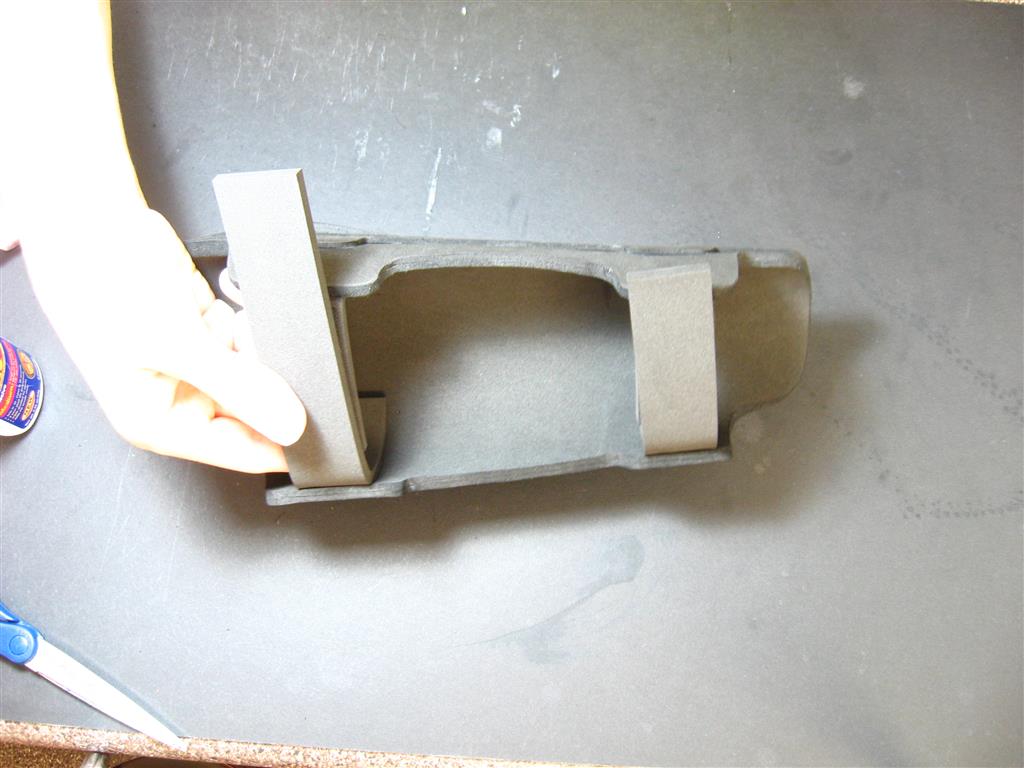
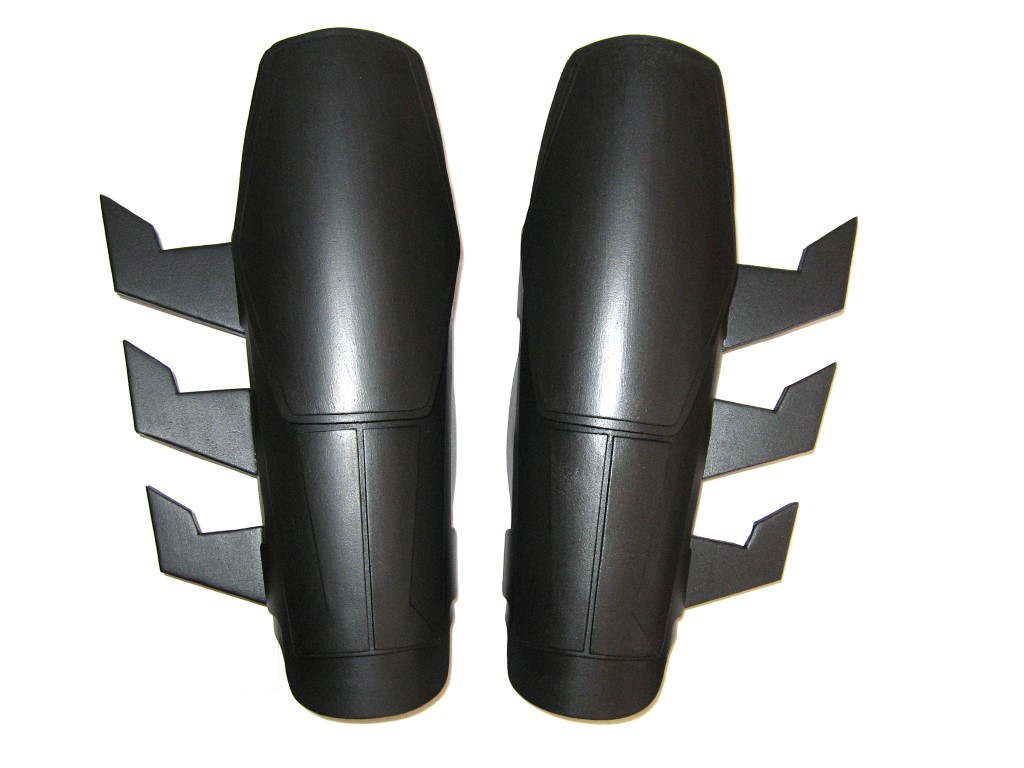
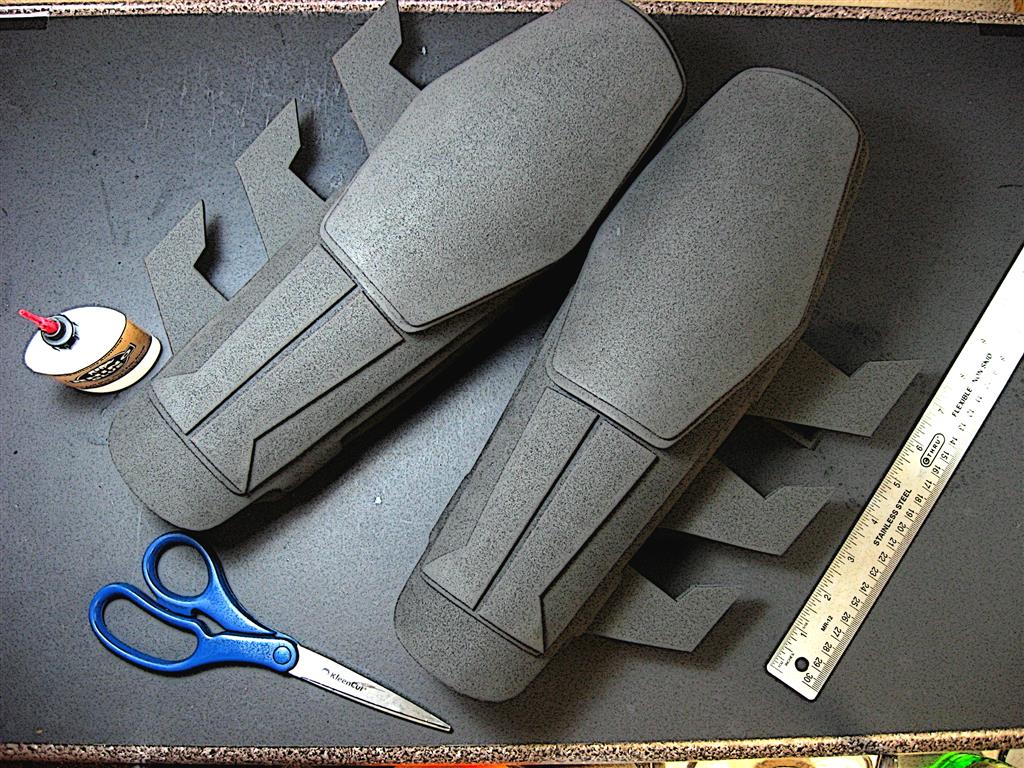
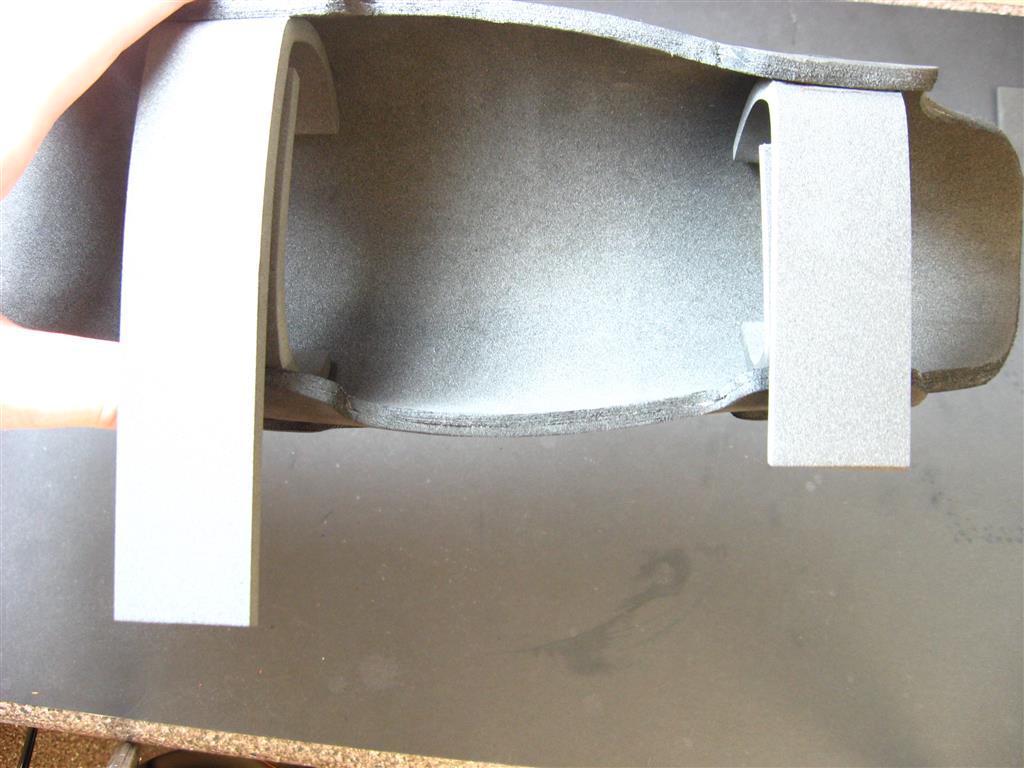
There’s one more thing I would recommend before gluing the fins on. You may notice that the middle of the sides of the gauntlets between the straps bow outward a little. If you leave it like this then the middle fin will stick out a little further than the other two, and at a slightly skewed angle as well. To fix this, cut a small rectangular shape out of some scrap foam and glue it to the inside of the gauntlets right where the bow is, and hold the two pieces so they bend slightly in the opposite direction of the natural bow while they are drying. If done correctly, the fin side of the gauntlets should now be flat and straight.
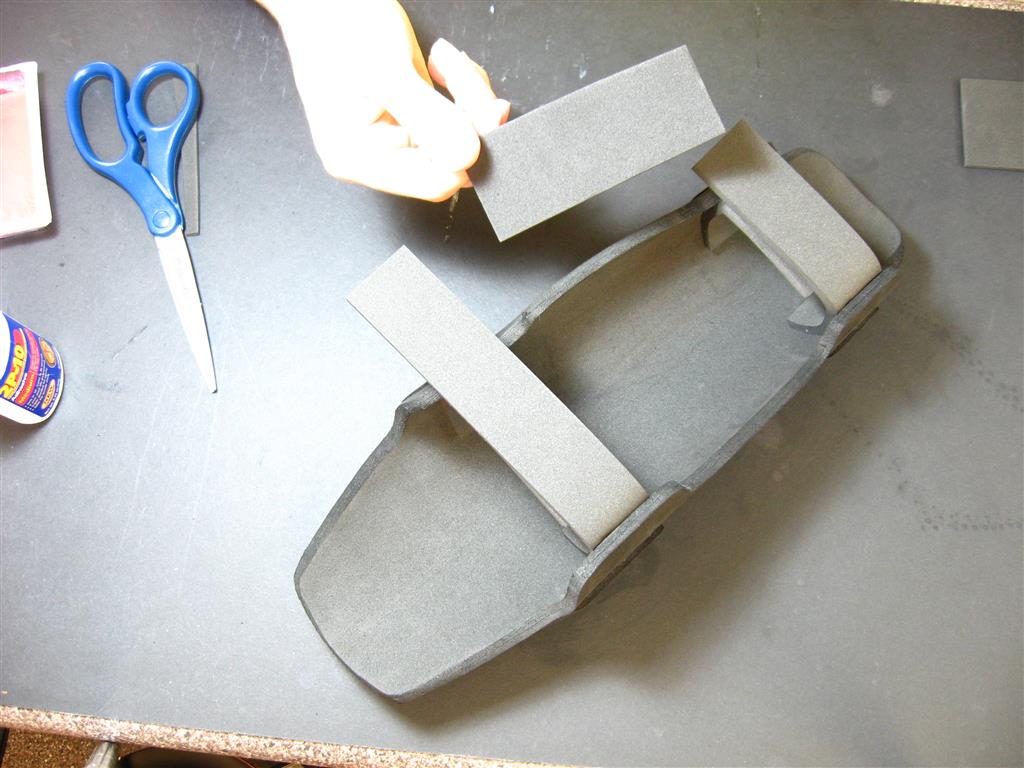
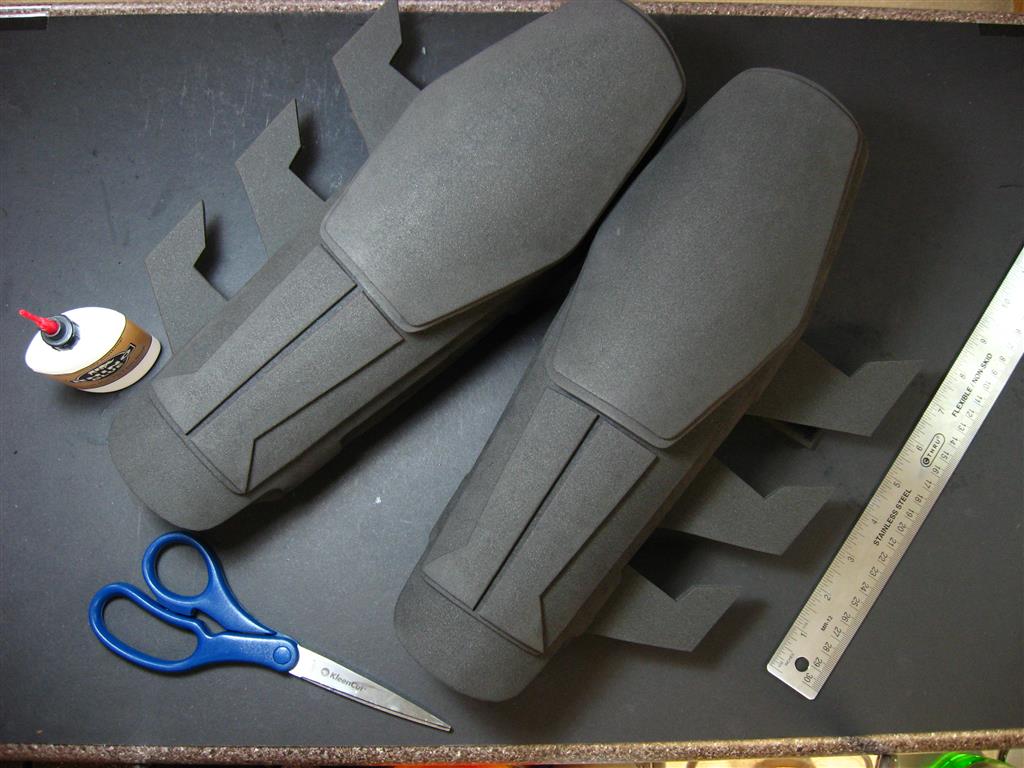
Glue on the fins to finish the gauntlets. If you notice that you didn’t cut the bottom of the fins at a nice 90 degree angle such that they won’t sit straight up, you can use the dremel again to fix the angle before gluing them on.
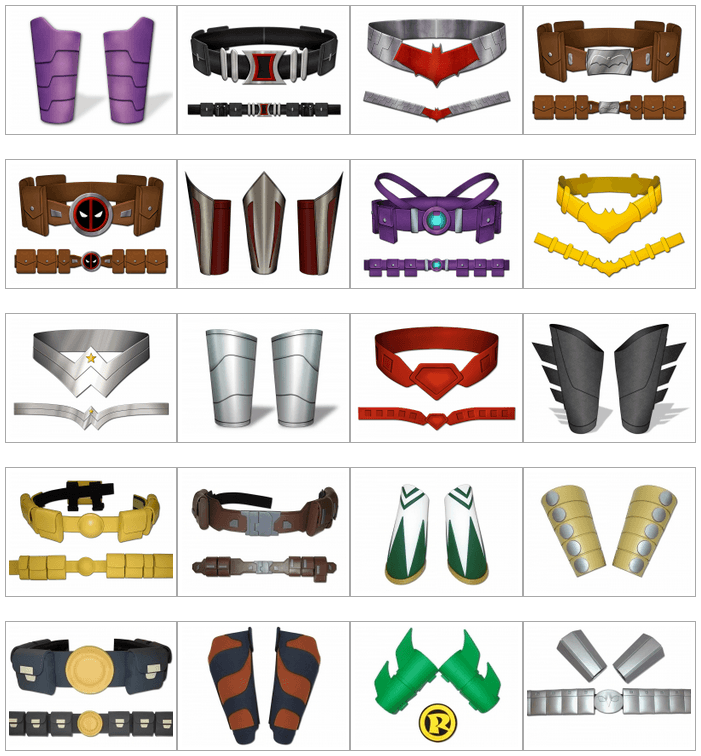
Check out the shop and the gallery for more templates and project ideas. Have fun!