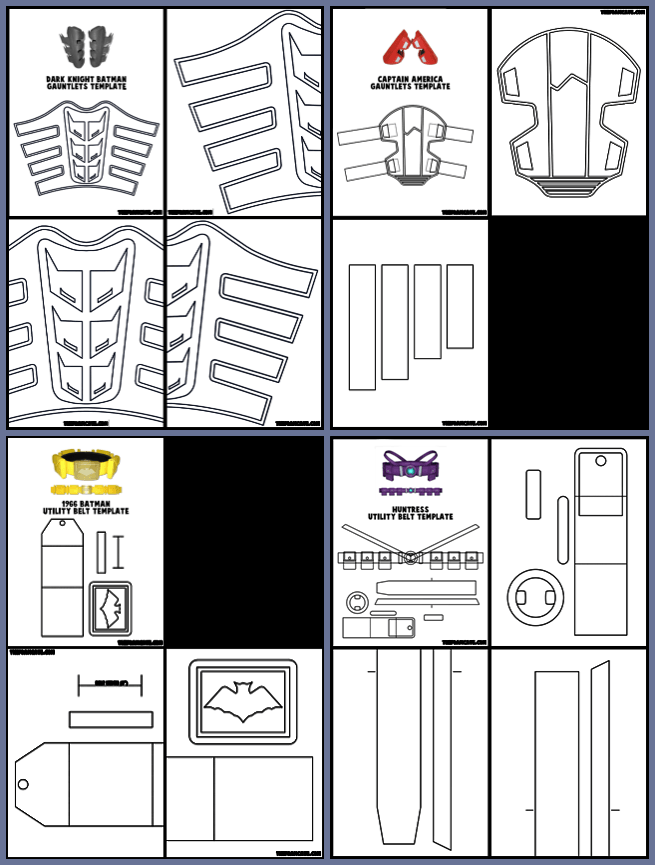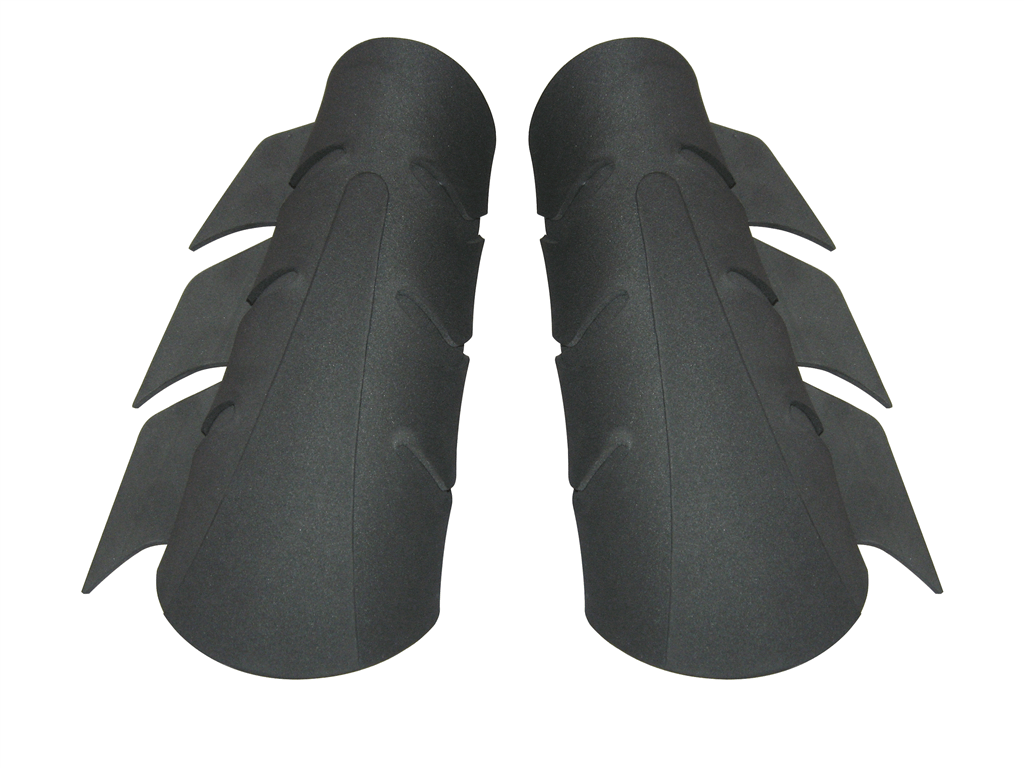
This tutorial will walk you through the construction of the N52 Bat Gauntlets. The template is available for purchase here:

If this is your first build, check out the Introduction Page first,
as well as the Supply Page for links to the foam, glue, and necessary tools.
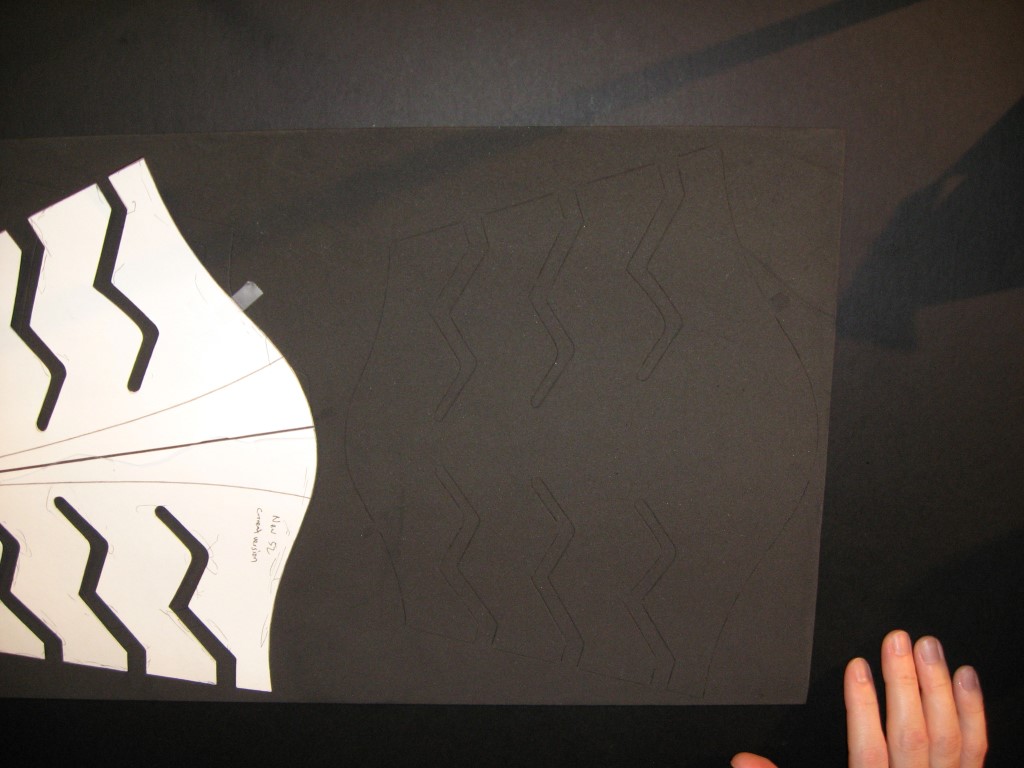
Print out the template onto thick printer paper (ideally a poster board paper) to make it easier to trace. Tape together the two halves of each layer – hold it up to light or place the printouts on a sun-facing window to see through the paper and correctly align both halves.
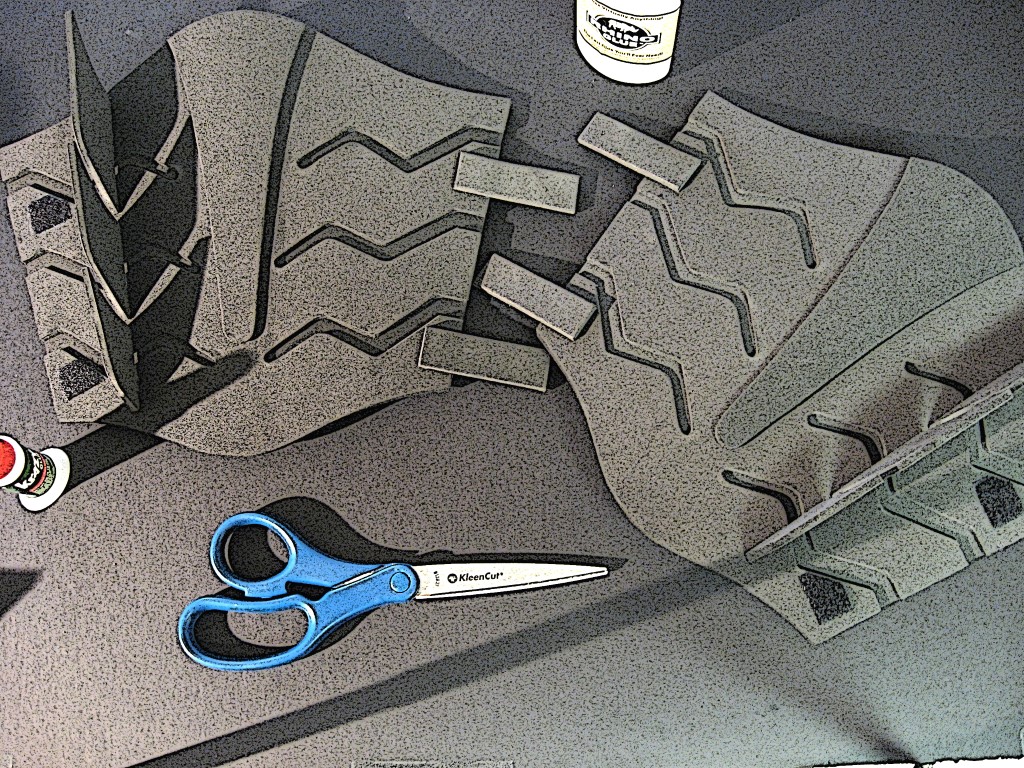
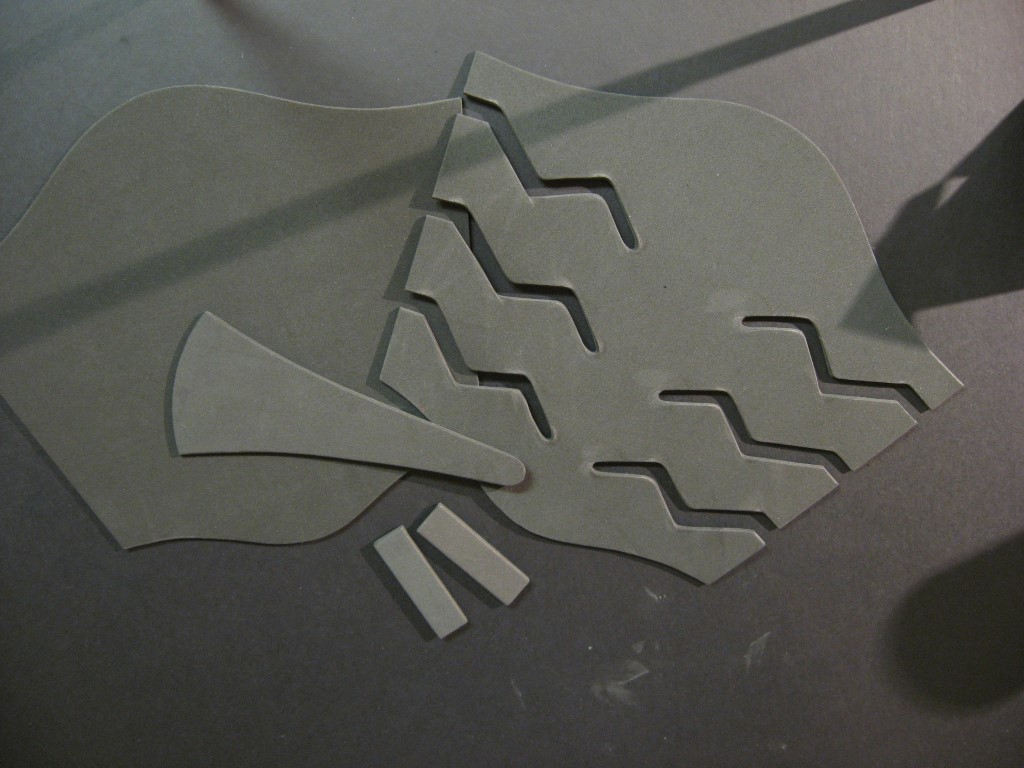
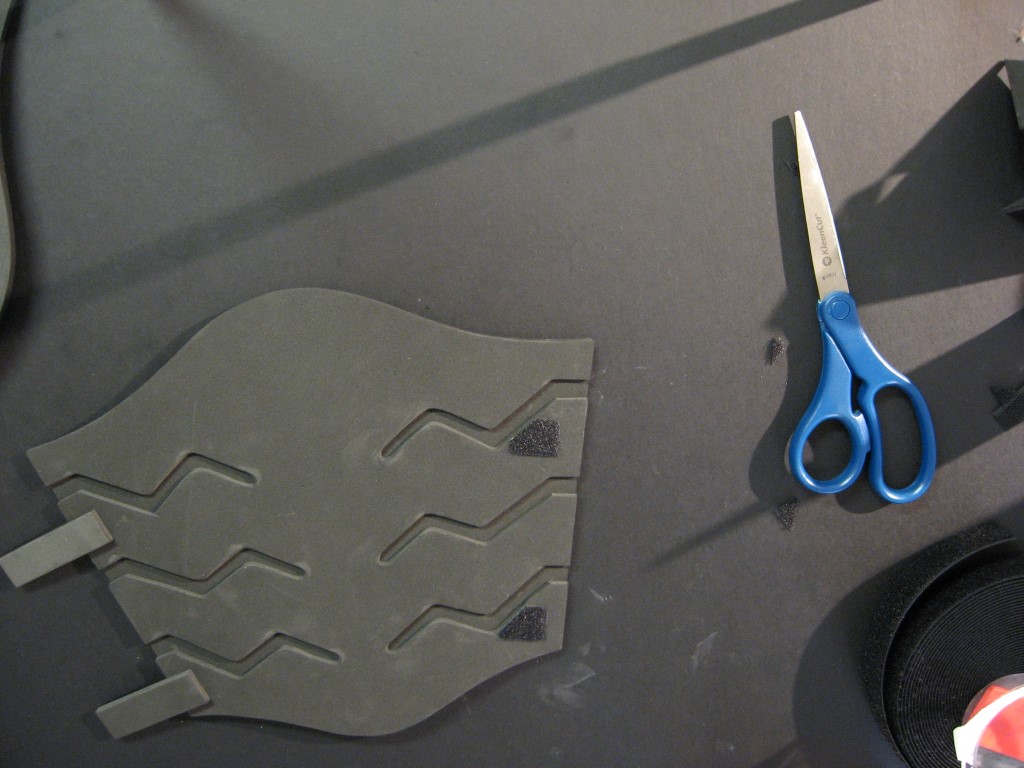
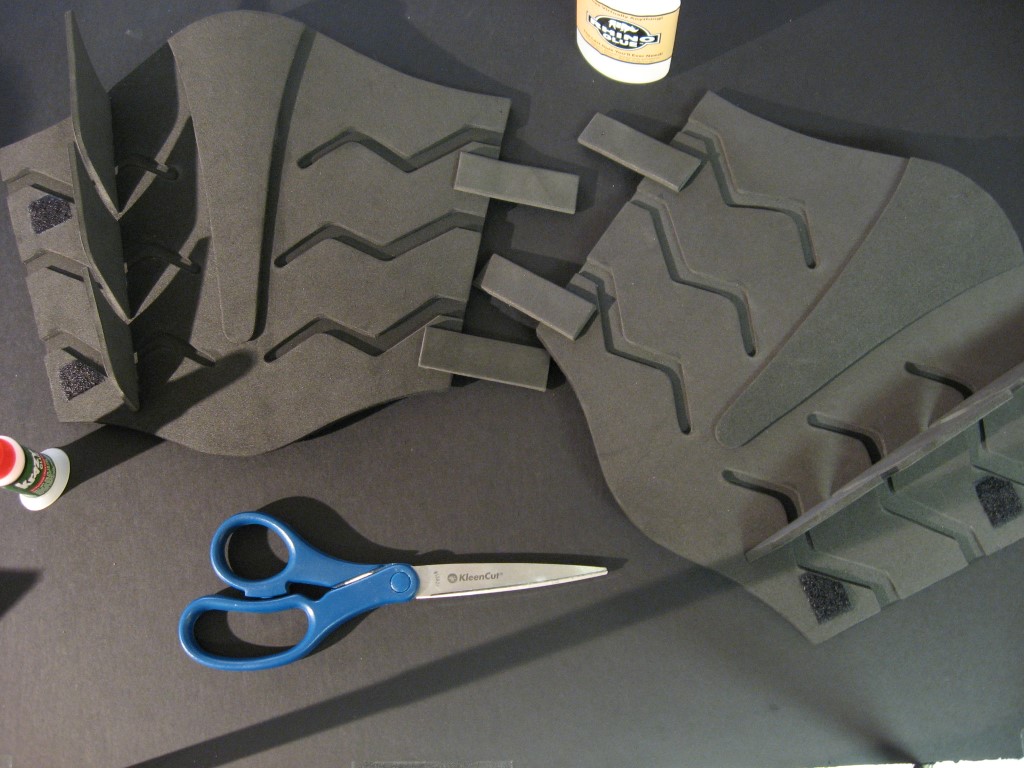
Cut out all the pieces and trace them onto your foam sheets. Use a few pieces of scotch tape to hold the template in place on the foam when tracing. I recommend 3mm thick foam for the large pieces and 5mm foam for the fins and straps.
Use scissors to cut out all the pieces, including the inner lines. Make some practice cuts on scrap foam of the inner line shapes to get a feel for how to make tight curves. I generally hold the scissors stationary and rotate the foam sheet around the scissors to follow the line.

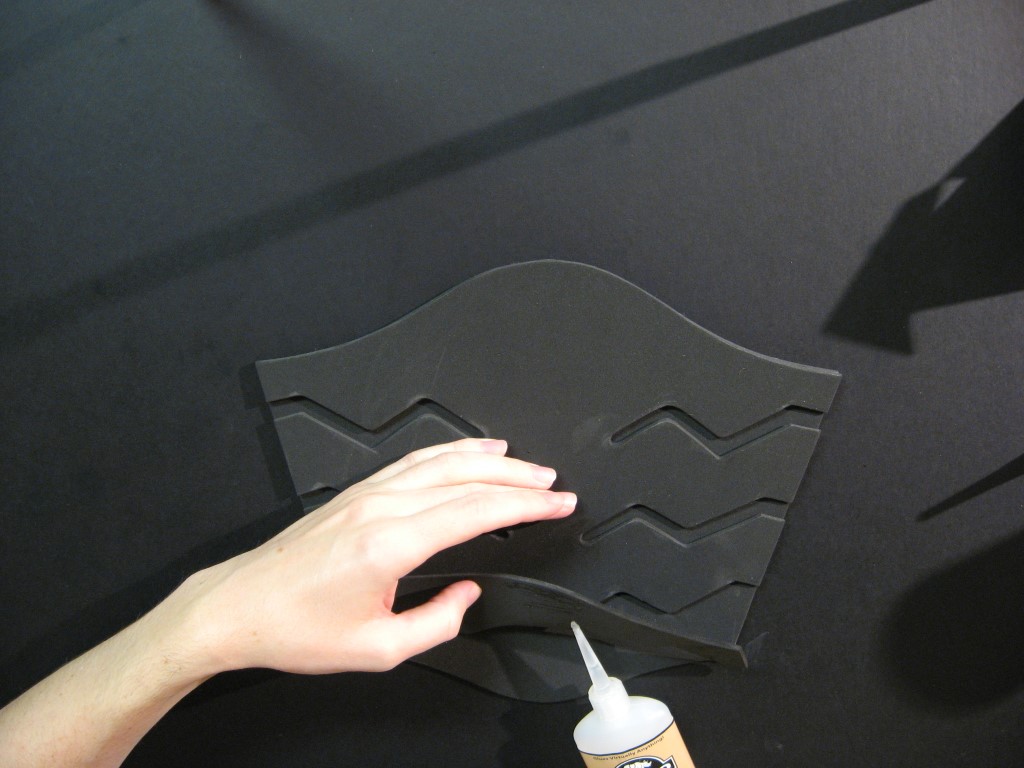
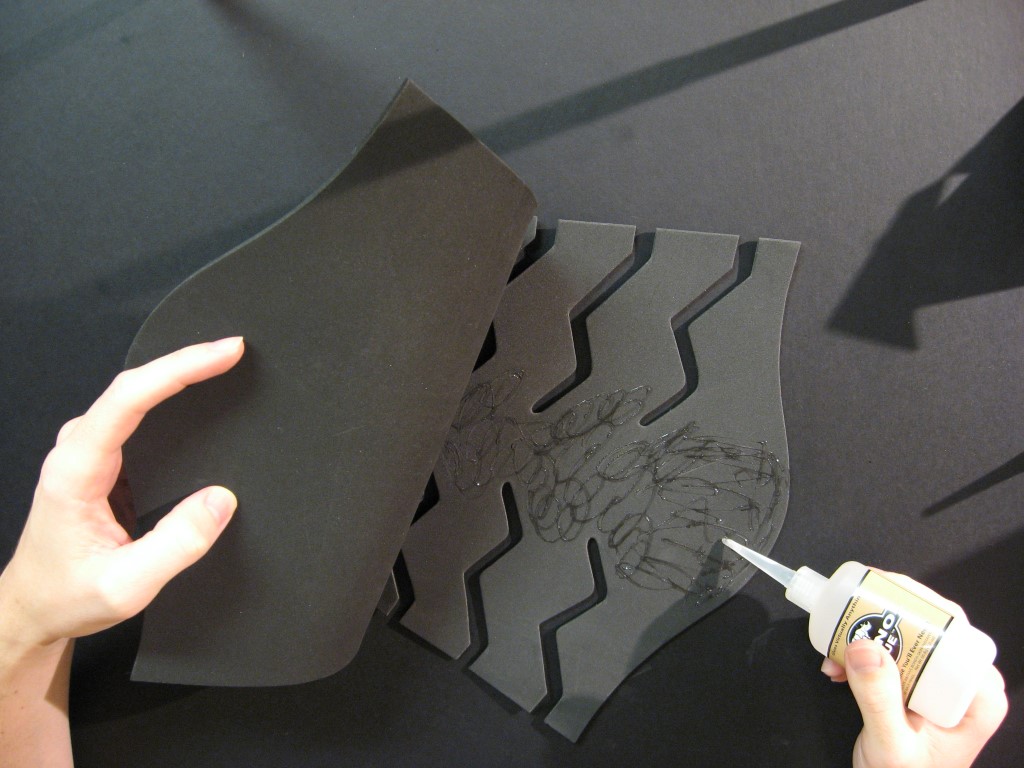
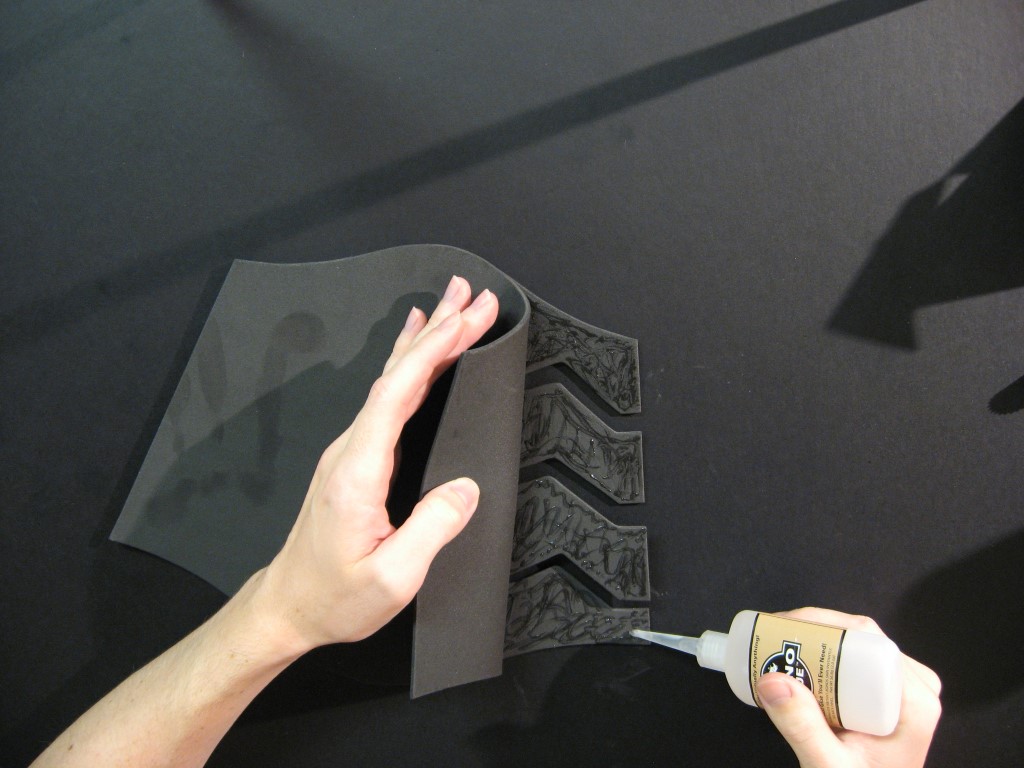
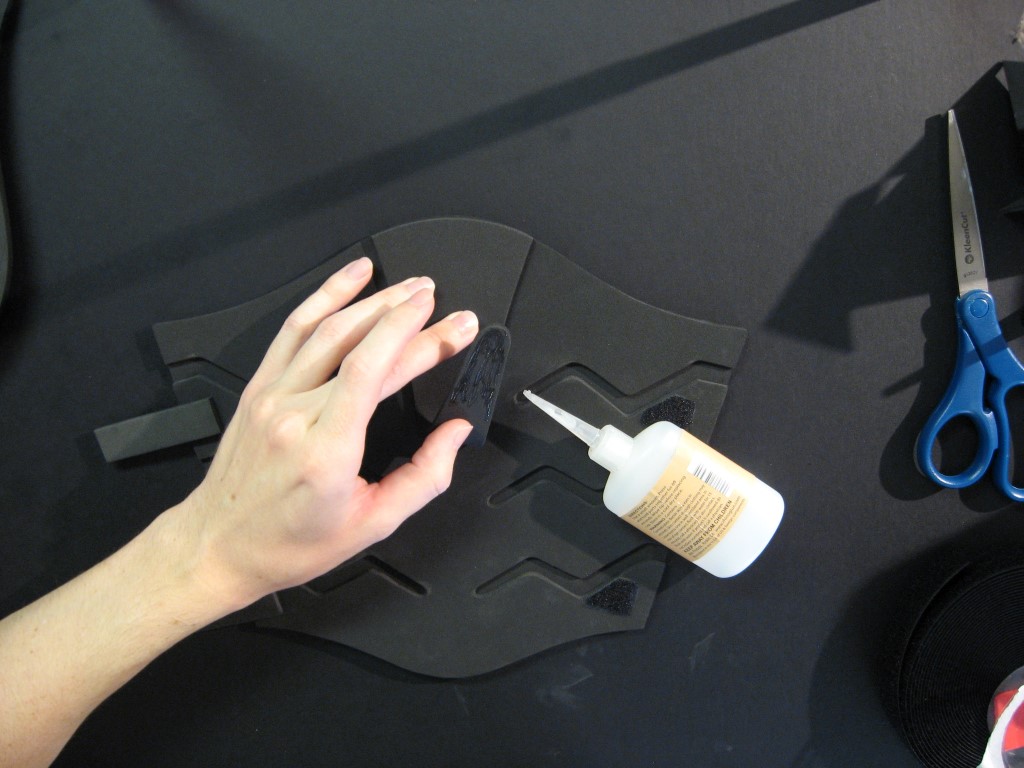
Align the top large layer so it is centered on the bottom large layer. While pressing down on the top layer to keep it from moving, bend back a small section of the base of the top layer. Apply a small amount of glue (I use a type of super glue called Rhino Glue) and slowly lower the layer back down. Gently press down on the glued section for about 10 seconds to allow it to set.
Flip it over and apply glue down the center of the back side of the top piece, and then flip it back over and press down until the glue sets. Repeat the same process for each side.
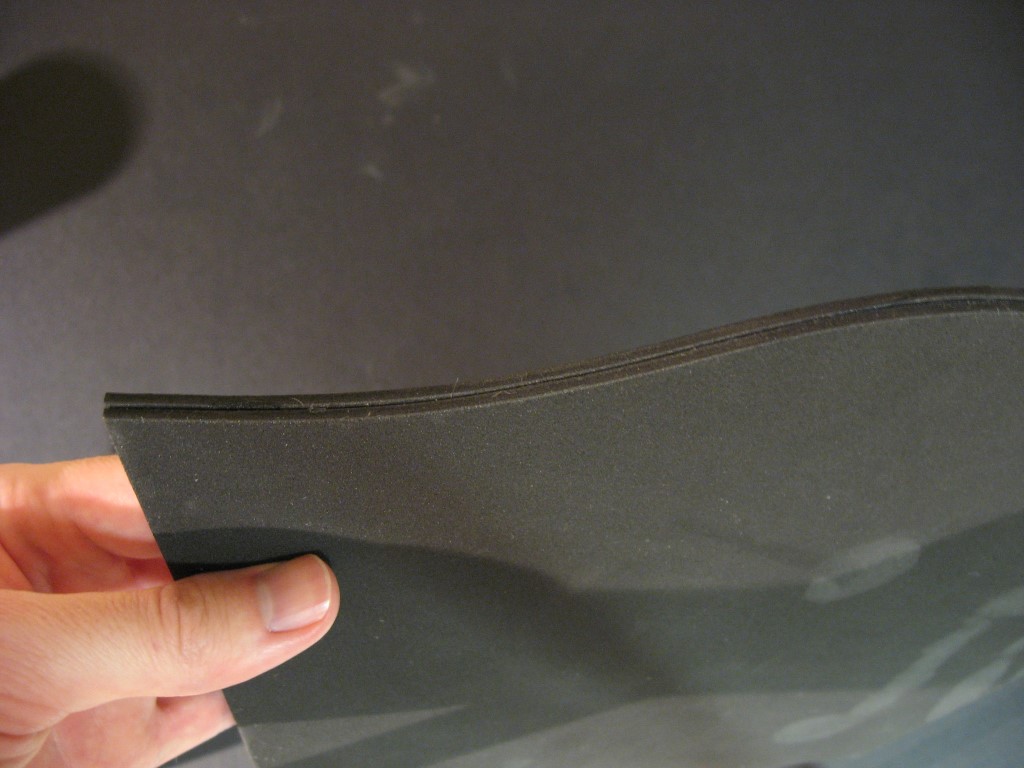
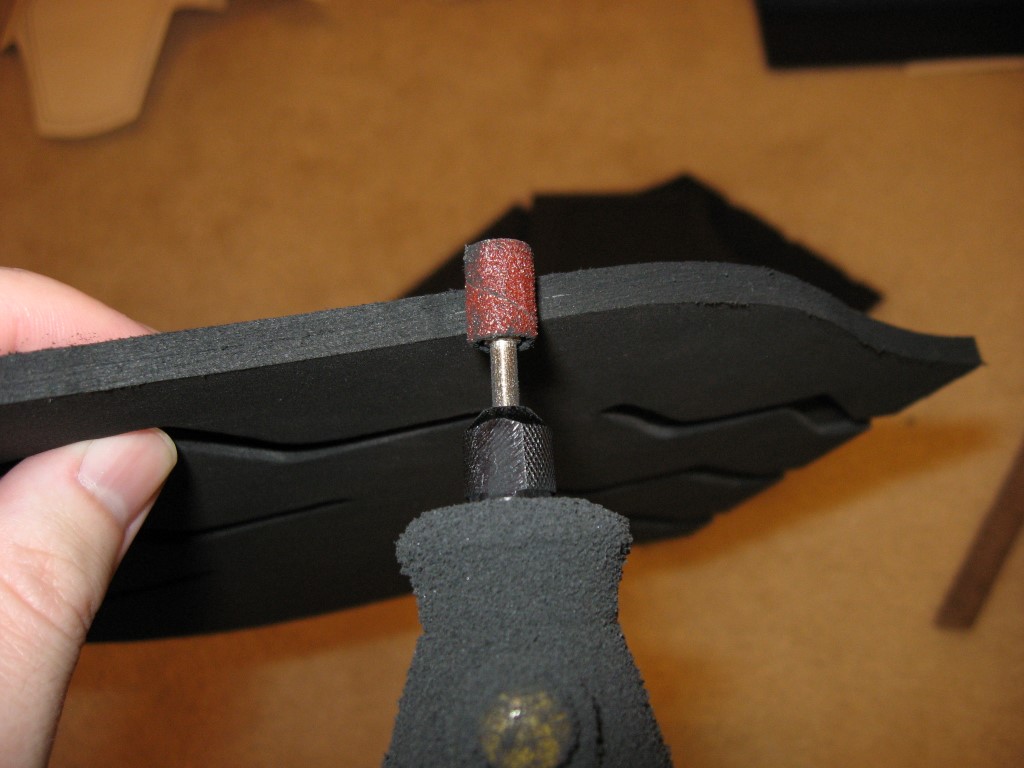
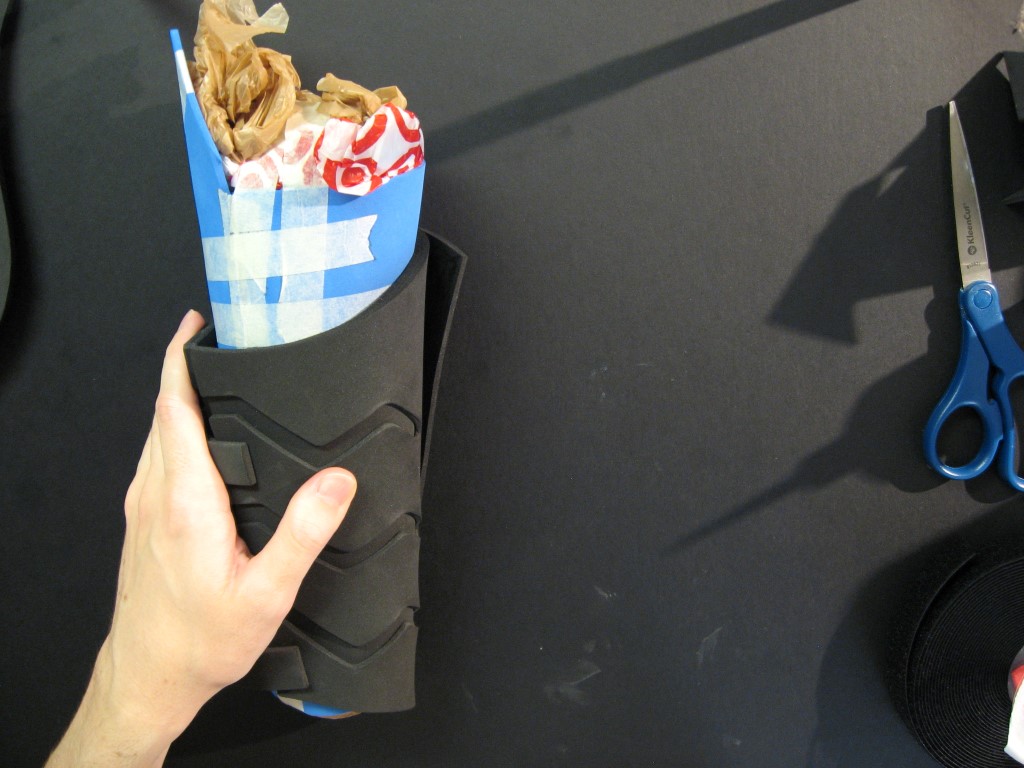
If the edges of the two layers are smooth enough for your liking you can move onto adding the straps. If you would like to smooth the edges you can do this by gently stroking the edges with a dremel. A cheap, $10 dremel from Harbor Freight works just fine for this. Use a sanding bit attachment and the slowest setting on the dremel. The foam gets ground down very quickly, so be careful not to do too much. Afterwords it should almost look like there is only one layer of foam instead of two. Wipe the foam dust off with a wet rag and trim any frayed edges left over with scissors.

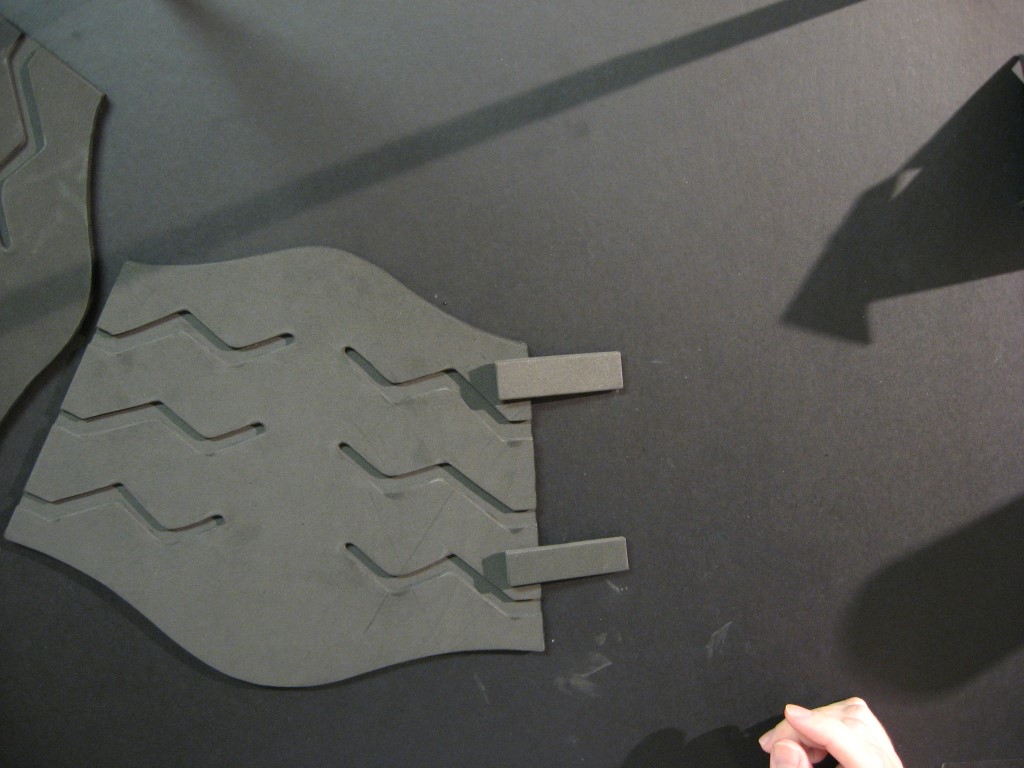
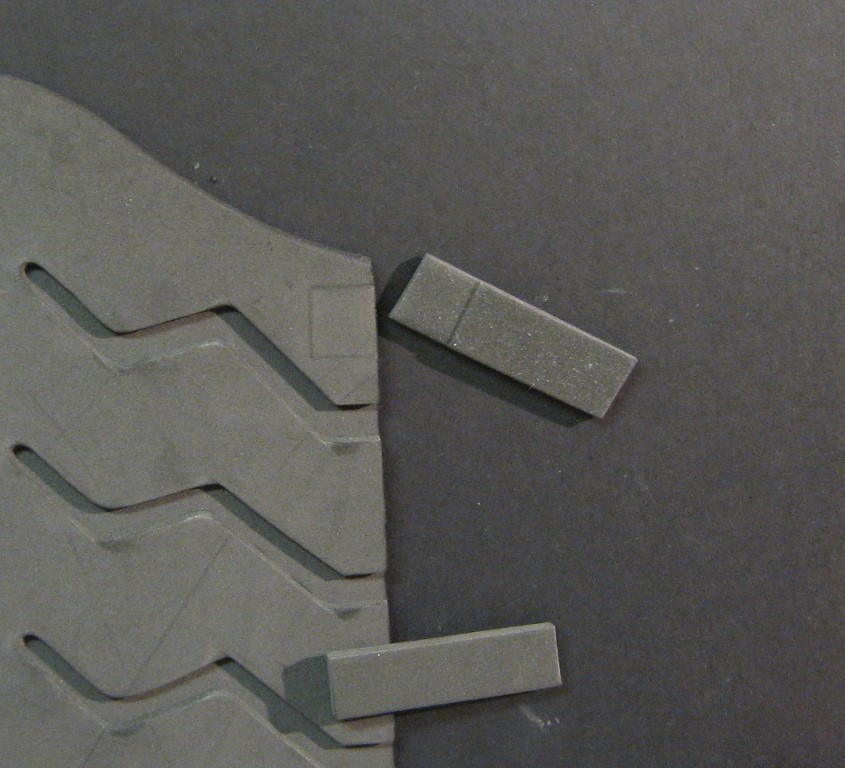
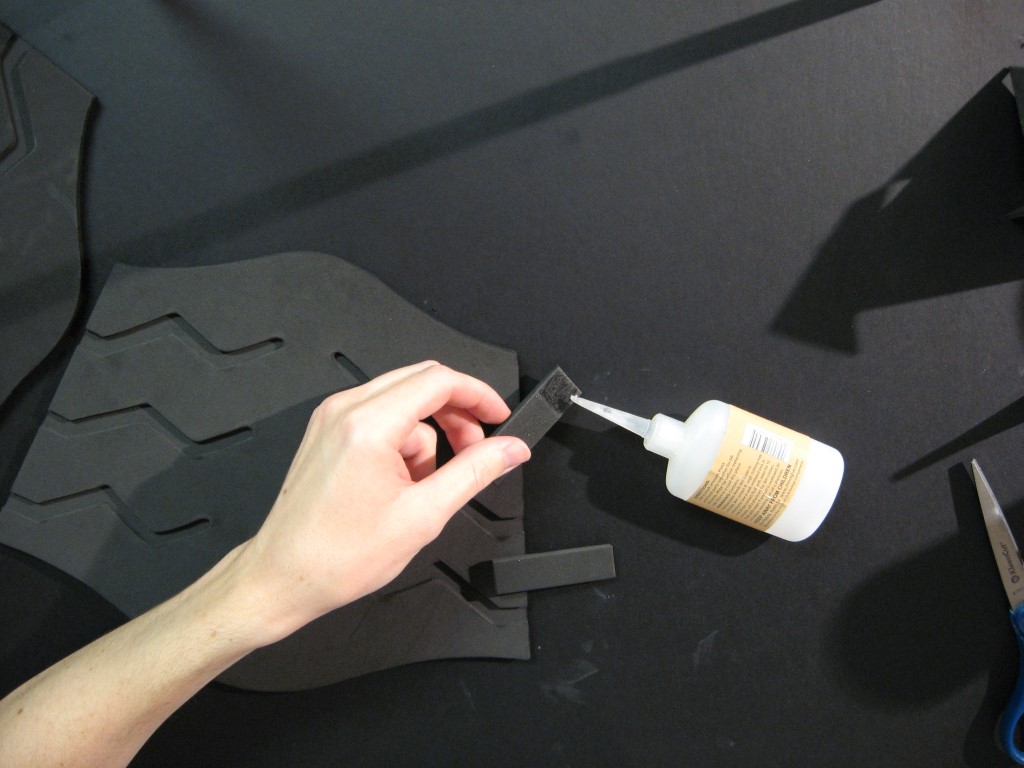
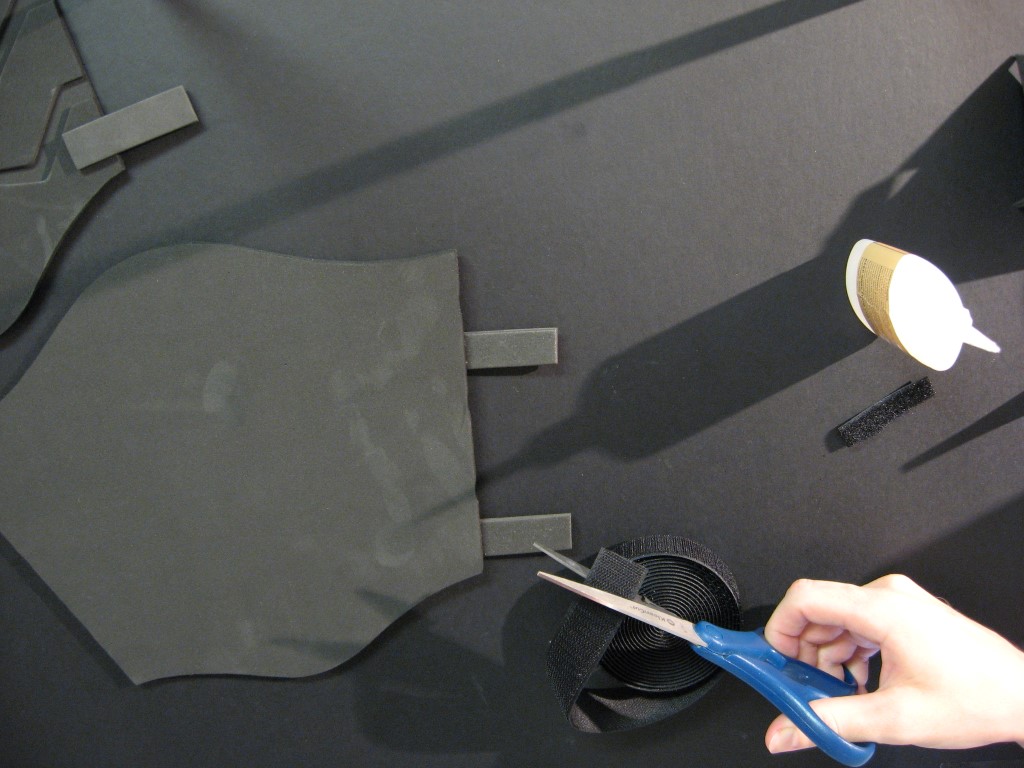
Align the straps where you would like them to go and press them down into the foam. This will create a visible indentation that you can use as a guide to apply the glue and correctly place them down again.
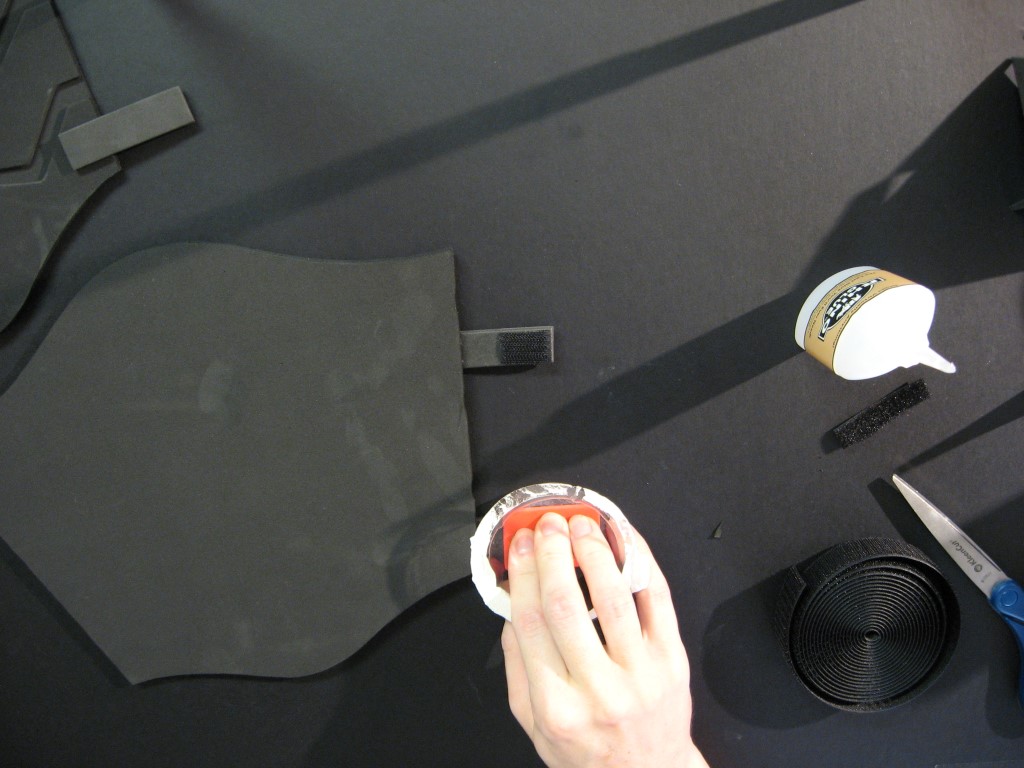
Flip the gauntlets over. Cut a small piece of velcro (the hook side) to the size of the width of the straps and glue it to the underside of each strap. You can use a piece of plastic packaging to press down on the velcro to prevent the glue from getting on your fingers.
Fold the gauntlet closed and press the velcro into the foam to create indentations where the opposite loop side velcro pieces will need to go.
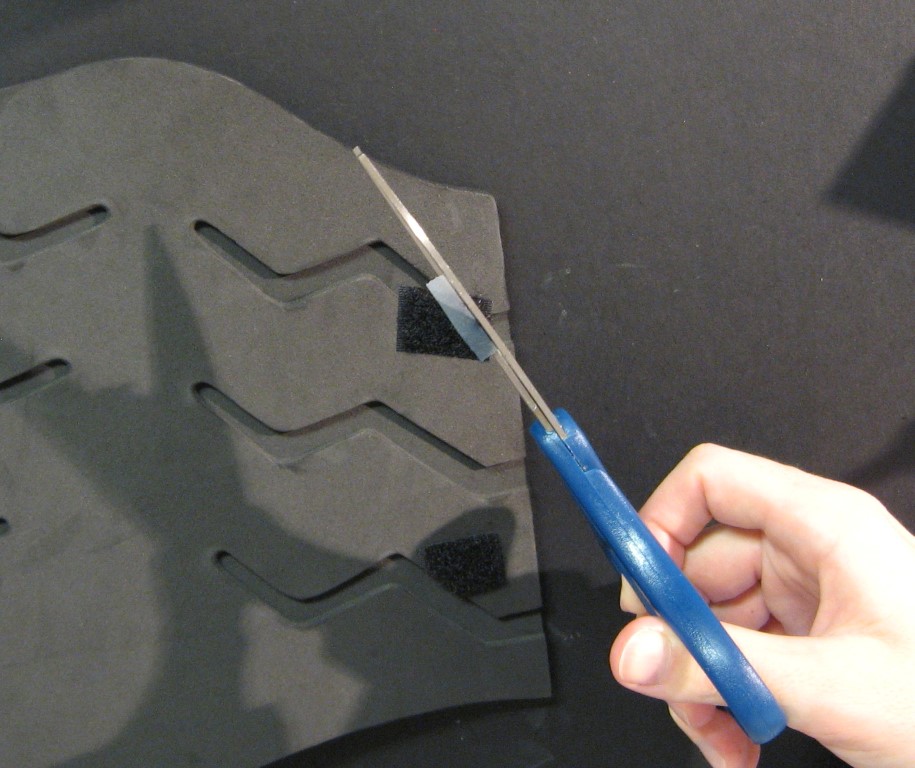
Cut pieces of loop side velcro the same size as before and lay them on the indentations on the opposite side of the gauntlet. Use strips of tape to mark off where the sunken lines of the gauntlet are and cut off the corner of the velcro pieces to match the shape of the lines. Glue the velcro as before.

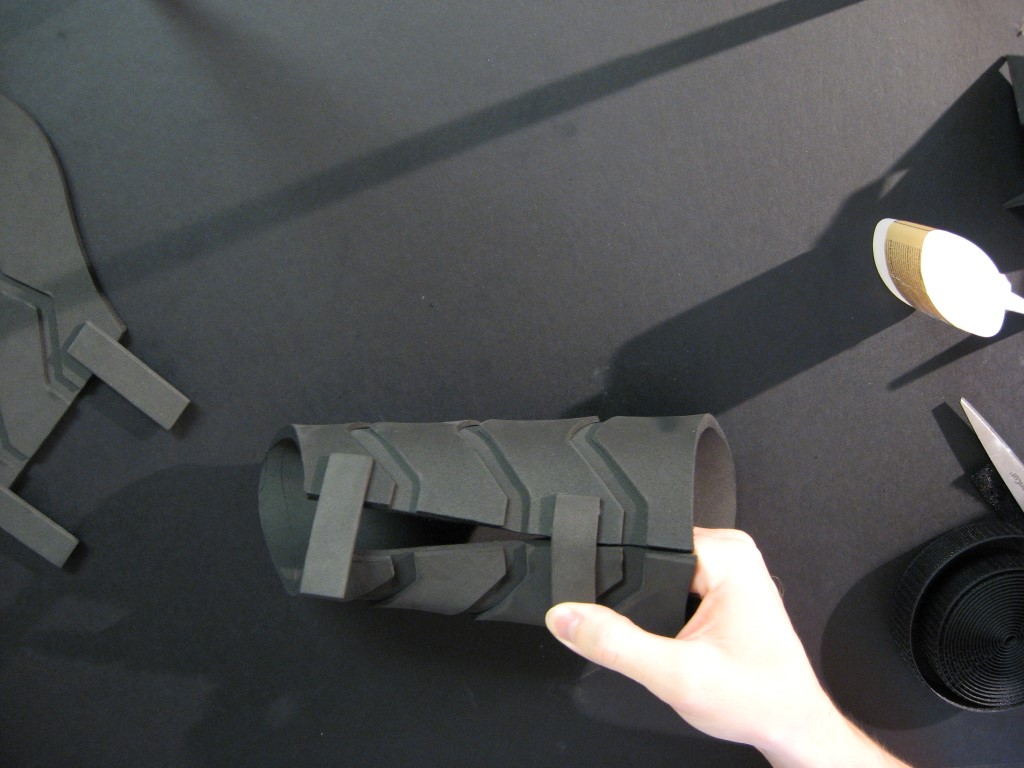
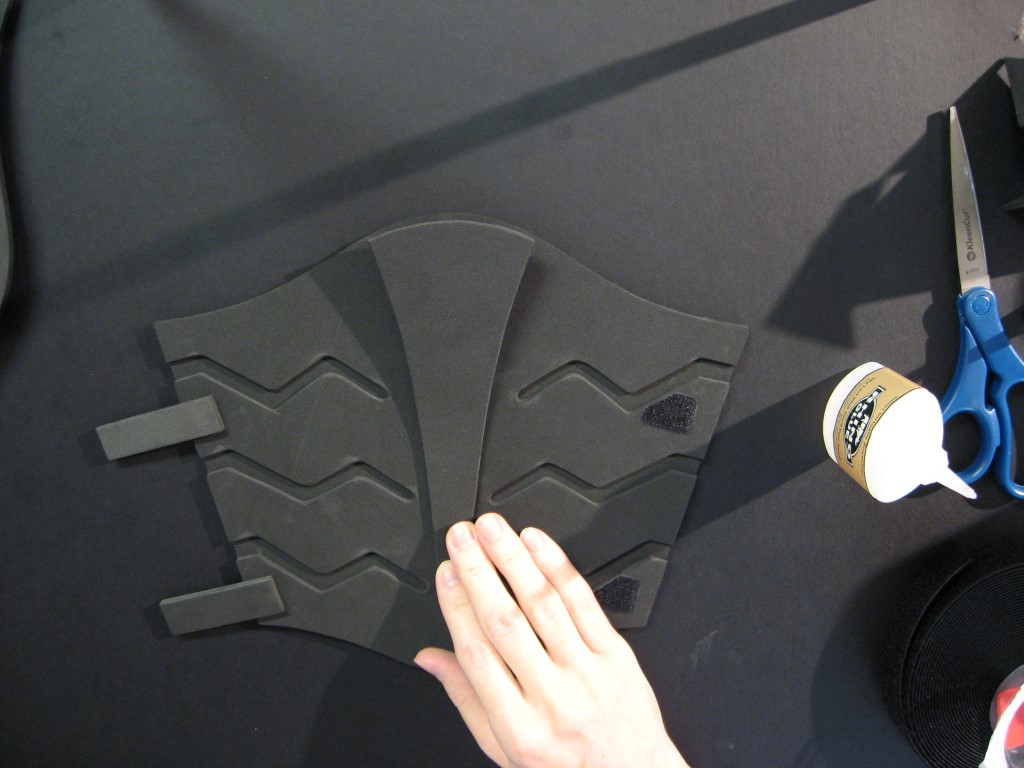
Align the center top piece and glue down the bottom inch or two of it.
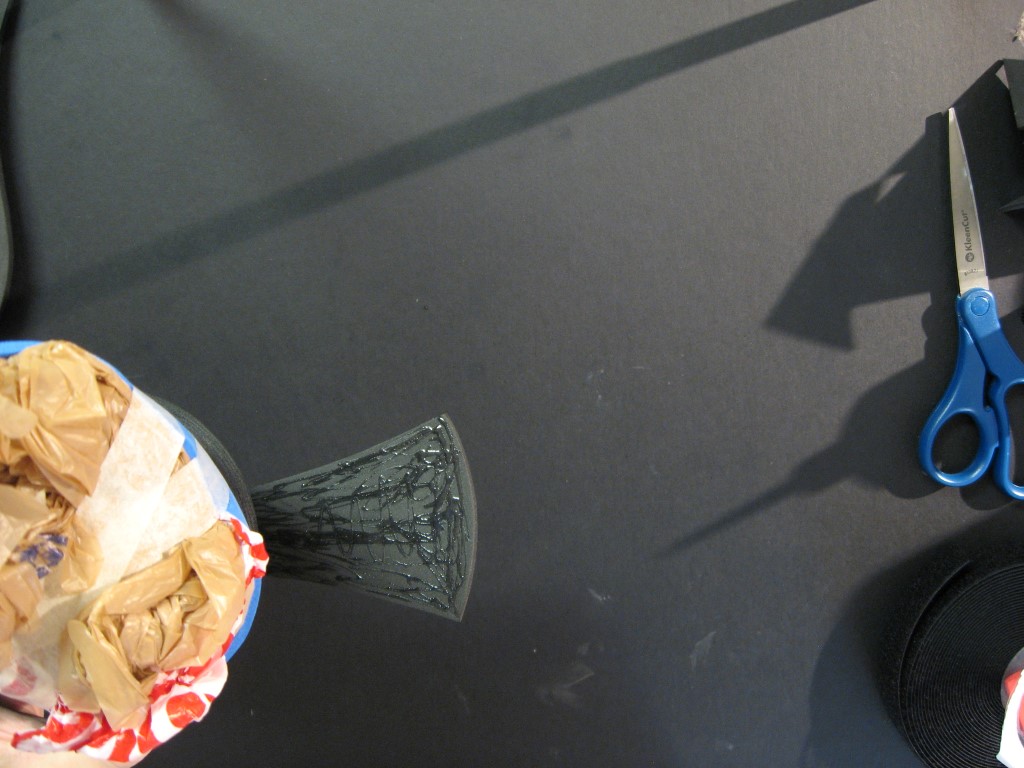
Whenever you glue several layers of foam together, the final product starts to retain the shape in which it was glued. In this case, if you were to glue the rest of this top piece down while it was laying flat on a table it would retain that straight, flat shape and would be difficult to then bend to the curvature of the arm. So what you want to do instead is glue these types of extra layers while holding the gauntlet in its final curved shape. You can do this a variety of ways but what I recommend, especially if you want to get an even curve, is to make a very simple armature of you arm, a sort of mannequin arm you can use as a third hand when building gauntlets. Briefly- I did this by wrapping a sheet of foam around my arm, gluing the overlapping layers, cutting it off my arm with scissors, taping it back closed and stuffing it with plastic bags. I then slide the gauntlets over this and glue the rest of the top piece down by slowly rolling the whole thing on the table.

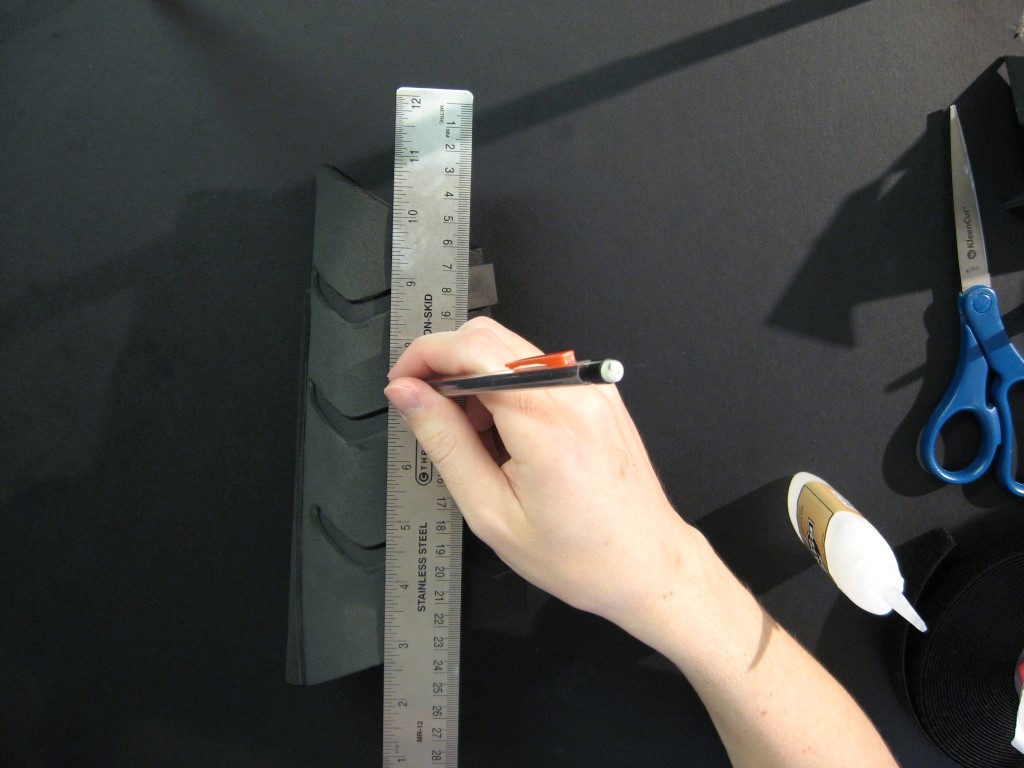
To help align the fins I close the gauntlets and use a ruler to draw a center line down the side of the gauntlets. Open it back up and space the fins out evenly and mark the front of where each fin will go with a pencil.

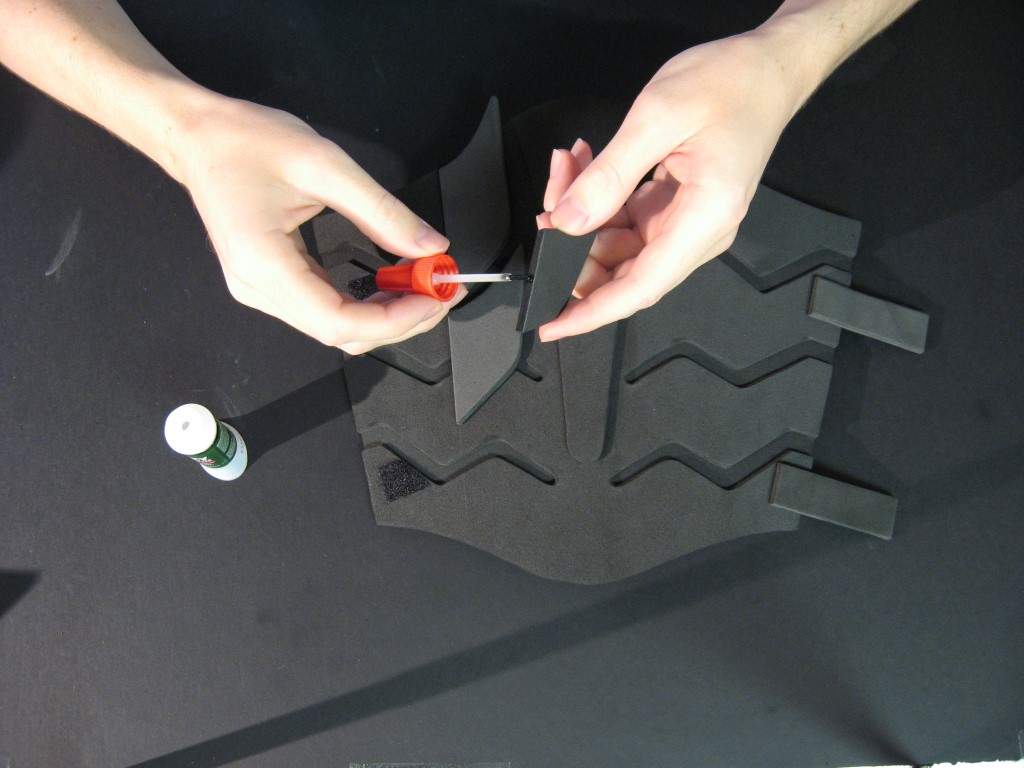
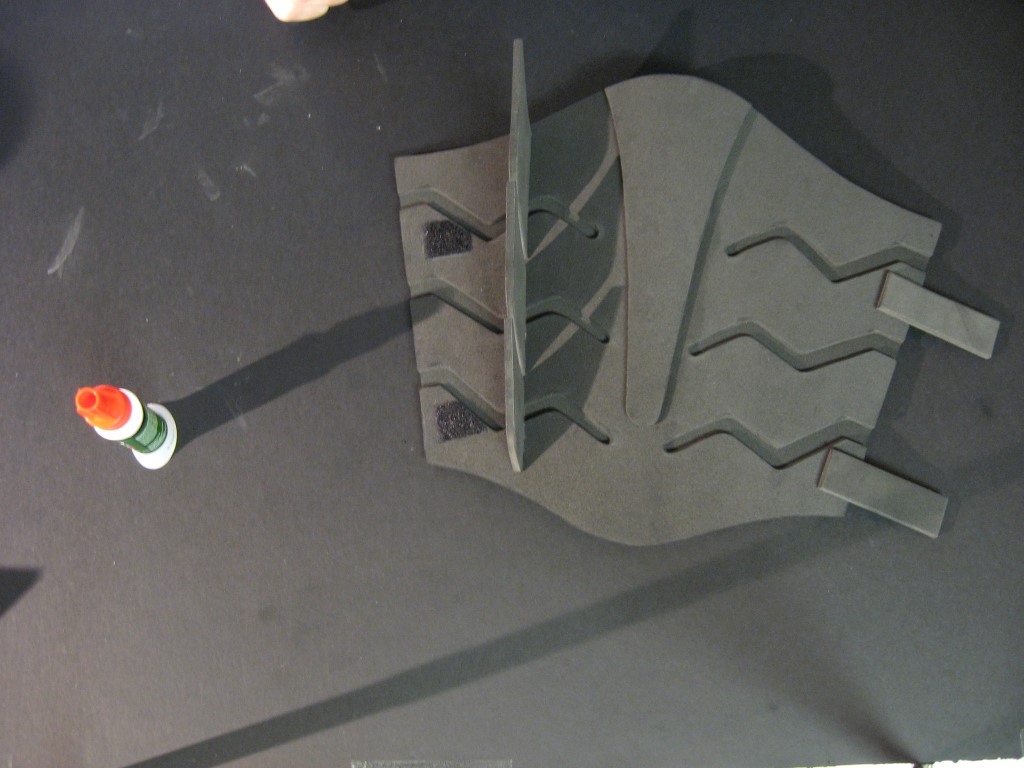
Apply glue to the underside of each fin and hold it in place on the marks until the glue sets. I use Krazy Glue’s All Purpose brush for this. I have noticed that foam can sometimes absorb the first coat of glue, so I apply one coat, wait a few seconds for what looks like it evaporating, and then apply a second coat. Use a scrap piece of foam to wipe any excess glue that oozes out.
Check out the shop and the gallery for more templates and project ideas. Have fun!