TDK Gauntlets Build Tutorial

How to make dark knight batman gauntlets

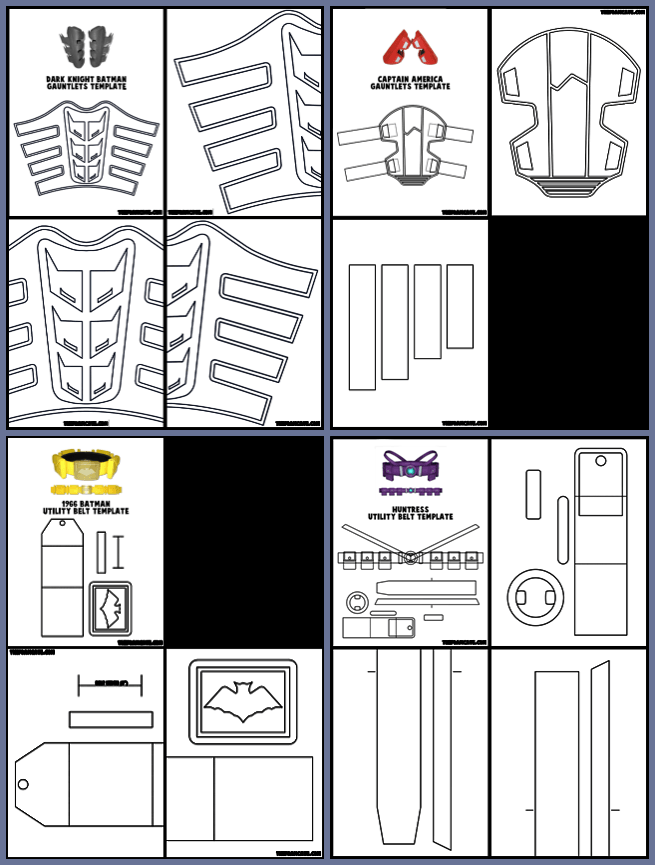
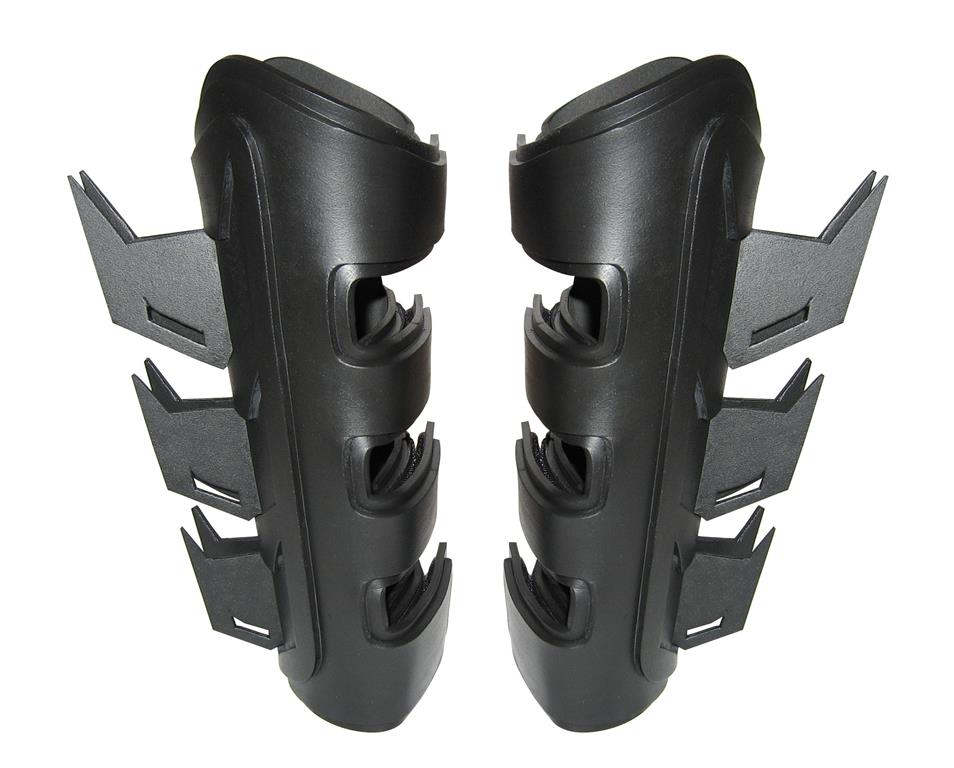
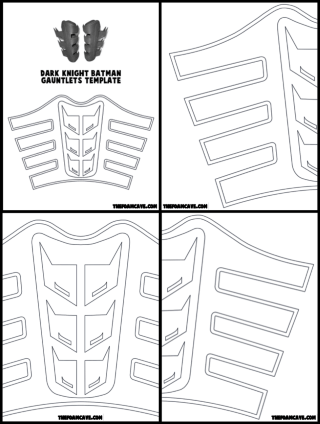
This tutorial will walk you through the construction of the TDK Bat Gauntlets. The template is available for purchase here:

thumbnail pic (Mobile)

How to make dark knight batman gauntlets

If this is your first build, check out the Introduction Page first,
as well as the Supply Page for links to the foam, glue, and necessary tools.

Print out the template onto thick printer paper (ideally a poster board paper) to make it easier to trace. You’ll have to print it out a couple times to get enough copies to cut out all the layers separately. Tape together the two halves of each layer – hold it up to light or place the printouts on a sun-facing window to see through the paper and correctly align both halves.

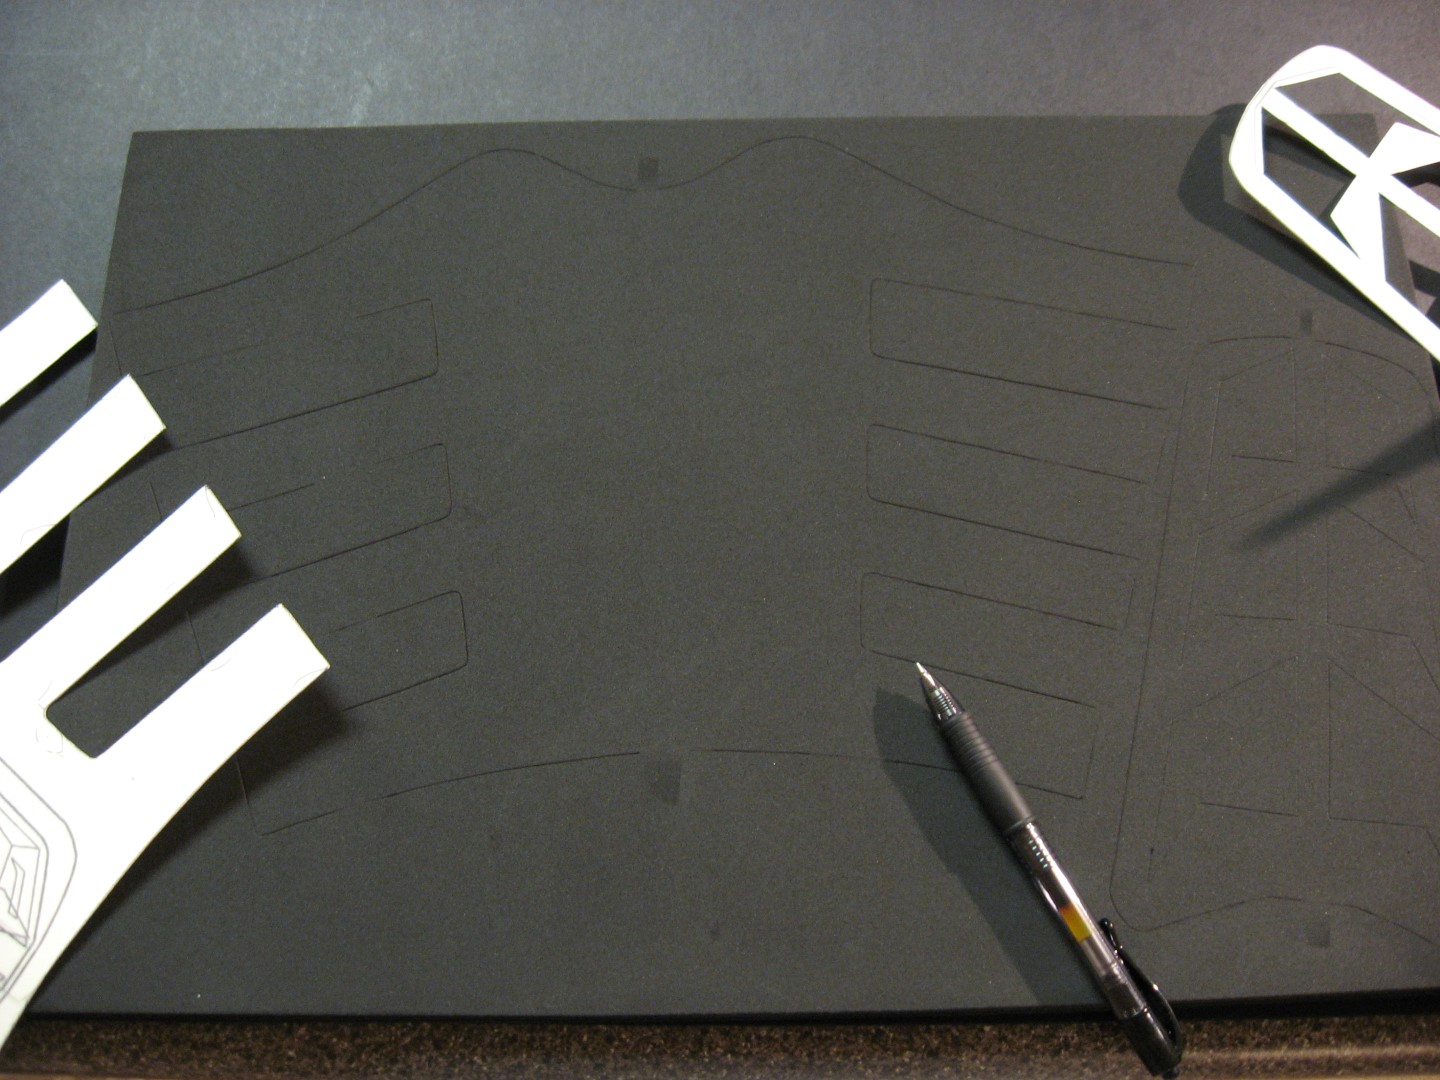
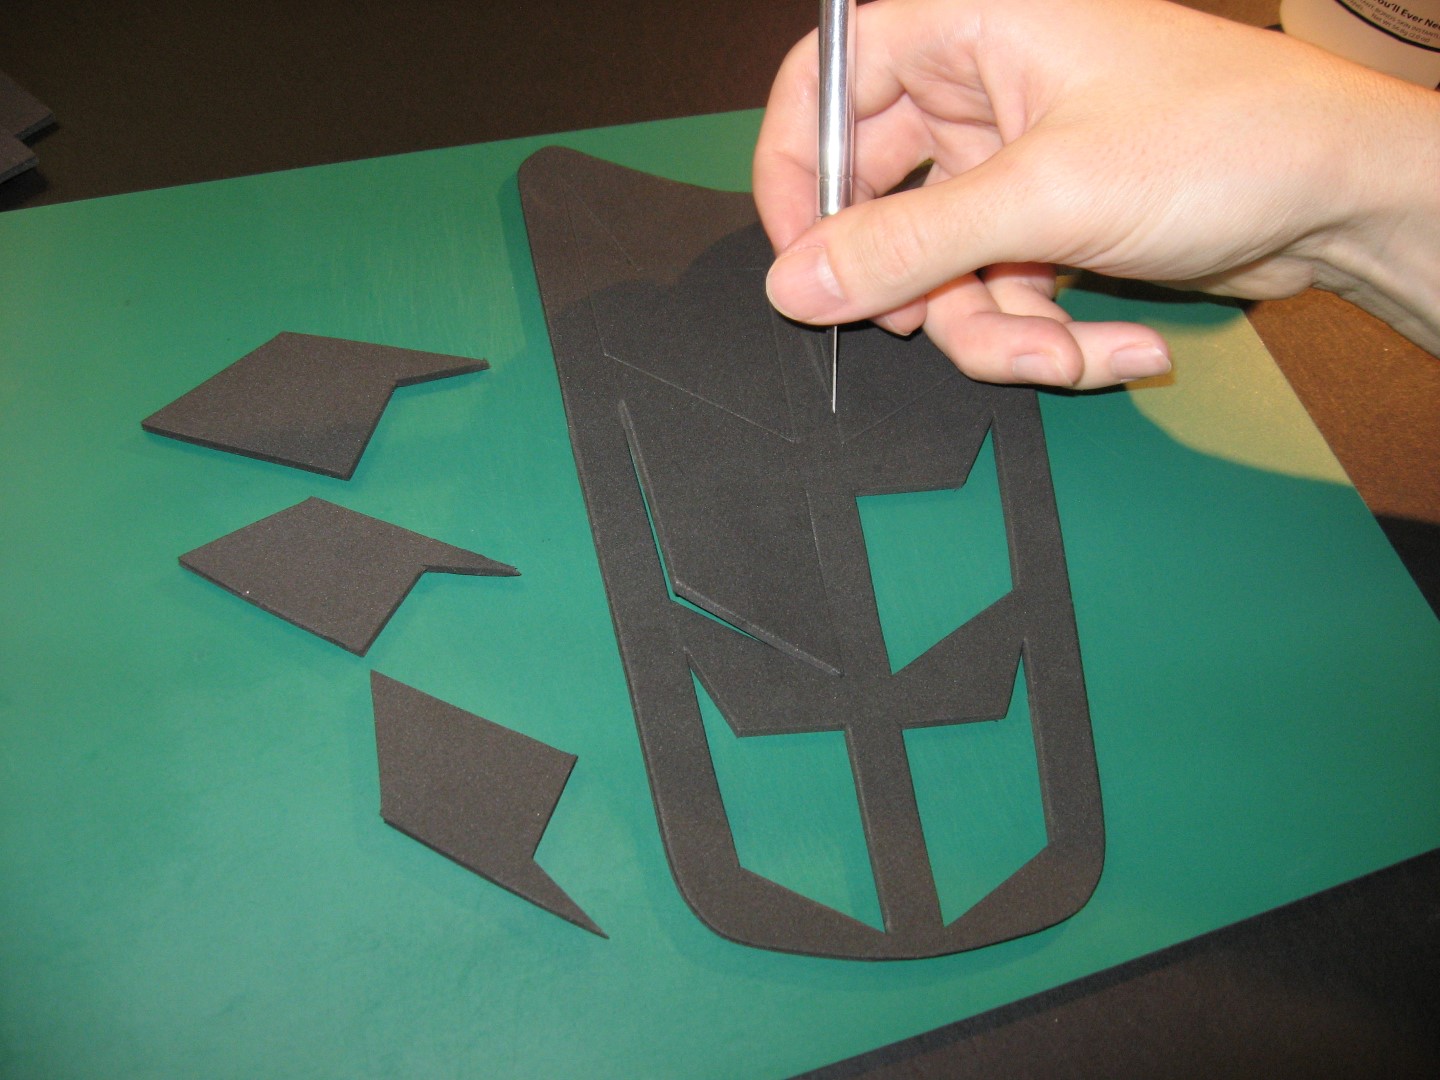
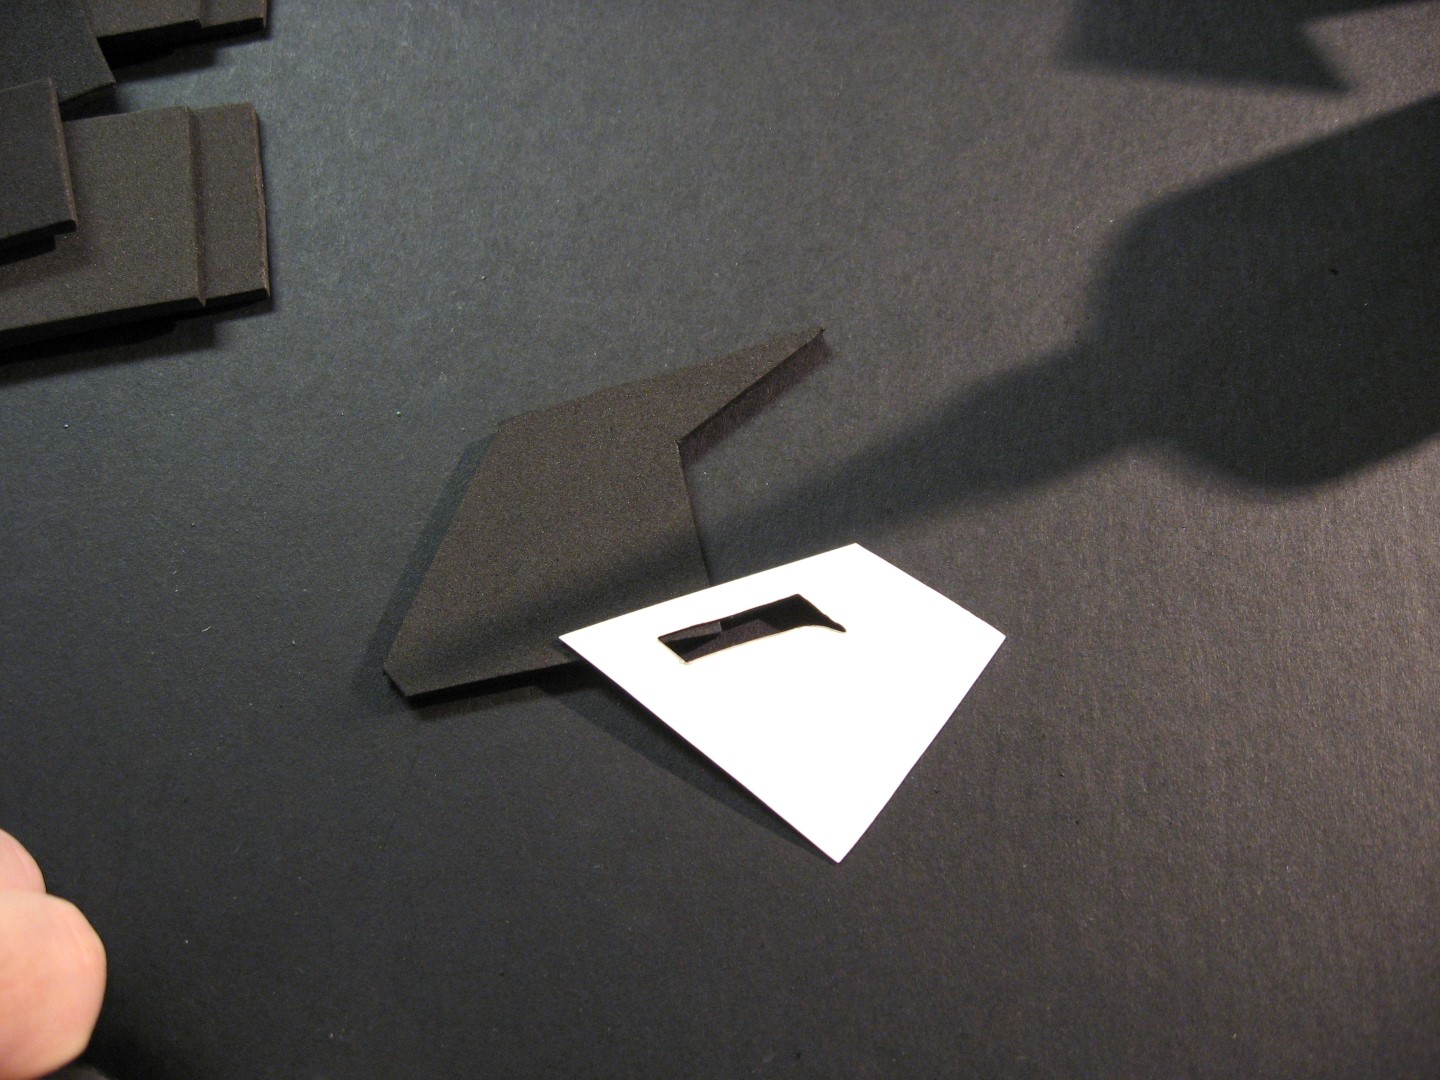
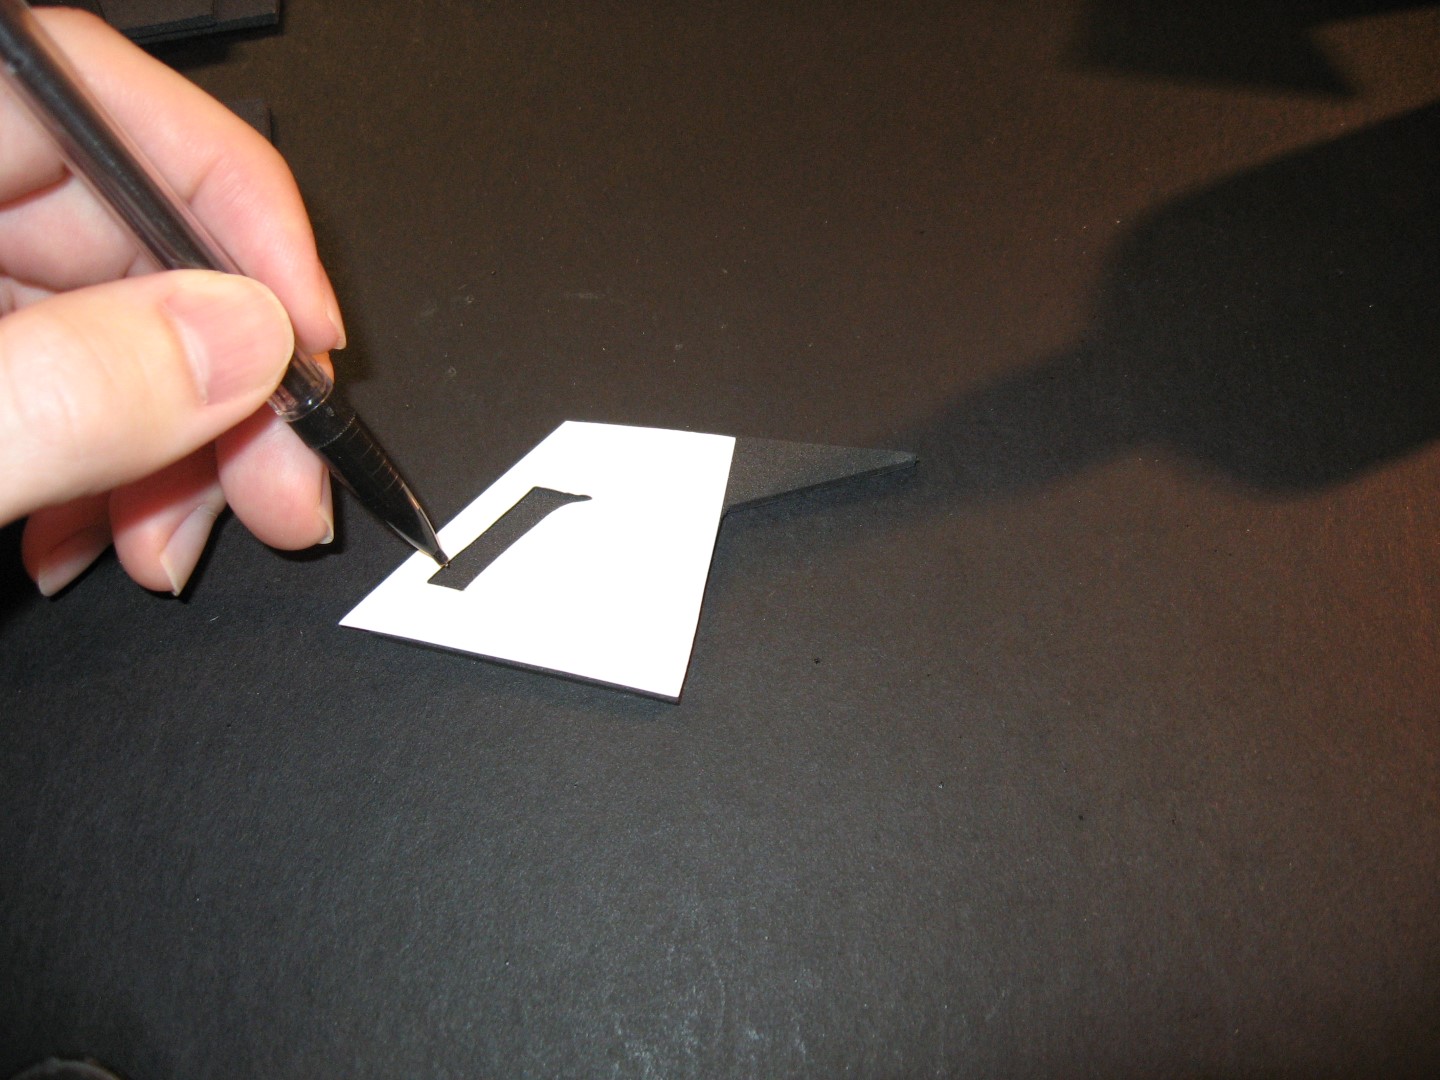
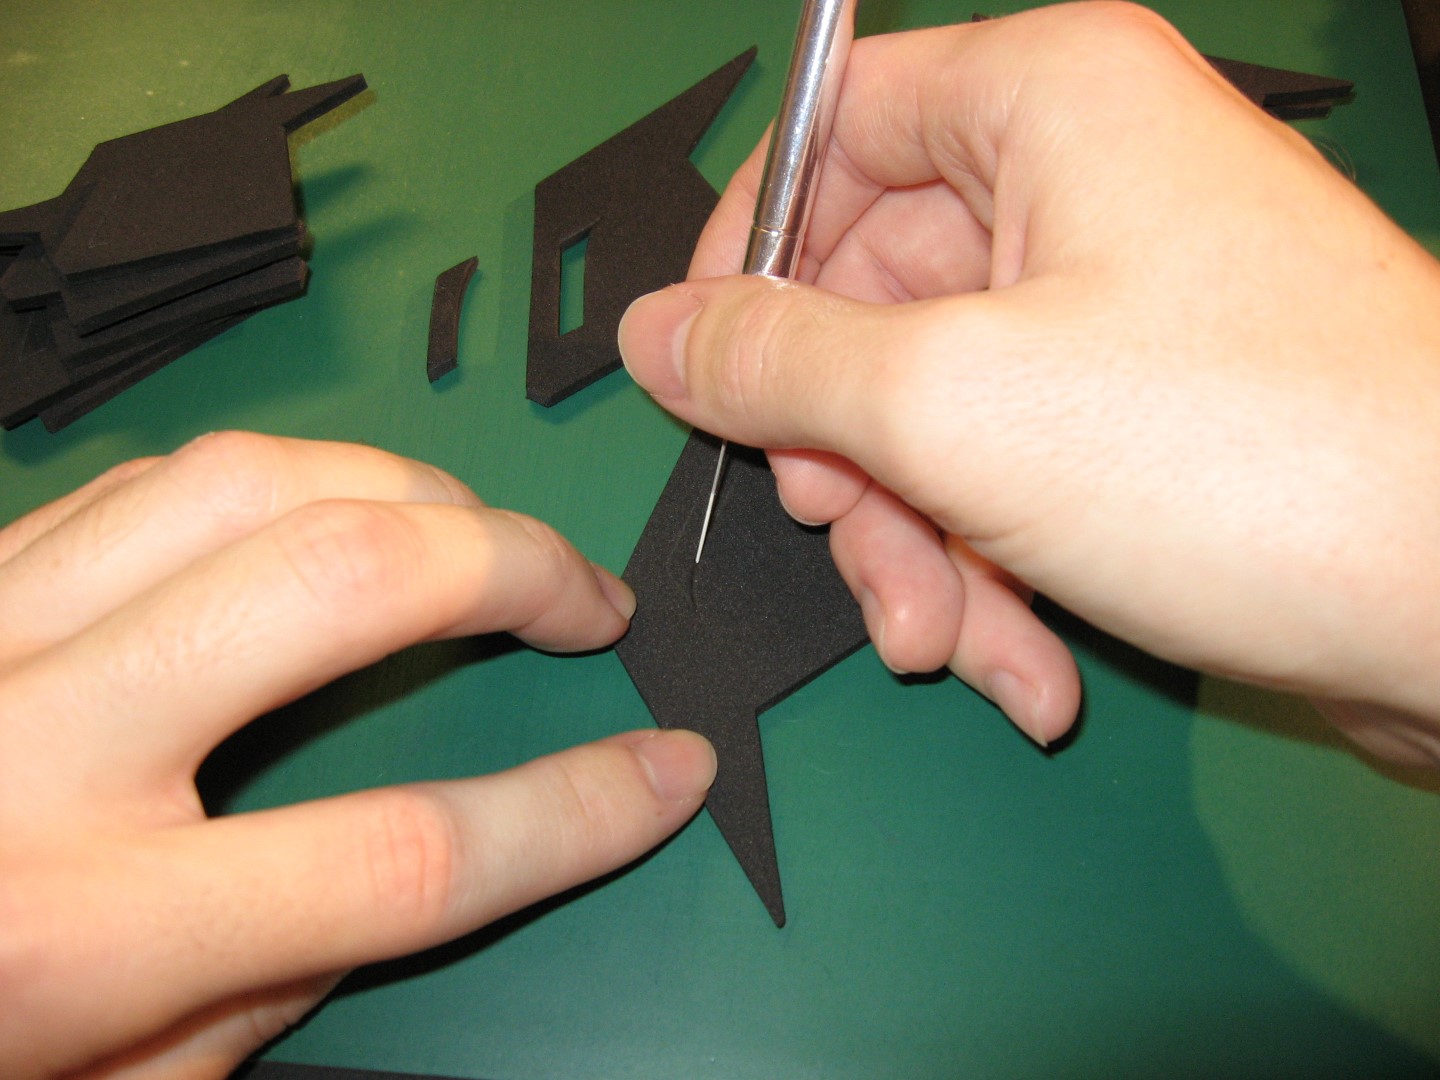
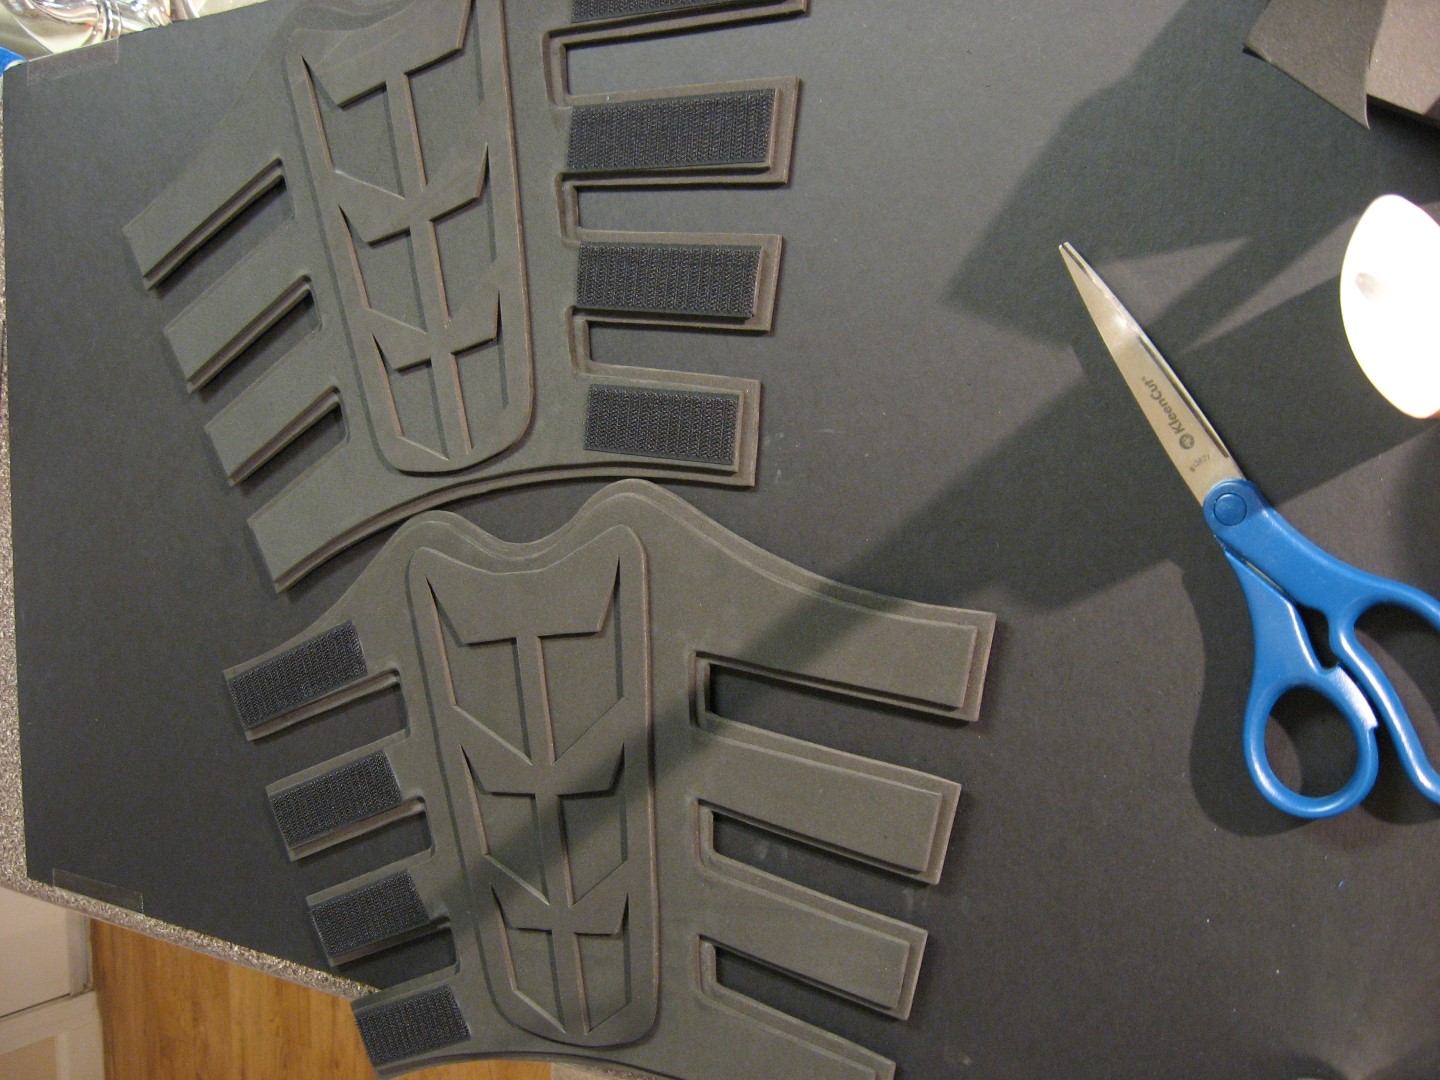
Cut out all the pieces and trace them onto your foam sheets. Use a few pieces of scotch tape to hold the template in place on the foam when tracing. Use a ball point pen for the large pieces and a mechanical pencil to trace the small details like the fins. You can trace just the outer shape of the fins for now, as the inner slits can be traced later. I recommend 3mm thick foam for these gauntlets.

IMG_2284 (Large)

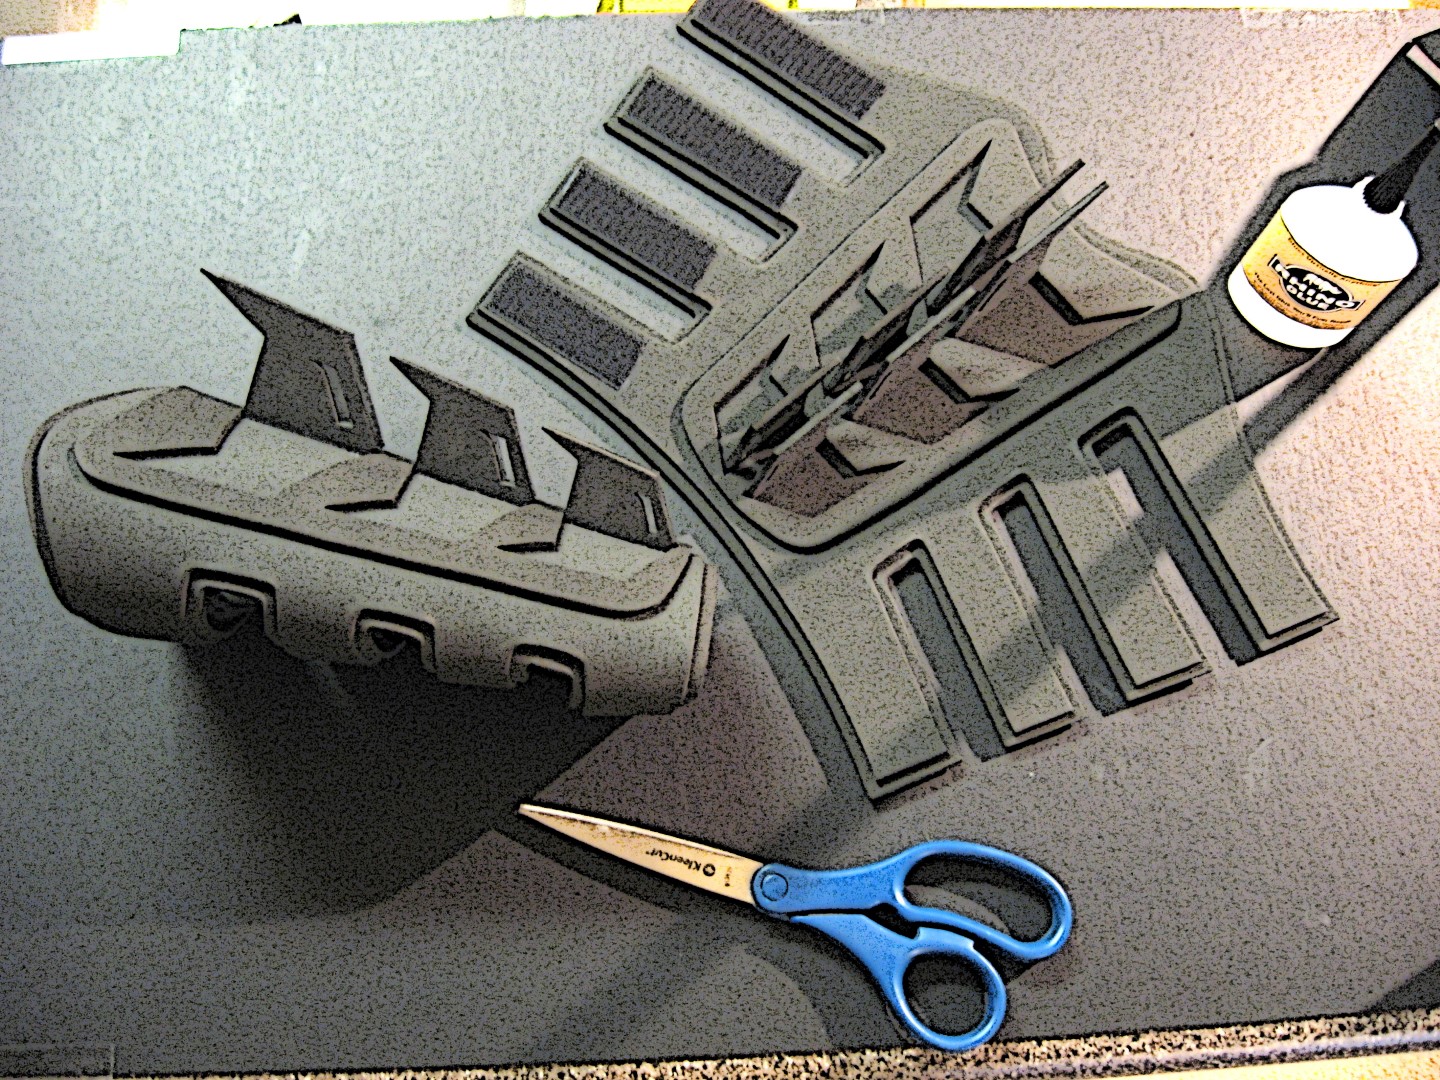
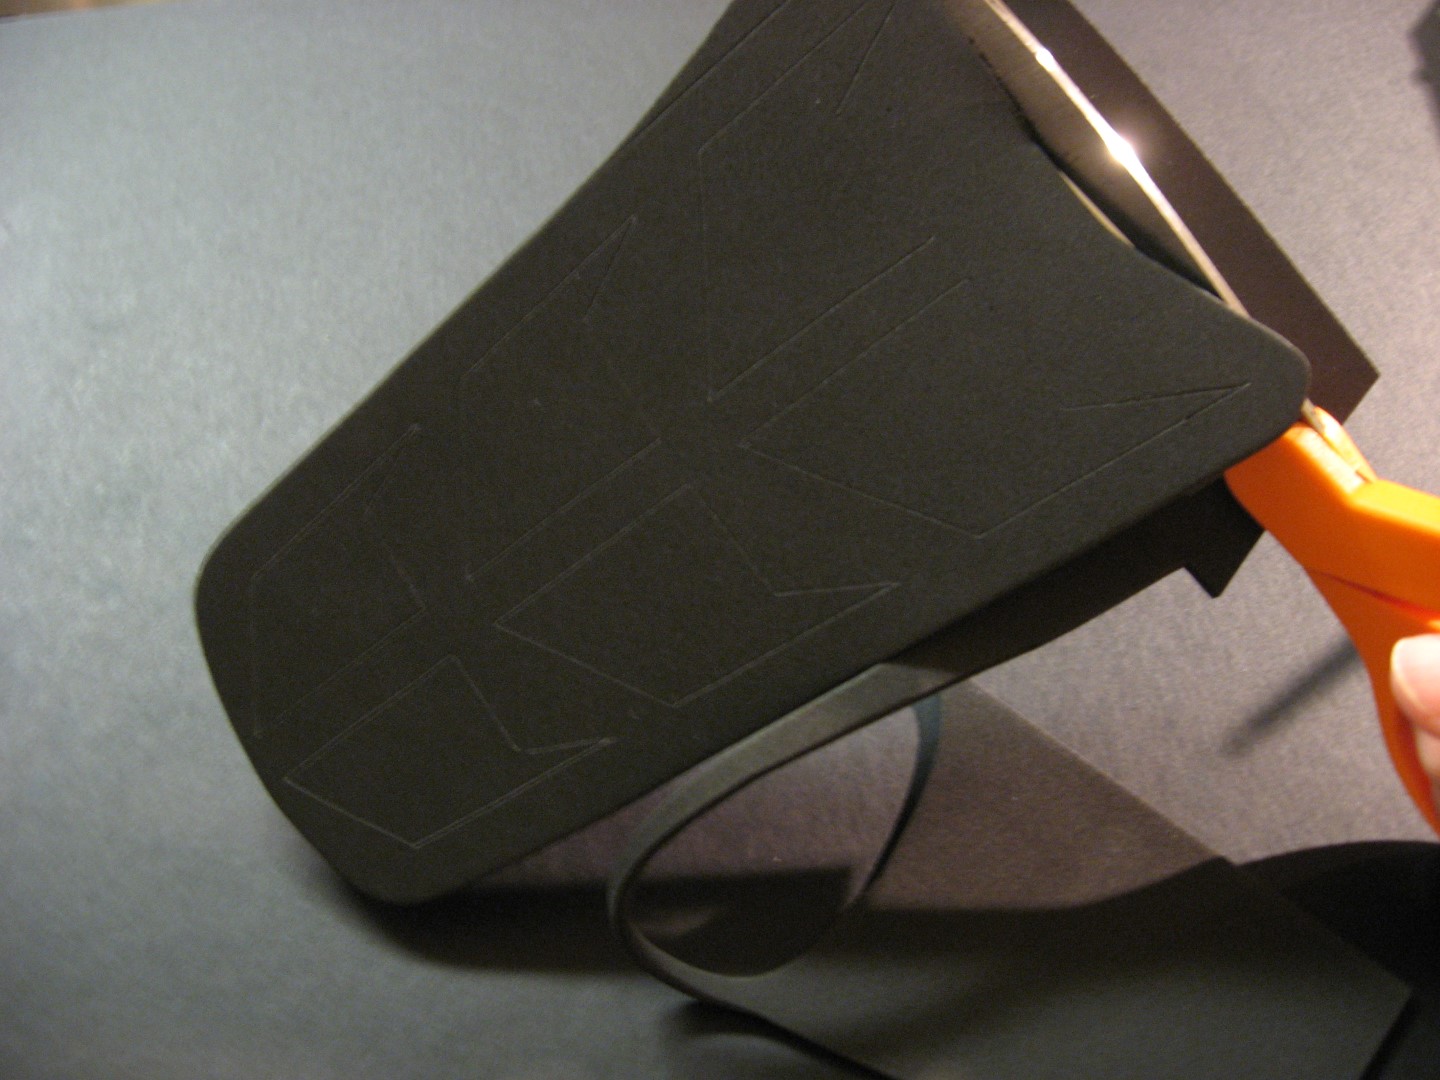
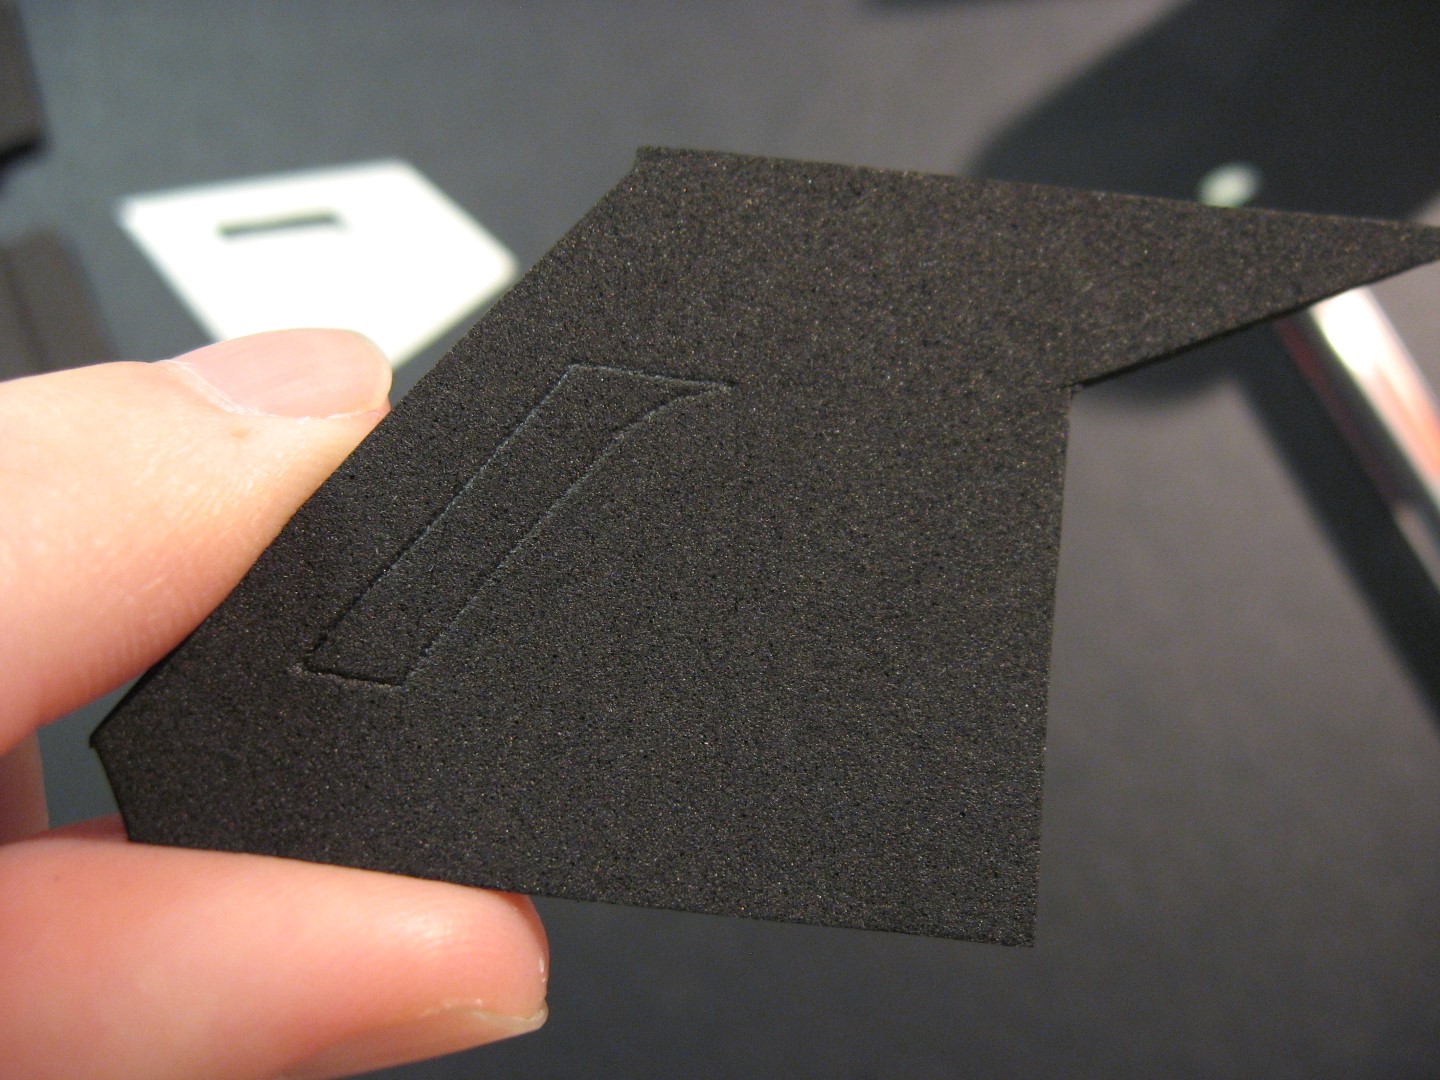
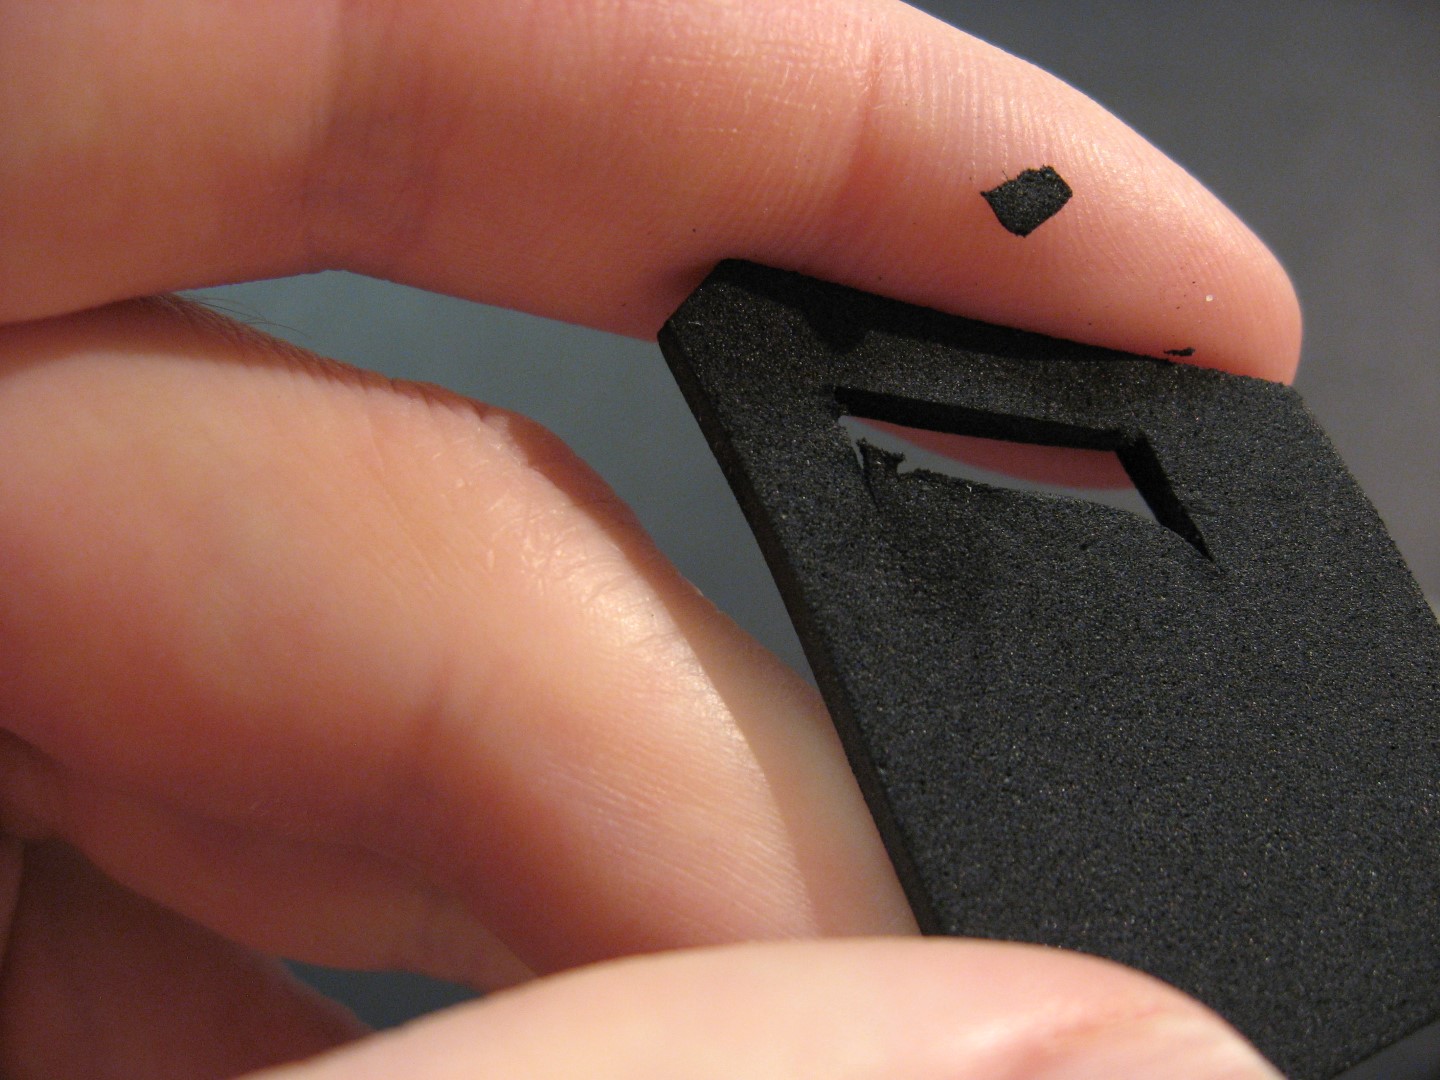
Using scissors, cut out the two main layers and the top piece that has the fin shapes in it.

IMG_2286 (Large)
IMG_2289 (Large)
IMG_2292 (Large)

Use an Xacto knife to cut out the fin shapes from the top piece. If you are just starting out, I recommend just focusing on cutting the empty fin shapes, and then retrace and cut the actual fins themselves out of another piece of foam using scissors. If you feel confident in your hobby knife skills you can try to do both at the same time, but it is much more difficult to make both look smooth and even this way.

IMG_2296 (Large)

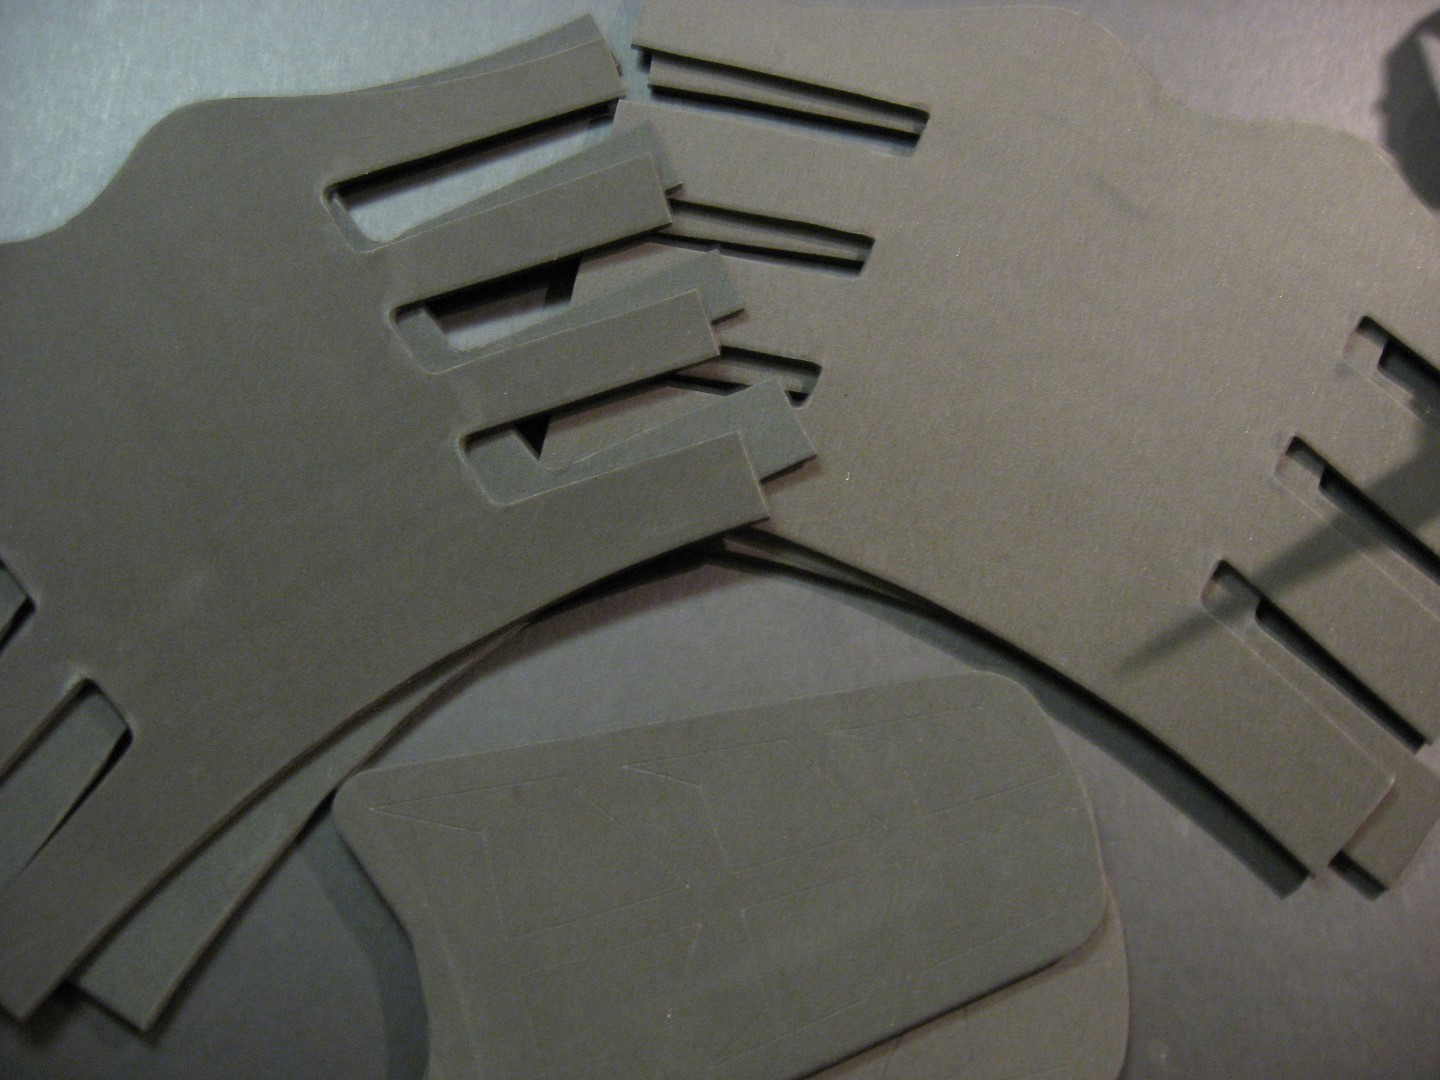
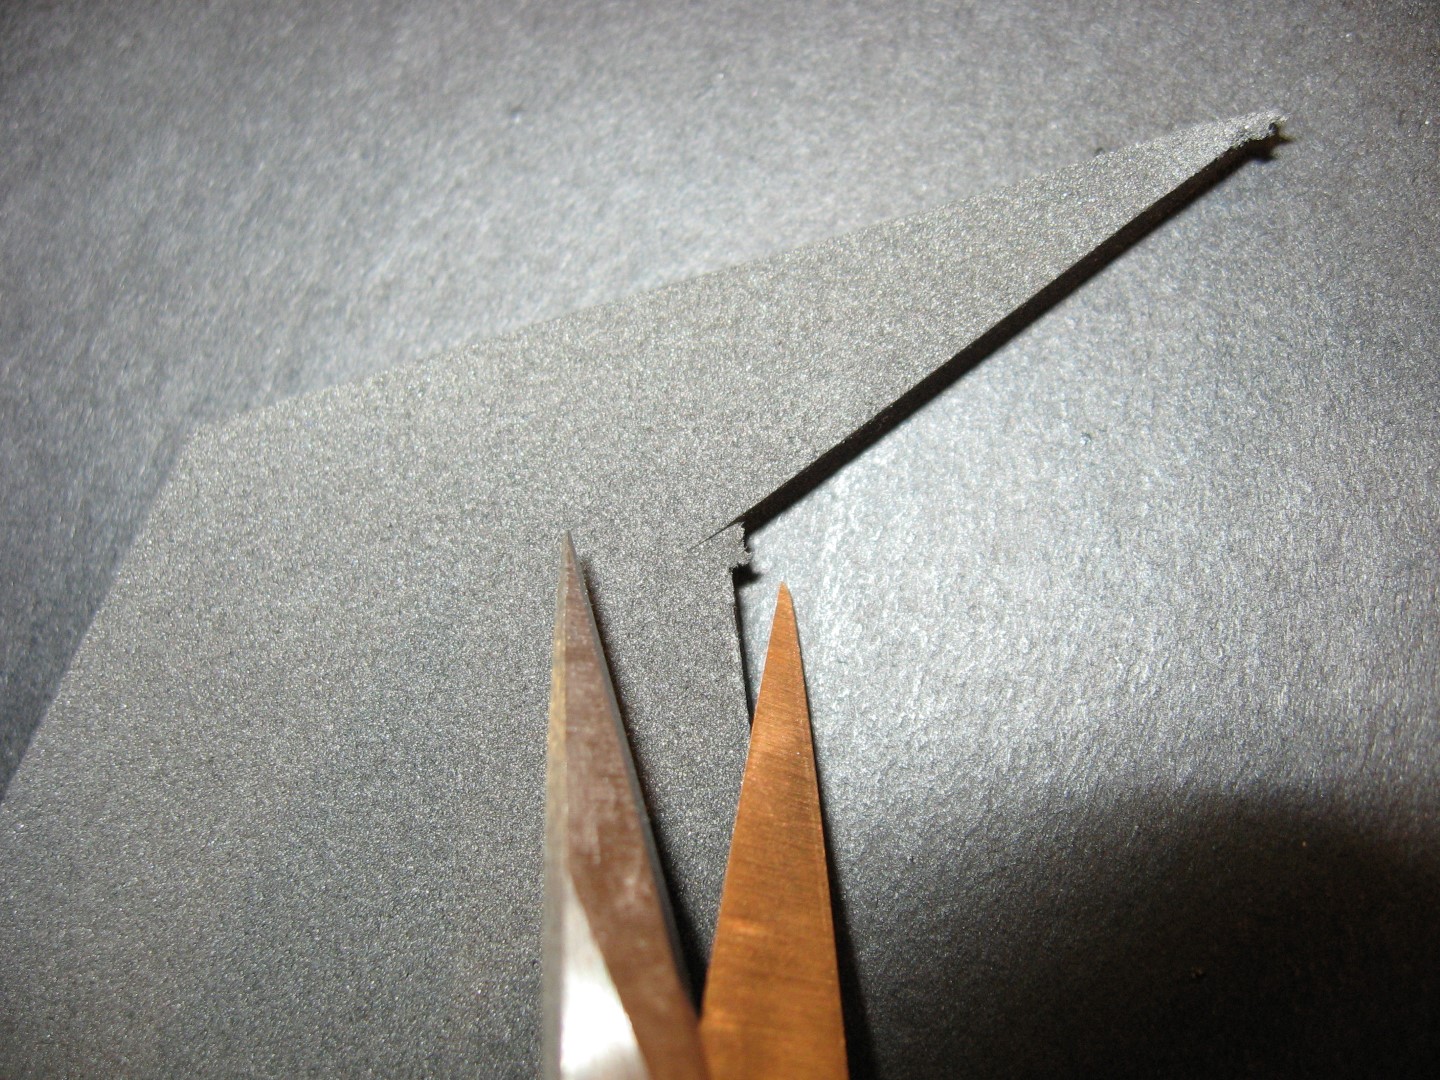
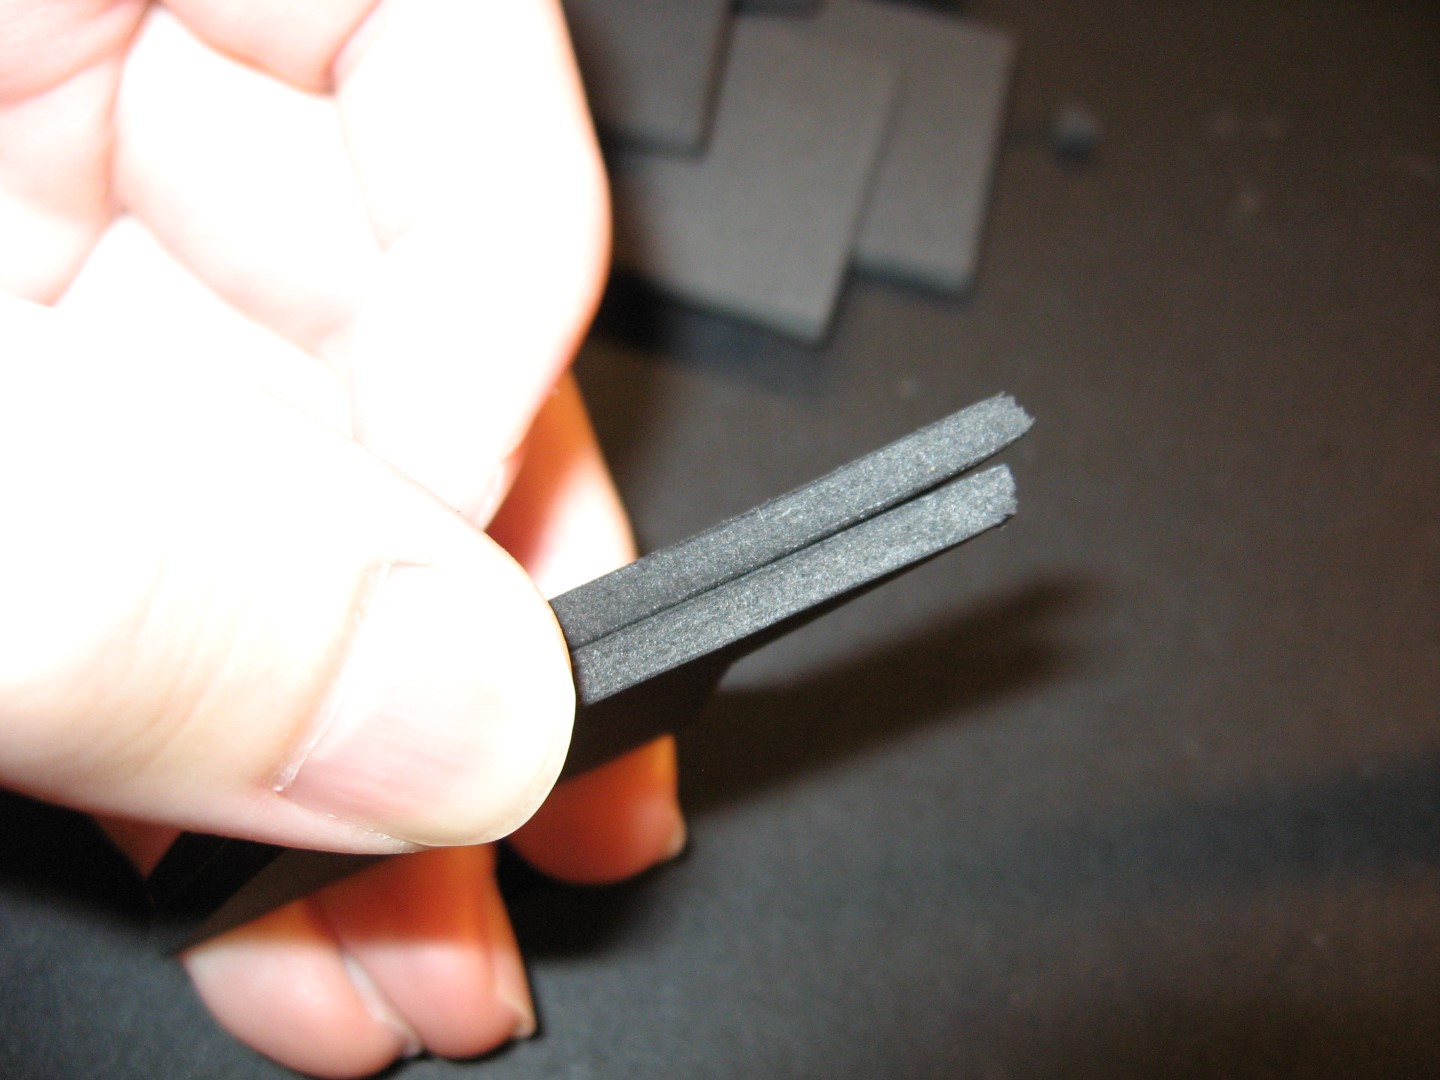
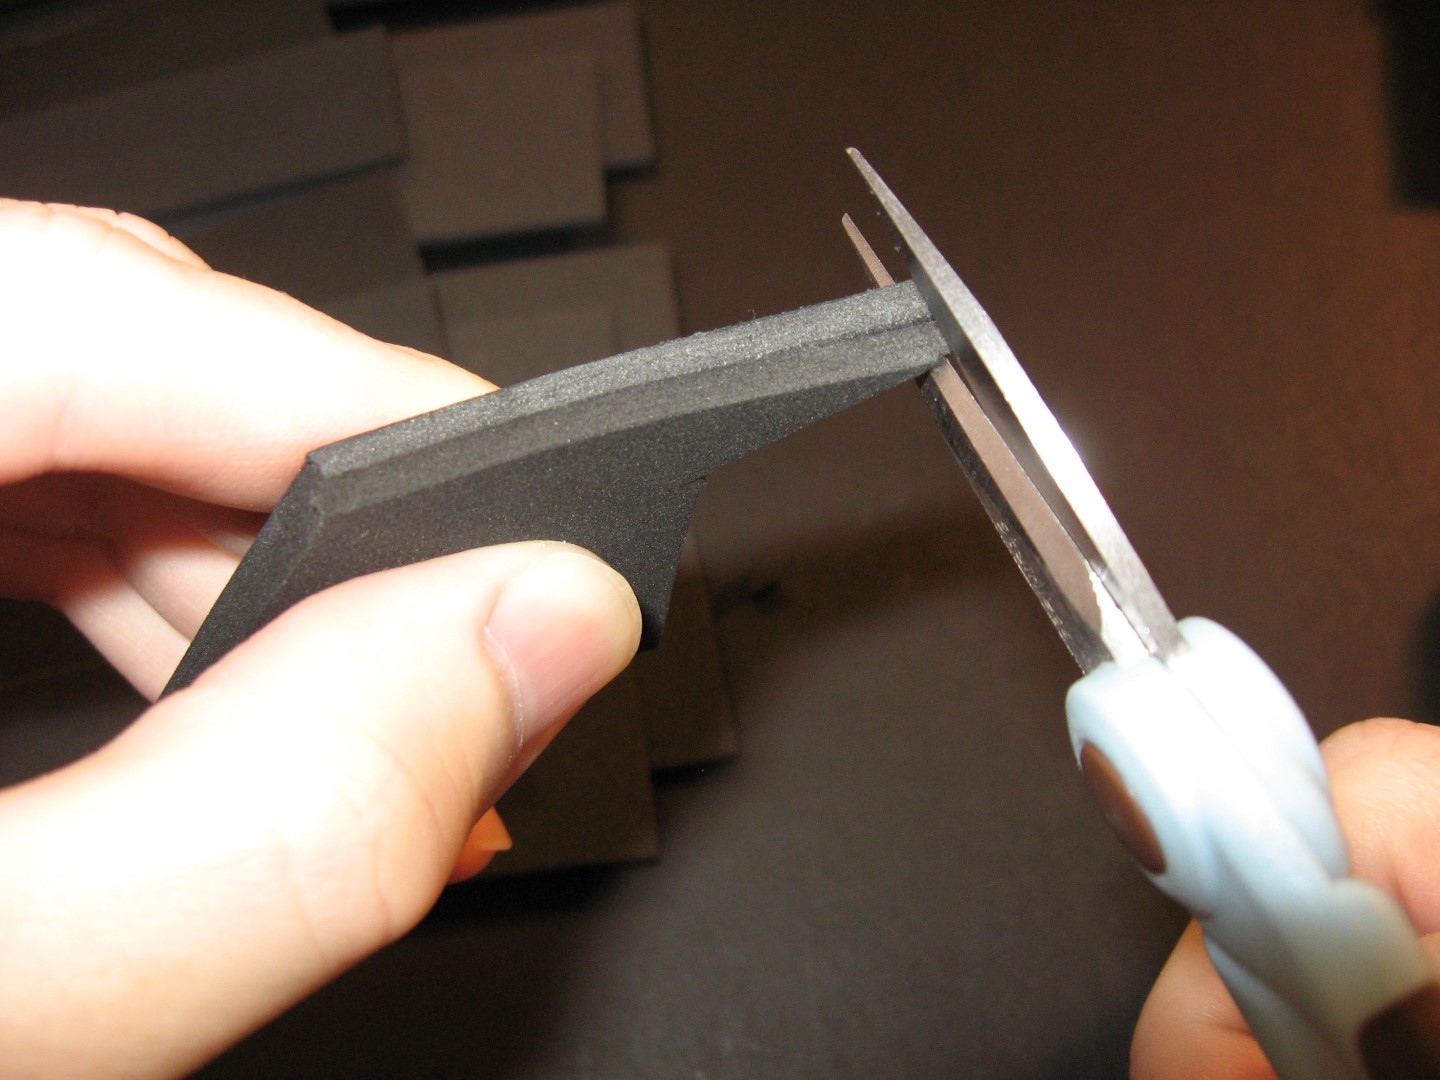
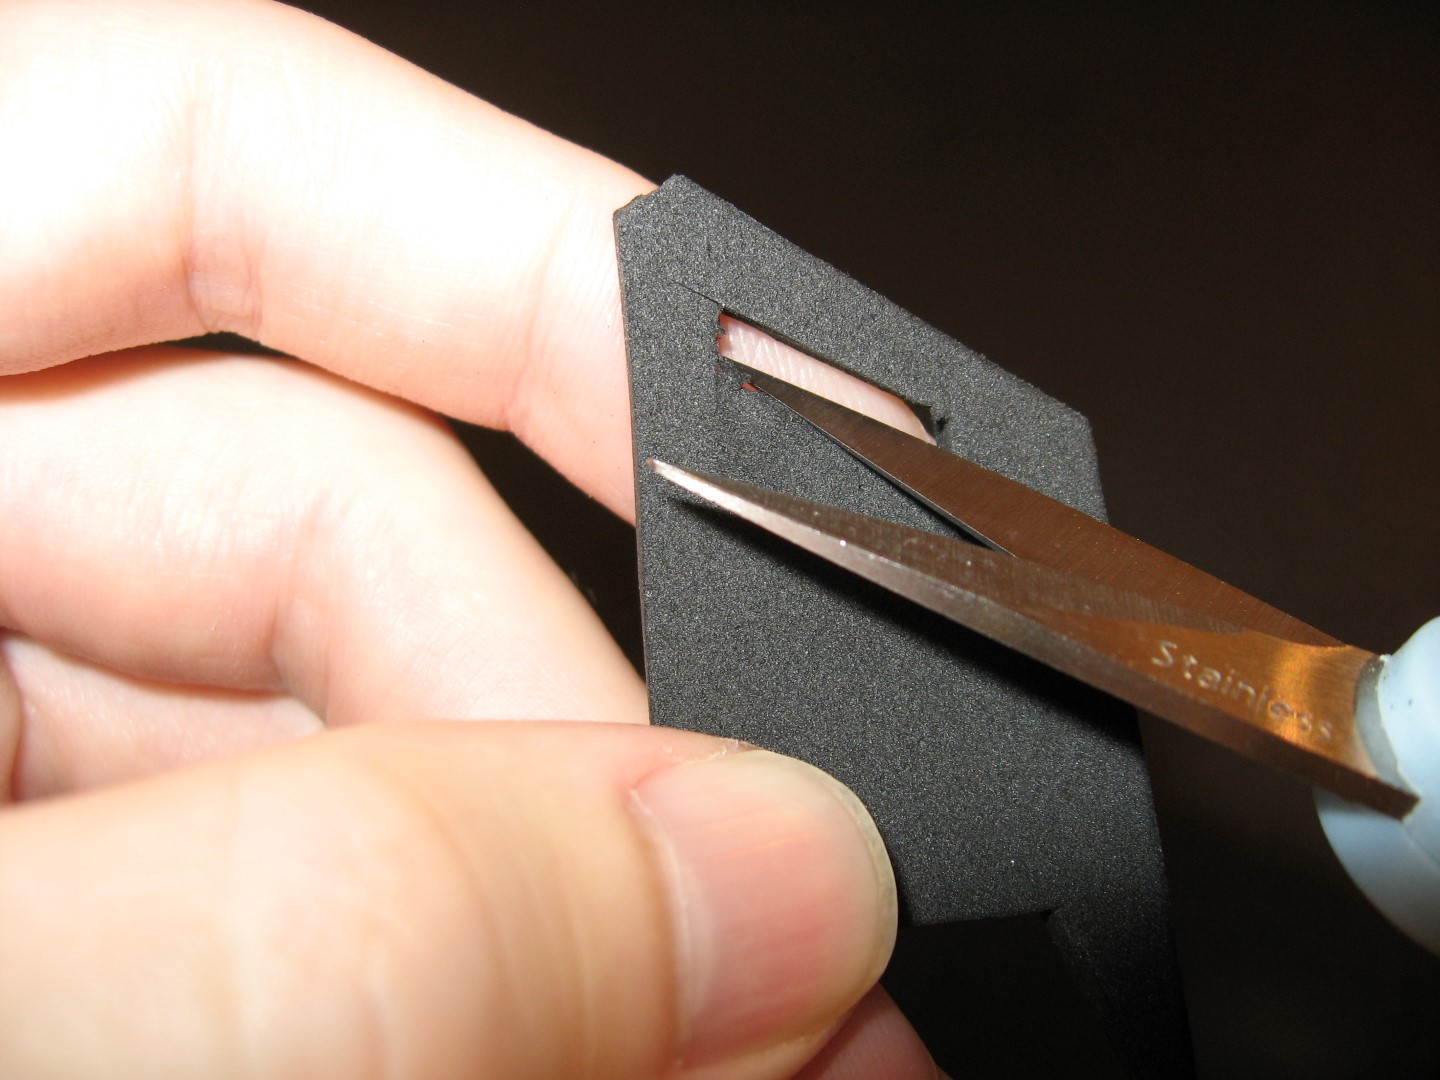
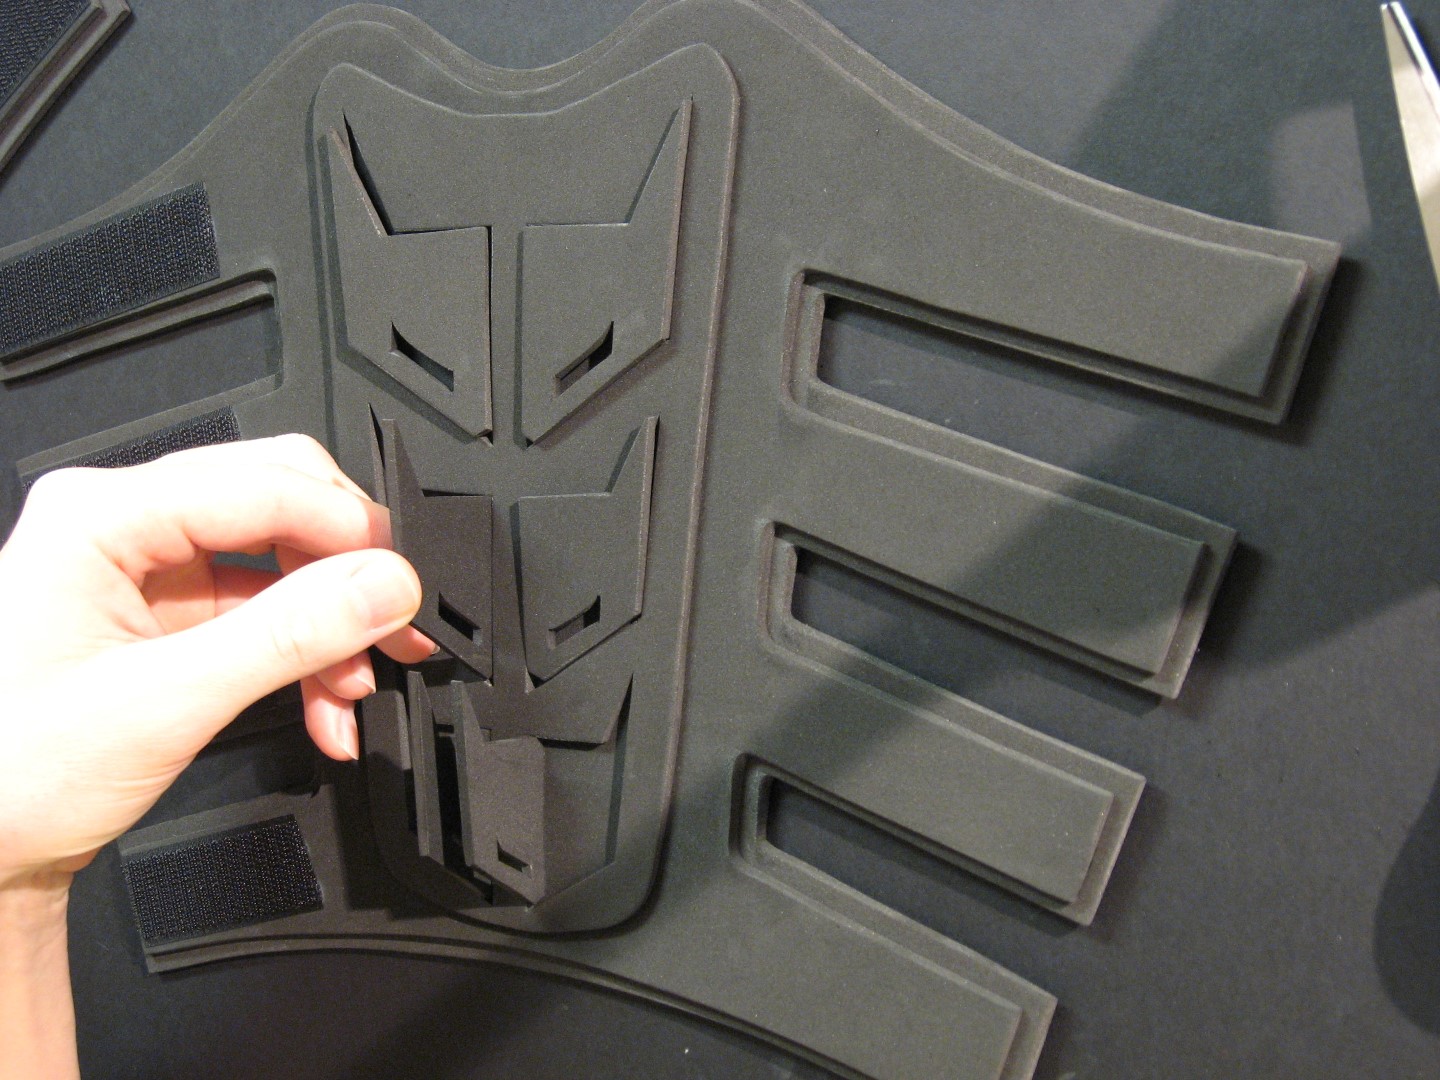
Trim any imperfections off the fins and then cut a small piece of the bottom front corner off of each fin. This is to help them fit back into their slots once they are stood on end.

IMG_2301 (Large)
IMG_2305 (Large)
IMG_2309 (Large)

Match up each fin with its twin and trim the top tips so they are the same length.

IMG_2313 (Large)
IMG_2315 (Large)
IMG_2316 (Large)

Use a pencil to trace the fin slits onto each fin. Pay attention to how each fin will be oriented once it is glued on the final product. You will want to trace the slit on the side of the fin that will eventually be facing the outside of the gauntlet, as the side you cut from will look much cleaner.

IMG_2318 (Large)
IMG_2320 (Large)
IMG_2329 (Large)

Use the Xacto knife to cut out all the slits. It takes some practice to get good at cutting out small shapes. You may want to trace several slits on scrap foam and try cutting them first. There will probably be some frayed corners left over that can be trimmed off using a pointy tipped pair of scissors.

IMG_2332 (Large)

IMG_2338 (Large)
IMG_2337 (Large)

IMG_2344 (Large)

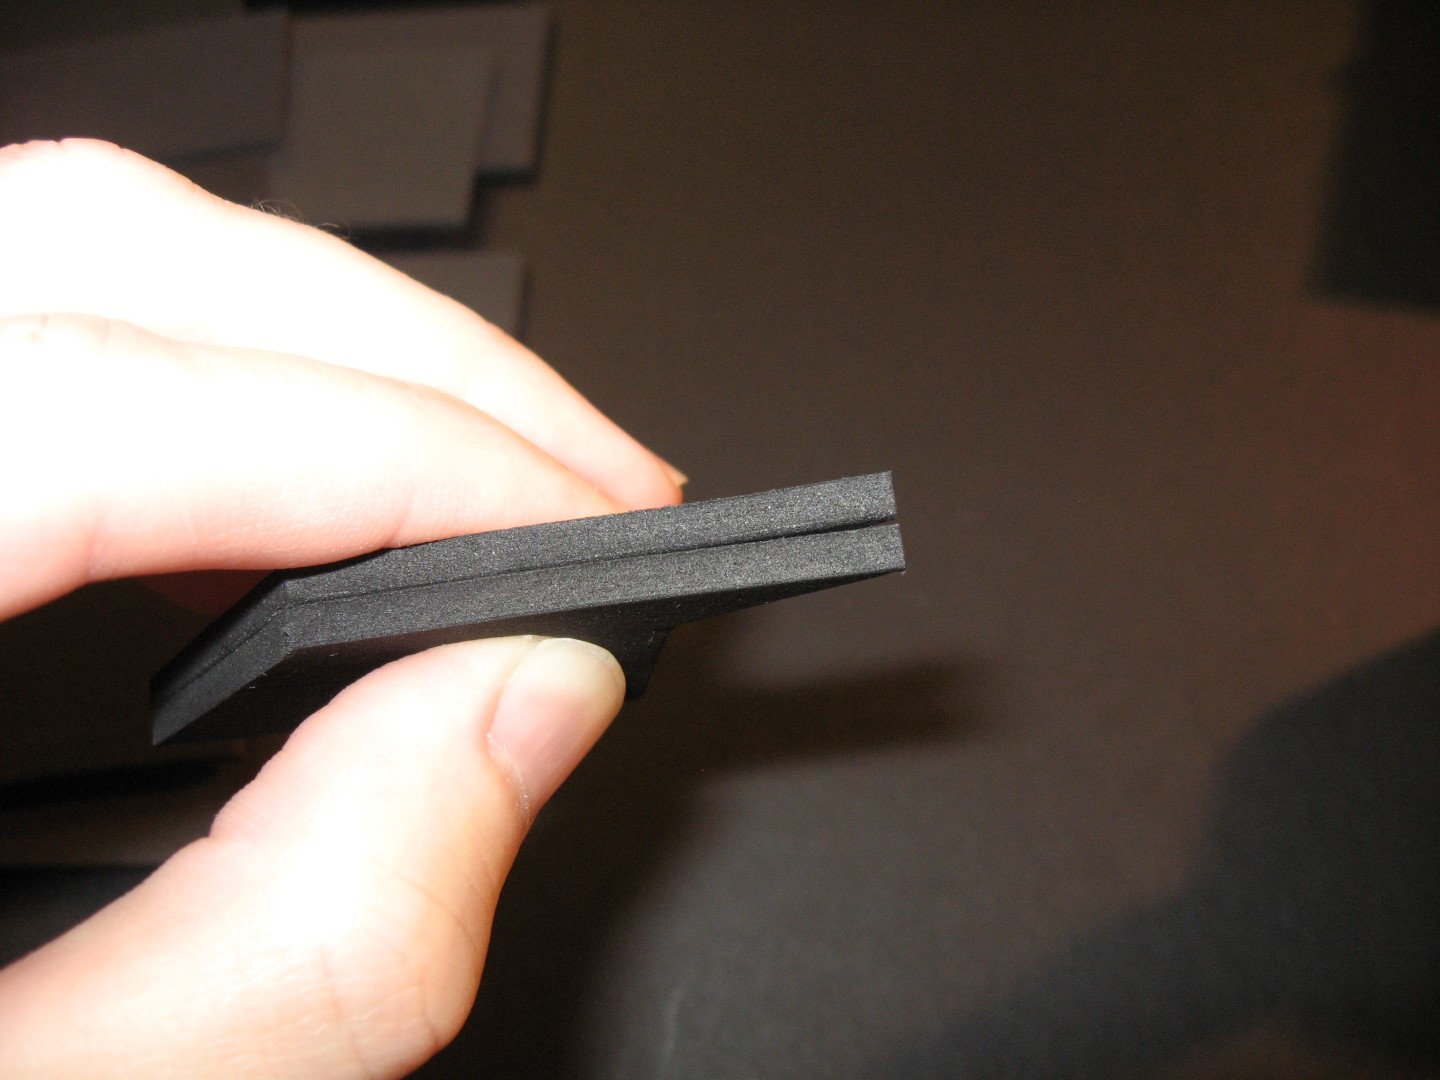
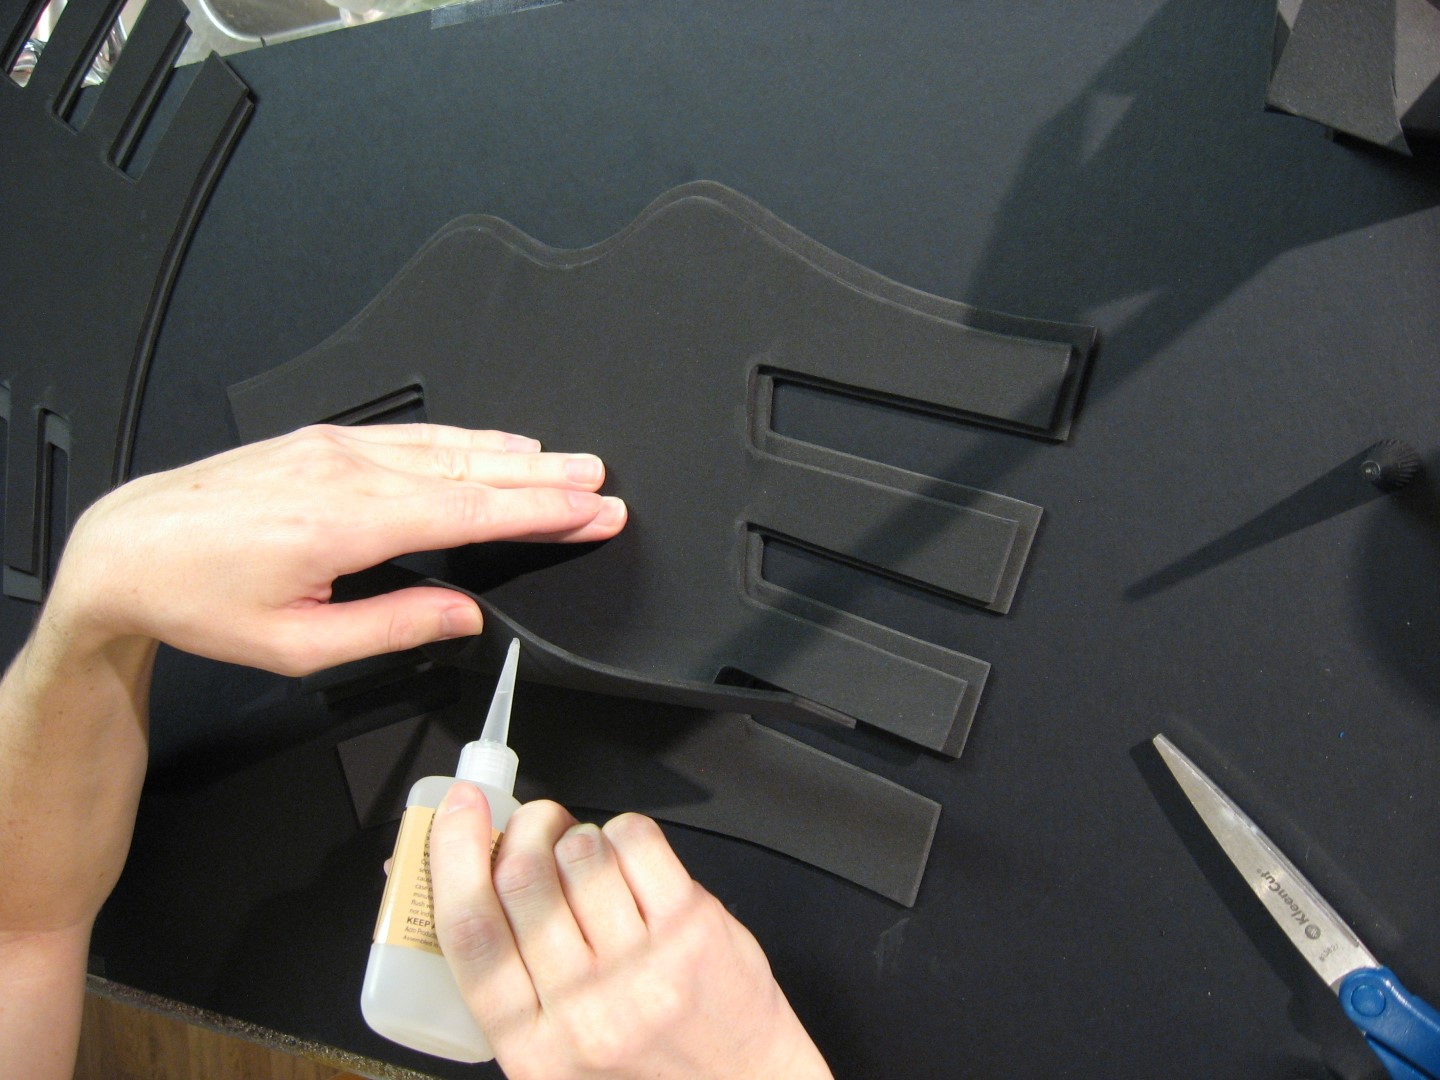
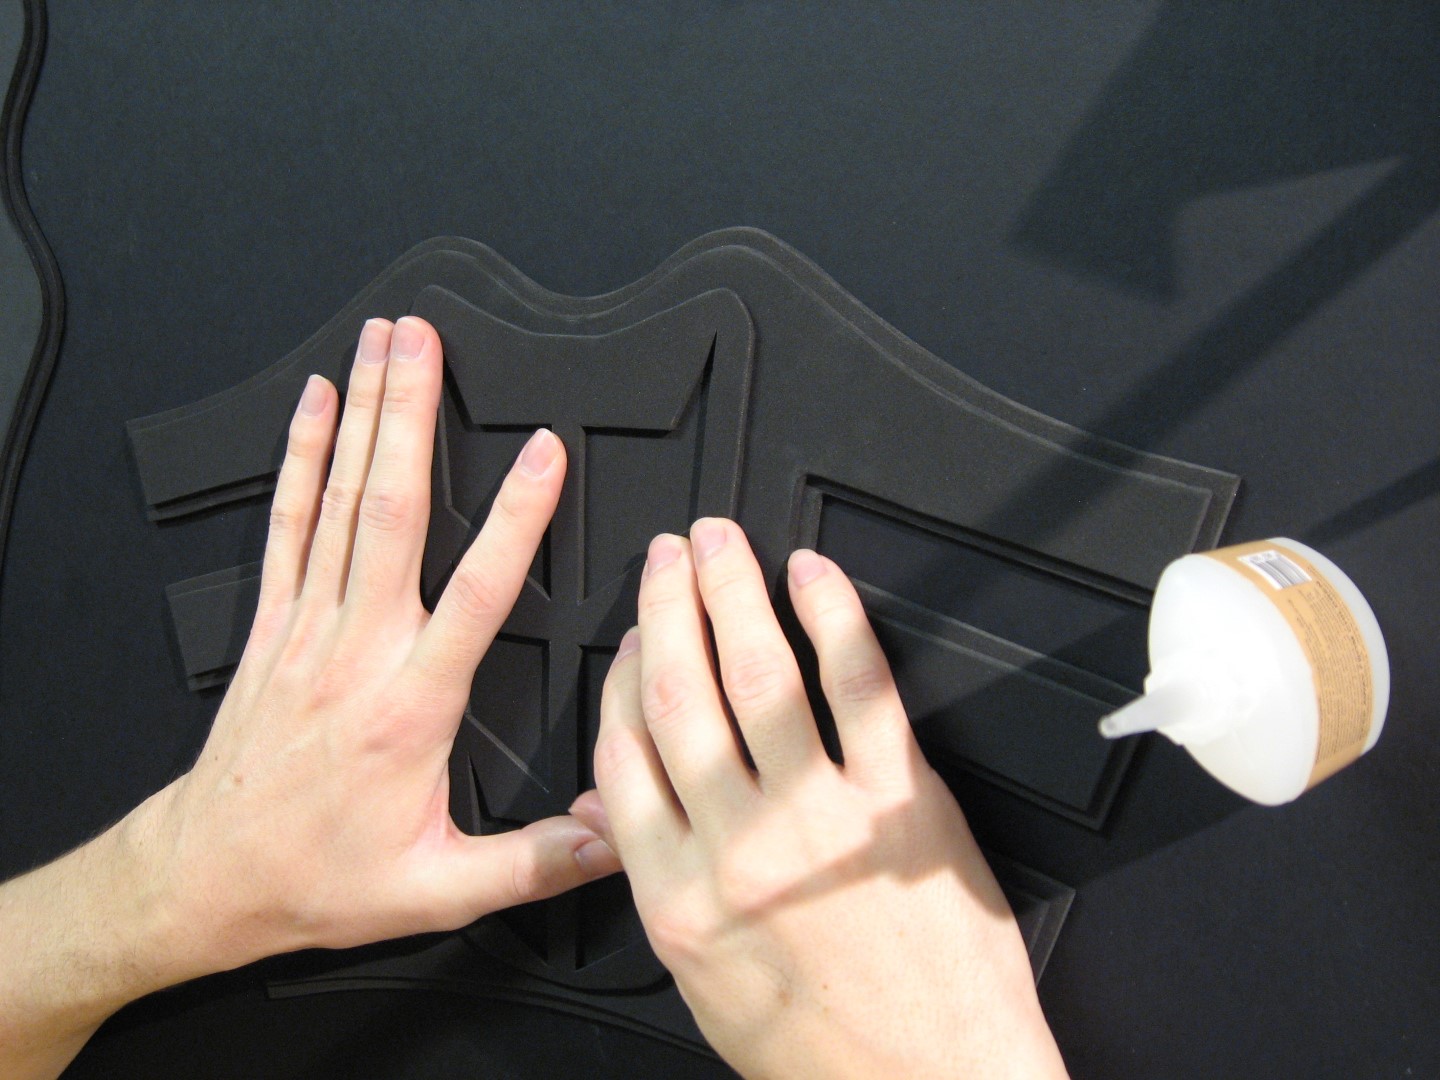
Align the top large layer so it is centered on the bottom large layer. While pressing down on the top layer to keep it from moving, bend back a small section of the base of the top layer. Apply a small amount of glue (I recommend a type of super glue called Rhino Glue) and slowly lower the layer back down. Gently press down on the glued section for about 10 seconds to allow it to set.

IMG_2345 (Large)
IMG_2347 (Large)

Flip the layers over and apply some glue down the center of the back side of the top piece. Flip it back over and make sure it stays correctly aligned as you press it down and let the glue set.

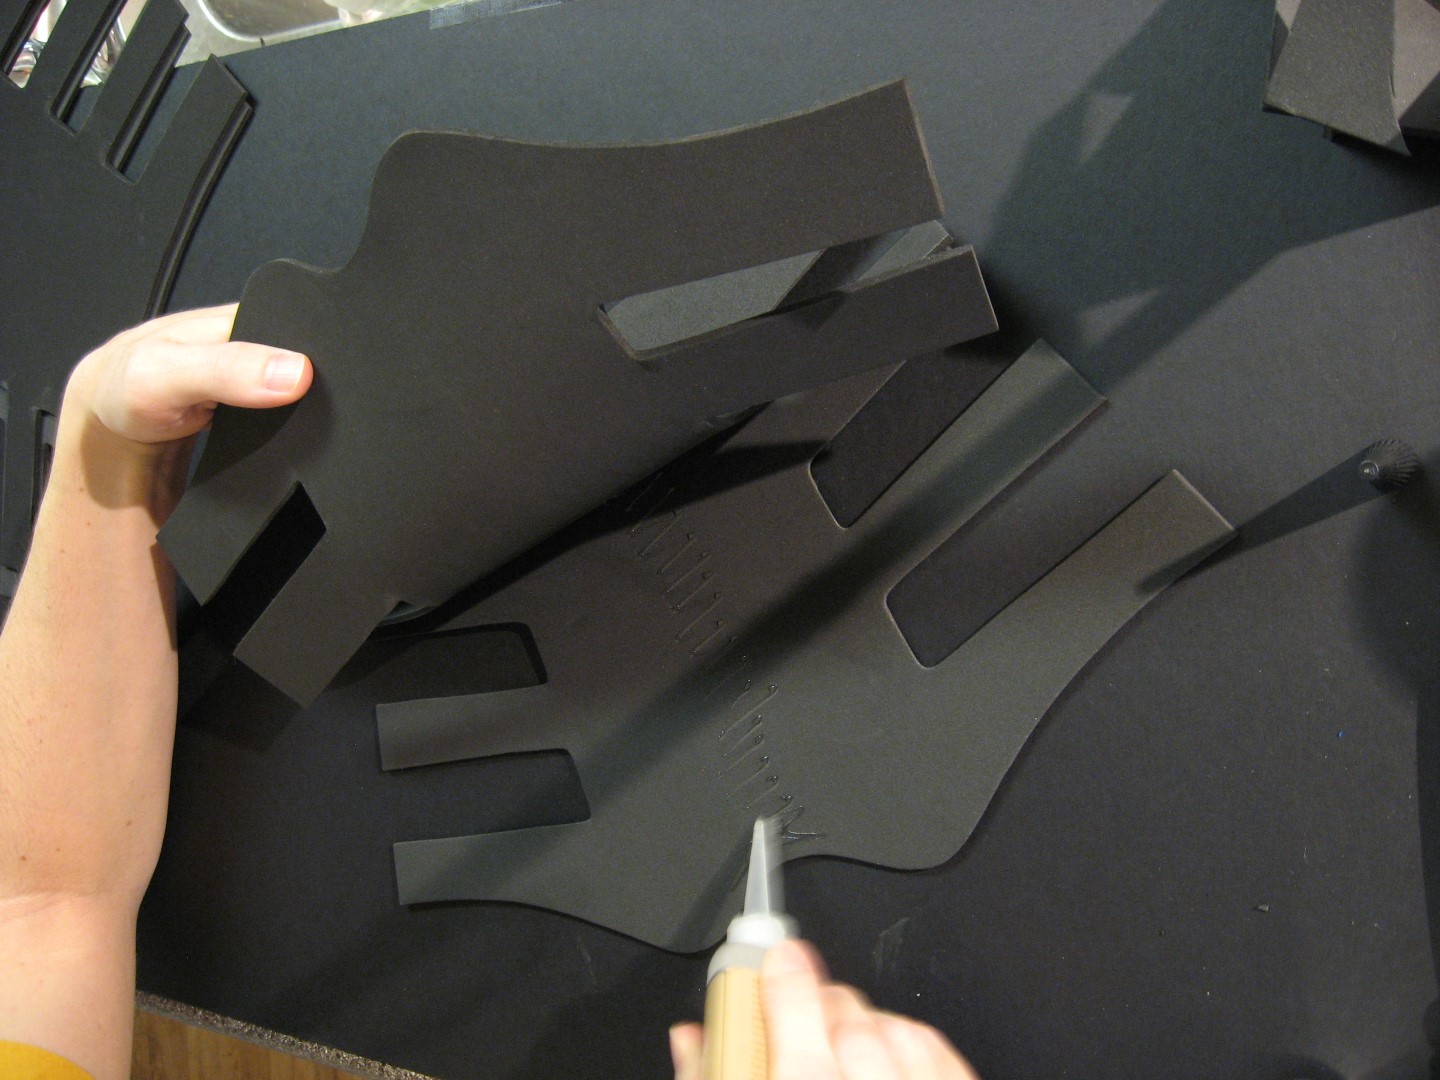
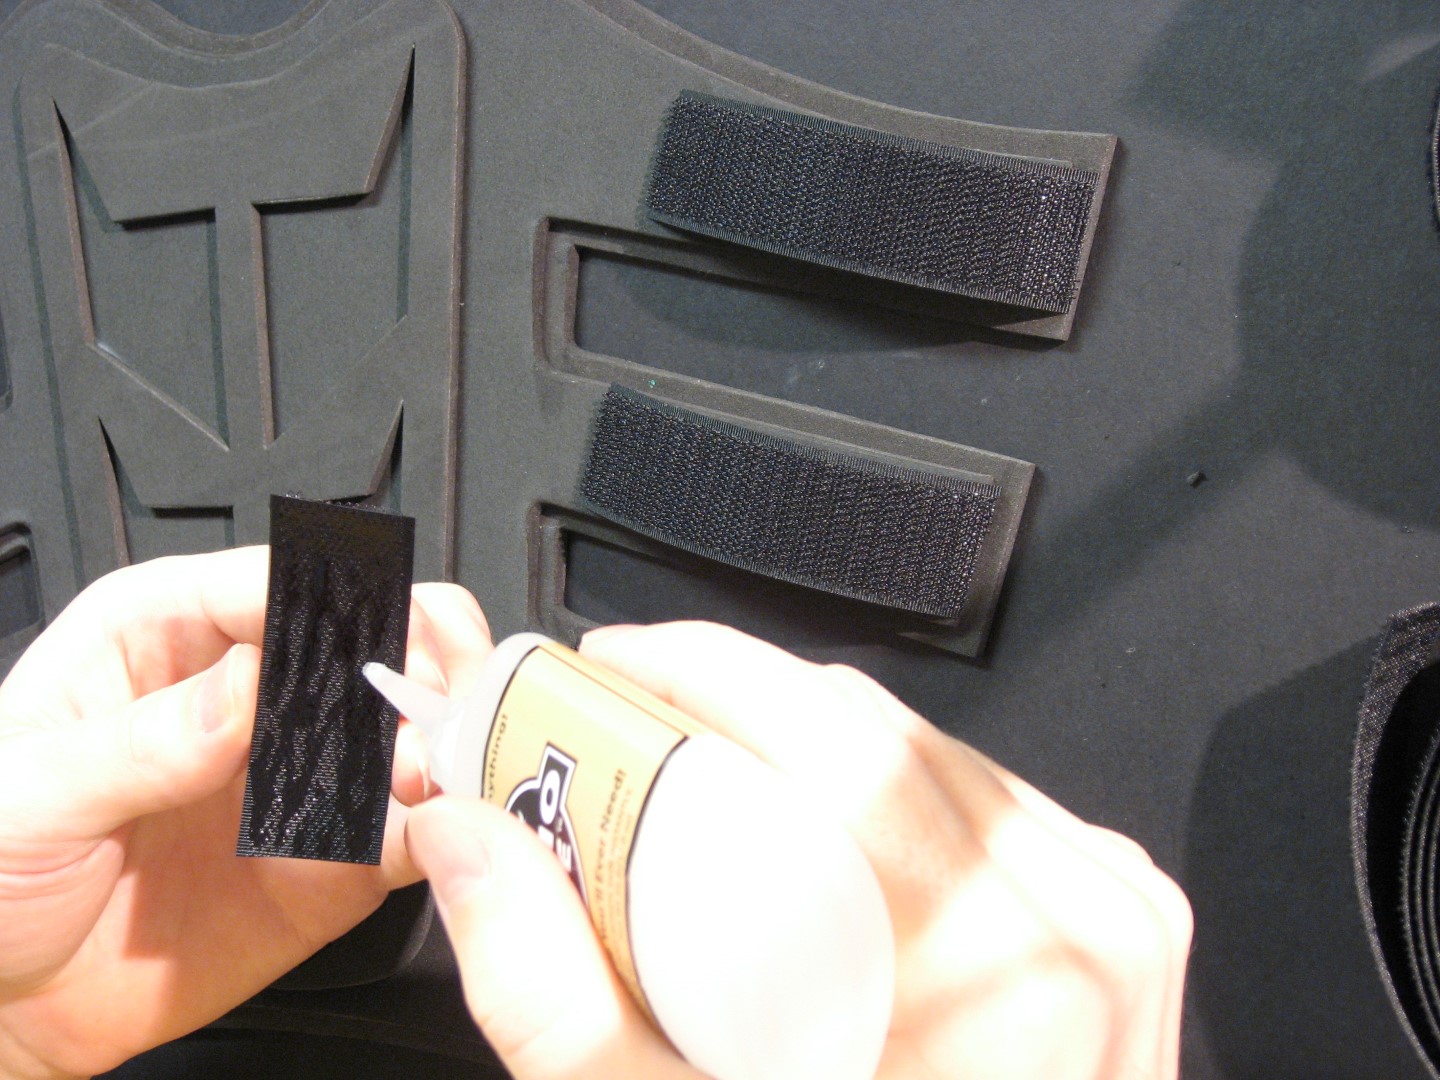
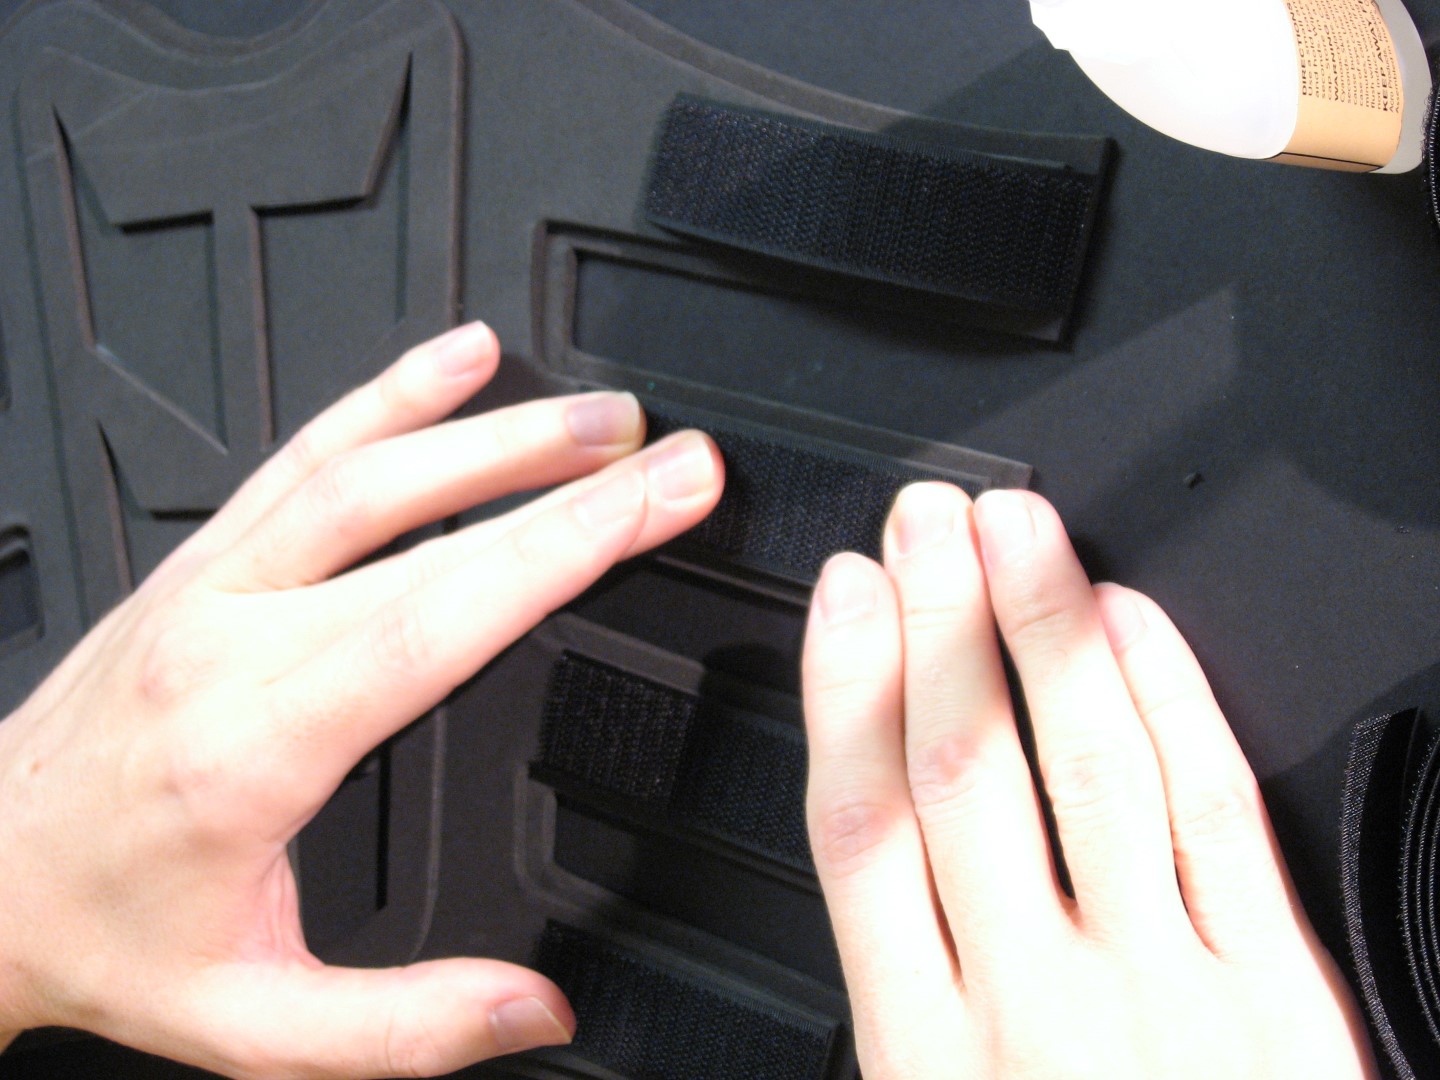
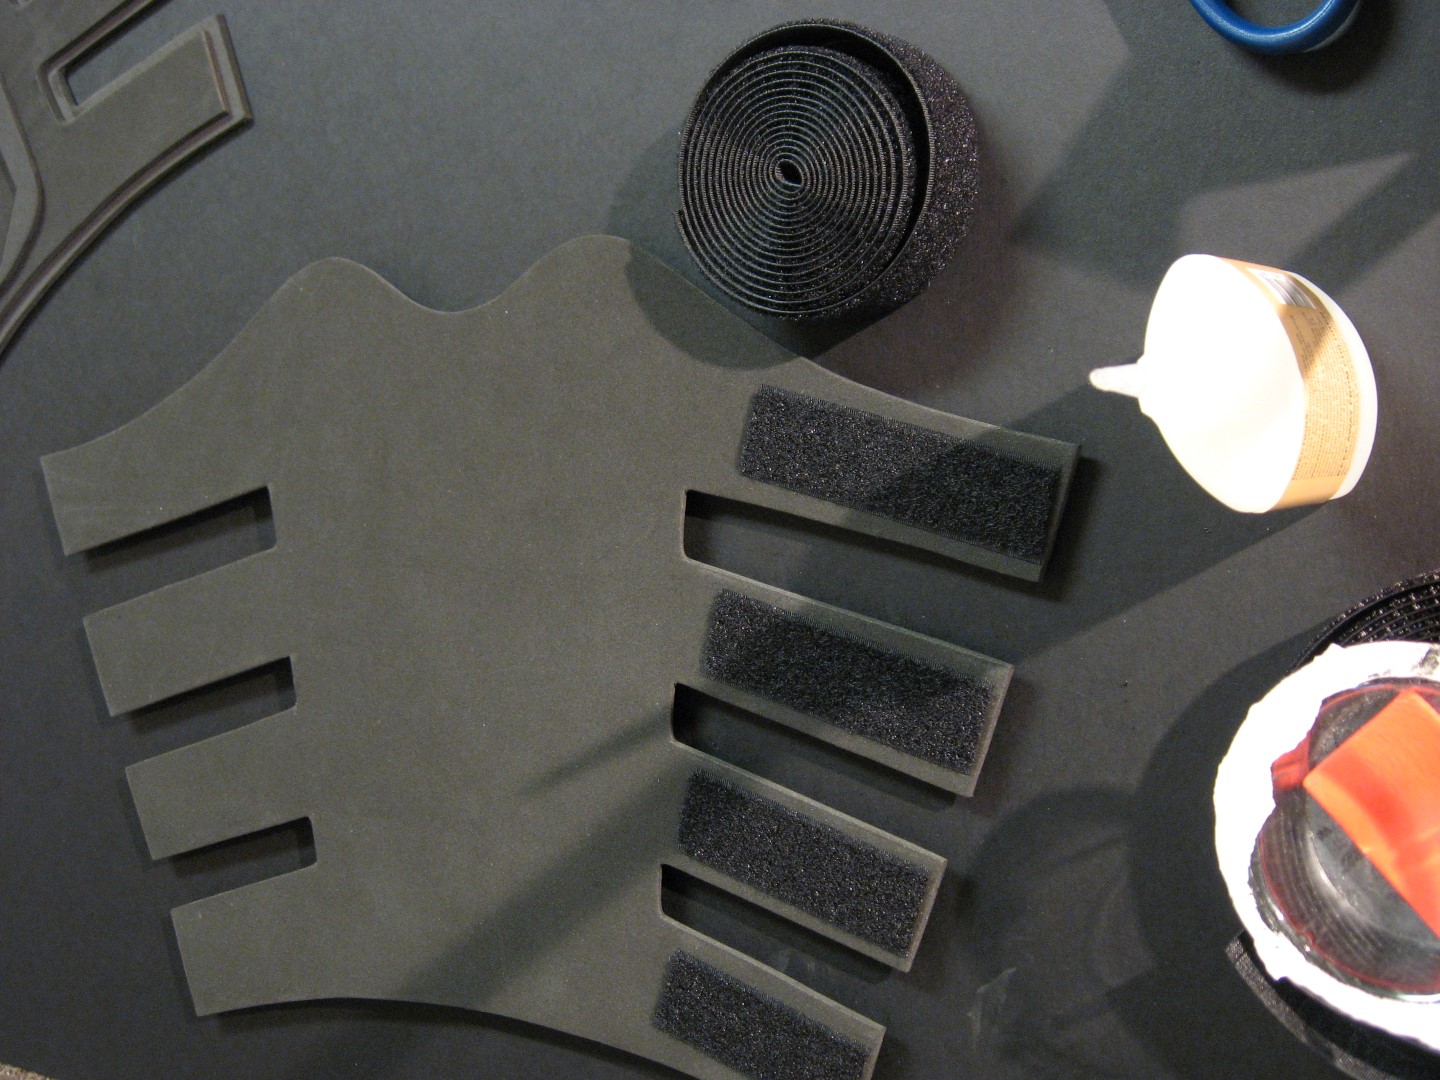
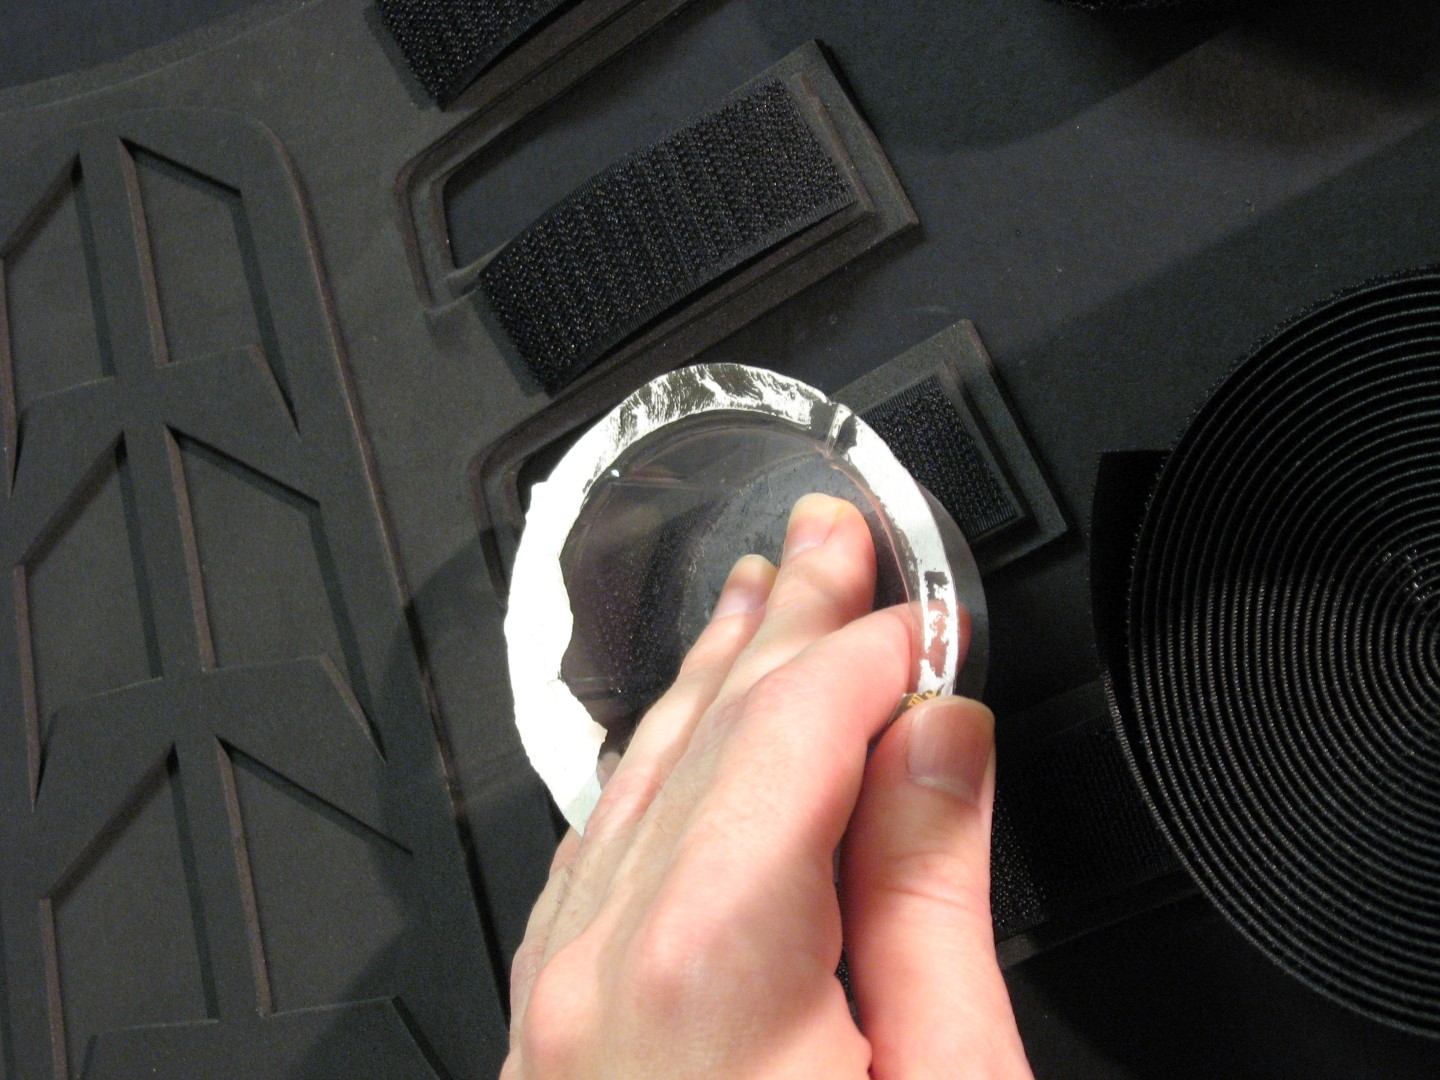
Flip it over again and glue the back side of the top straps. You can glue it one strap at a time if you want to be cautious, or you can glue all four straps on one side at a time and then flip it over and make sure they are aligned as they set.

IMG_2348 (Large)
IMG_2349 (Large)

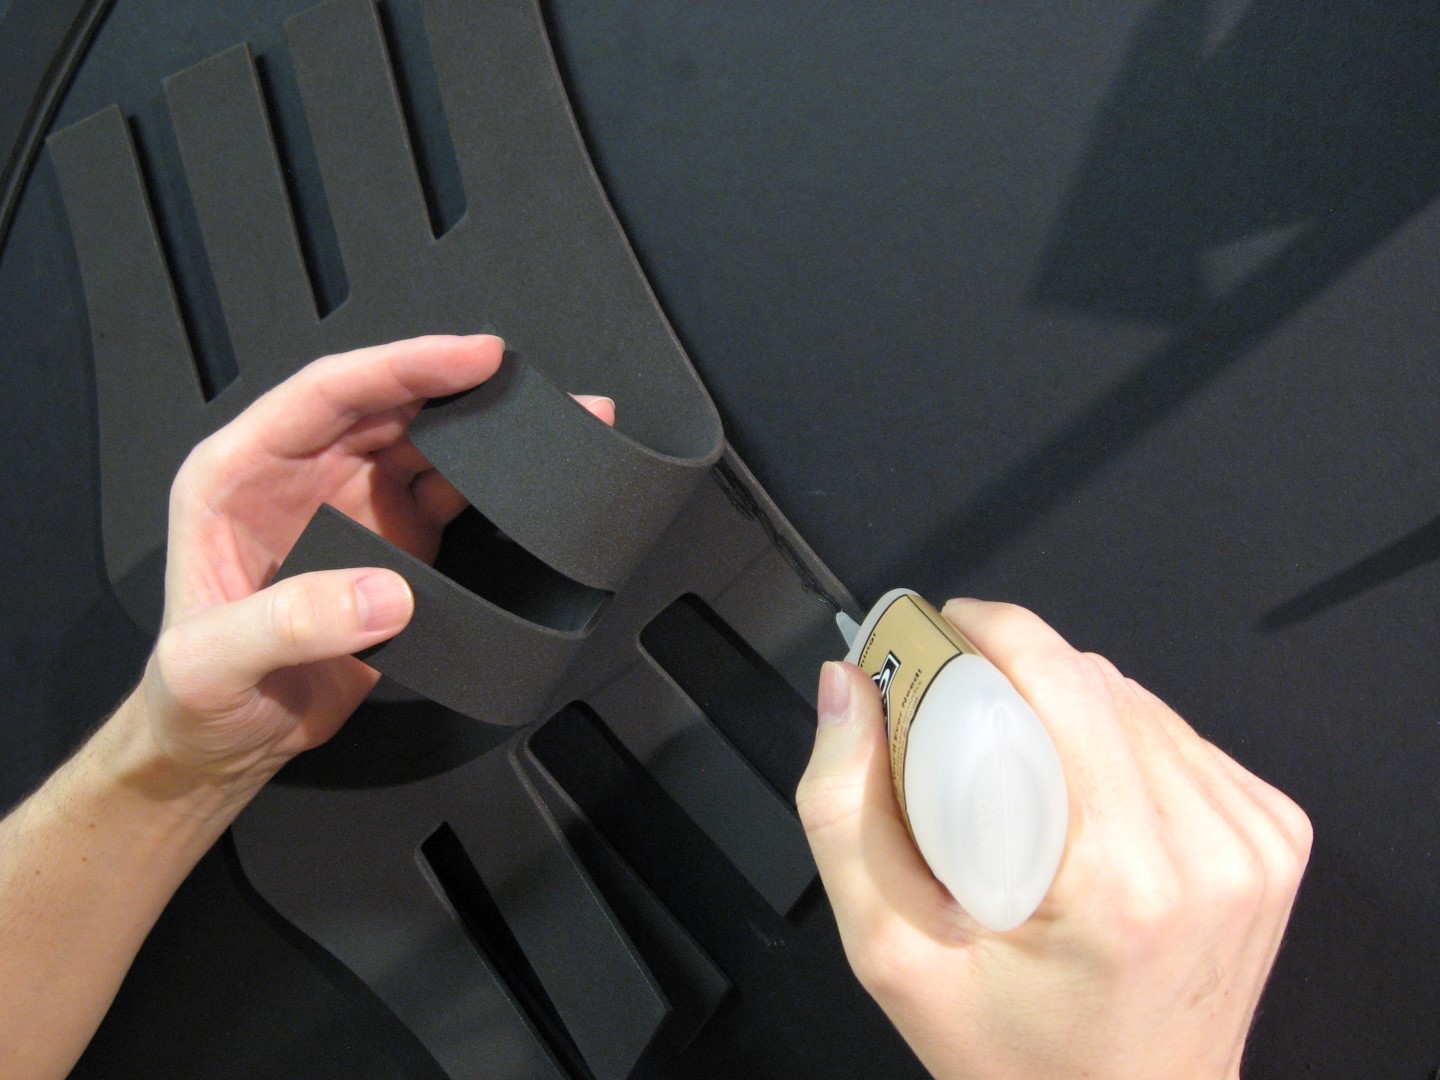
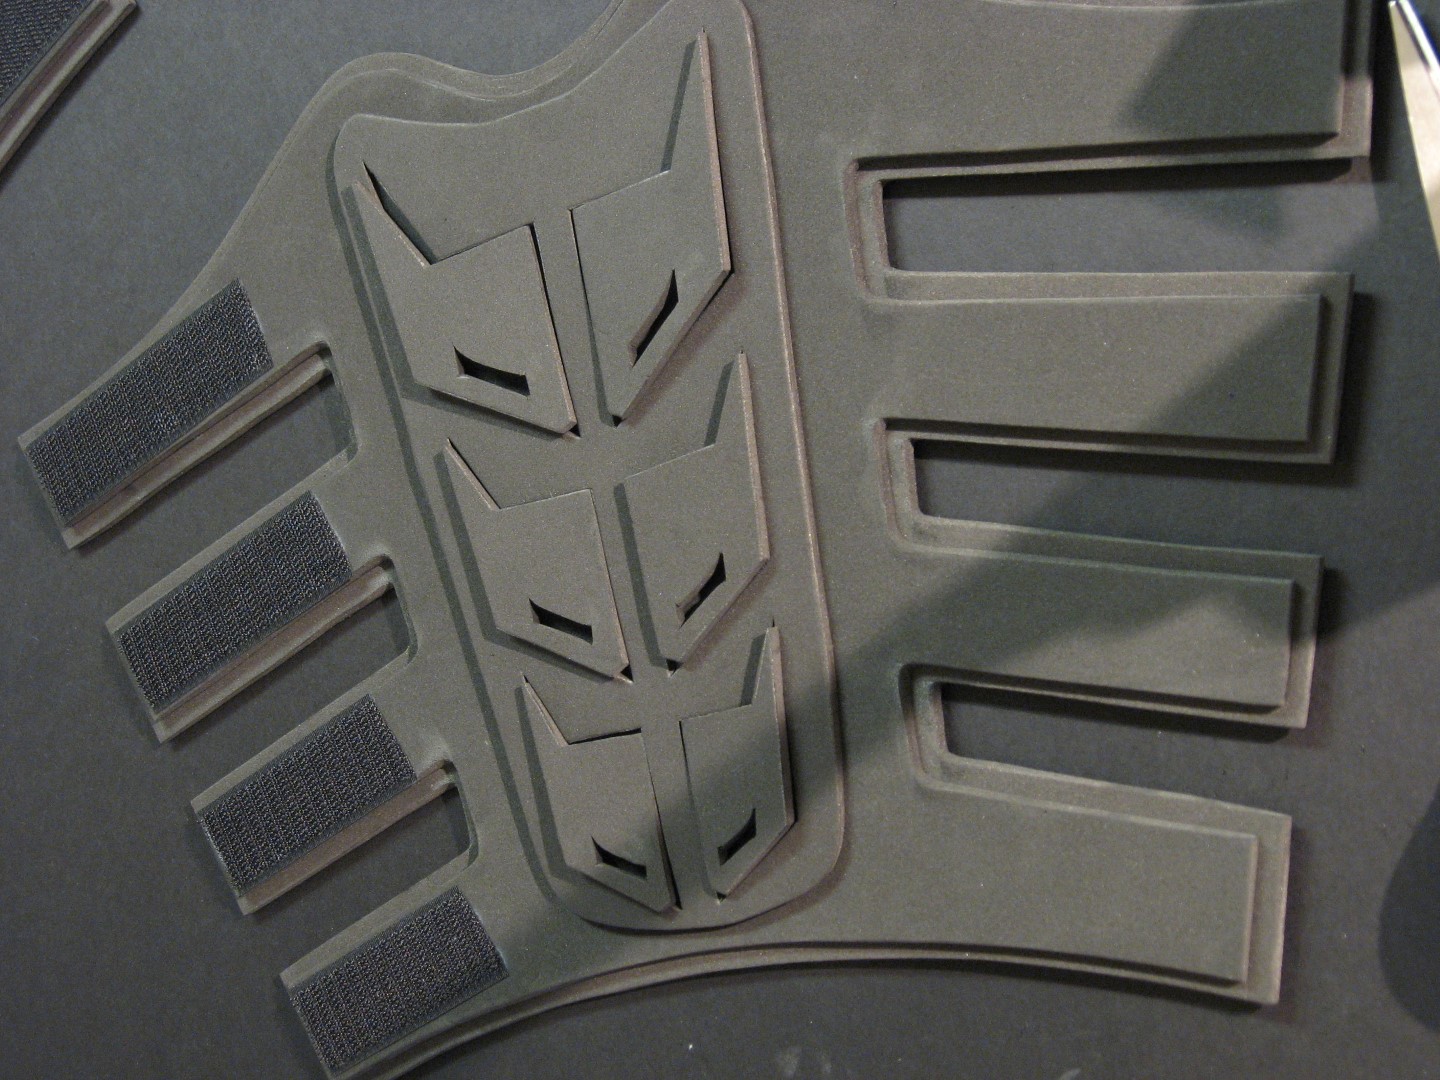
Align the top piece with the fin shapes and glue it in the same way as the other layers.

IMG_2353 (Large)
IMG_2357 (Large)
IMG_2358 (Large)

Align a length of 1 inch wide velcro (hook side) on top of each strap on one side of the gauntlets. Press the scissors up against the edge of the foam to cut the velcro at the same angle as the straps.

IMG_2359 (Large)
IMG_2360 (Large)

Apply glue to the underside of each strip of velcro and press it down onto the straps until the glue sets. If you want to ensure even alignment you can use the same gluing technique as before; aligning first, holding and bending back a corner and gluing a small section first, etc.

IMG_2362 (Large)
IMG_2363 (Large)

Glue four strips of loop side velcro to the underside of the opposite four straps. If you find that you are getting glue on your fingers while pressing down on the velcro you can use as piece of plastic packaging to act as a barrier for your fingers.

IMG_2364 (Large)

IMG_2365 (Large)

Repeat the above for the other gauntlet, putting the velcro on the opposite sides as before so the straps point in the same direction when worn on right and left arms.

IMG_2366 (Large)

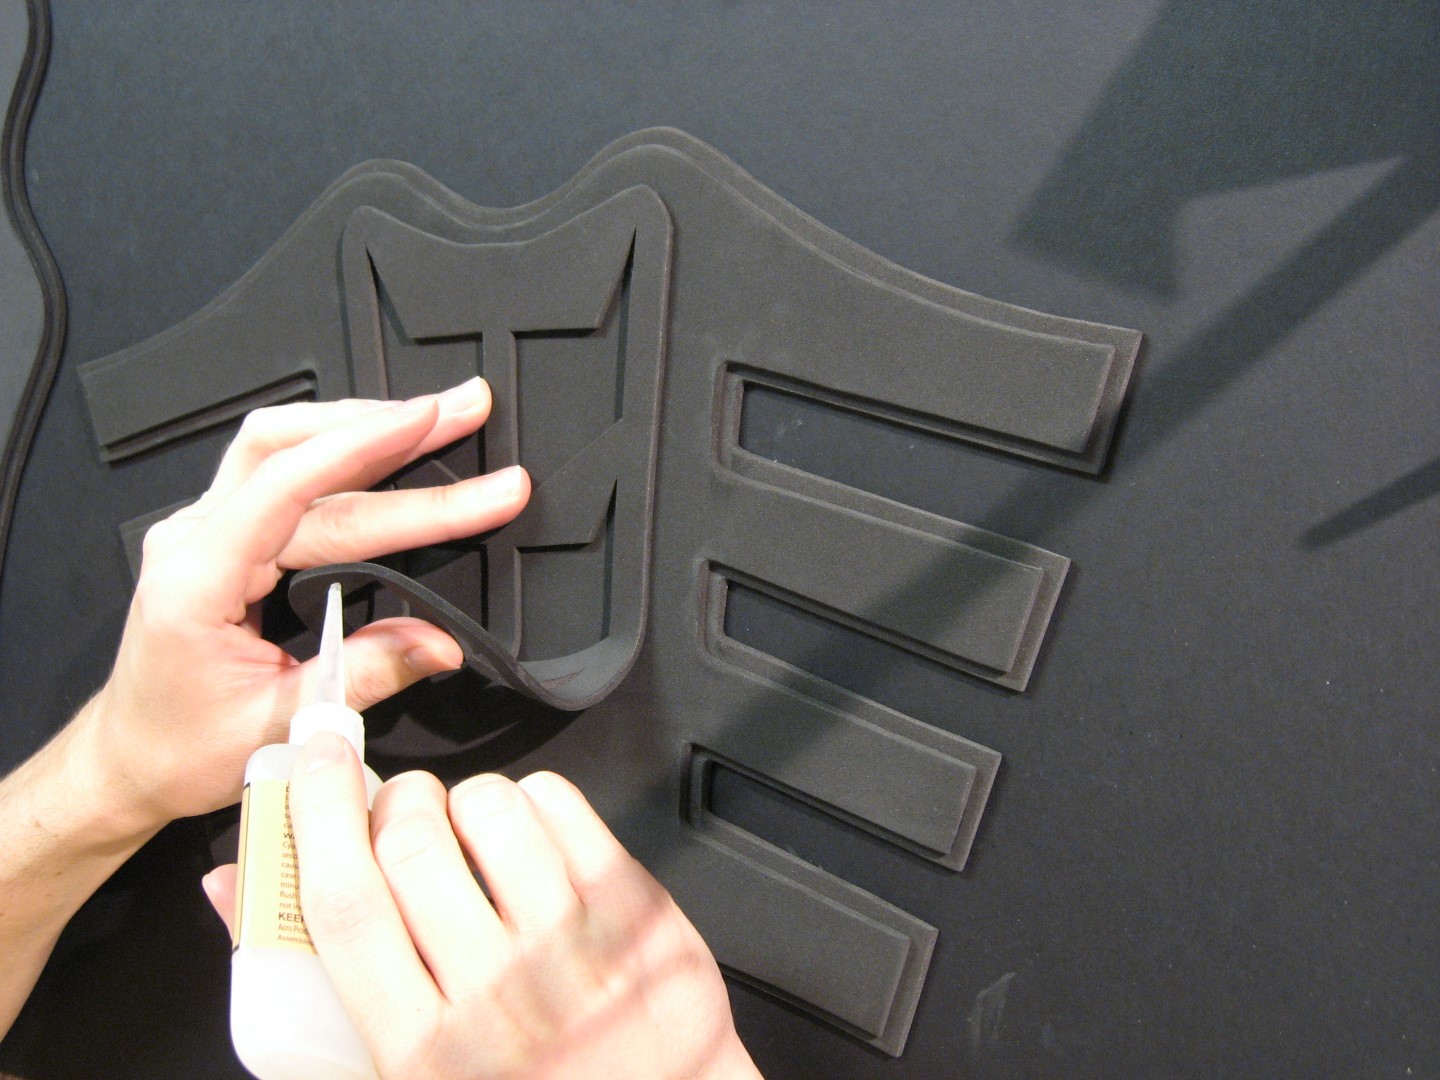
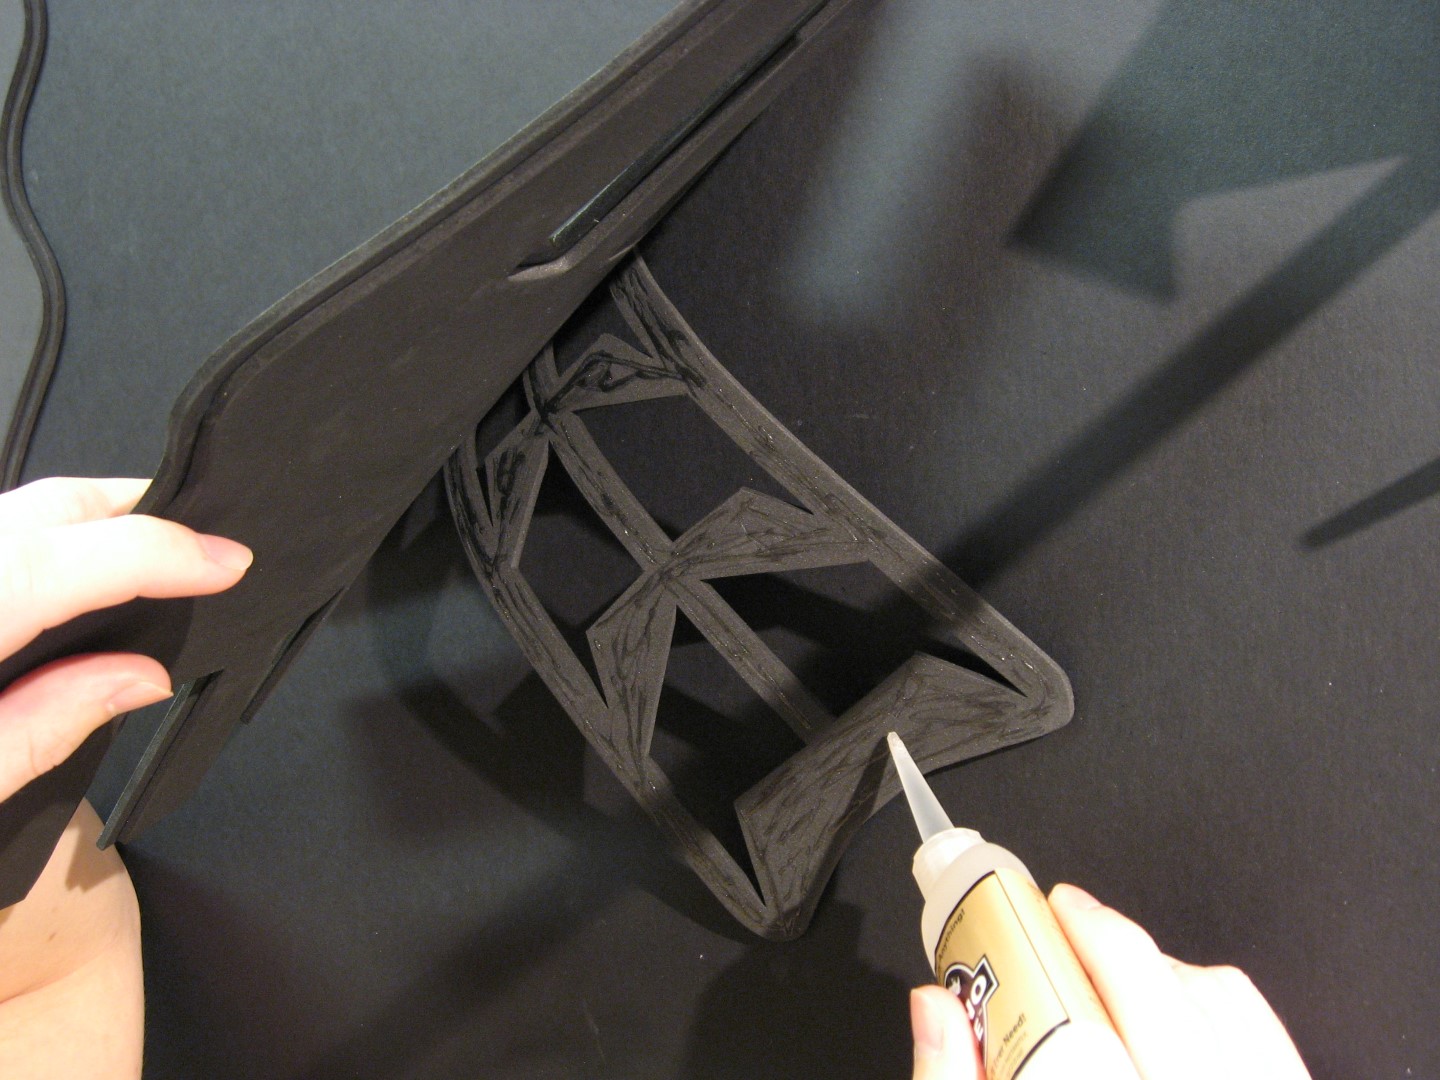
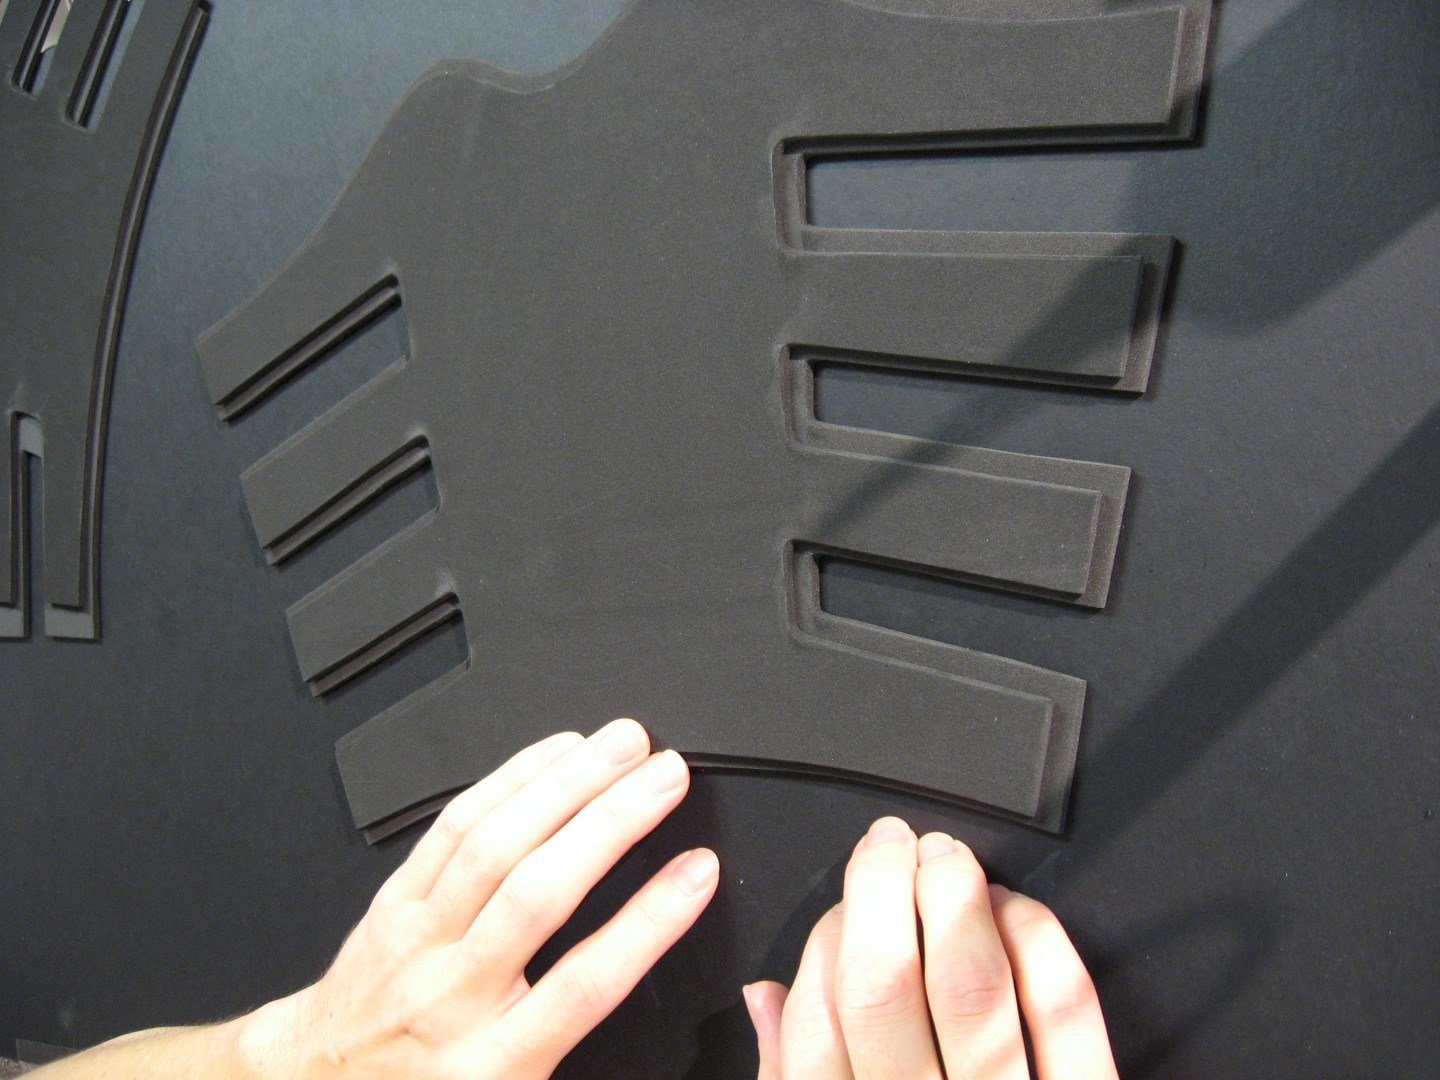
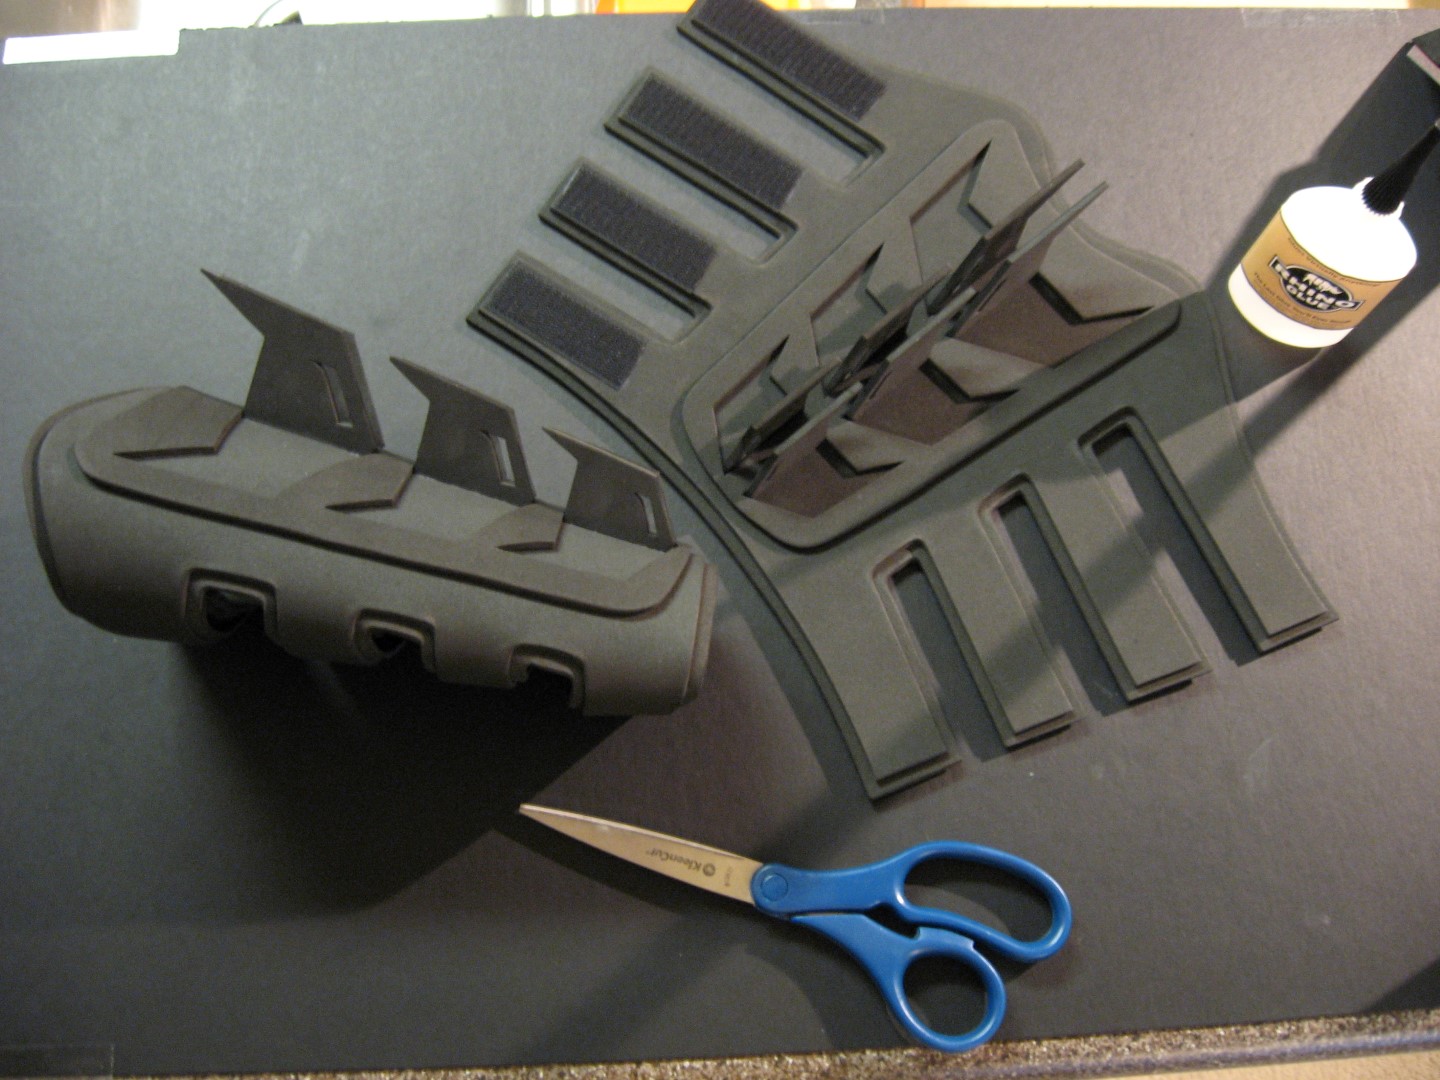
Lay the fins into the correct spaces, making sure the sides with the clean cuts will be facing outward once they are standing up. Apply a small amount a glue (I recommend Krazy Glue’s All Purpose brush for this) to the base of each fin and hold it in place for about 10 seconds. Wipe any excess glue that oozes out with a scrap piece of foam.

IMG_2367 (Large)
IMG_2371 (Large)
IMG_2374 (Large)

Close the straps to complete the gauntlets.

IMG_2381 (Large)

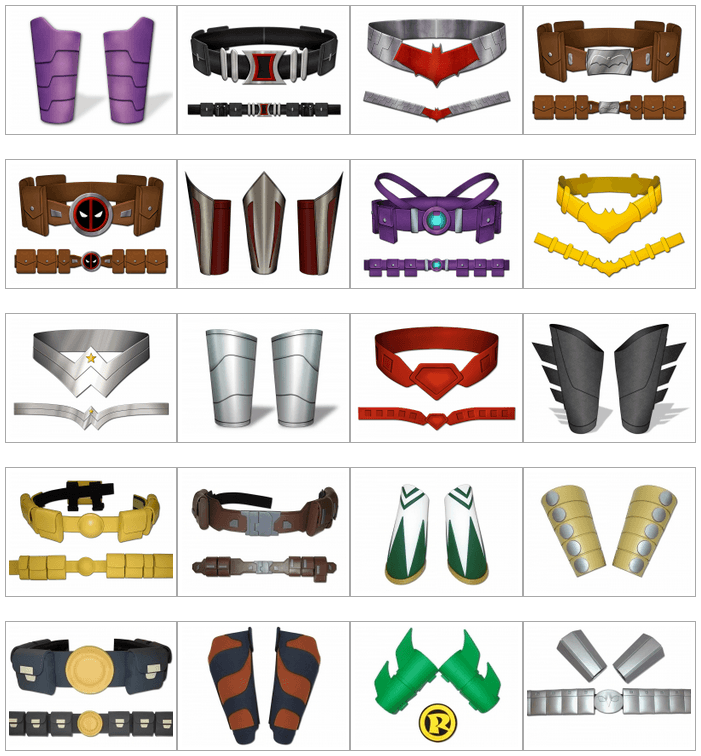
Check out the shop and the gallery for more templates and project ideas. Have fun!

template sample pic
gallery sample pic

Comments are closed.