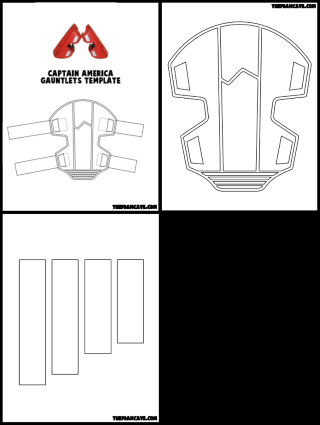
This tutorial will walk you through the construction of the Cap Gauntlets. The template is available for purchase here: 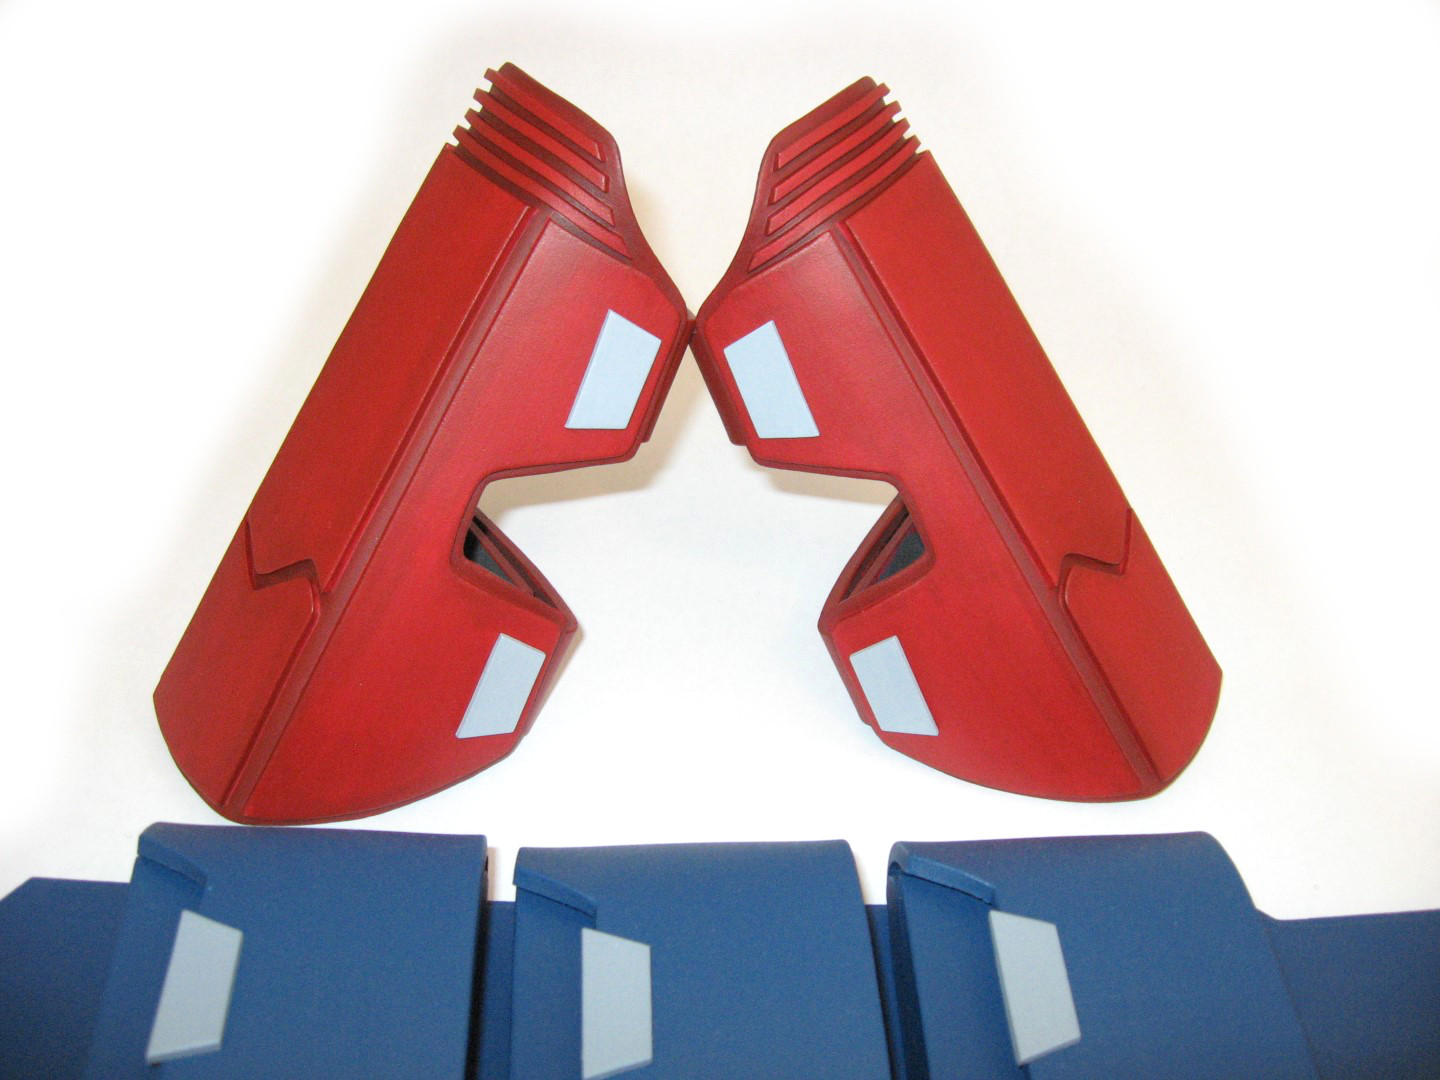
If this is your first build, check out the Introduction Page first,
as well as the Supply Page for links to the foam, glue, and necessary tools.
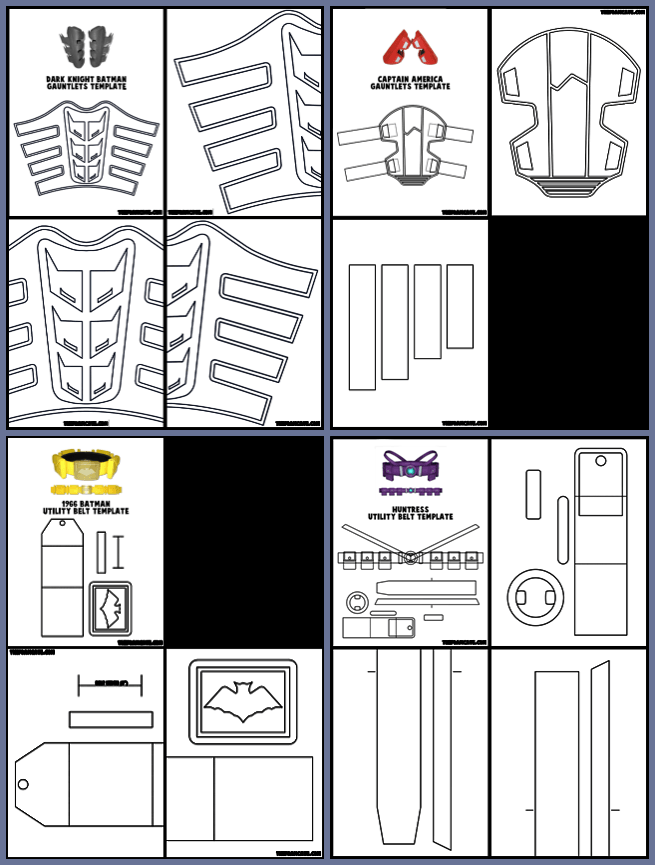
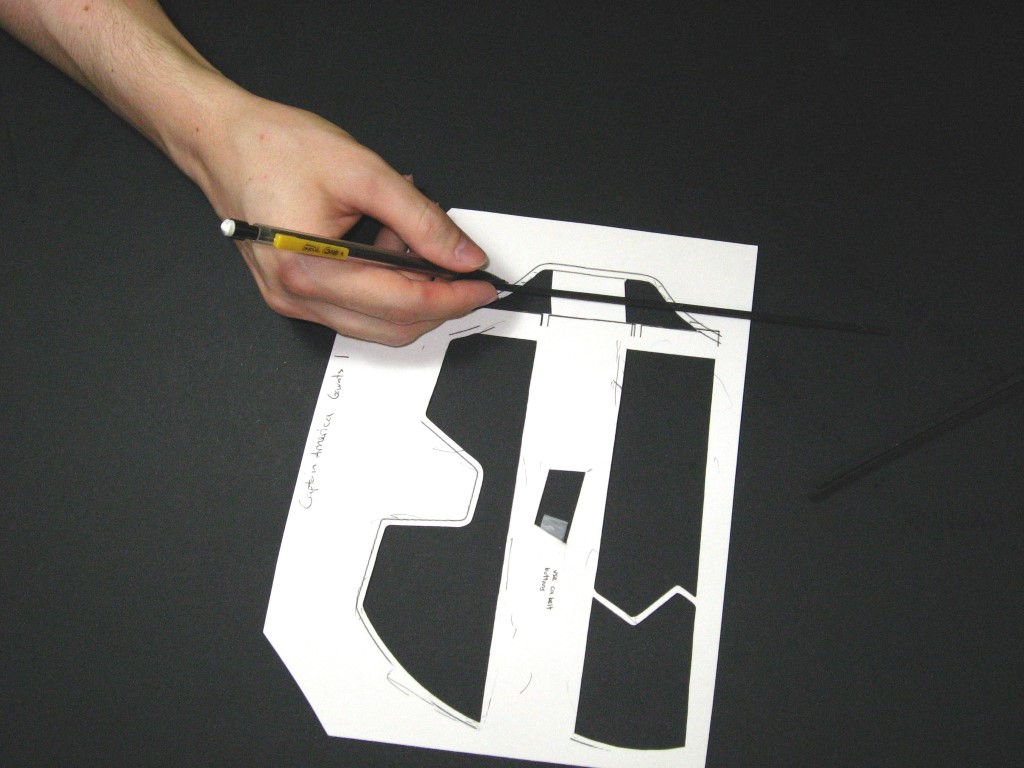
Print out the template onto thick printer paper (ideally a poster board paper) to make it easier to trace. You may have to print it out a couple times to get enough copies to cut out all the layers separately.
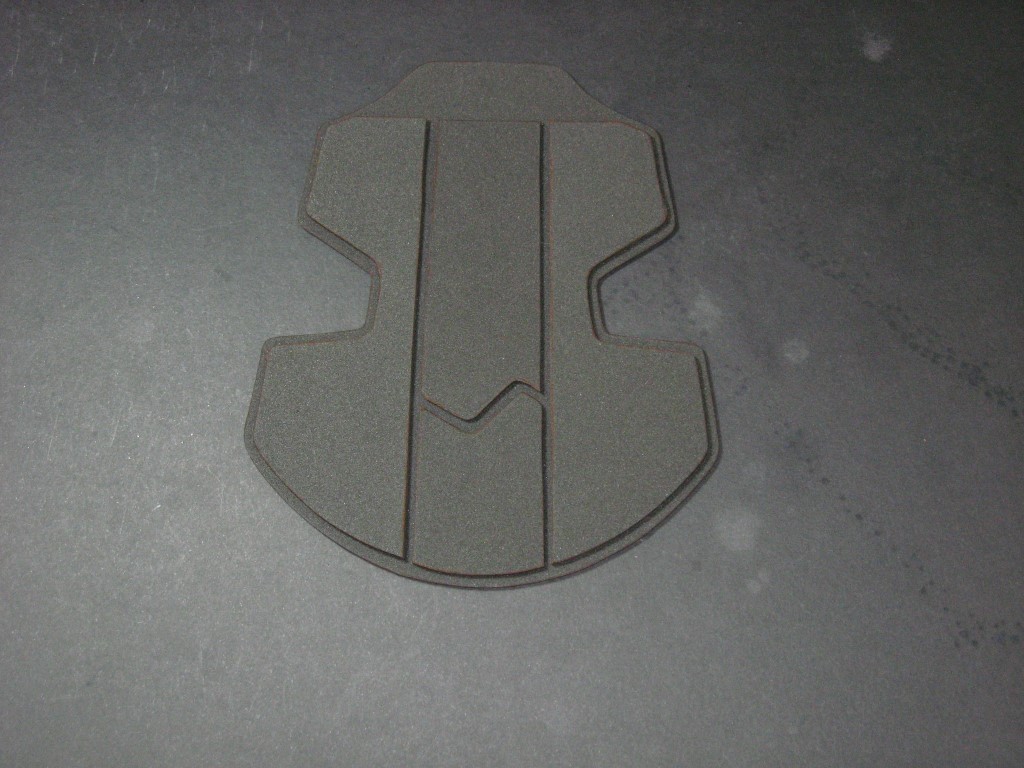
Cut out all the pieces and trace them onto your foam sheets. You can use a regular ball point pen; at the moment I like those space pens as they flow smoothly over the foam. I recommend 3mm thick foam for the base and mid pieces, 2mm foam for the grey top pieces, and 5-6mm foam for the straps. Also, make sure to flip the template over for the second set of the 2 center pieces, as the right and left gauntlets are mirrored, not identical.
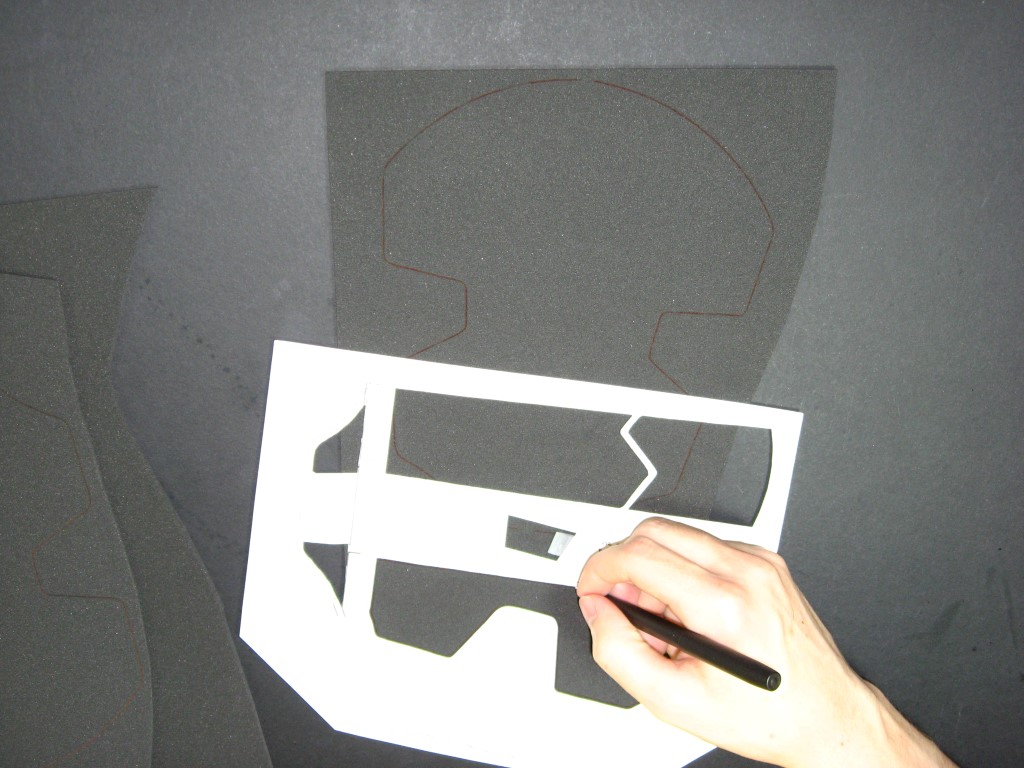
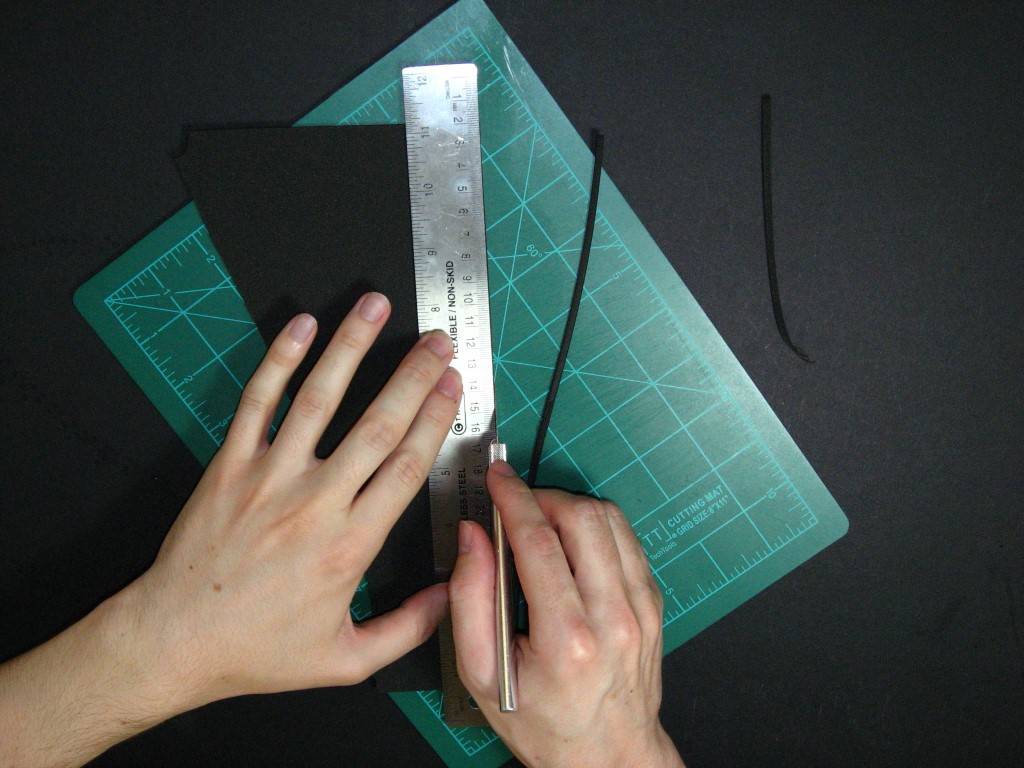
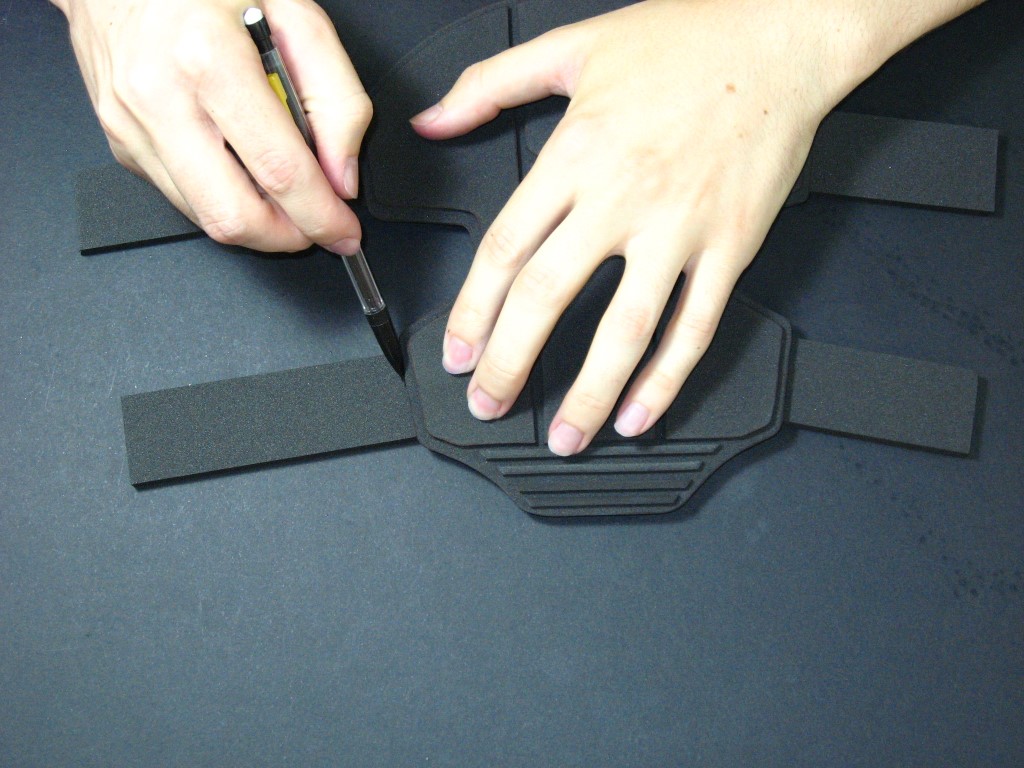
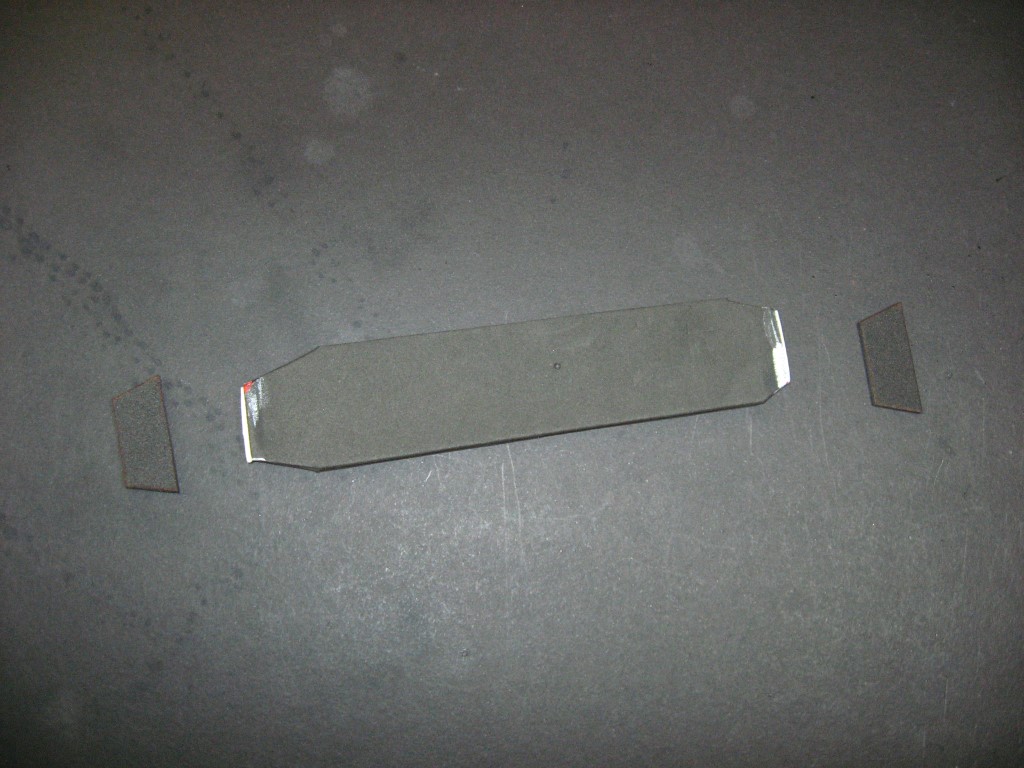
Trace out all the pieces except for the lines at the front of the gauntlets. For those I recommend using a ruler and xacto knife.
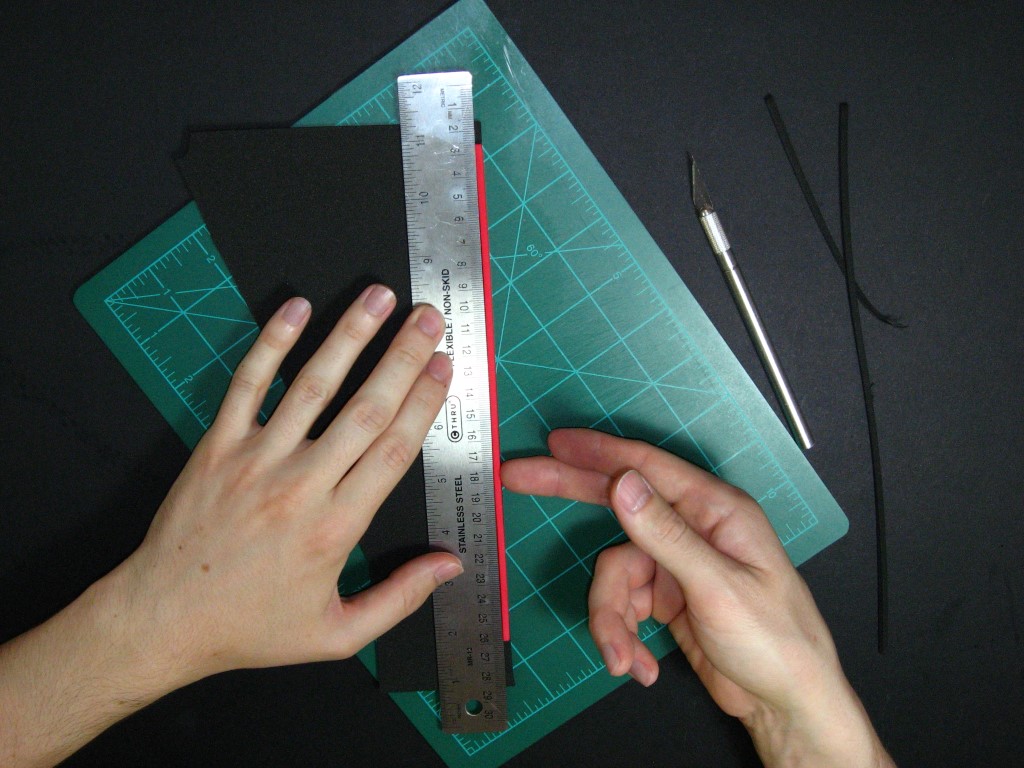
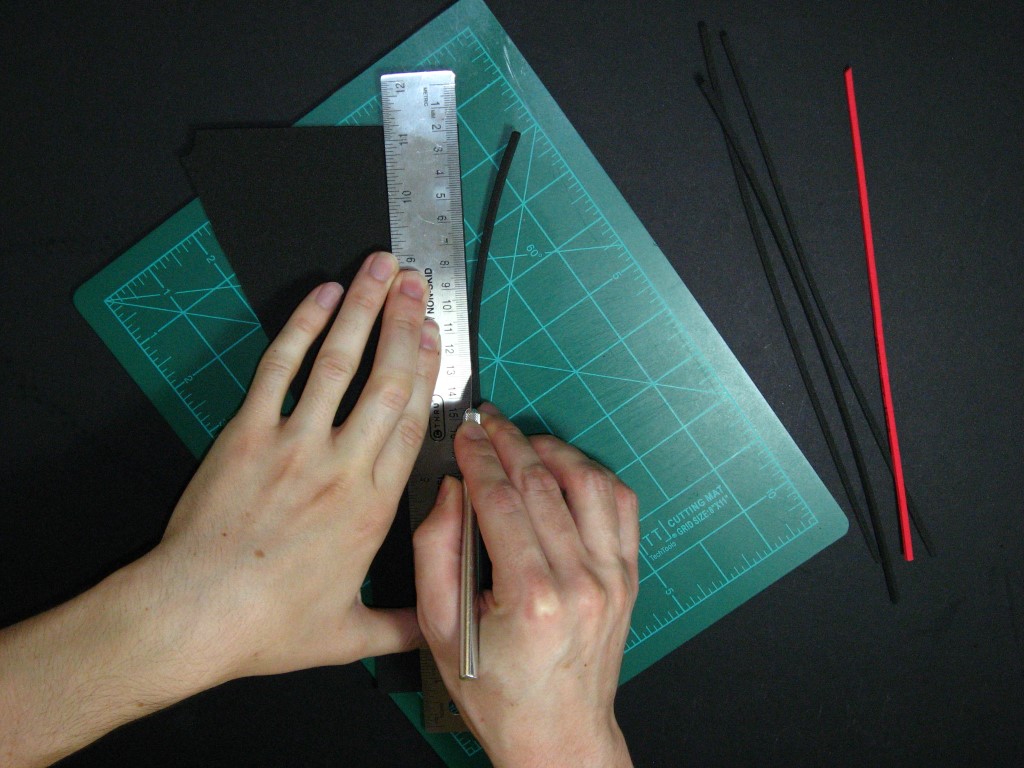
Use the ruler to cut a straight edge on the side of a piece of foam. Then slide the ruler over about 3mm and cut again. The cut doesn’t have to be perfect because you are going to turn the cut piece on its side (which is a perfect 3mm the whole length because it is the thickness of the foam) and use it that way as a guide for the rest of the cuts.
When gluing these pieces later on, you can glue them on their sides as well so the widths are all uniform.
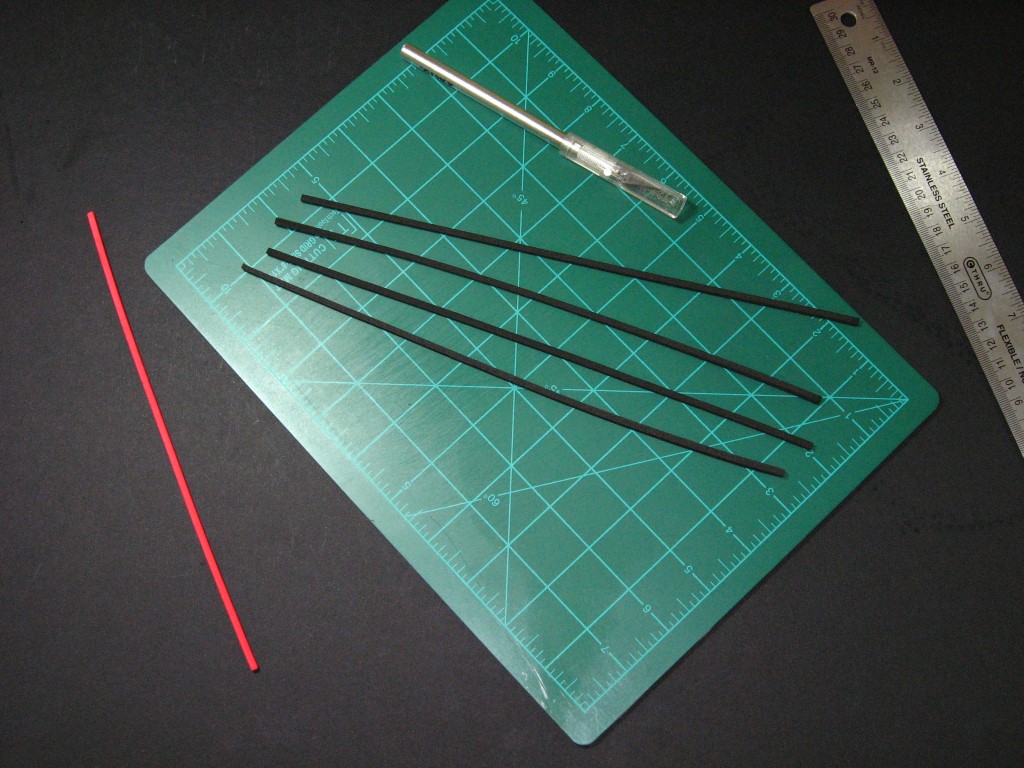
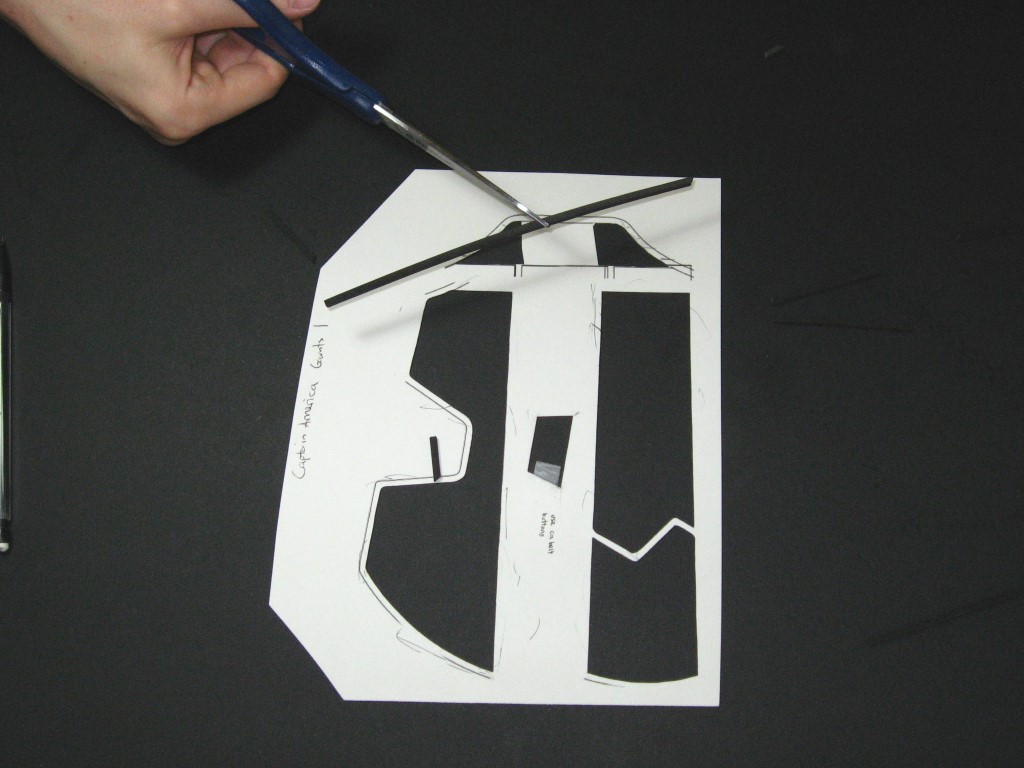
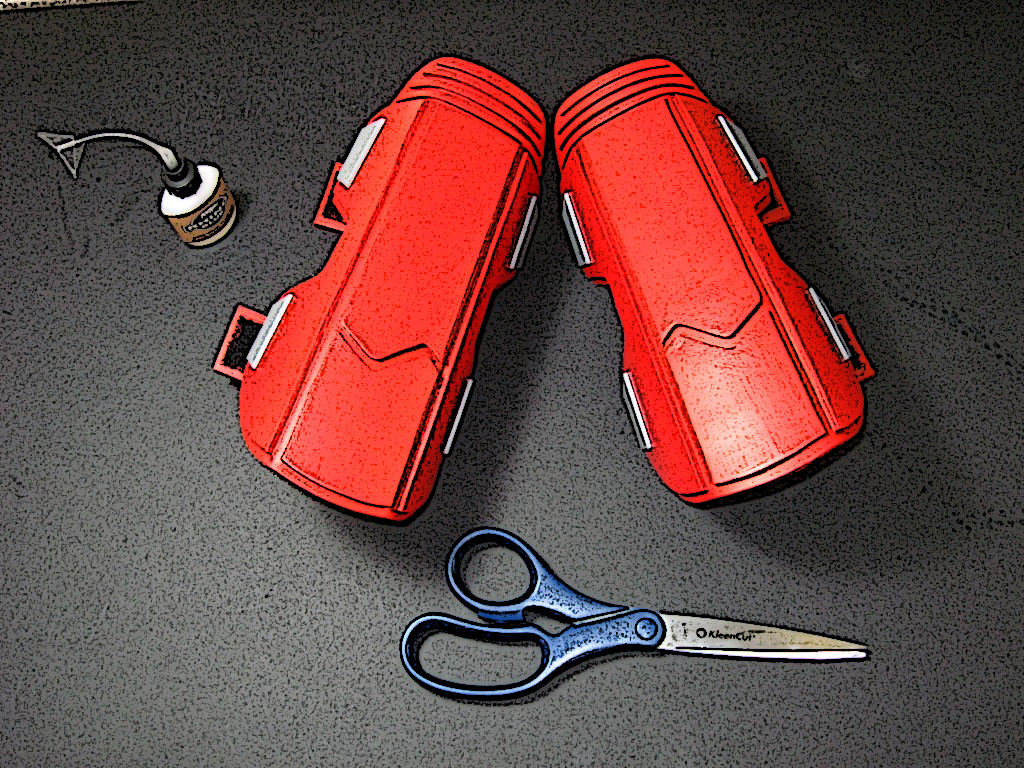
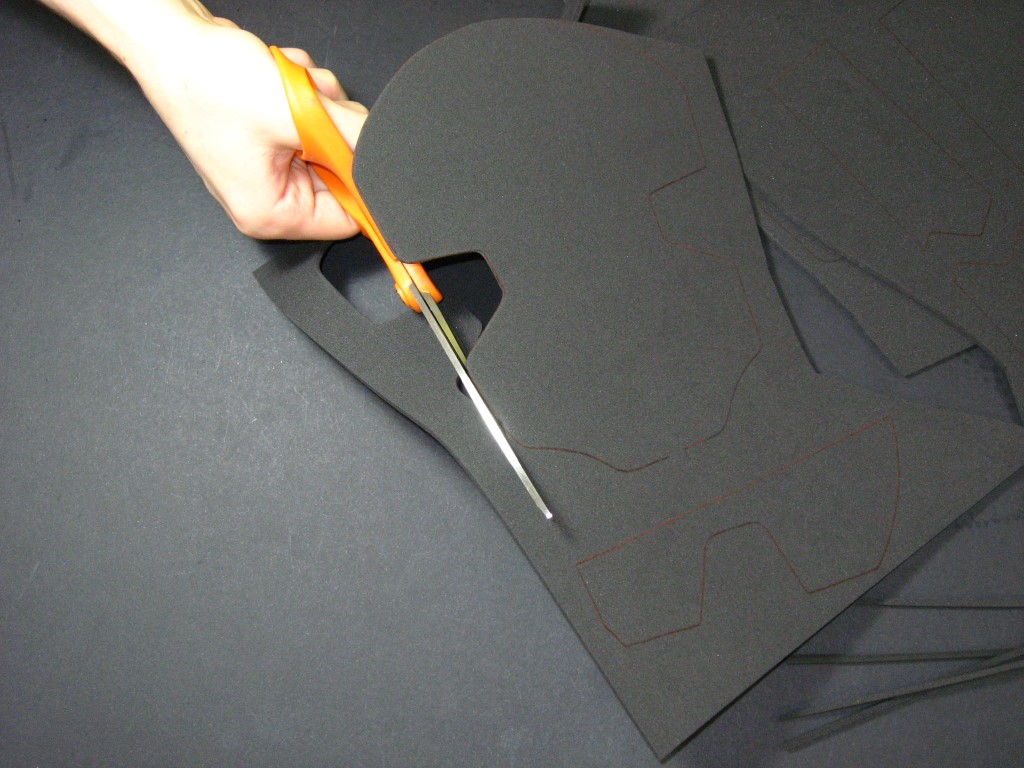
Use scissors to cut out the rest of the pieces. If you want you can use the ruler and xacto to make the straps.
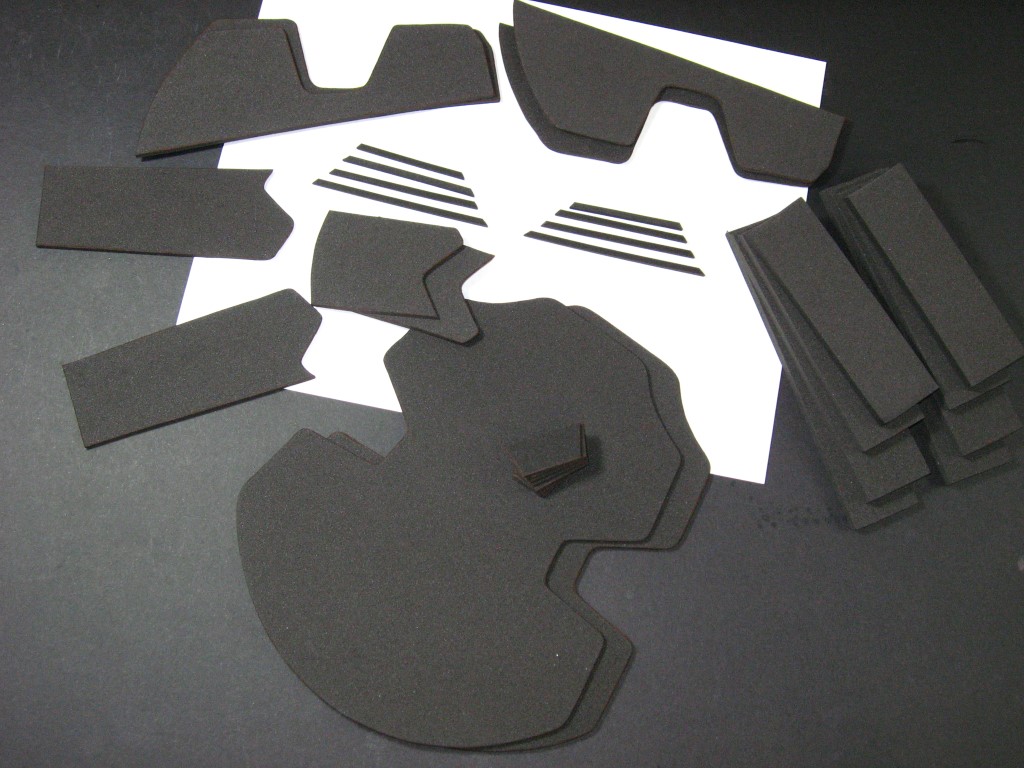
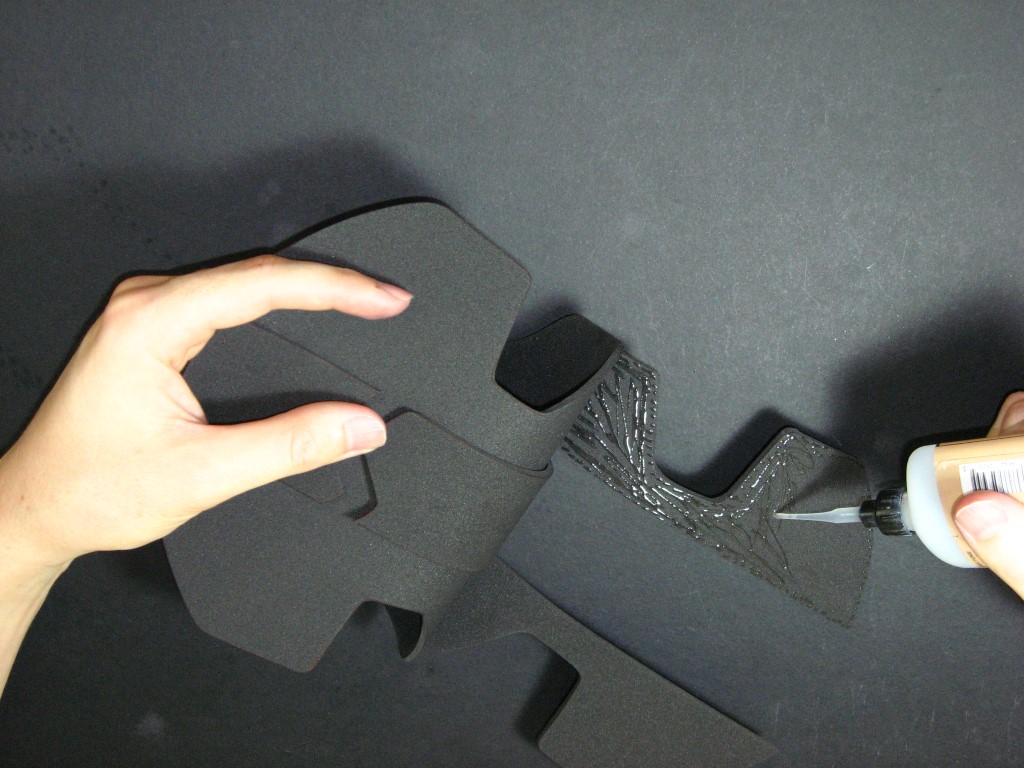
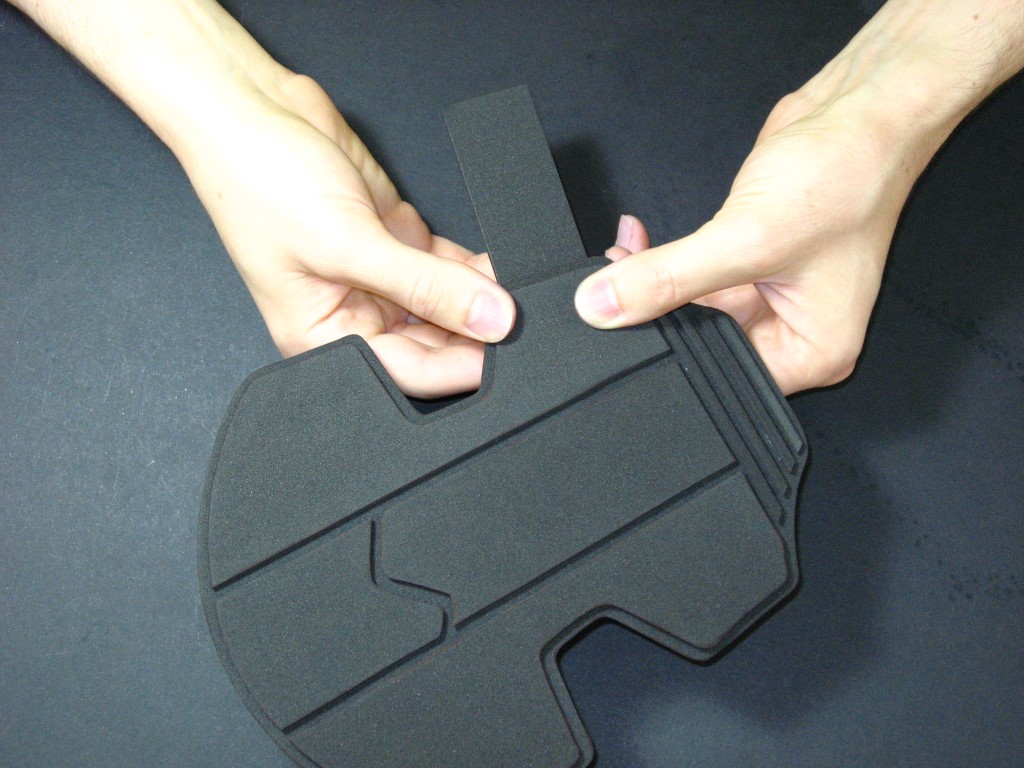
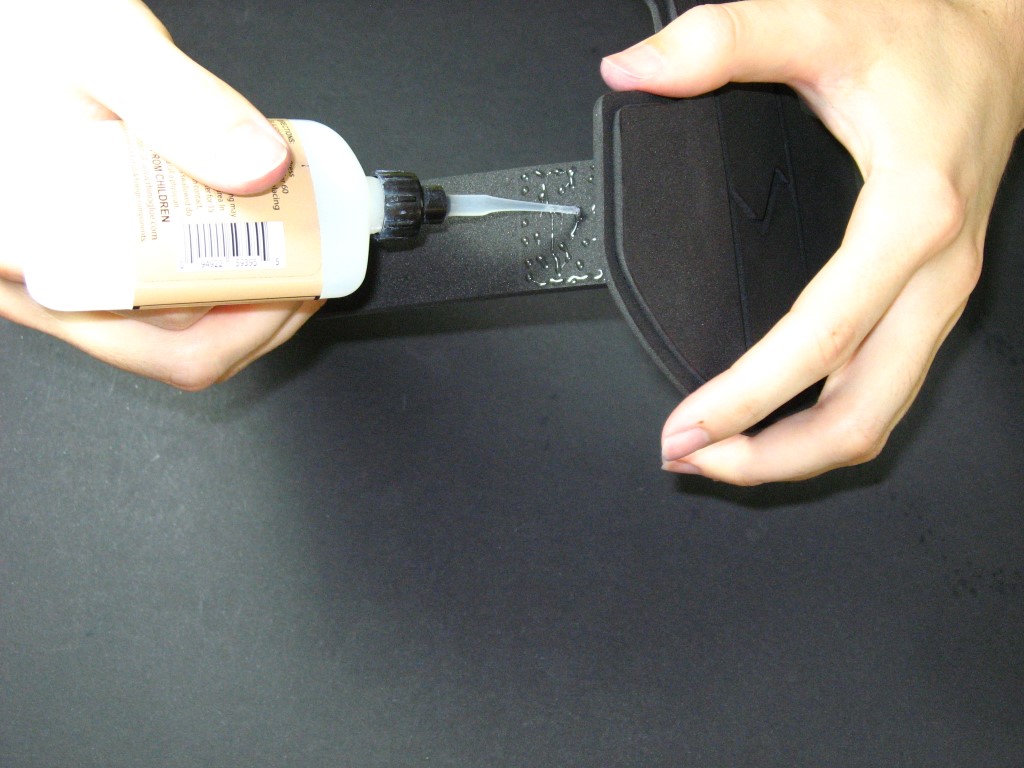
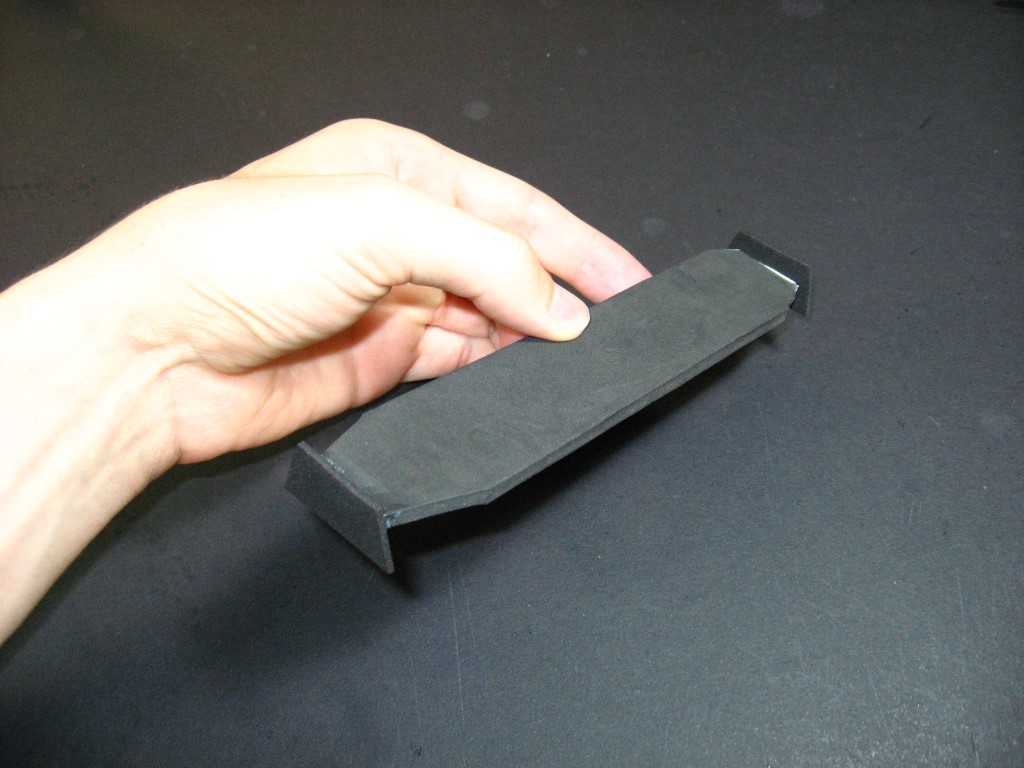
Lay the mid pieces onto of the base where you want them to be. Remember again that the right and left gauntlets are mirrored (the zig-zag line in the middle will be flipped). Hold down one of the side pieces and bend back a corner. Apply a small amount of glue and place it back down. ( I use a variety of Super Glues, mainly ‘Rhino Glue”) Hold it for 10 or so seconds to dry.
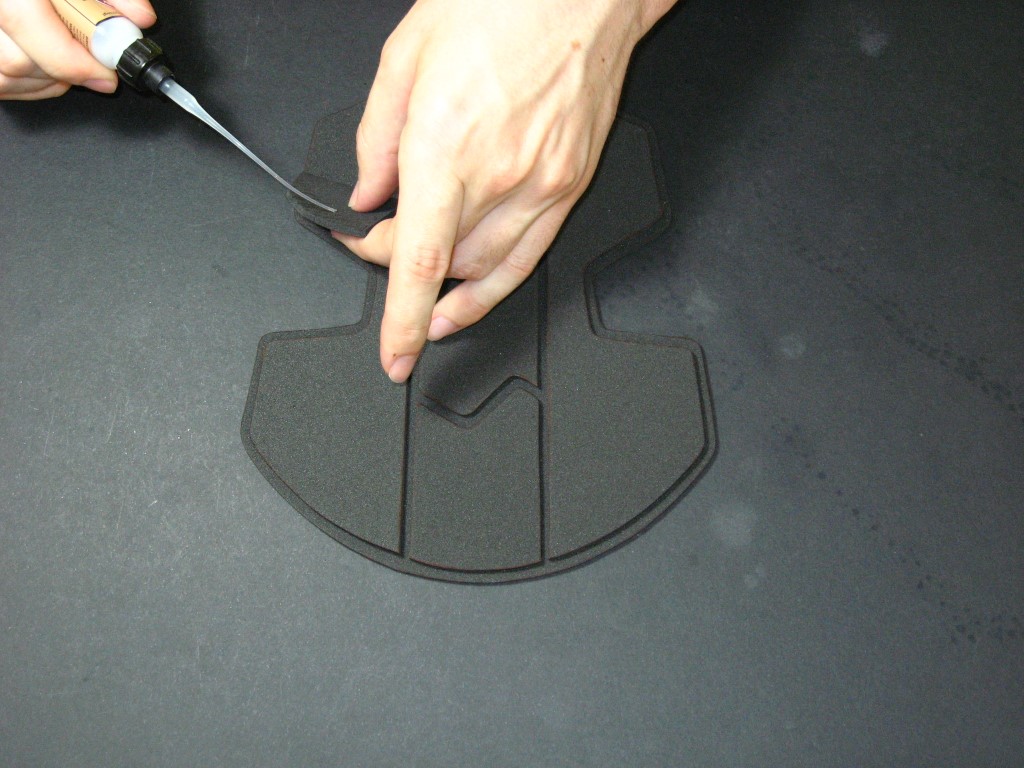
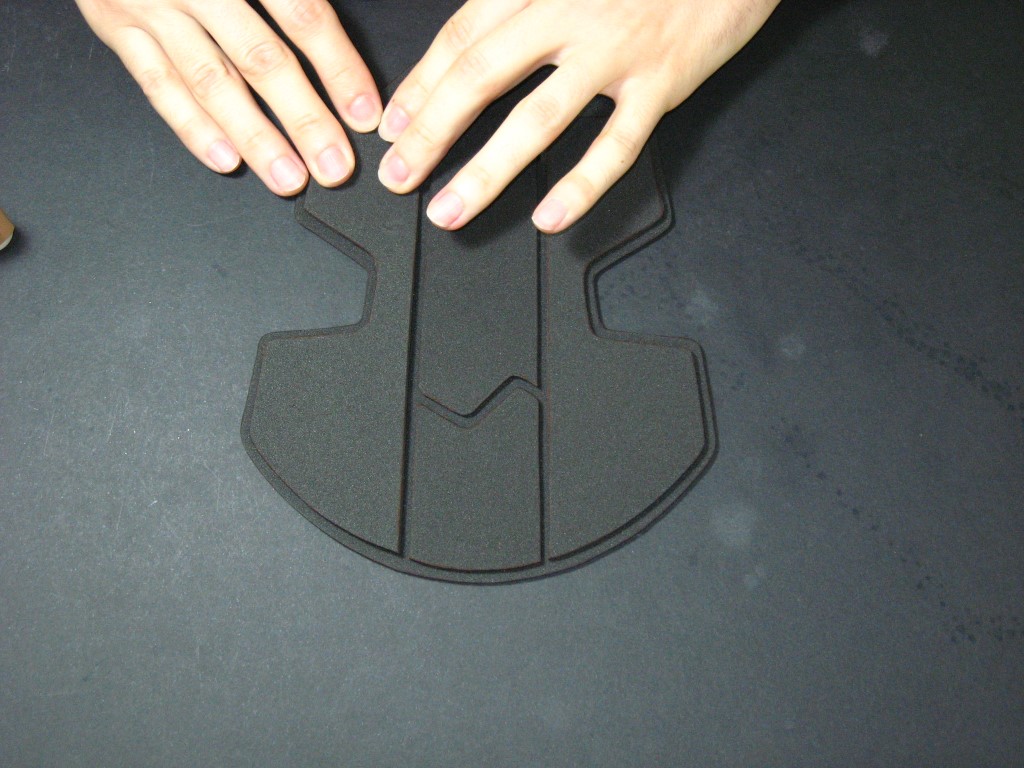
Do the same for the rest of the pieces and then finish gluing them.
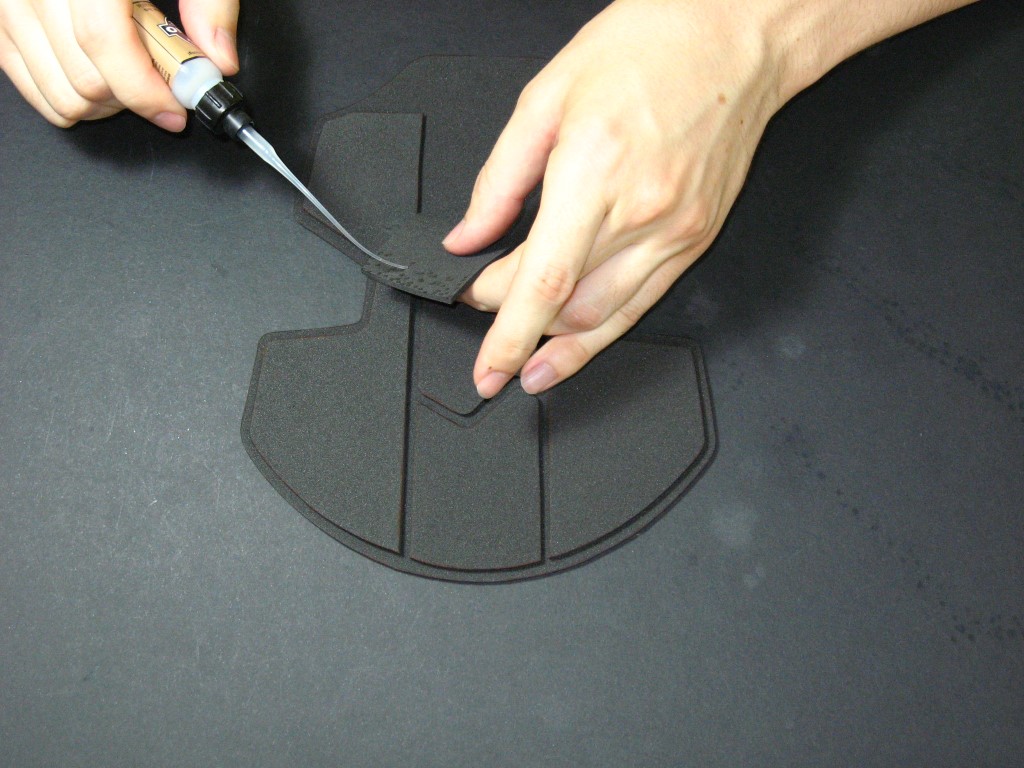
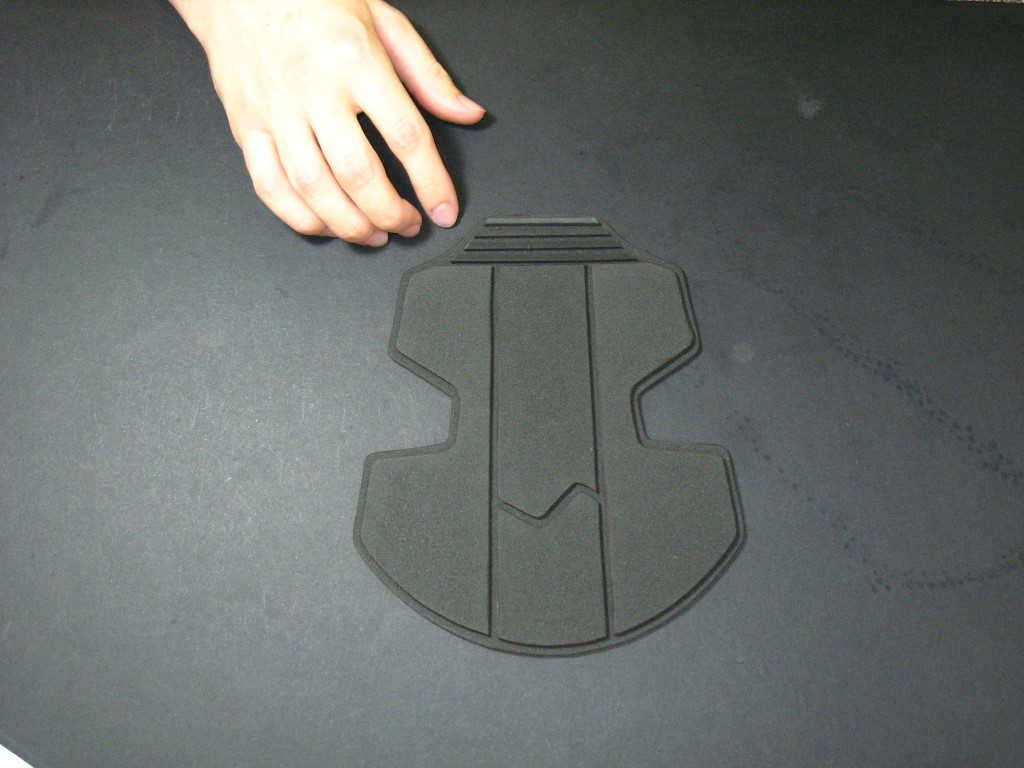
Lay out the line pieces where you want them, hold them down and glue them with the same process as before.

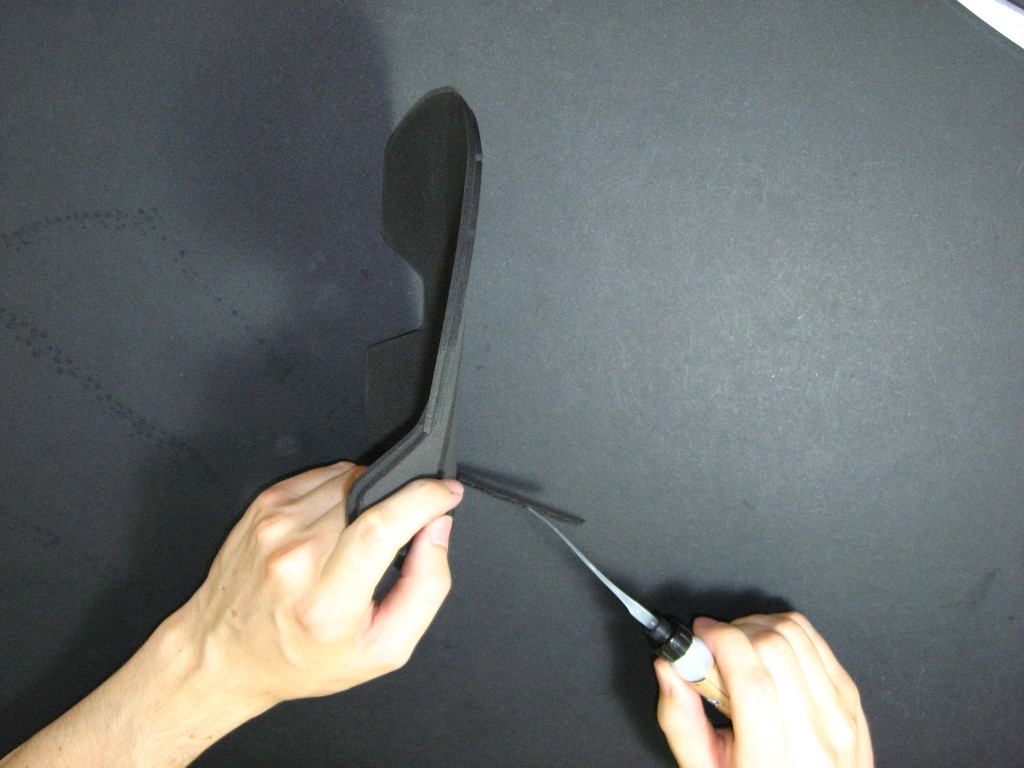
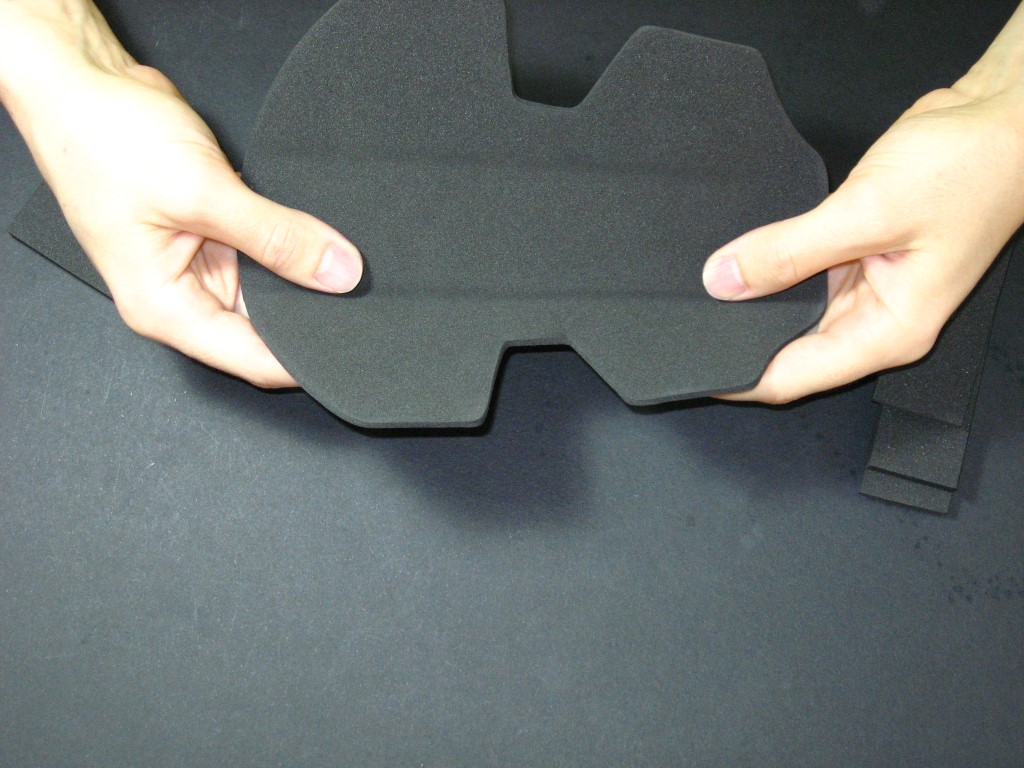
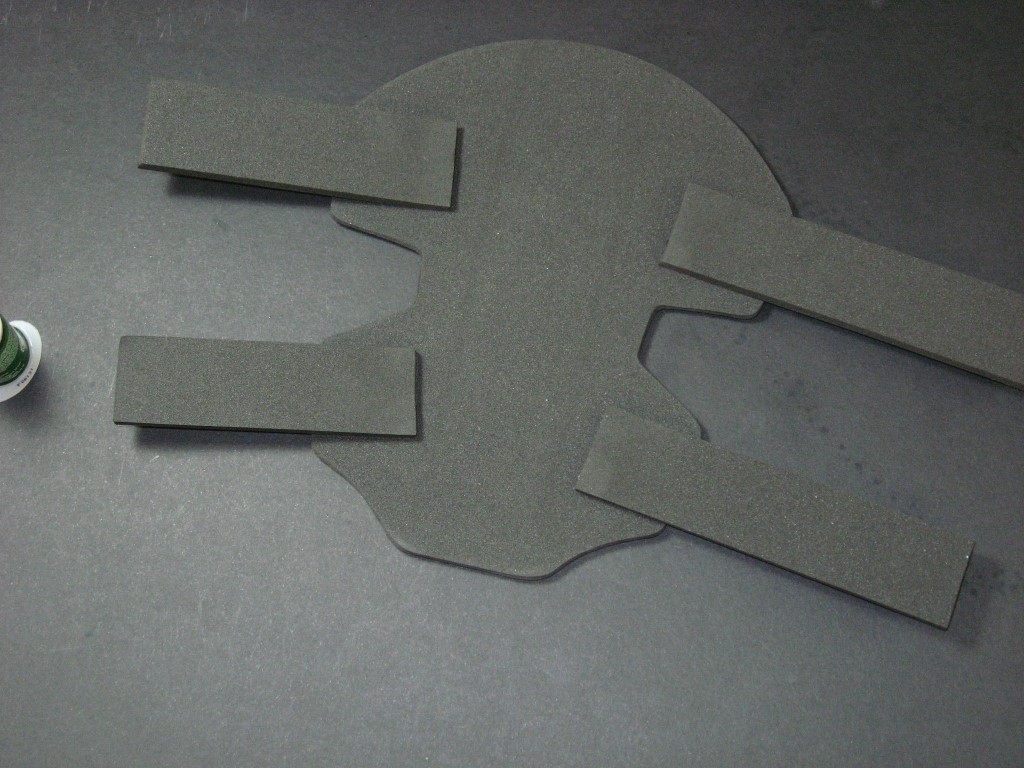
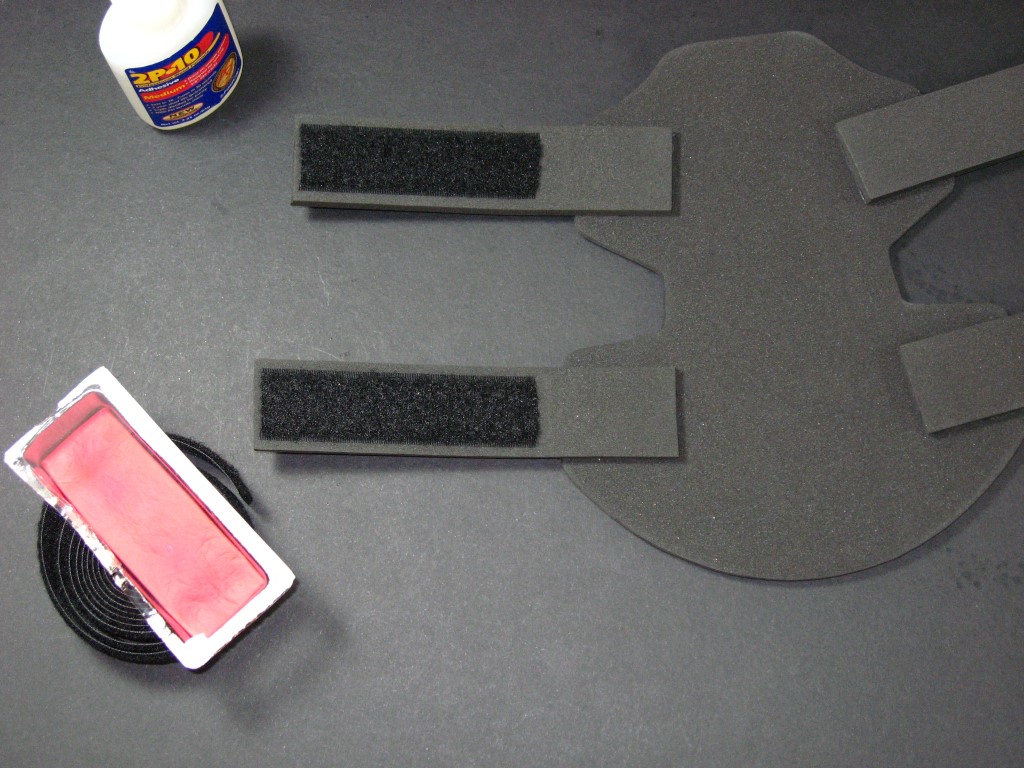
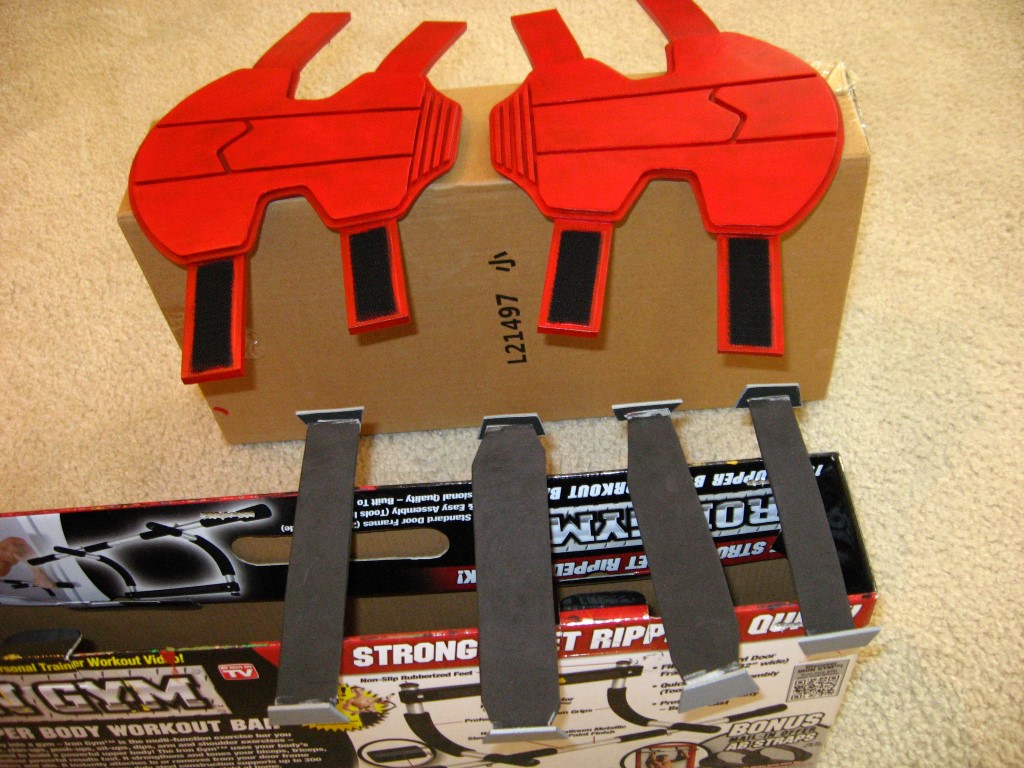
Bend the base layer to see where the creases from the top pieces form. Position the straps so they don’t cross the crease, and are roughly perpendicular to the side of the gauntlets. The two smallest straps go on the side of the gauntlets that will eventually be the outside edge.
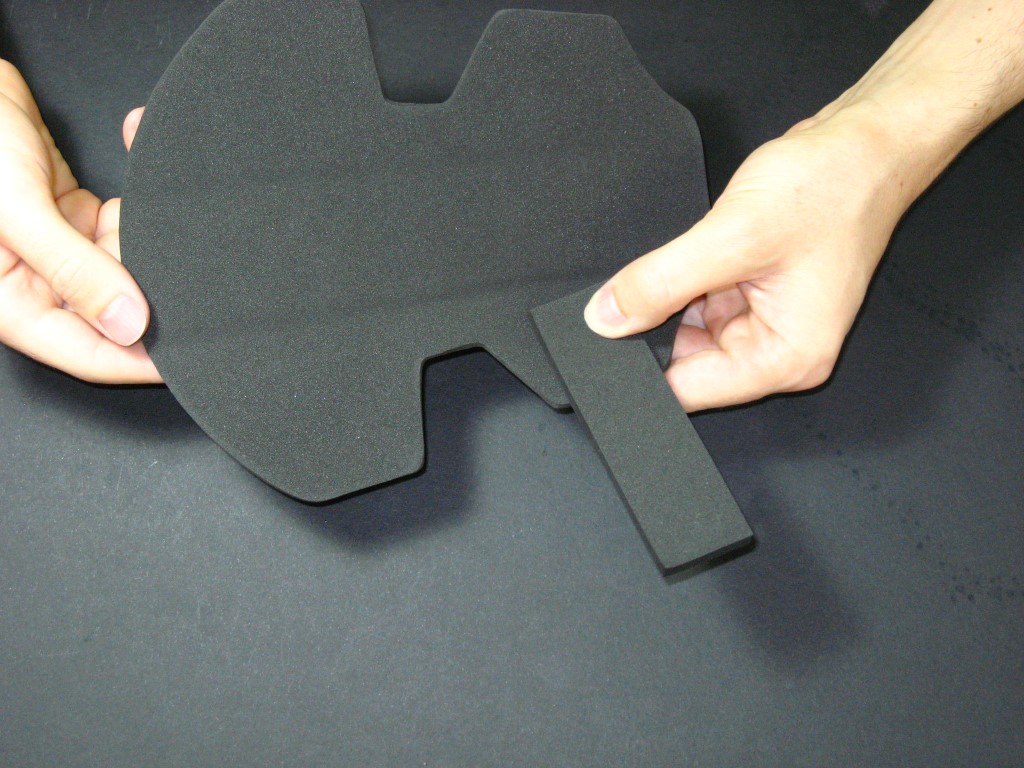
Put just enough glue on the end of each strap so it stays in the position you want, and then turn the gauntlet over, mark the edge of the overlap and finish gluing them.
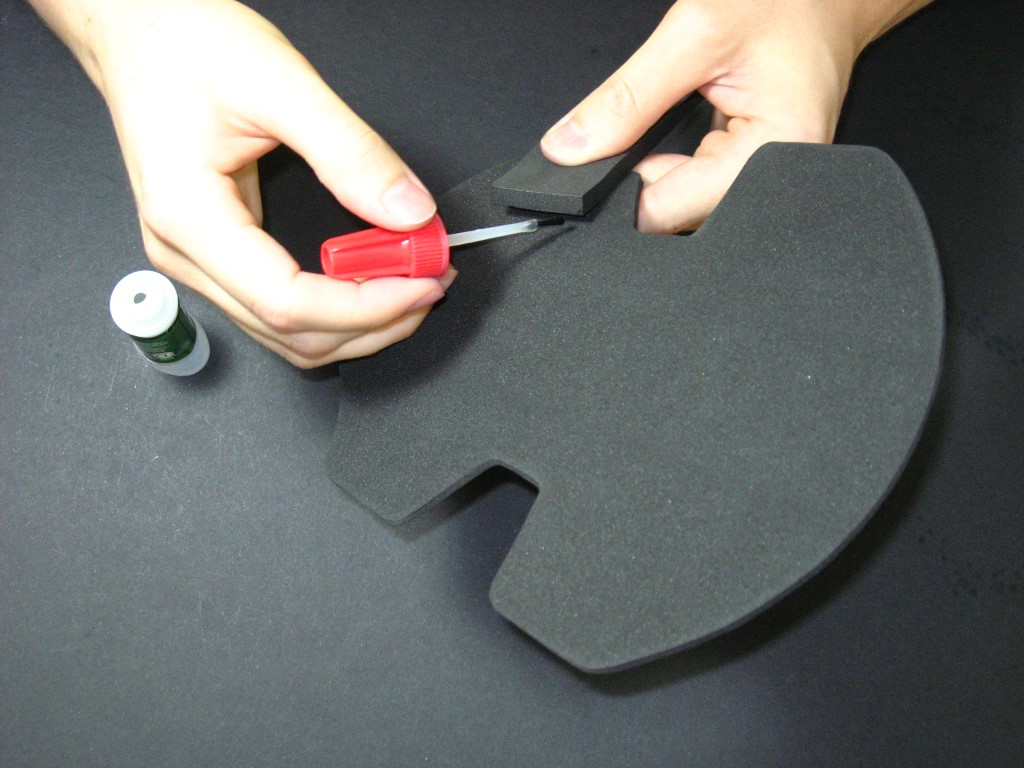
Cut a length of hook-side velcro for the top of the 2 smallest straps.
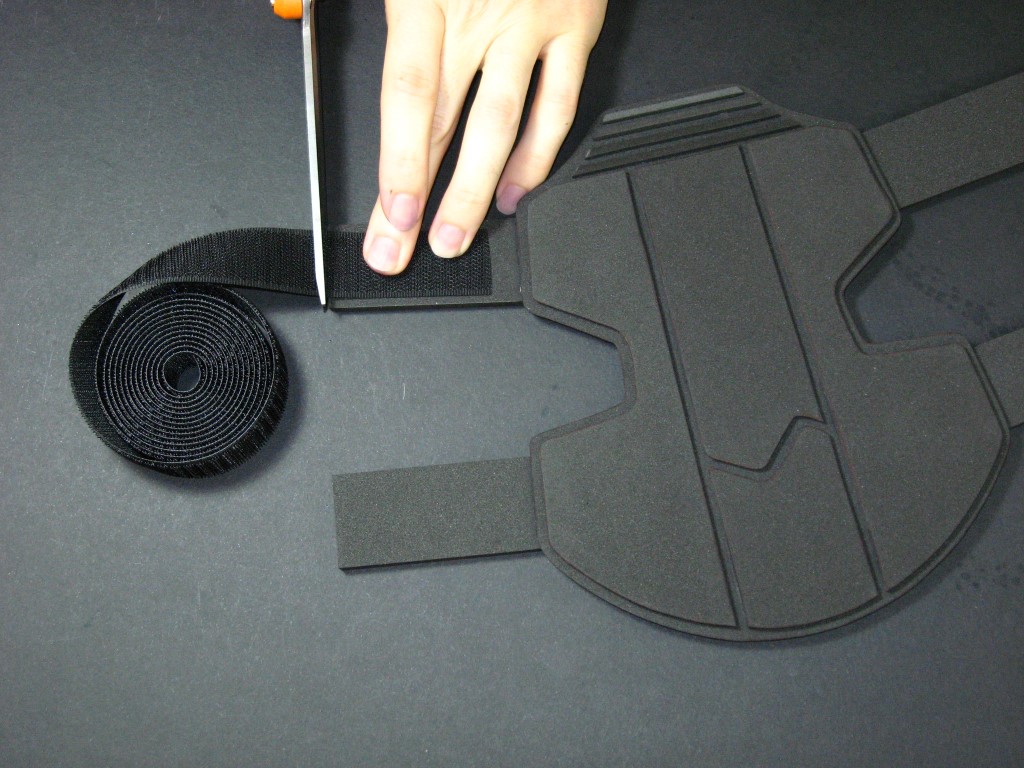
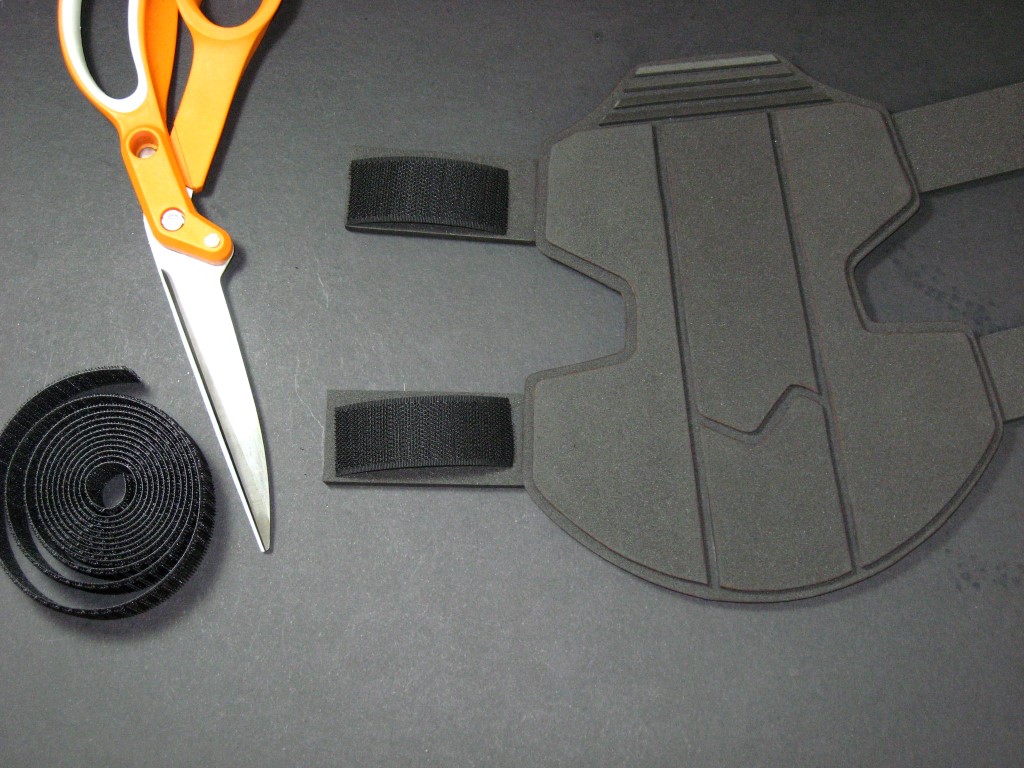
Glue the velcro down. I press down with a piece of plastic packaging to avoid gluing my fingers. Flip the gauntlets over and cut and glue loop-side velcro to the bottom of the 2 long straps.


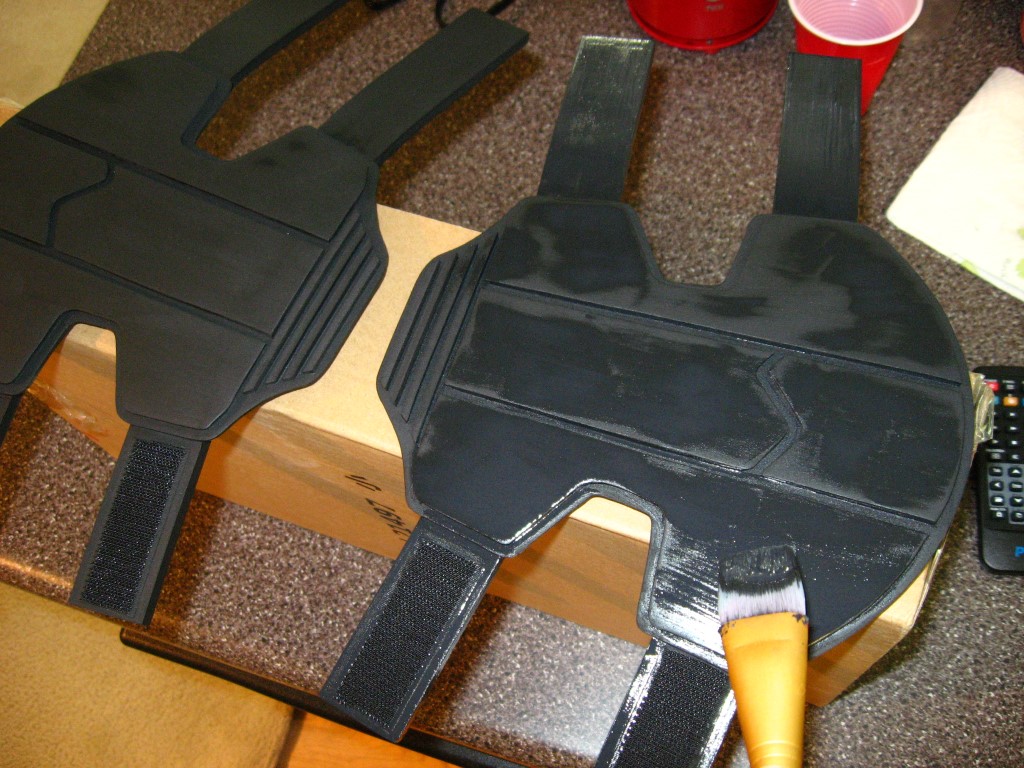
The gauntlets are now ready to be painted. We’ll glue on the top grey pieces after painting as it is easier to paint them separately.
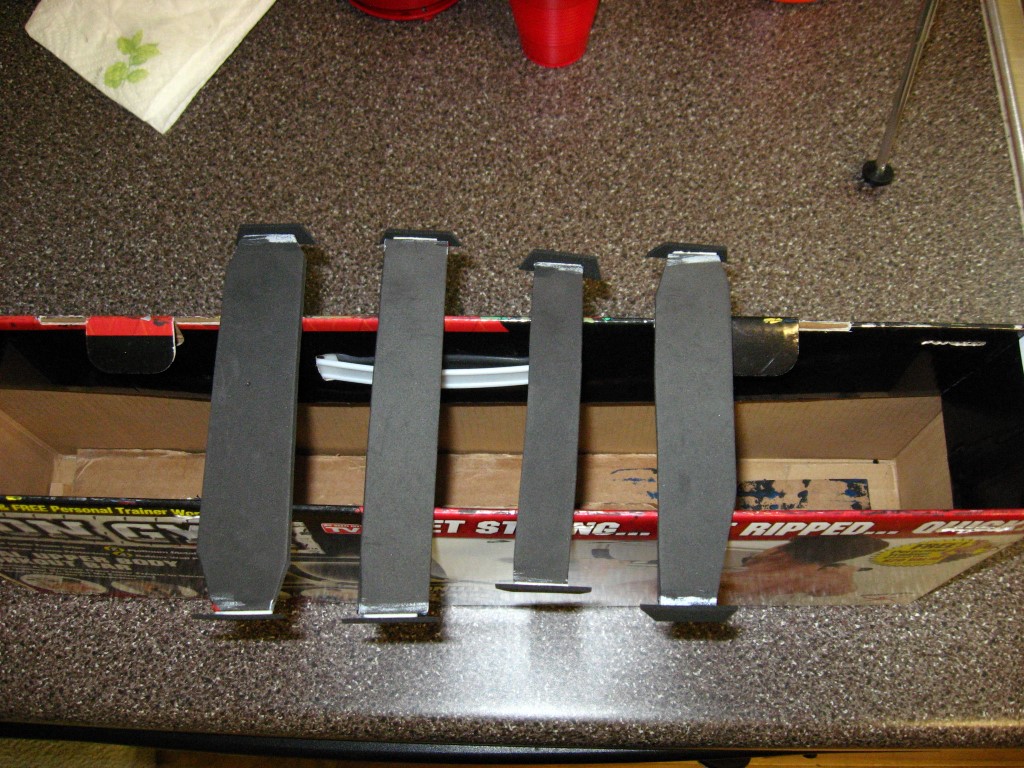
Those soon-to-be grey pieces are very small and awkward to paint without a little setting up. I make little holders for them using strips of 5mm foam with rolled up pieces of masking tape on the ends. This way I can paint all the sides at once and let them dry without ever having to touch or hold them. Find a narrow cardboard box to rest them on when drying.
For more information on painting, see the Painting tutorial here.
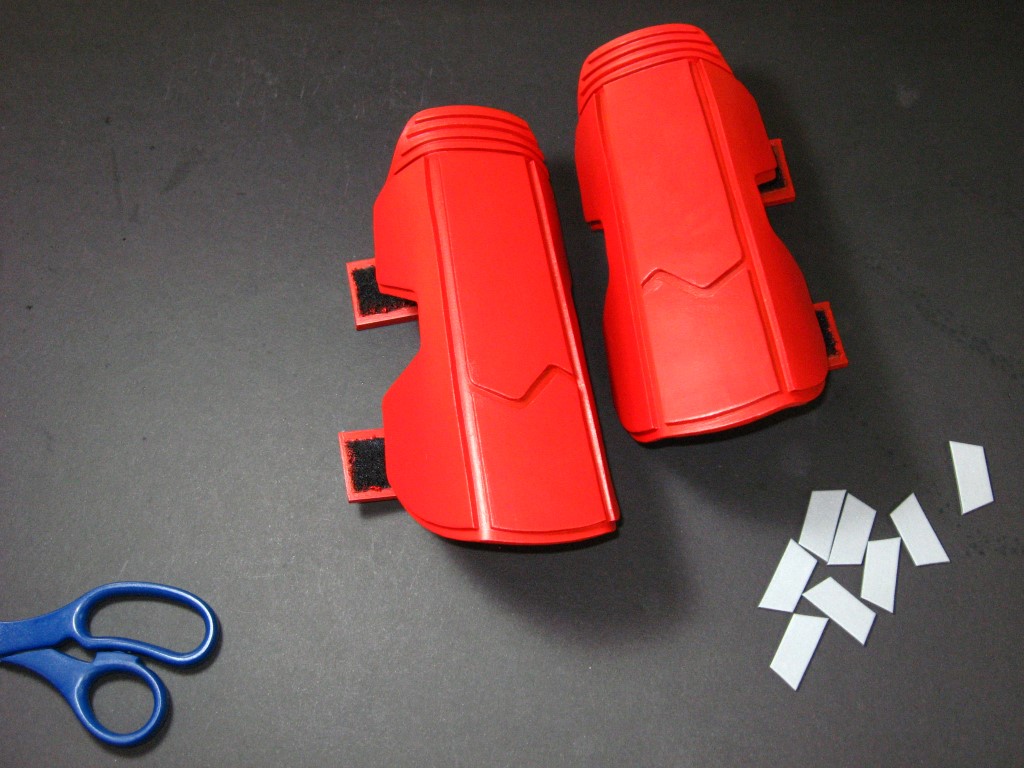
For these gauntlets, I use a mix of ‘System 3 Cadmium Red’ and ‘Master’s Touch Scarlet’ for the red, and a mix of ‘Delta Ceramcoat Platinum’ and ‘Americana Zinc’ for the grey, all brush-on acrylics. I apply a thick coat of Benjamin Moore Aura for a primer, and then 2 to 3 coats of color. I would also recommend spraying on a couple coats of clear Plasti Dip after everything is put together to help protect the finish. Just make sure to practice spraying several coats onto something else first, as it can become cloudy and speckled if applied incorrectly.
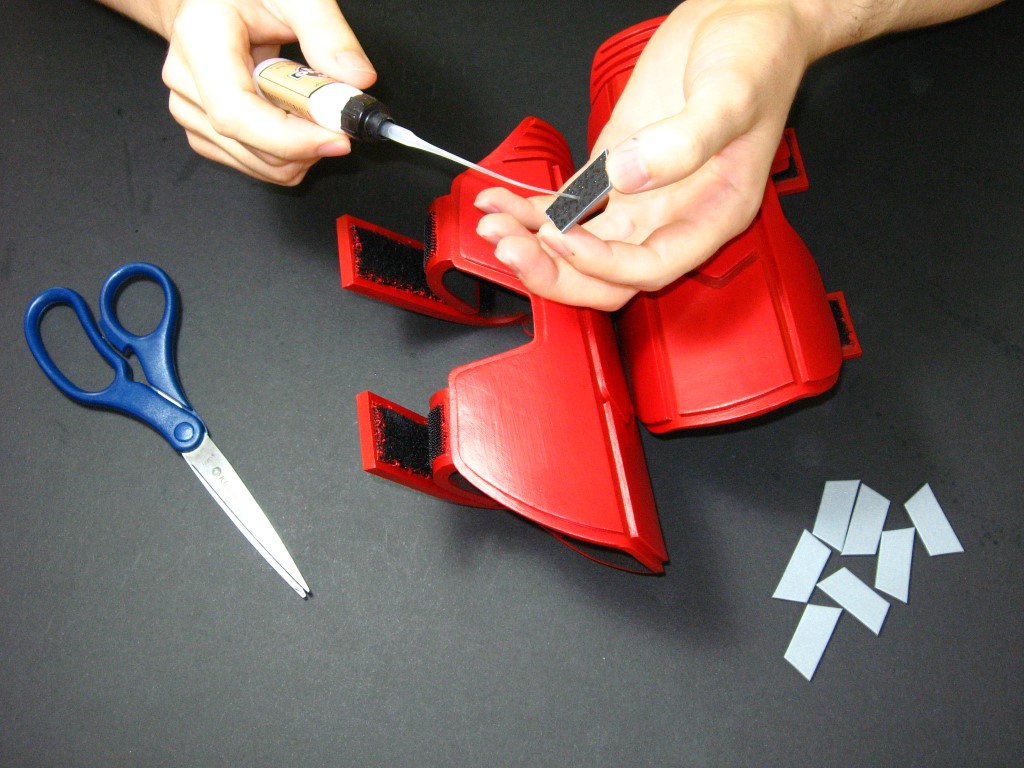
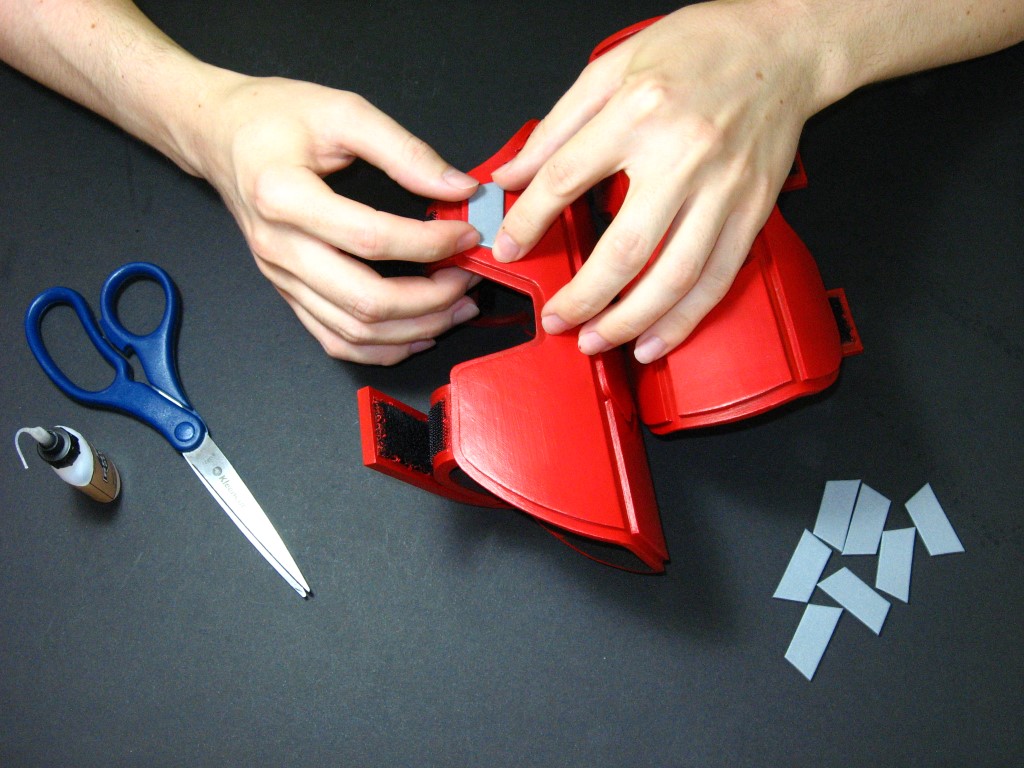
After it all dries, glue on the grey pieces to finish the gauntlets.

Check out the shop and the gallery for more templates and project ideas. Have fun!