If this is your first build, check out the Introduction Page first,
as well as the Supply Page for links to the foam, glue, and necessary tools.
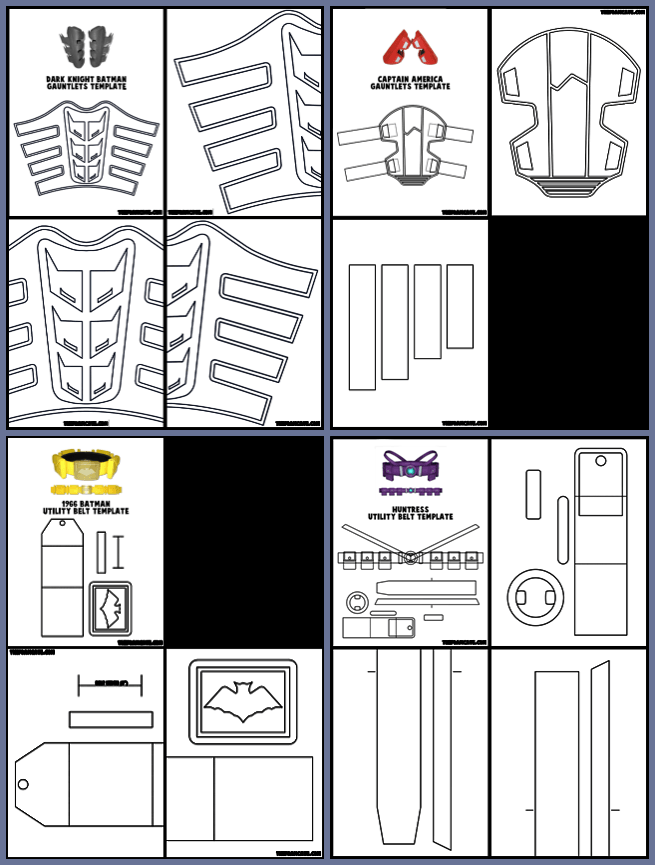
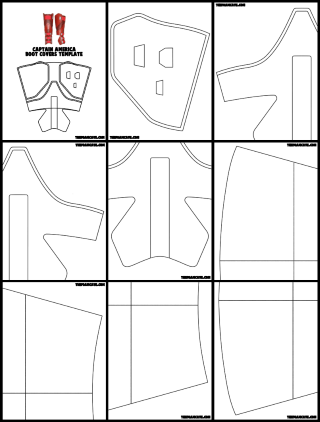
Print out the template onto thick printer paper (ideally a poster board paper) to make it easier to trace. You may have to print it out a couple times to get enough copies to cut out all the layers separately. Tape together the sections that extend onto a second page– hold it up to light or place the printouts on a sun-facing window to see through the paper and correctly align both halves.
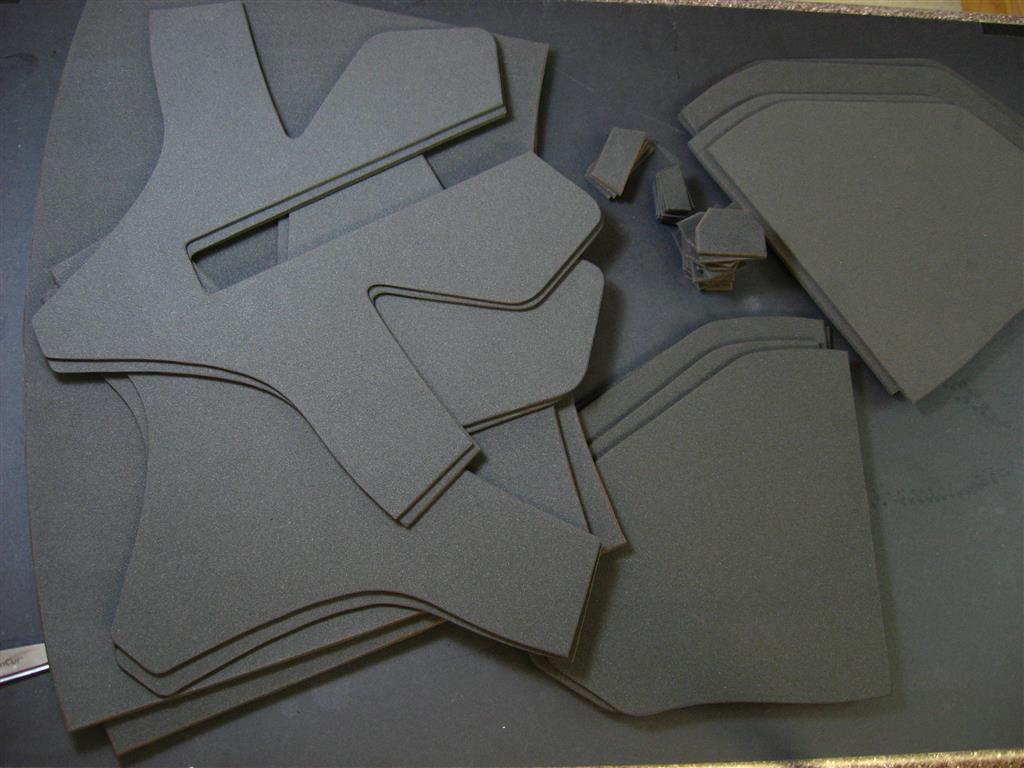
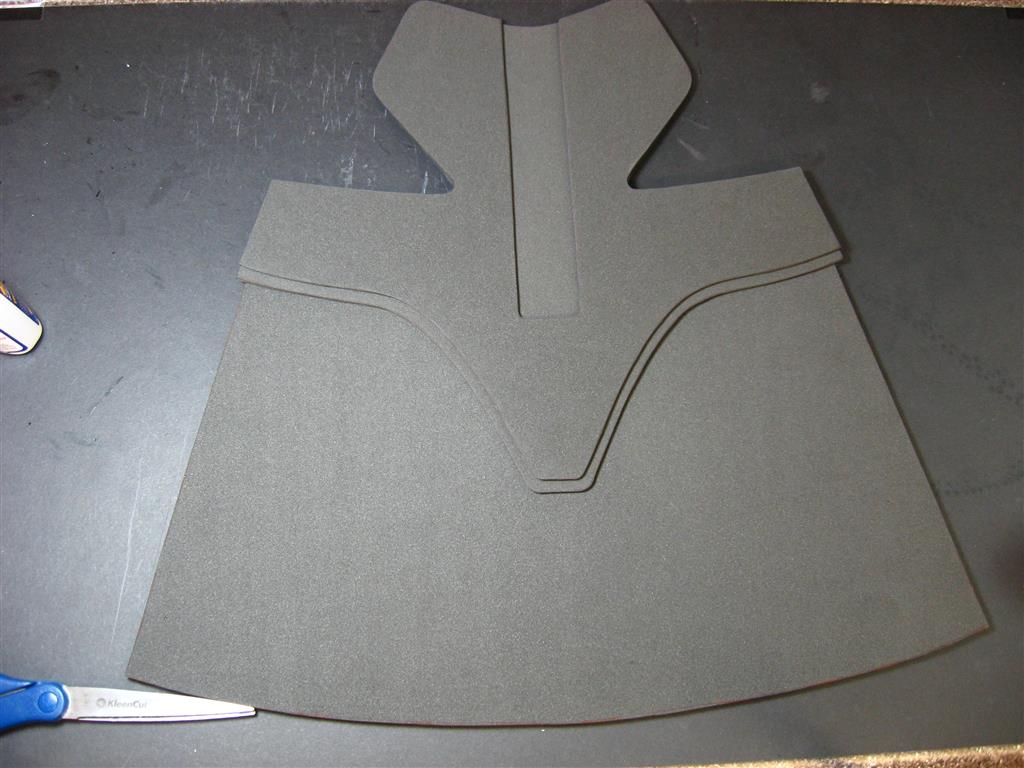
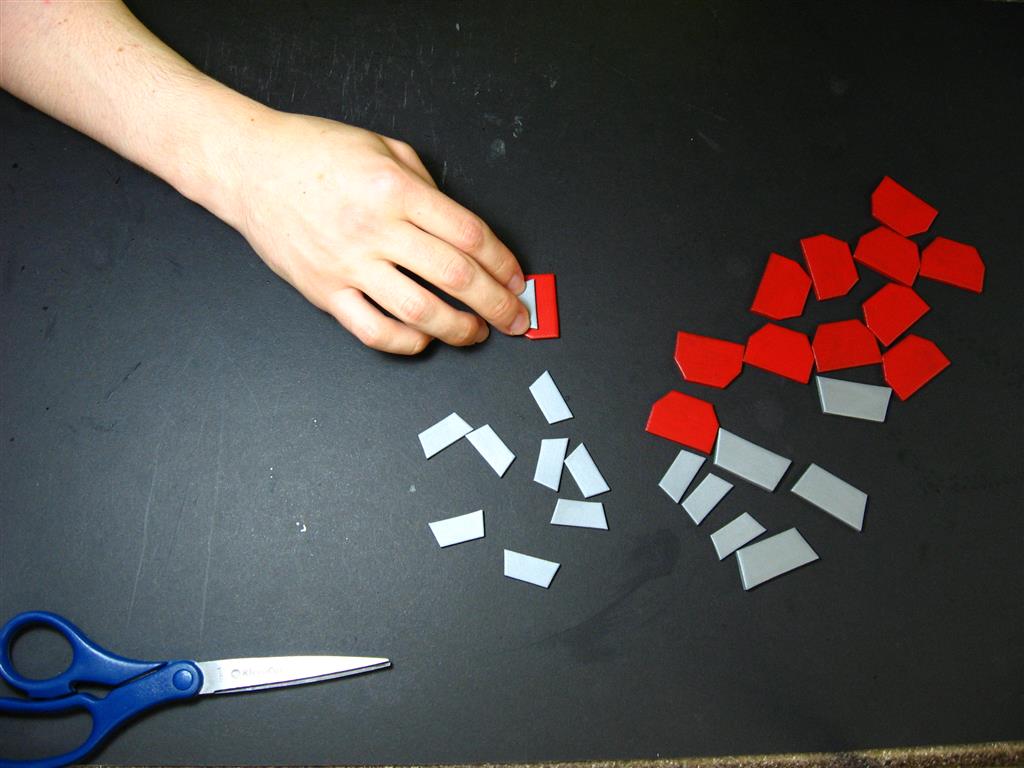
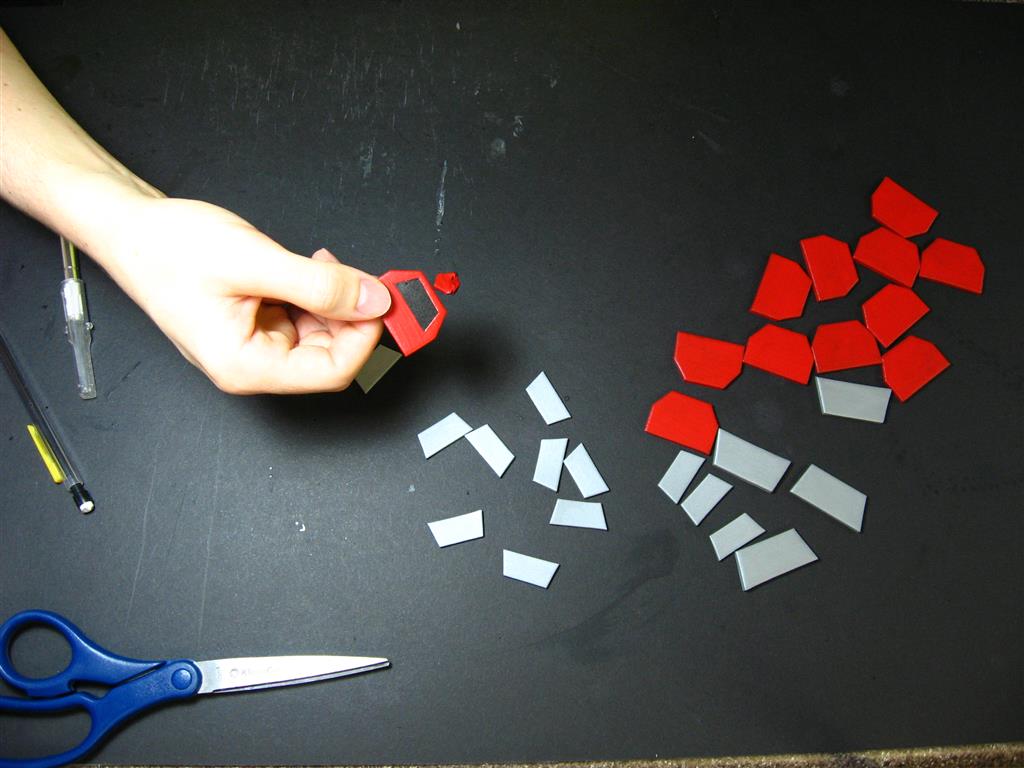
Cut out all the pieces and trace them onto your foam sheets. You can use a regular ball point pen; I like those space pens as they flow smoothly over the foam. Use scotch tape to tape the template pieces to the foam so they stay in place while tracing. I recommend 3mm thick foam for all of the layers except the big backer piece (for that I use 6mm thick foam) and the 6 smaller silver tabs on each boot cover (2mm). Also, make sure to flip the templates over for half of the top side pieces, as the right and left sides of each are mirrored. (You can just flip the foam over after cutting it out, but I find there to be a noticeable visual difference between the top and bottom of a scissor-cut edge.)
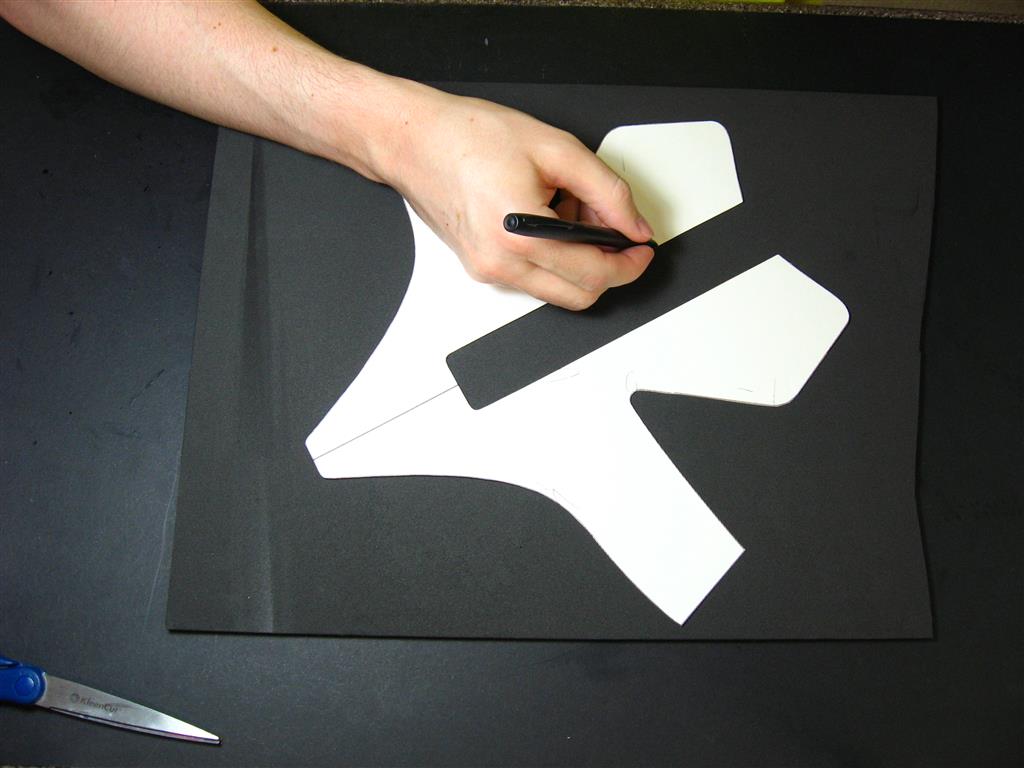
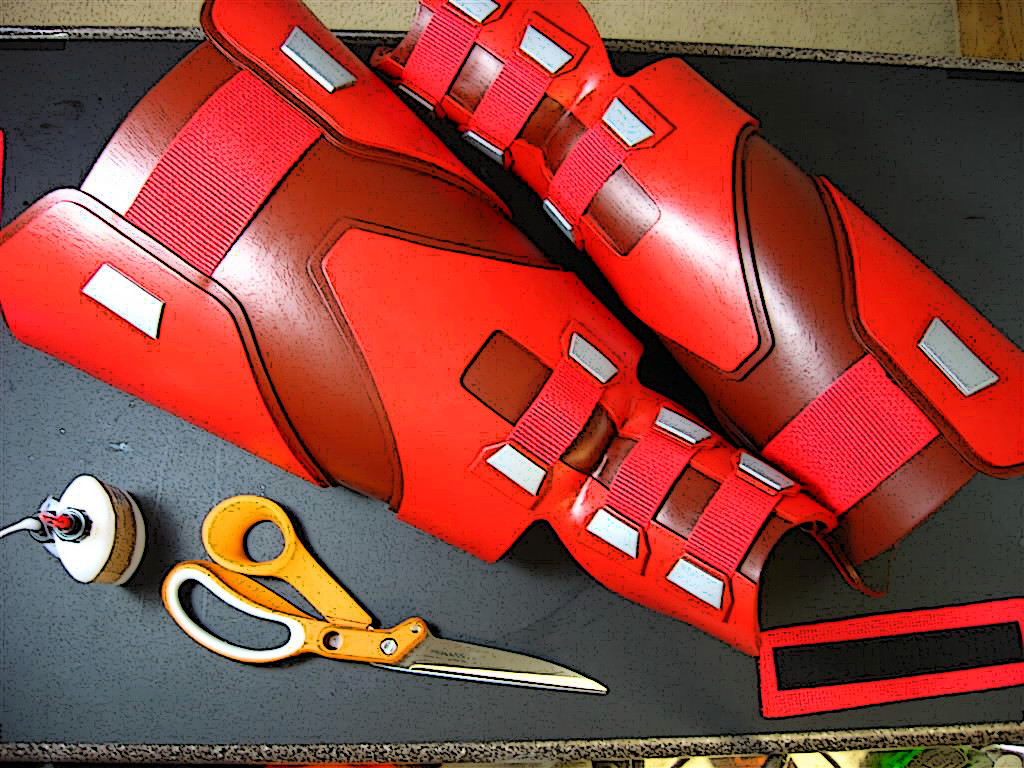
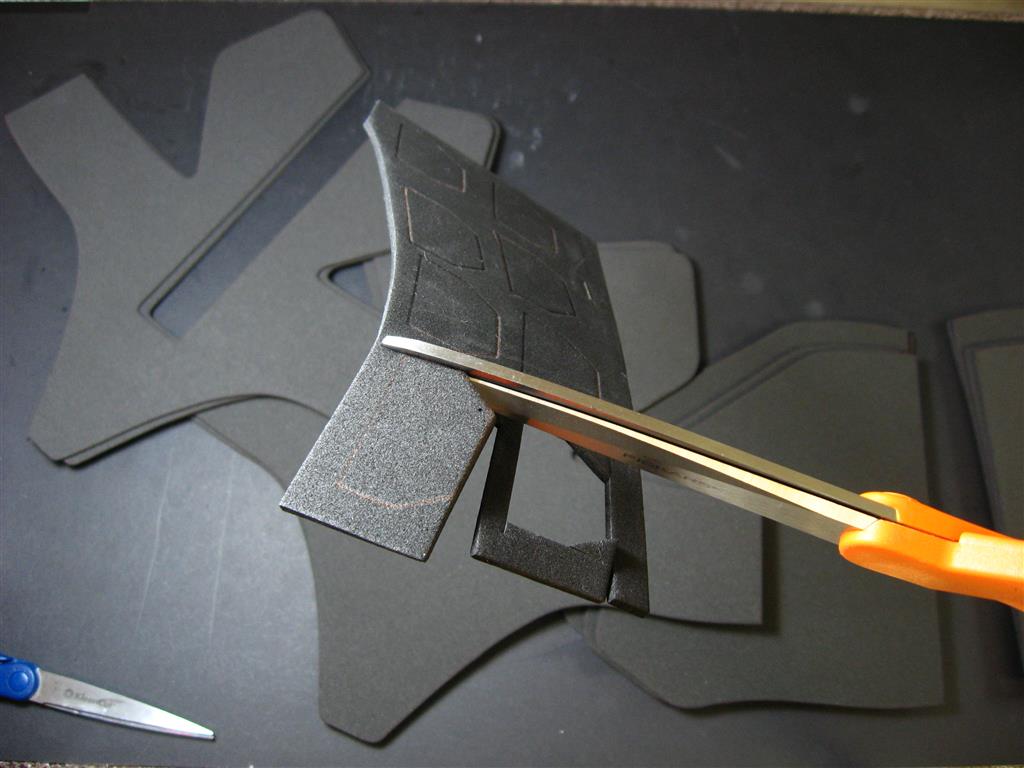
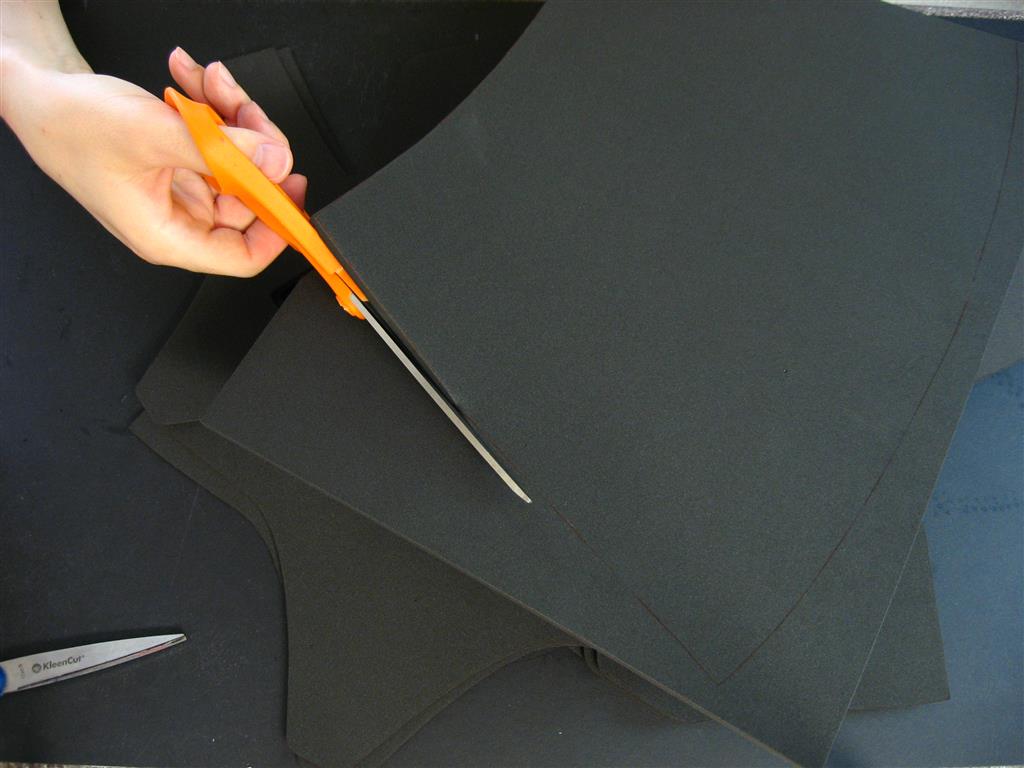
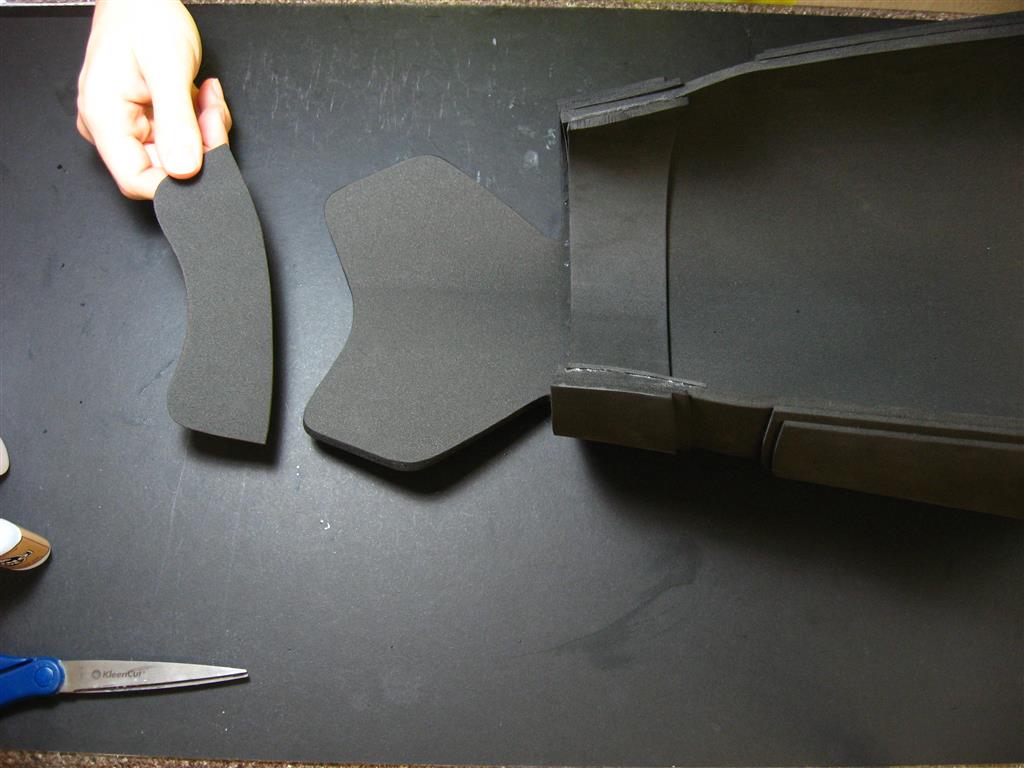
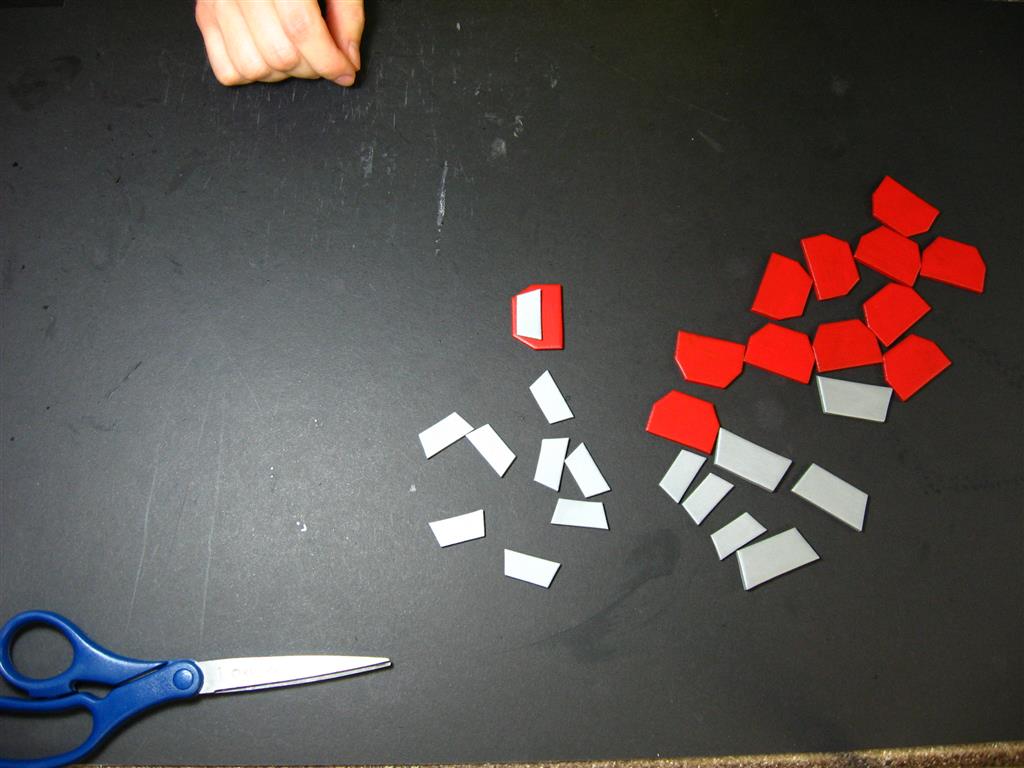
Use a regular pair of office scissors to cut out all of the pieces.
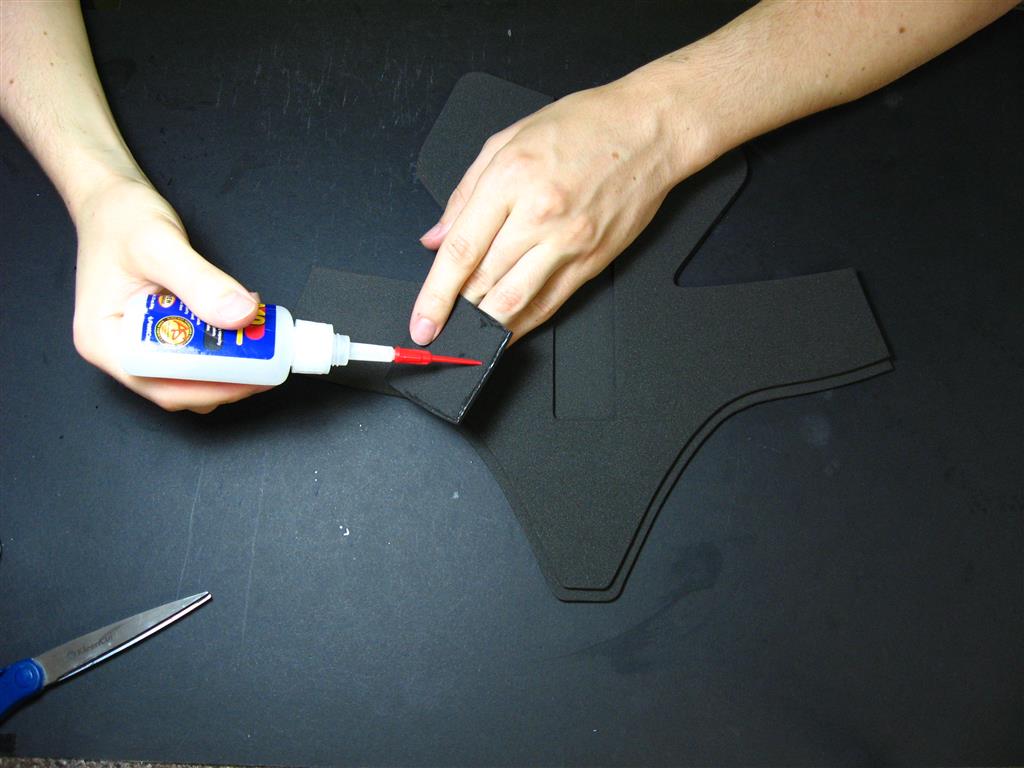
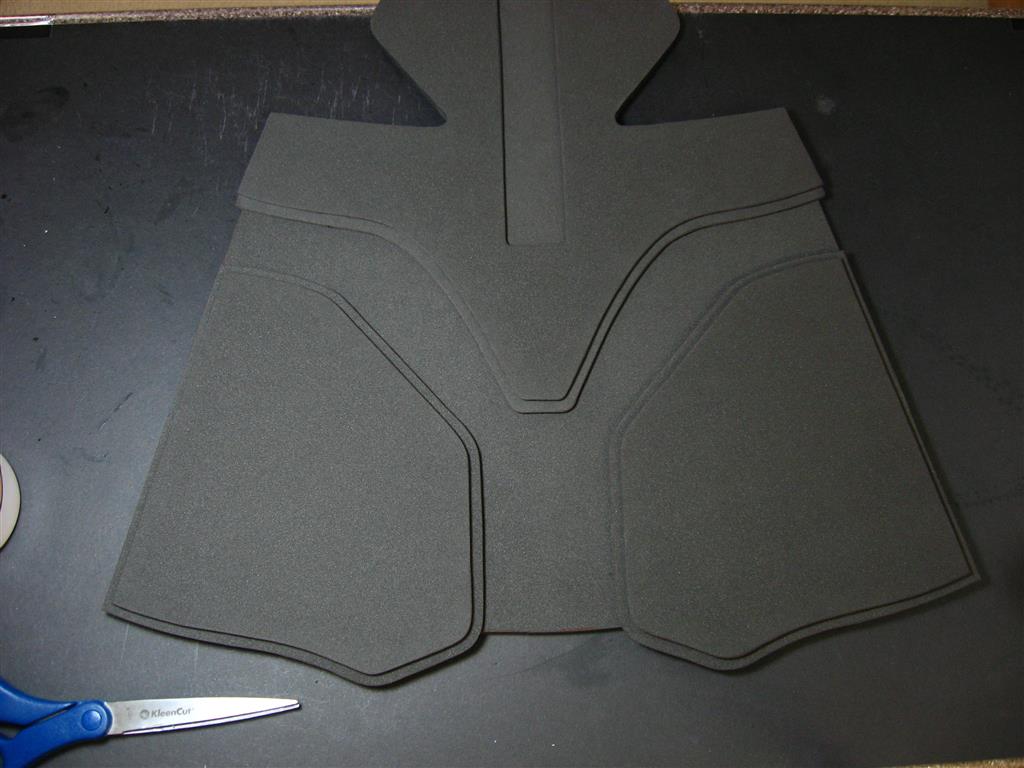
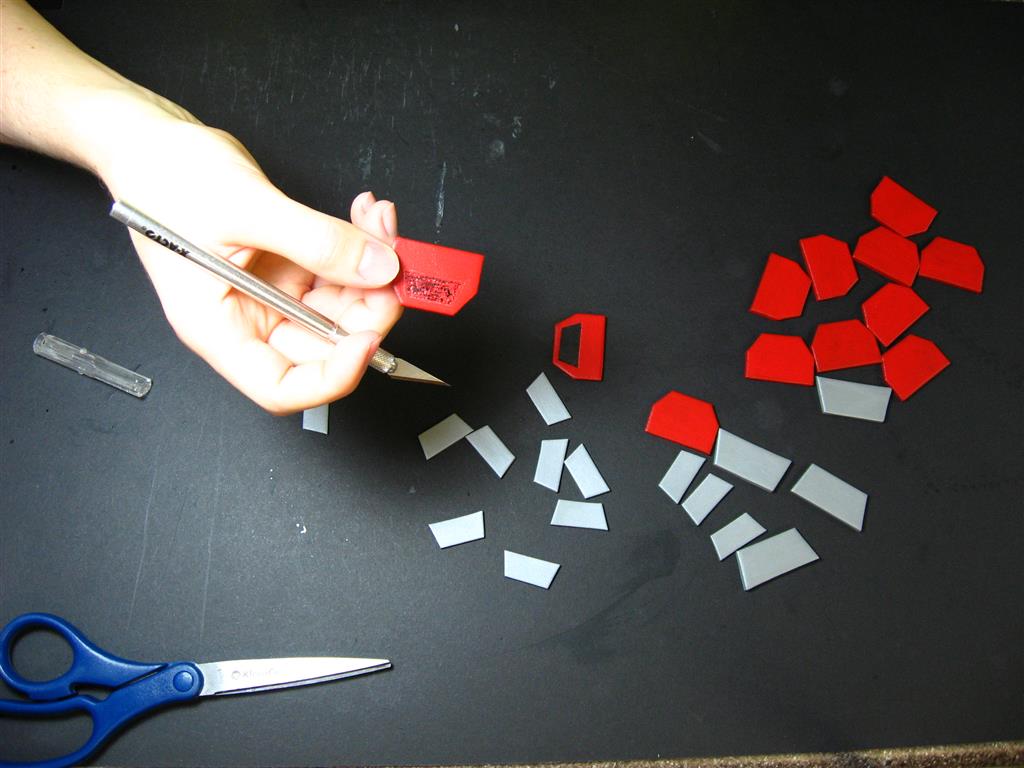
Align the bottom pieces on top of each other. Hold the top layer down and bend back a corner. Apply a small amount of glue to the underside and place it back down. ( I use a variety of Super Glues, mainly one called Rhino Glue) Hold it for 10 or so seconds to dry. Finish gluing the rest of the top layer.
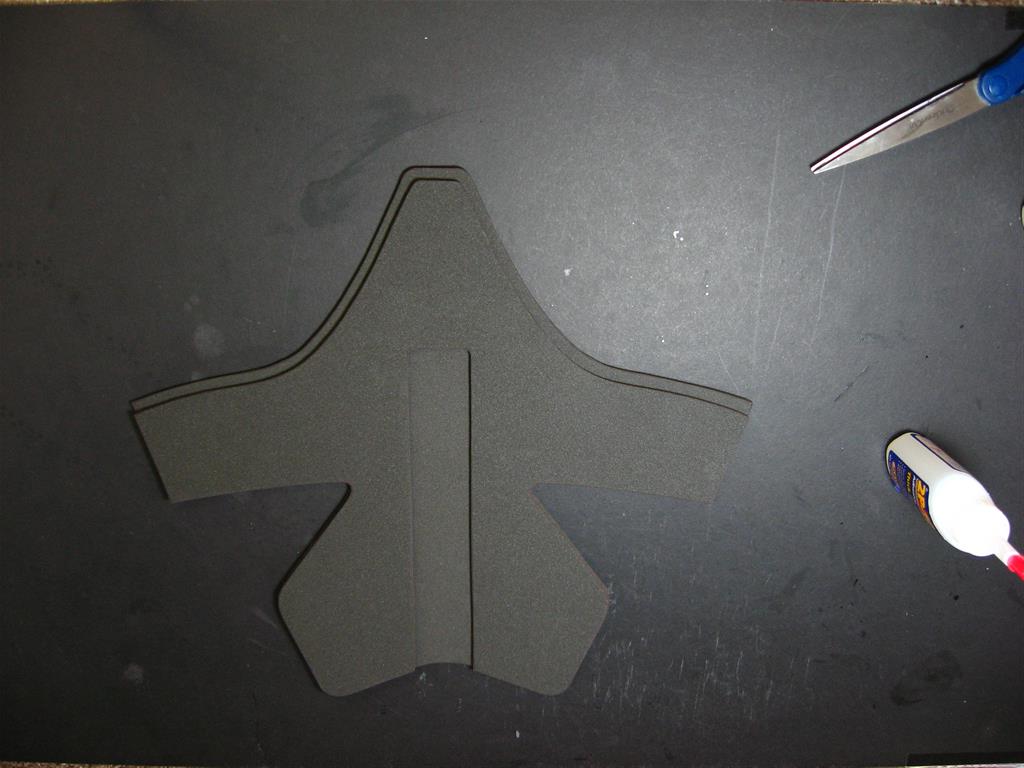
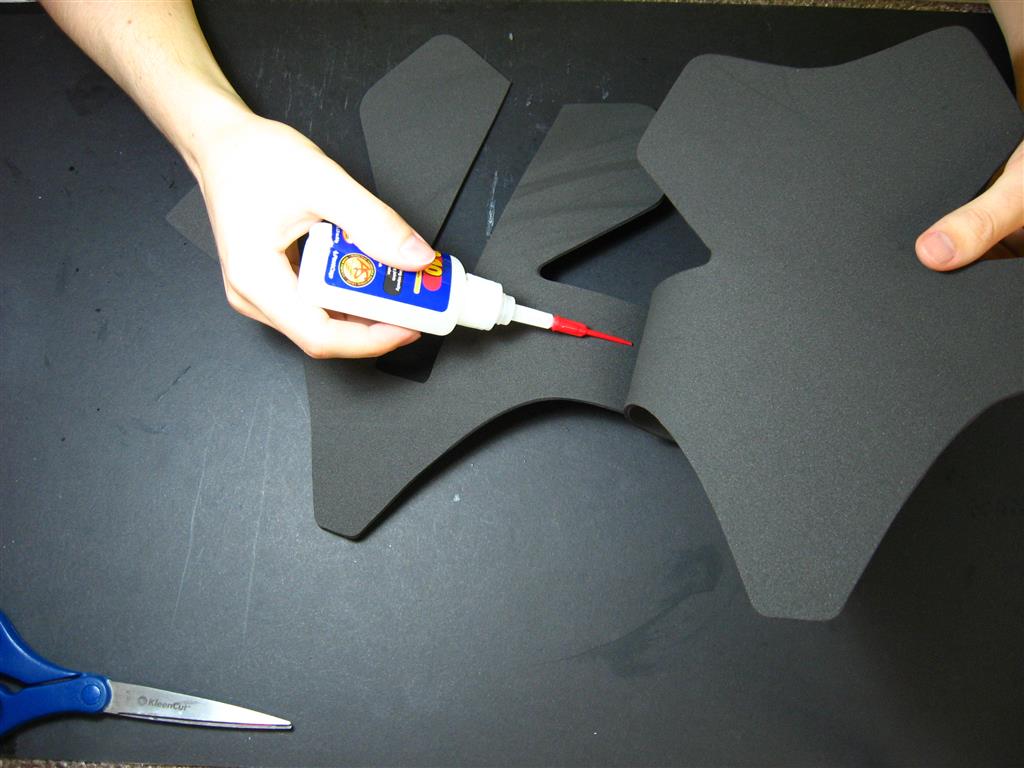
Glue the top pieces together the same way.
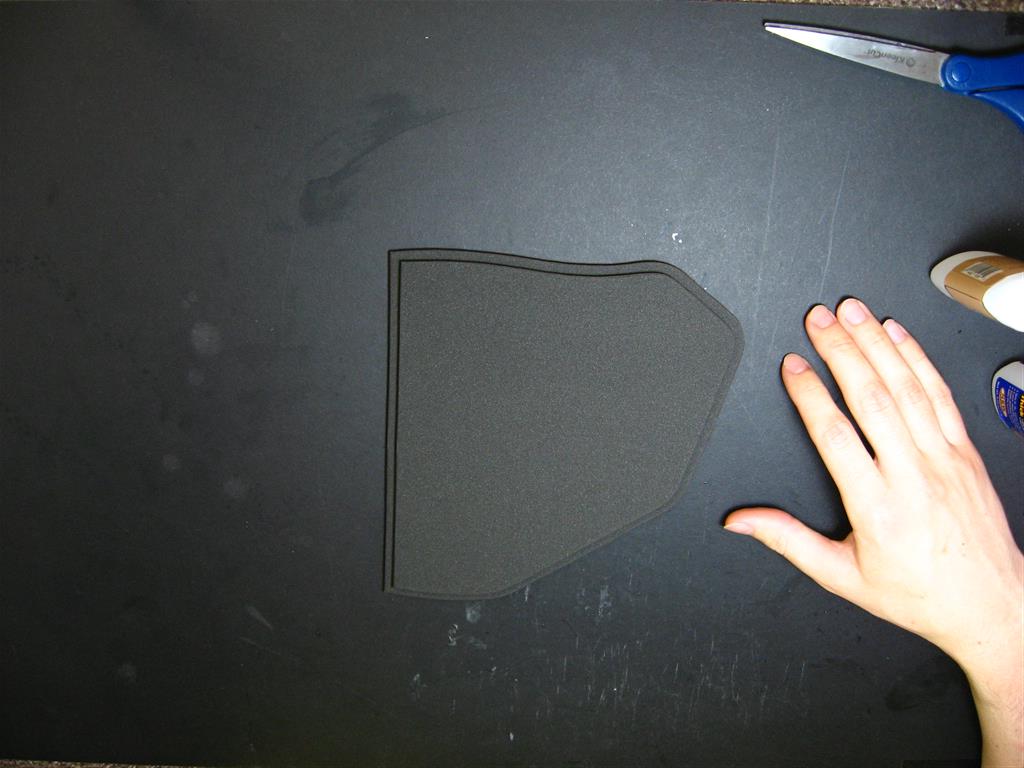
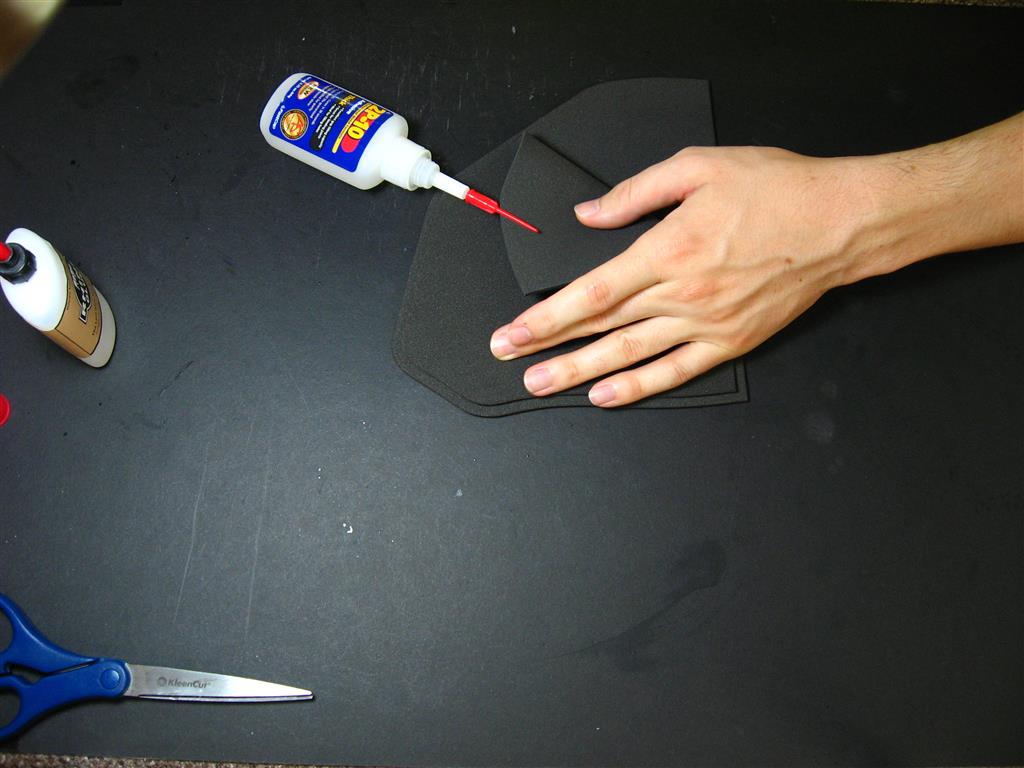
Use a dremel with a sanding bit to smooth the edges. Align the top and bottom pieces onto the large backer piece. Glue the entire bottom piece down, but only glue the outside edge of the top pieces for now.

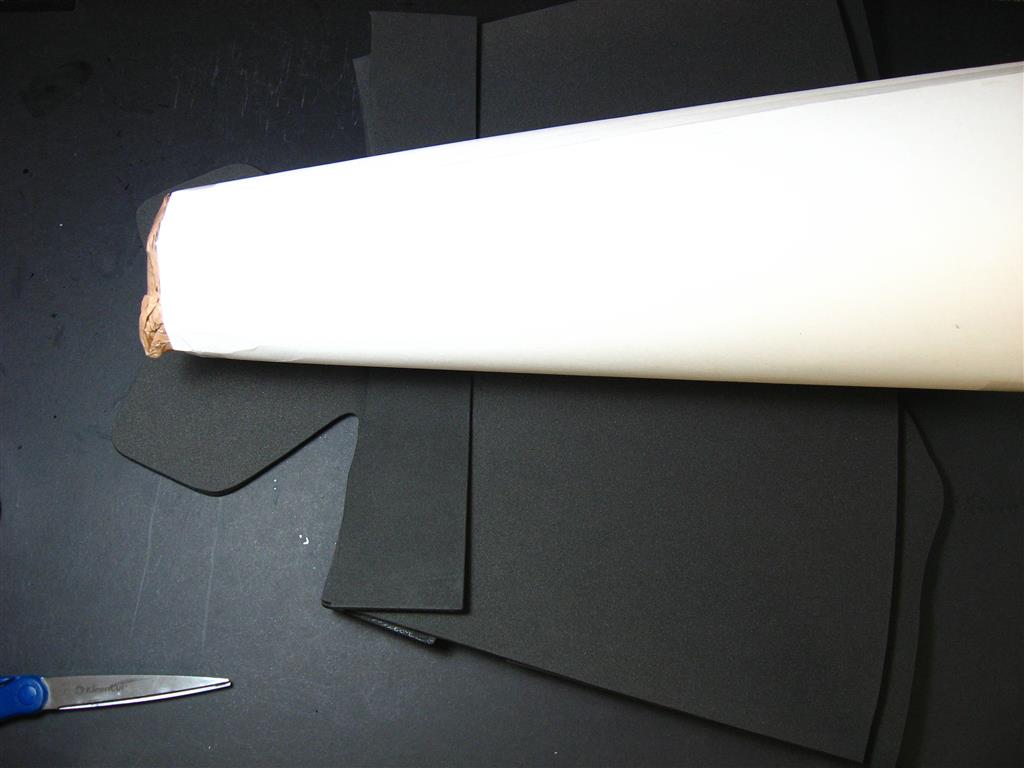
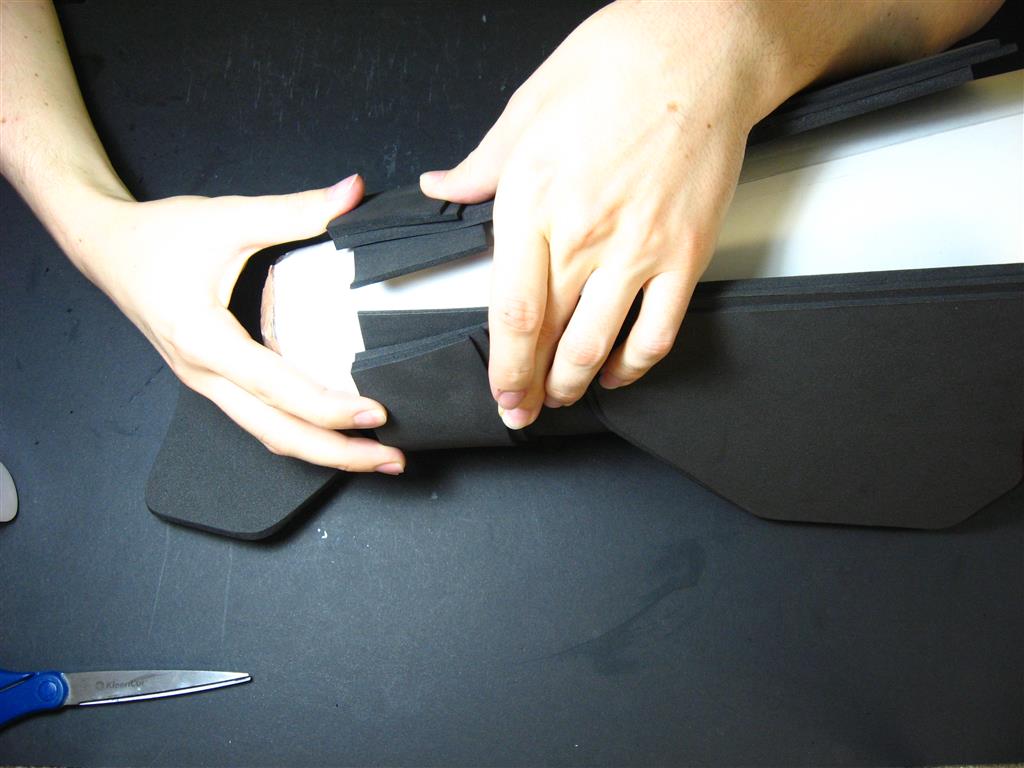
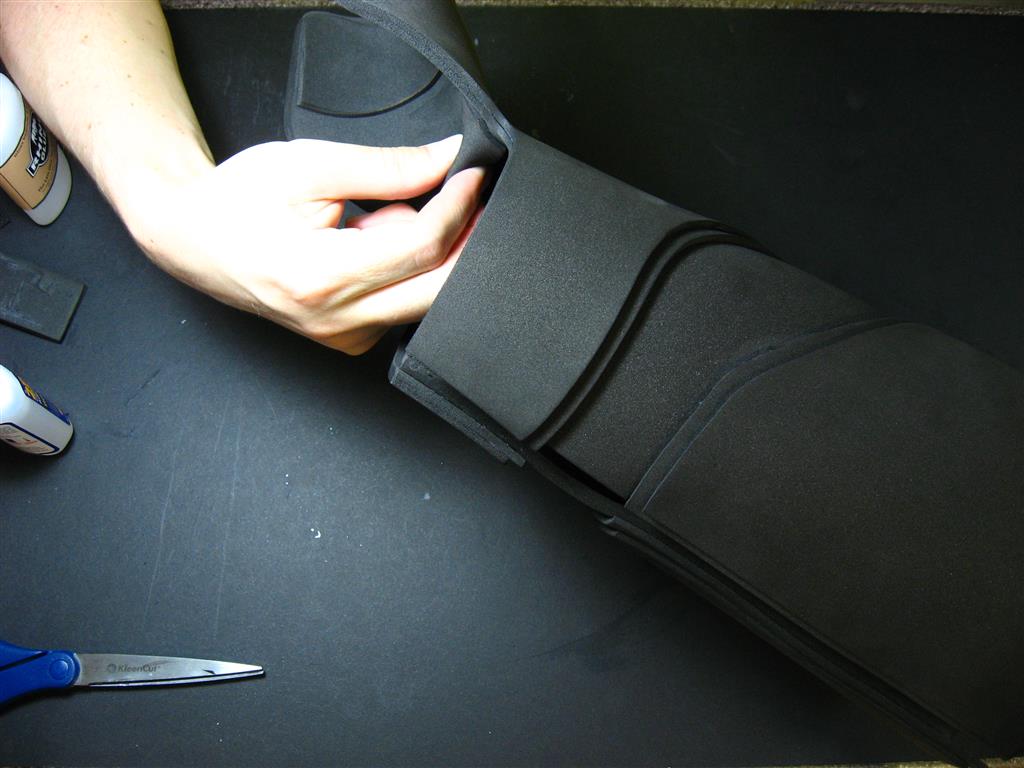
Whenever you have several layers that you want to stay in a curved position, it is best to hold them in that curved position while you glue them together. I recommend making a simple cone-shaped tool to help with this. Mine is made of a large rolled up sheet of poster board paper stuffed with plastic grocery bags and taped shut. You can bend the boot covers around this while gluing it together. Cut a scrap piece of foam the width of the boot covers. Put some glue in the middle of it to hold it in place for the next step. Place your new tool on top, finish applying glue to the scrap piece and bend everything around the tool and hold it while it dries. It will retain a curve after it dries.

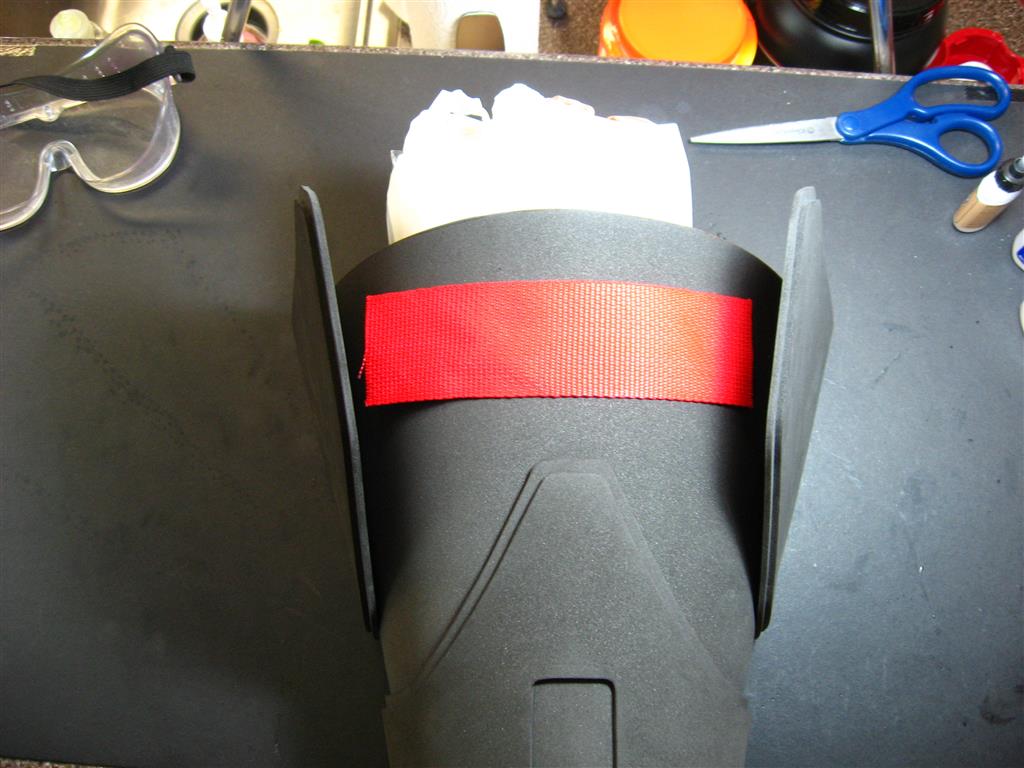
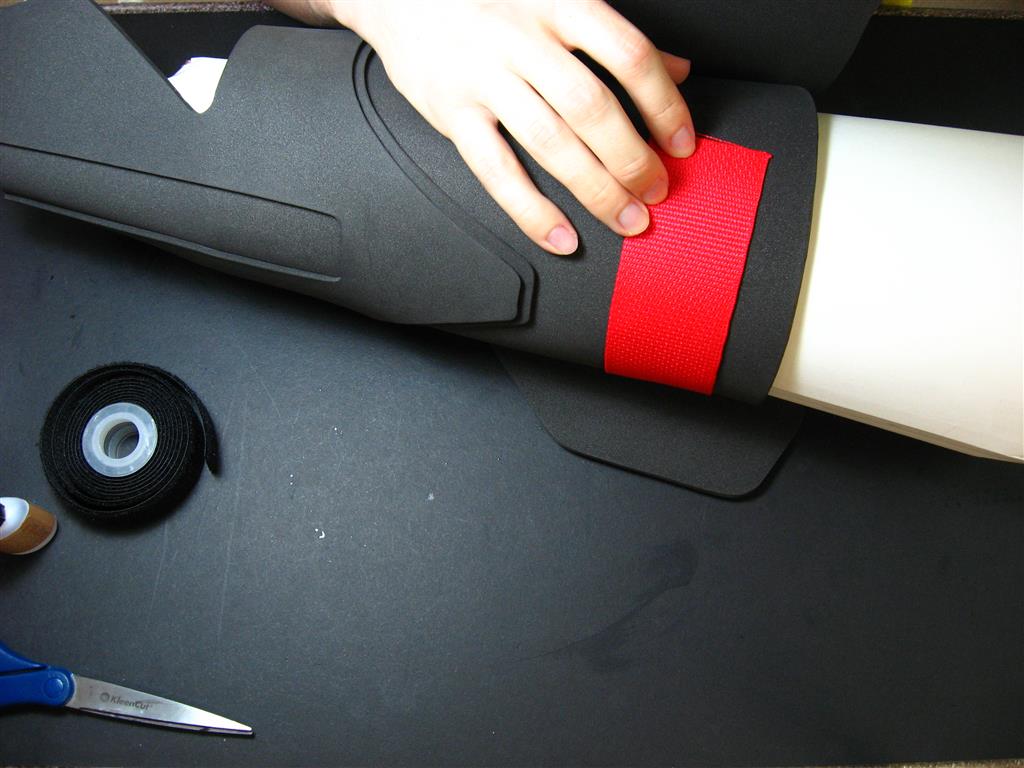
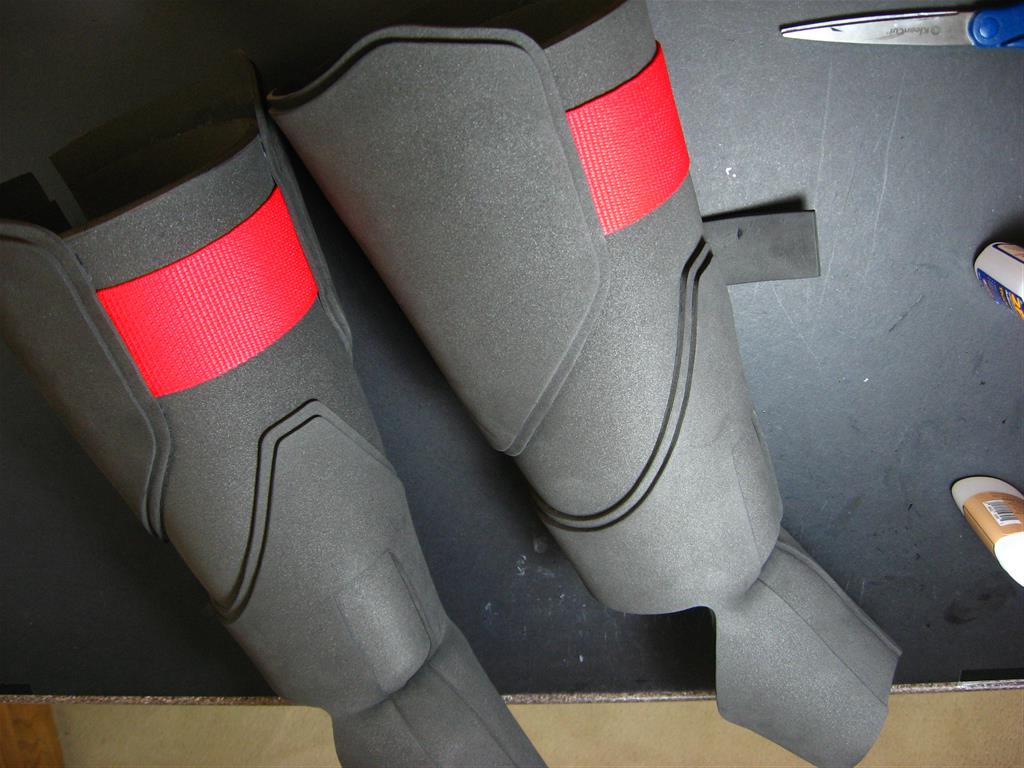
Cut a piece of webbing for the top of the boot covers. For this I use 2 inch wide polypropylene from strapworks.com. Cut it long enough so it extends under both of the top pieces an inch or two. Align the webbing in the center of the top pieces and glue down the ends, but leave the rest of it unglued (Also, make sure you glue the ends down while the boot covers are fully closed, as this will stretch out the front and change the alignment of the strap). Use the cone tool from before to glue down the top pieces with the correct curvature.


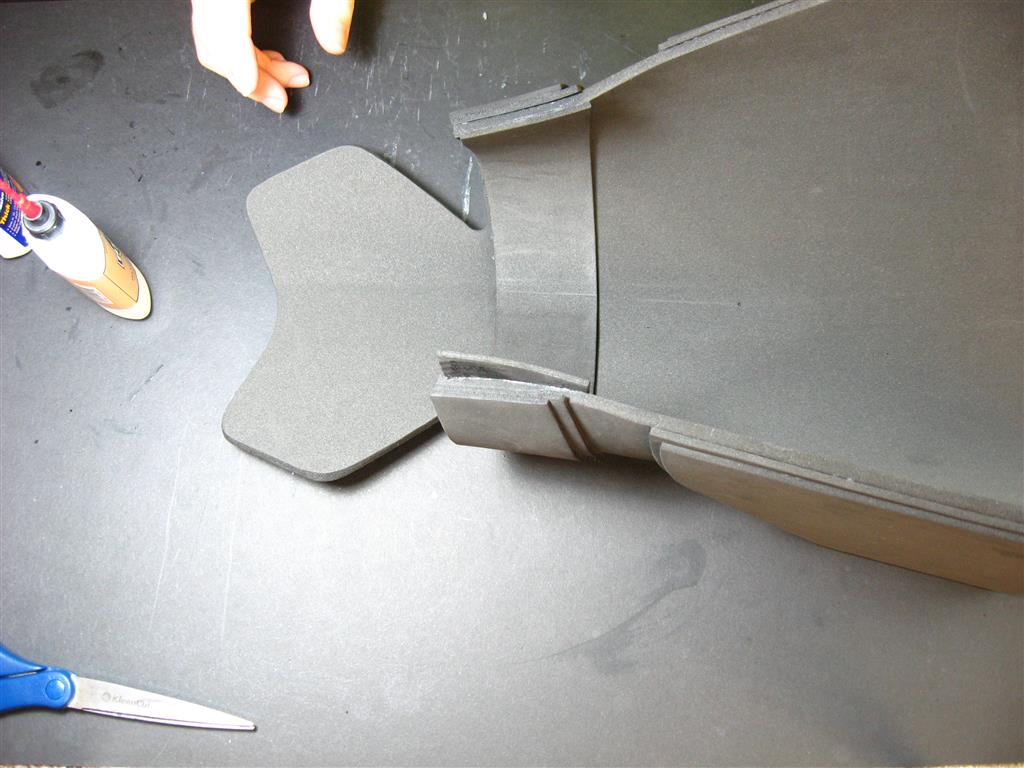
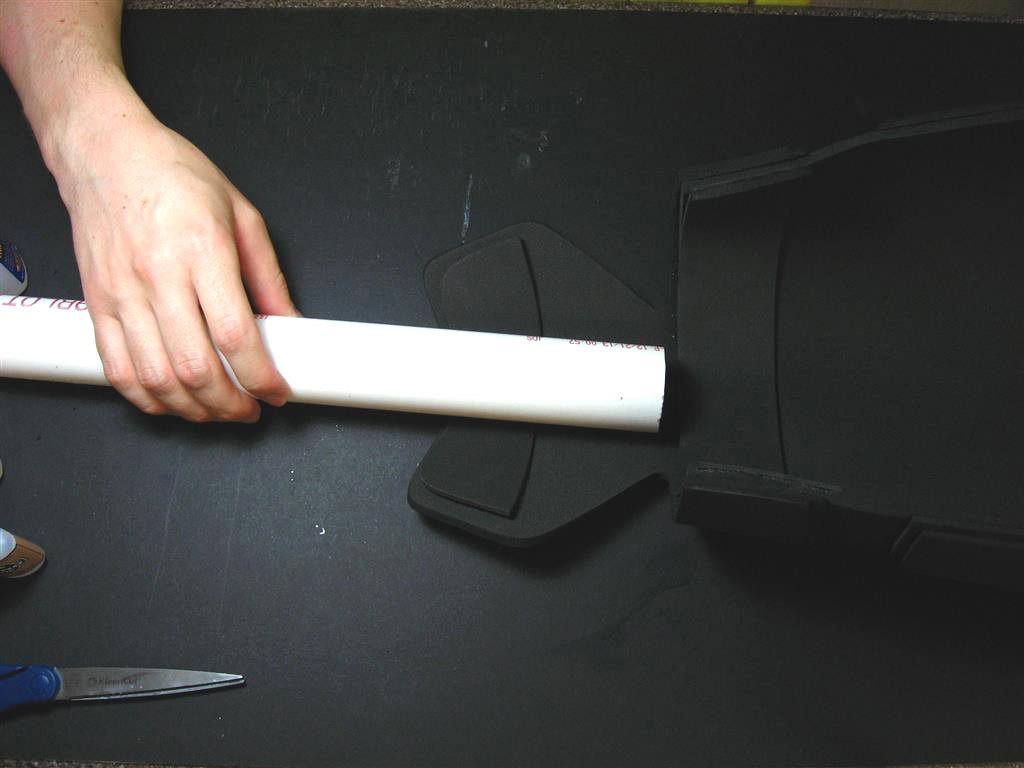
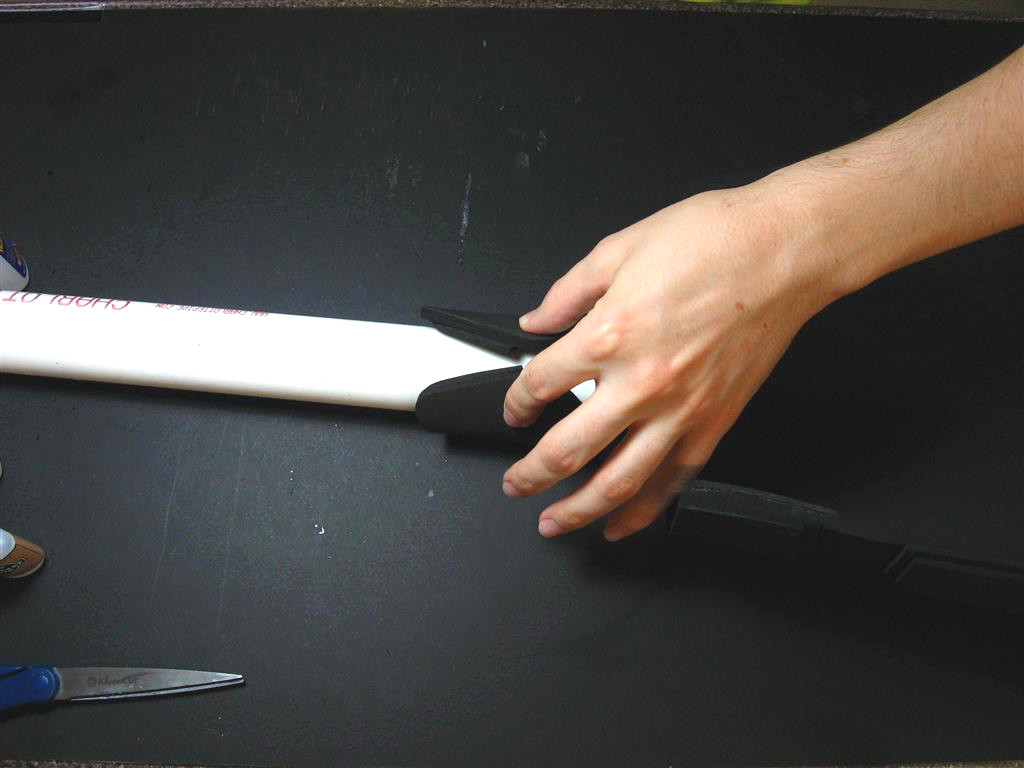
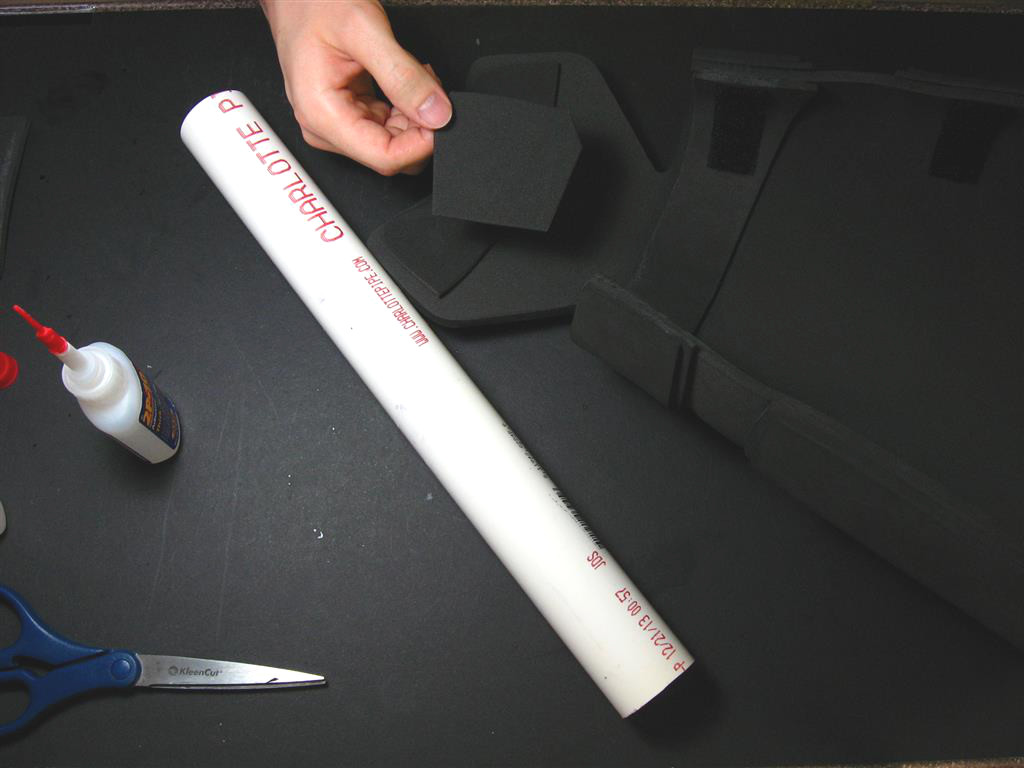
Cut another scrap piece of foam into roughly the shape of the bottom half of the foot top piece. This will be used to hold the curvature of the foot piece. For smaller curved pieces I use a pvc pipe to bend it around. Keep in mind that it will widen a bit from the curve it is glued in, so you have to glue it around something that is smaller than you ultimately want it to be.
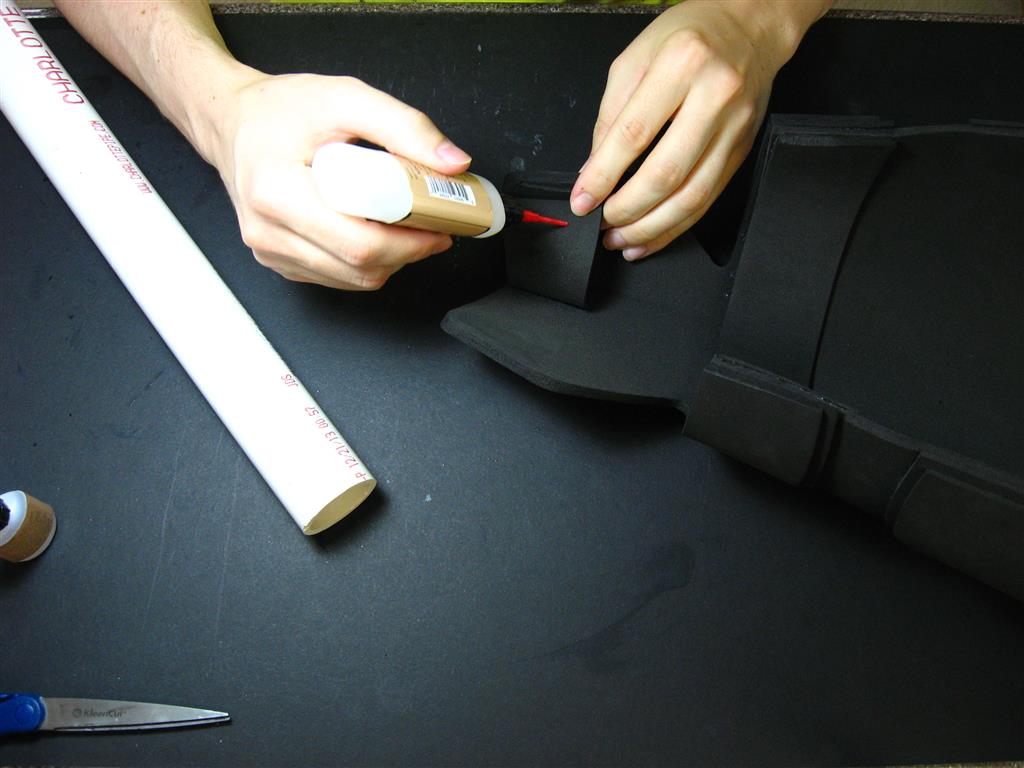
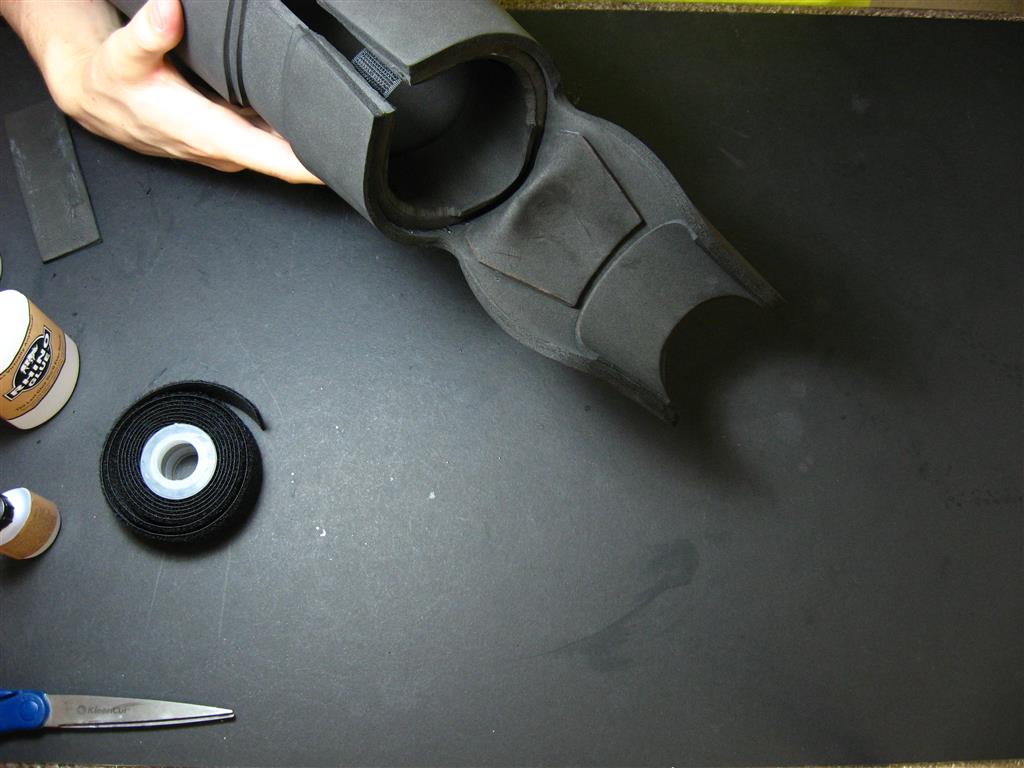
To finish up the second curve in the foot piece, cut another scrap piece of foam the shape of the top of the foot piece. This one you just have to manually hold at the bend you want it to stay in (or a little past, again, as it will move back a little after drying.) You want it to have significant vertical bend, but also some horizontal bend at the same time so it doesn’t widen out the bottom curve. It’s a little tricky to get this right the first couple times. I would suggest bending the foam several times before gluing to try to give it a crease where you want it to bend, and also perhaps practicing this glue step on some scrap foam first.
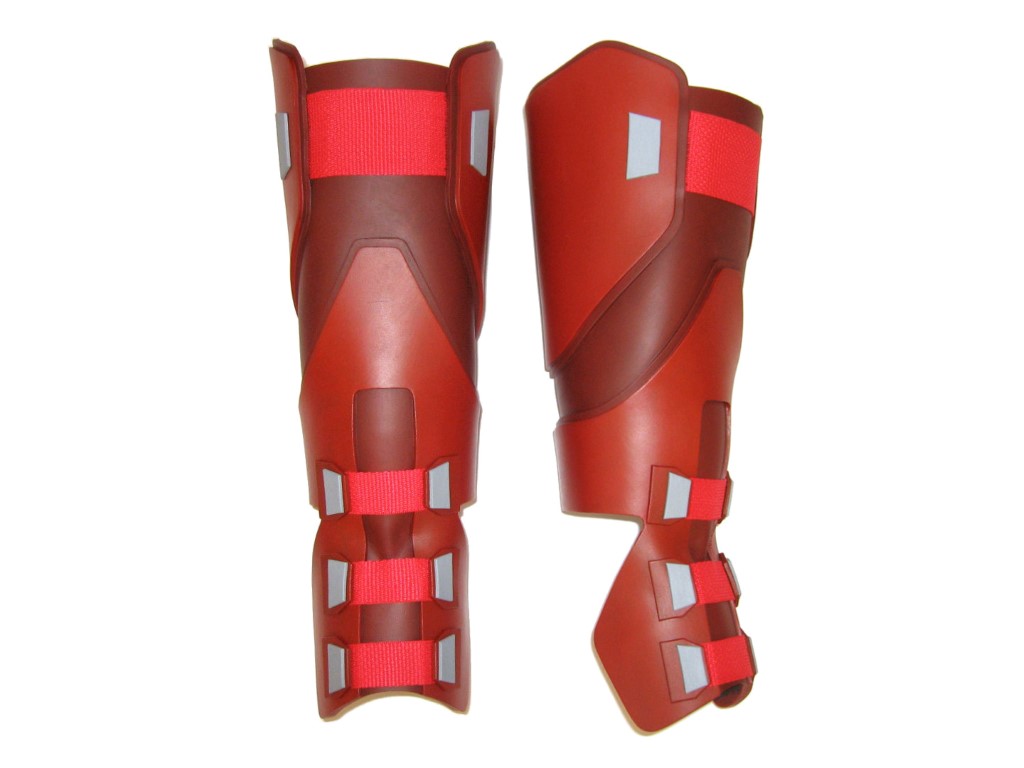
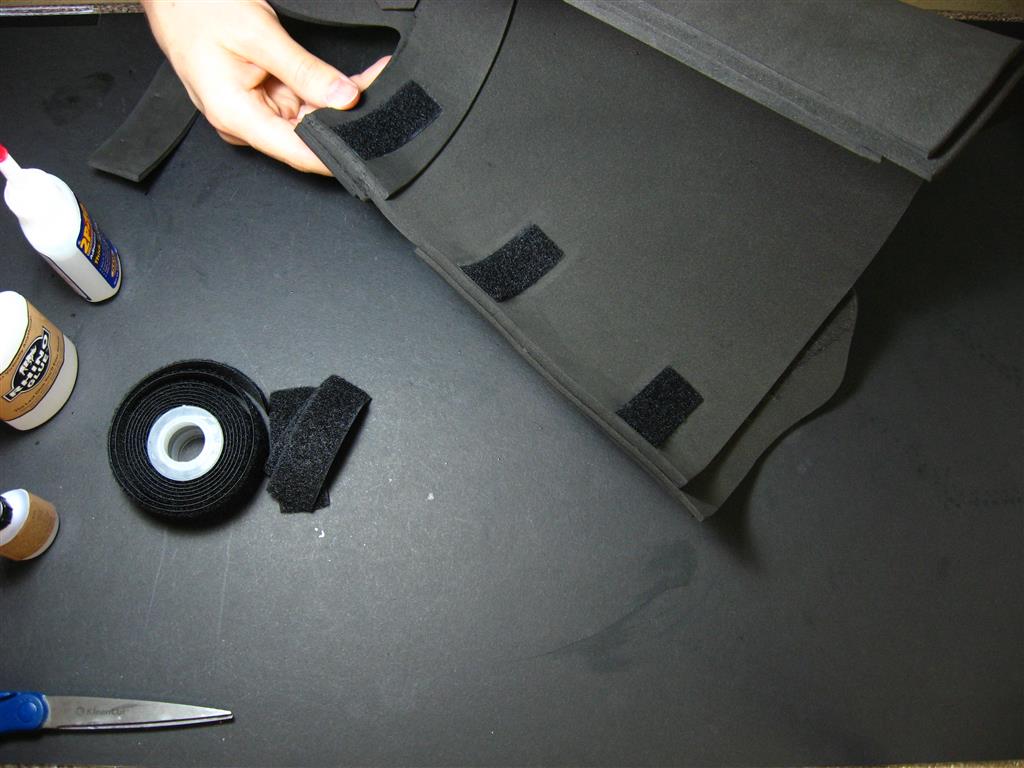
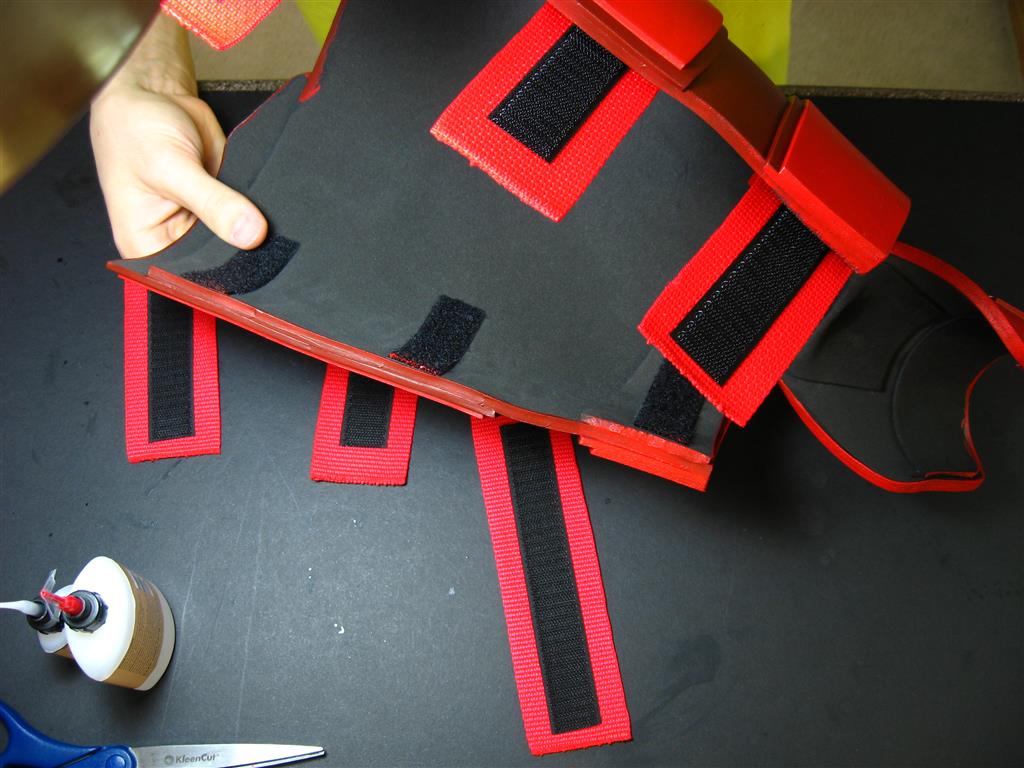
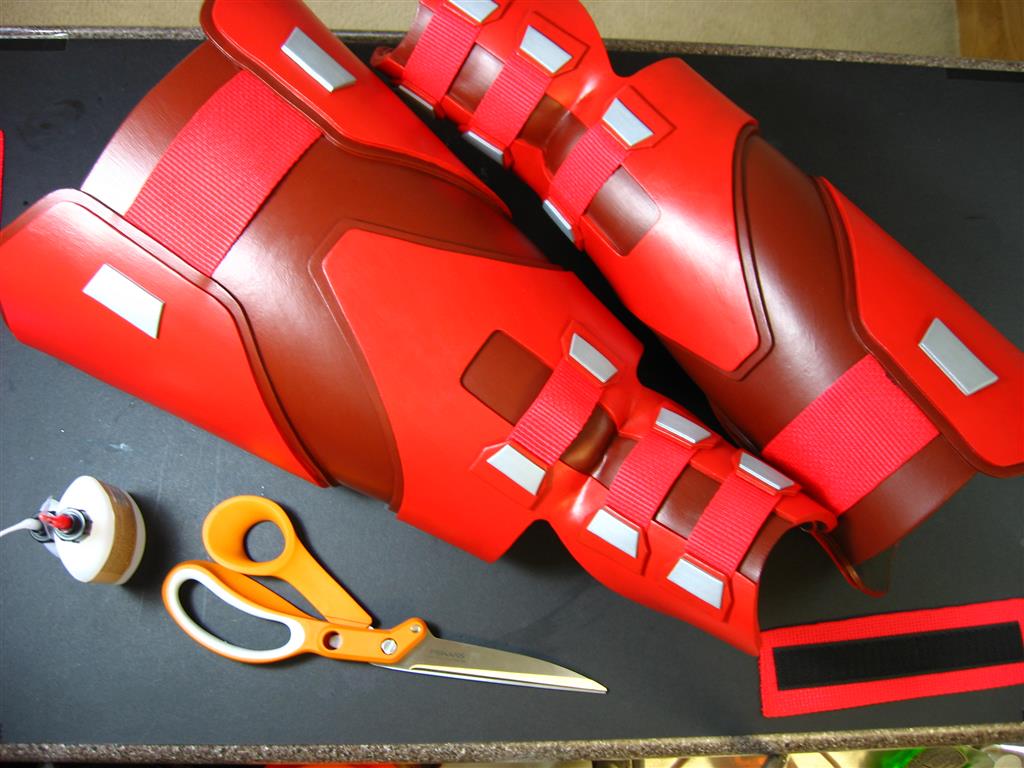
Glue some strips of loop-side velcro onto the back edges of the boot covers to be able to secure them closed.

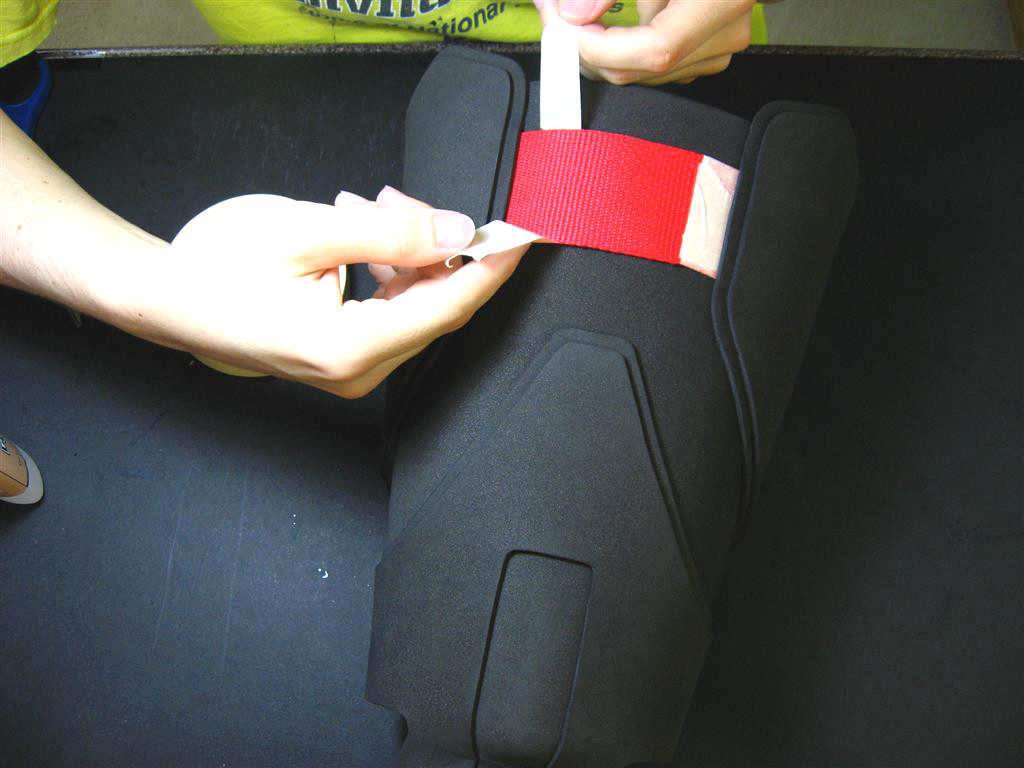
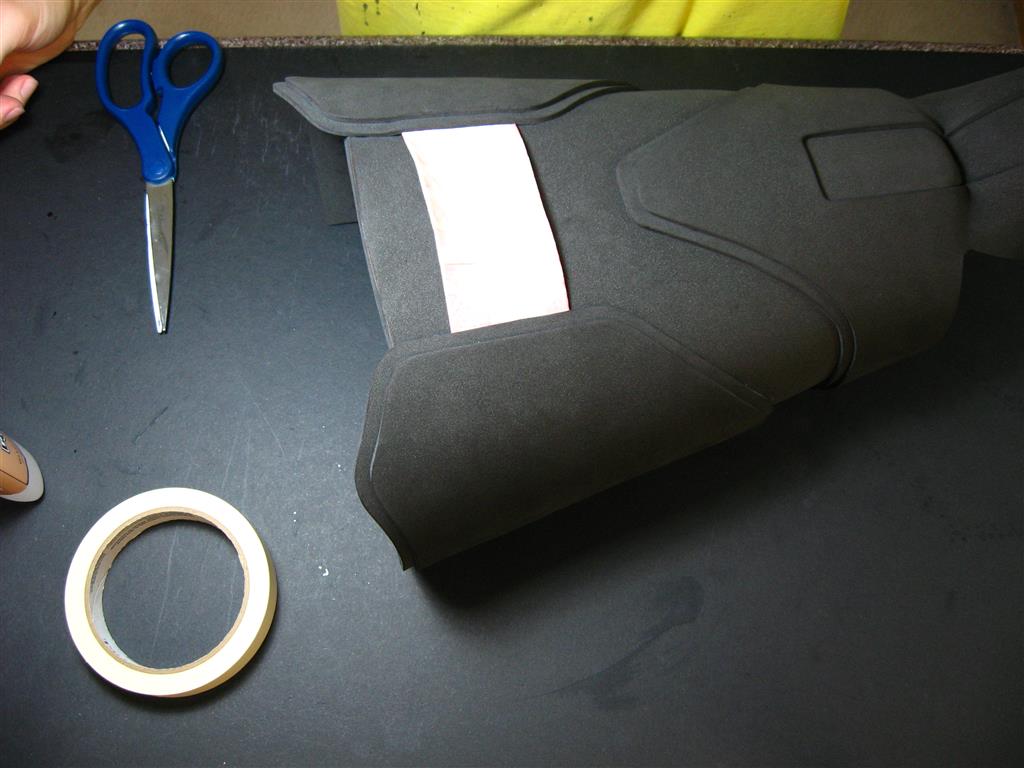
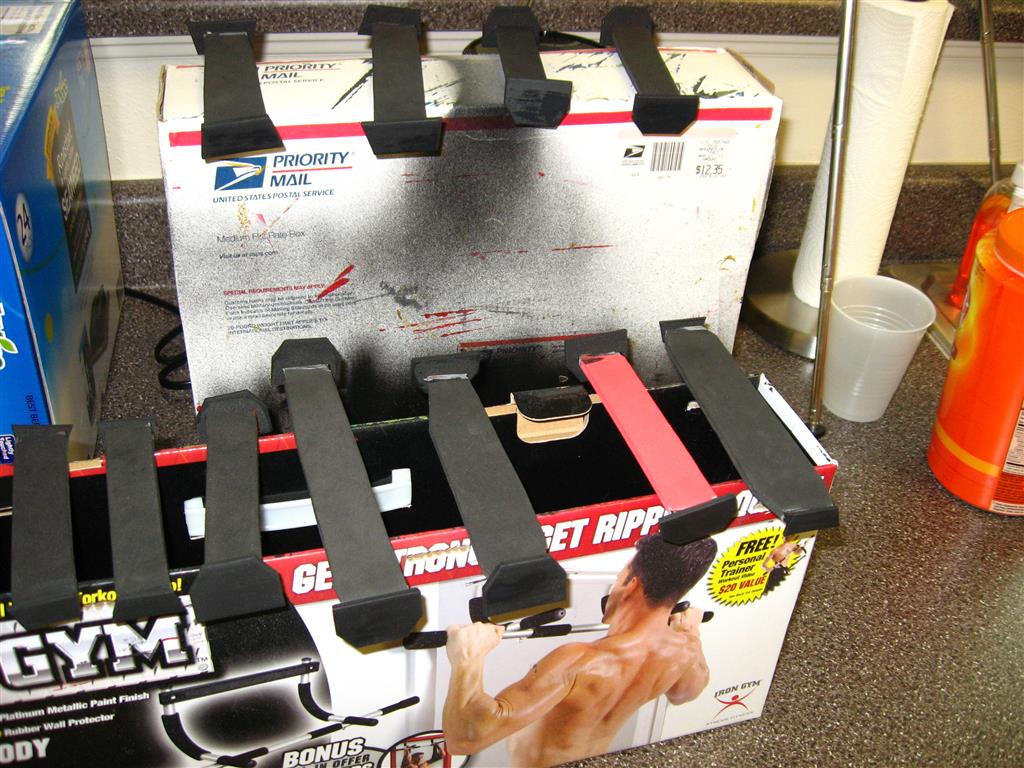
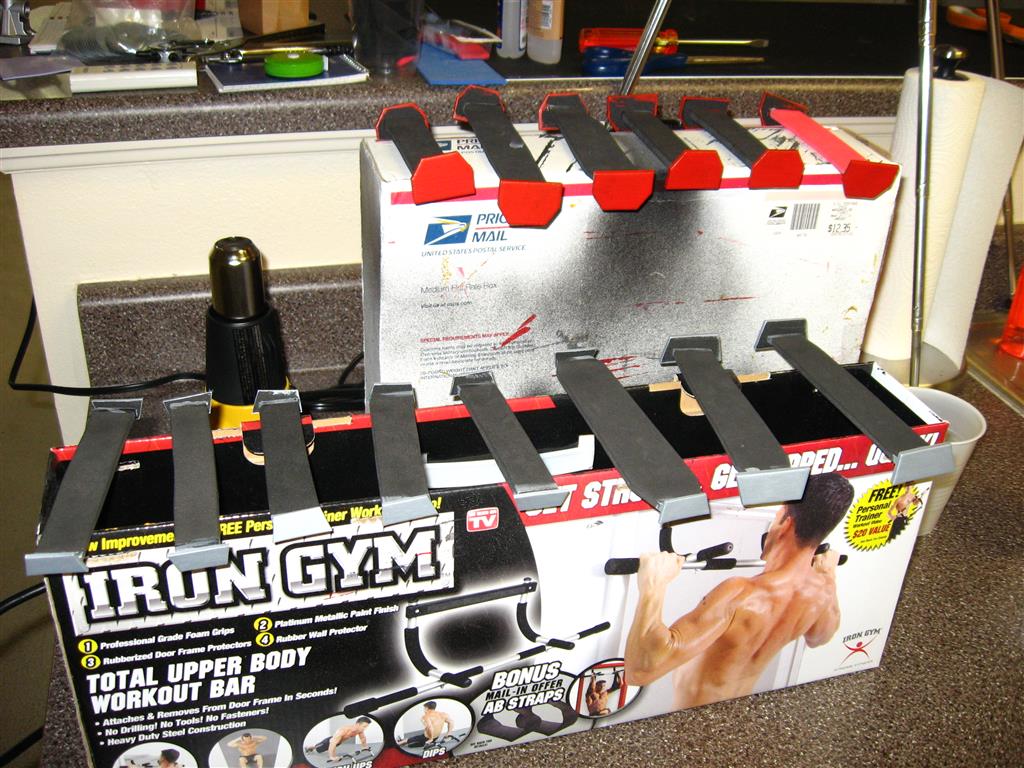
The boot covers are now ready for painting. Use masking tape to cover the top webbing. If you didn’t glue it down you can slide the tape all the way under to fully cover it.
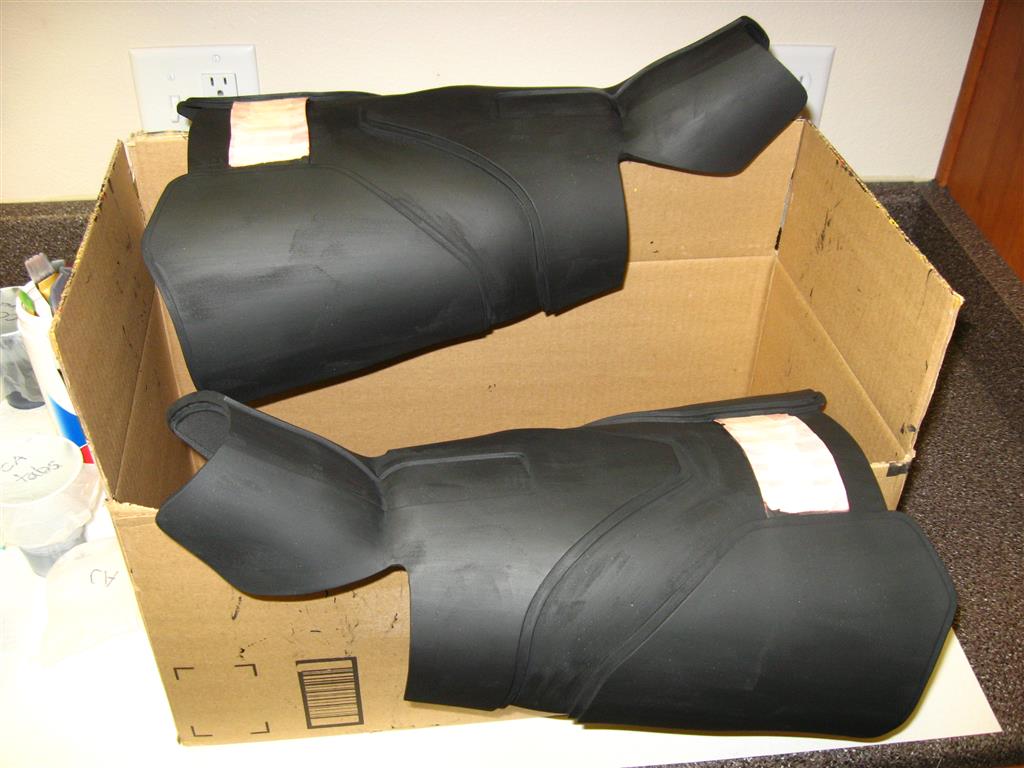
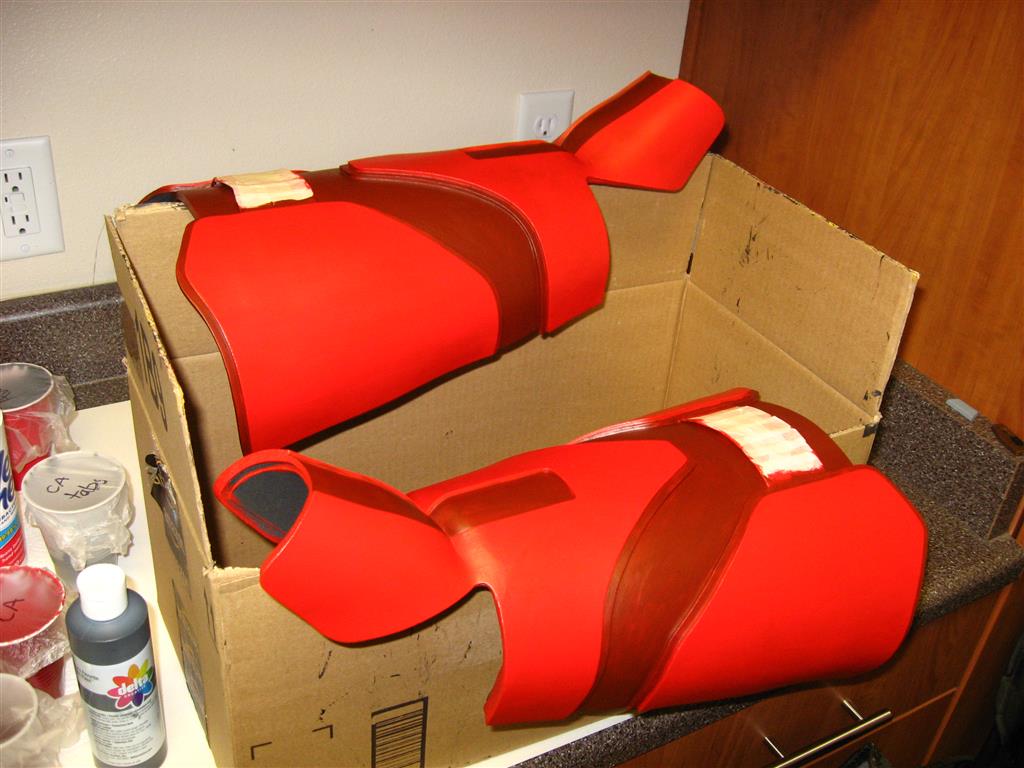
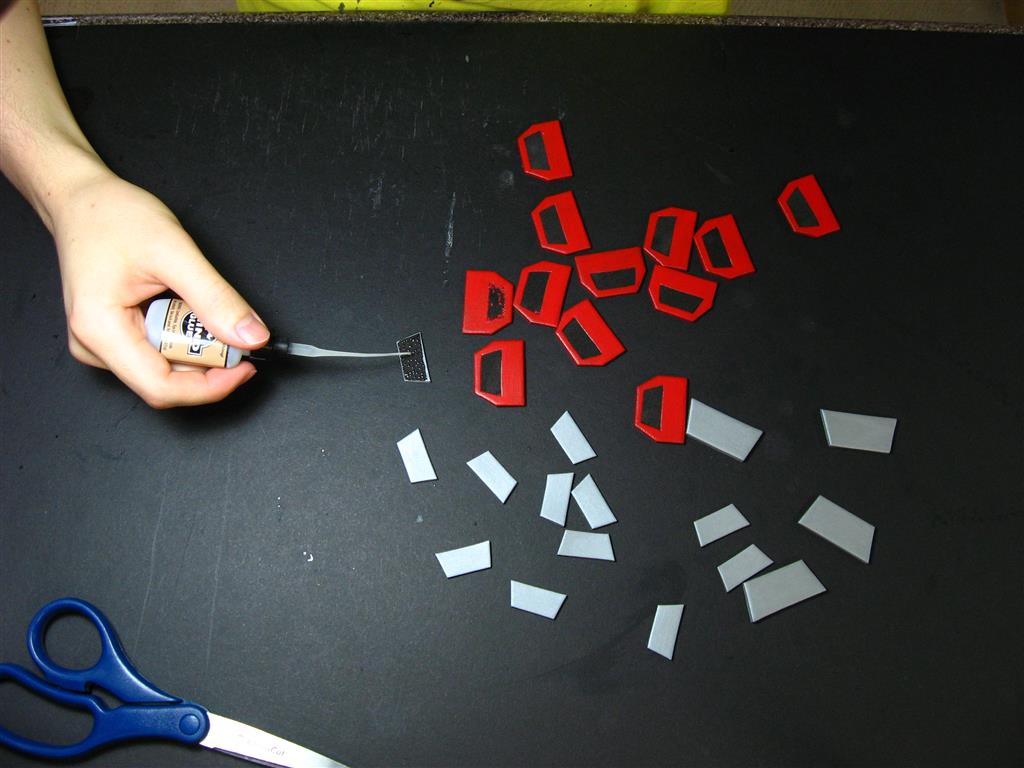
Hang the boot covers on a cardboard box so the wet paint doesn’t touch anything. For the small pieces I make holders out of foam and rolled up pieces of tape so they don’t need to be directly handled while they are being painted. I use brush on paint, but spray paint works great as well. I start with a coat of Benjamin Moore Aura as a sort of primer/ smooth base coat. The light red is scarlet mixed with cadmium red, to make the darker red I simply add a little black to that, and the silver is metallic silver mixed with zinc (all of which are regular acrylic paints from the local hobby store). I would also recommend spraying on a couple coats of clear Plasti Dip after everything is put together to help protect the finish. Just make sure to practice spraying several coats onto something else first, as it can become cloudy and speckled if applied incorrectly. For more information on painting see the painting tutorial.
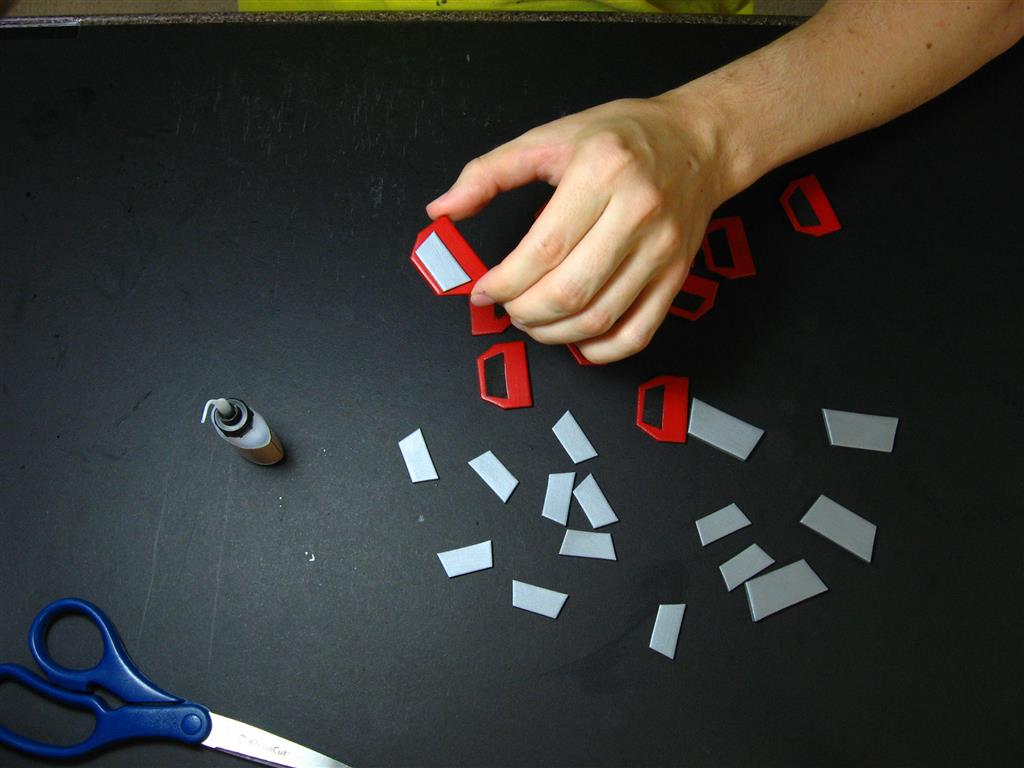
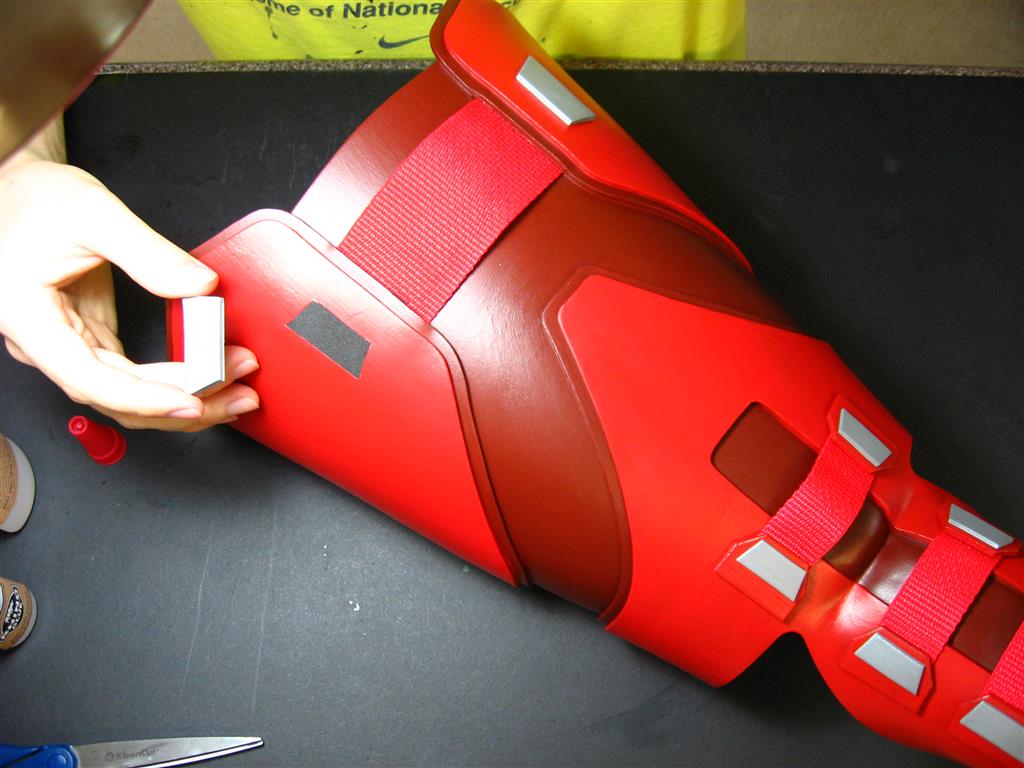
Align the small silver tabs onto the red pieces and press down onto them. This will leave an indentation on the red pieces. Use this as a guide to score the paint with an xacto knife. (Gluing directly onto paint will not form a strong bond, so you’ll want to remove the paint directly underneath the piece you’re gluing) Score it a little ways in from the indentation so you give yourself a little extra room when gluing and don’t end up seeing the area with missing paint in the final product. To actually remove the paint after scoring the edges, simply scratch at one of the corners with your fingernail or the knife to get an edge up. Depending on the type of paint you used you may be able to peel it all off in one piece pretty easily. If it doesn’t come off nicely, just use the xacto knife to scratch up the area a little. It doesn’t need to be very clean, just get some of the raw foam exposed and that will help it stick.

Glue the top pieces on, paying attention to the edges of the area missing paint.
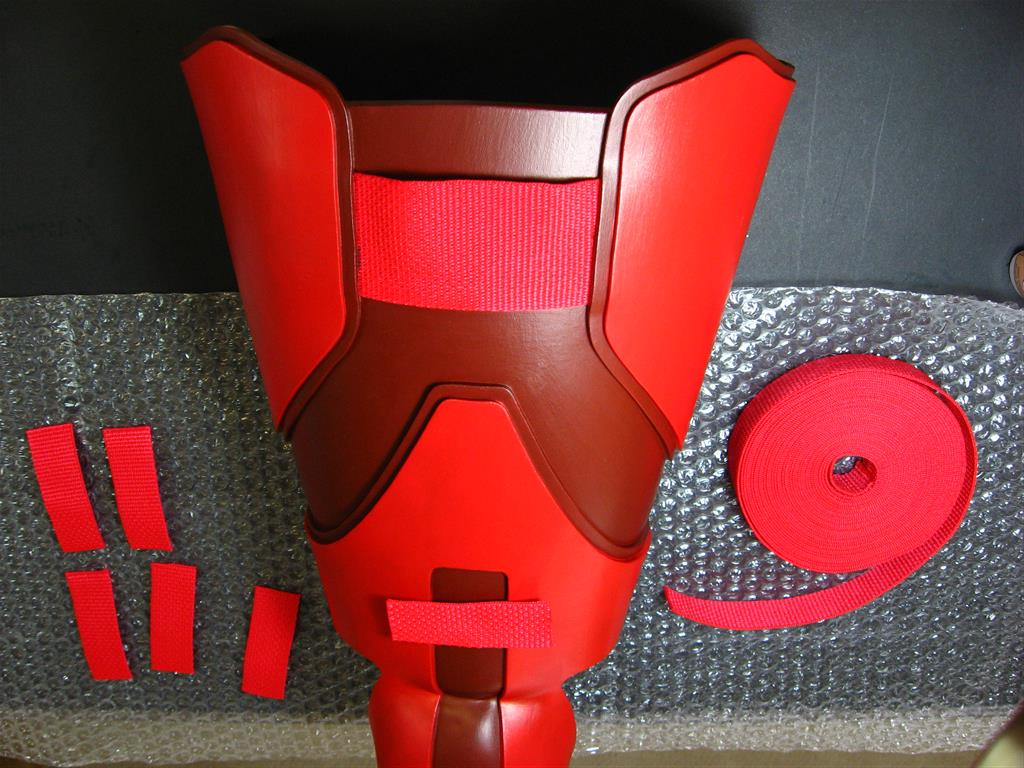
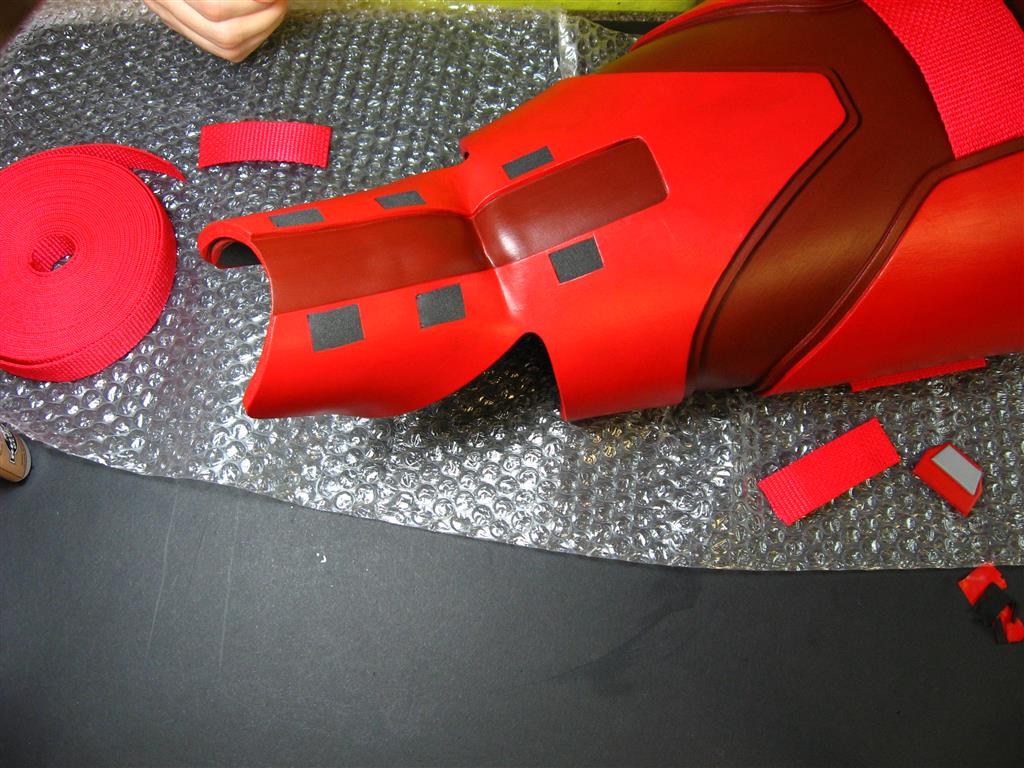
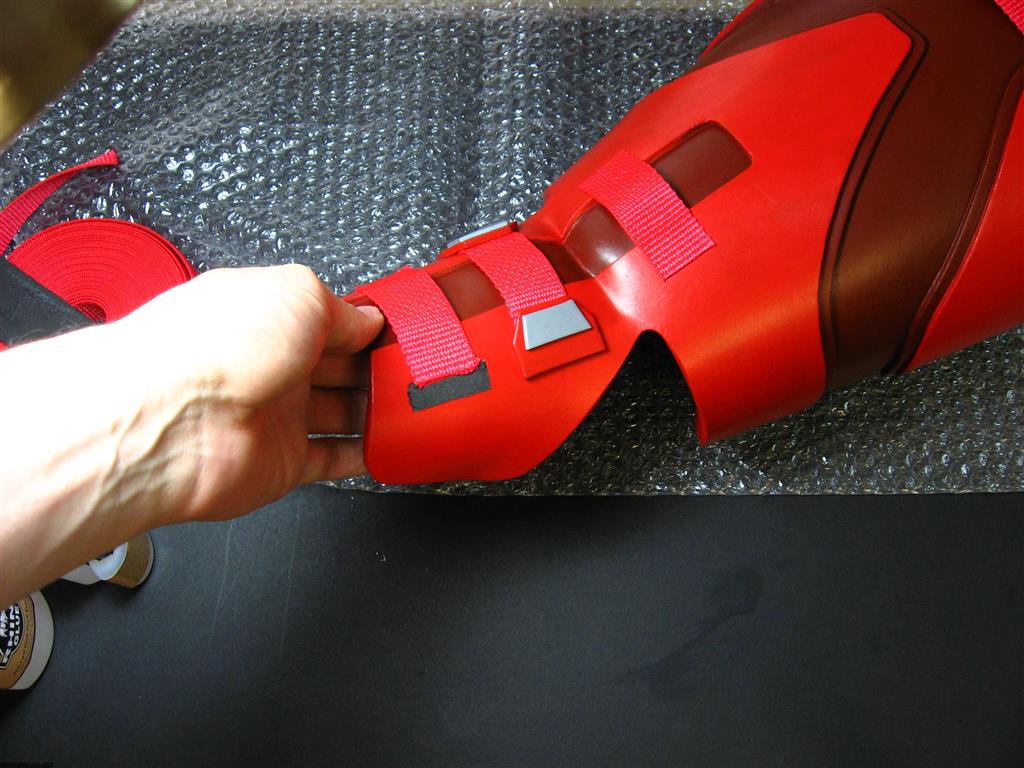
Cut 6 lengths of 1 inch webbing (strapworks again) for the feet tops. Press them into the foam to indent it and remove the paint in those areas the same way as before. For the top strap on each, make sure to leave some slack in the middle as it will be pulled apart when the boot covers are fully closed.
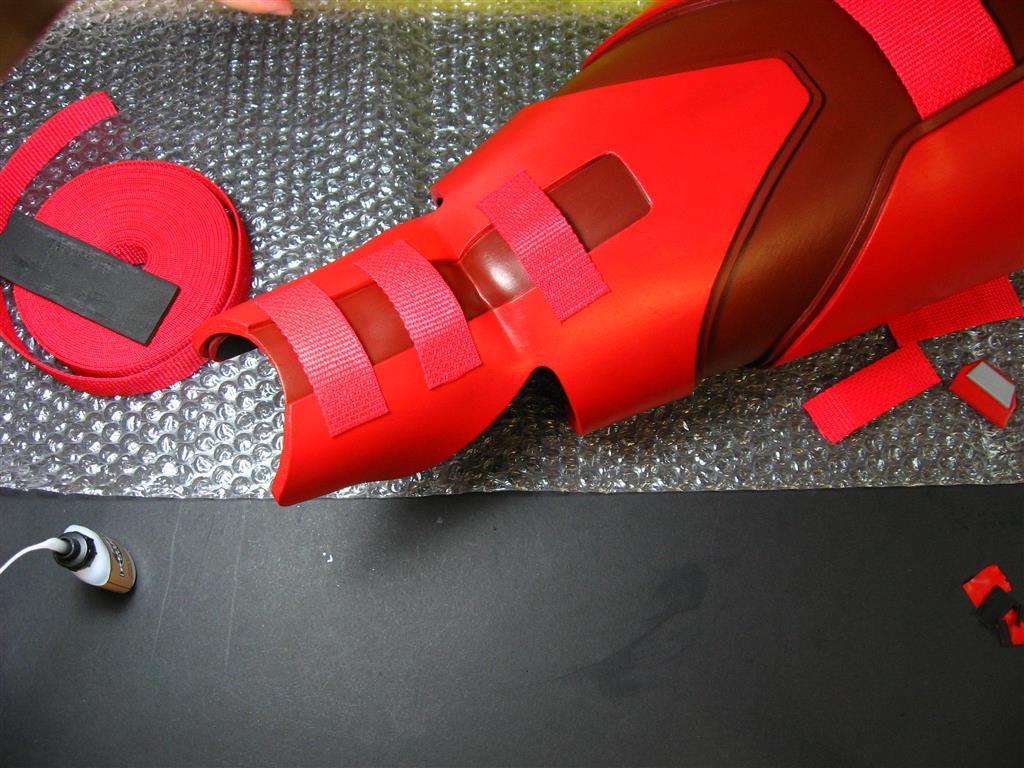
Glue on the end tabs as well as the top larger silver tabs the same way.
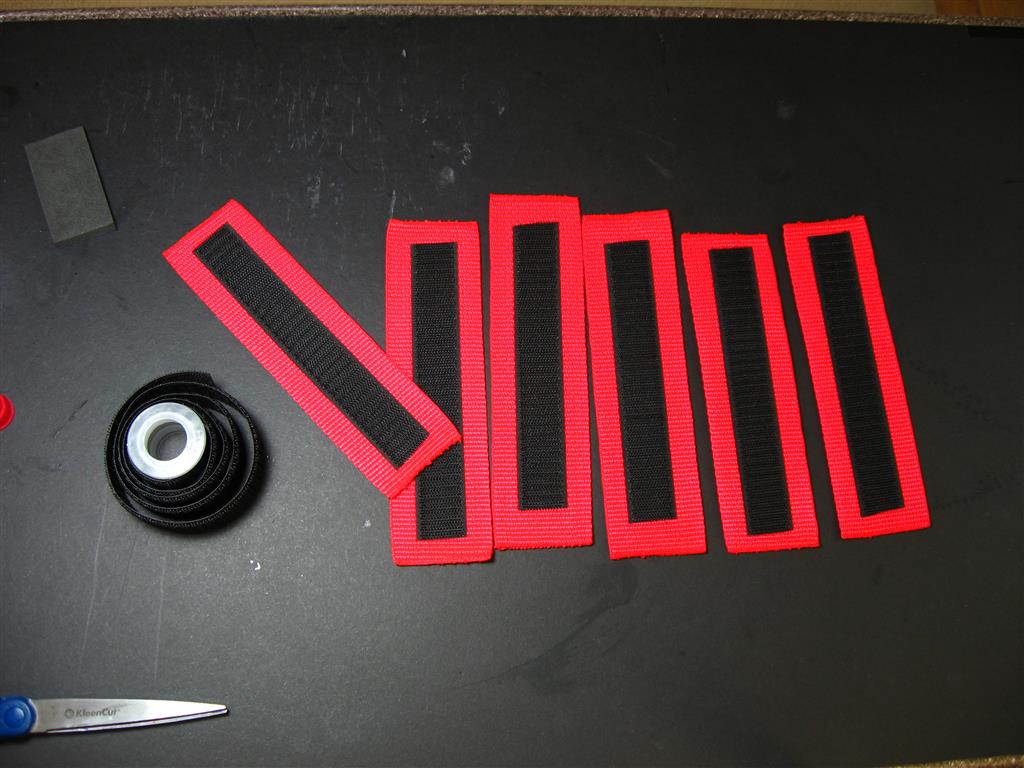
Cut six lengths of 2 inch webbing and glue hook-side velcro onto them to make the closure straps.

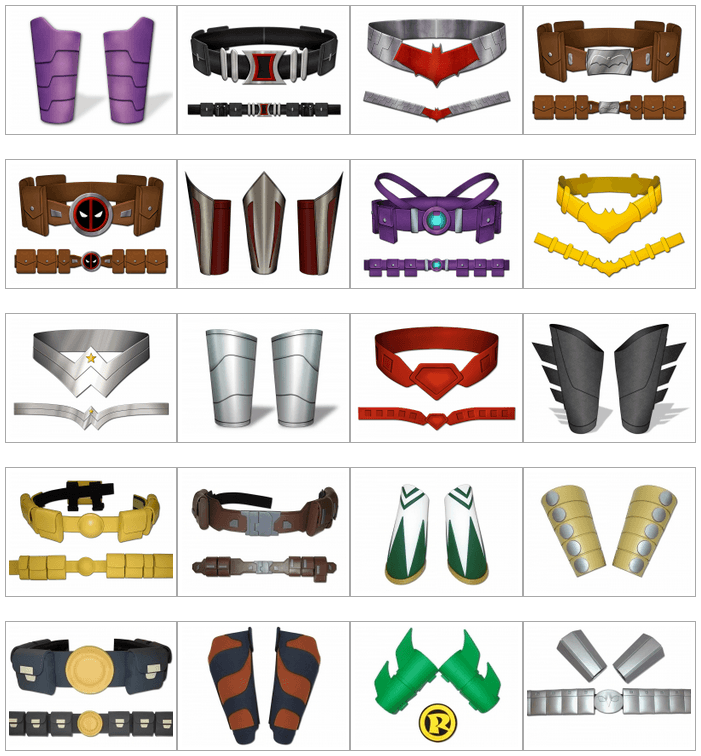
Check out the shop and the gallery for more templates and project ideas. Have fun out there!