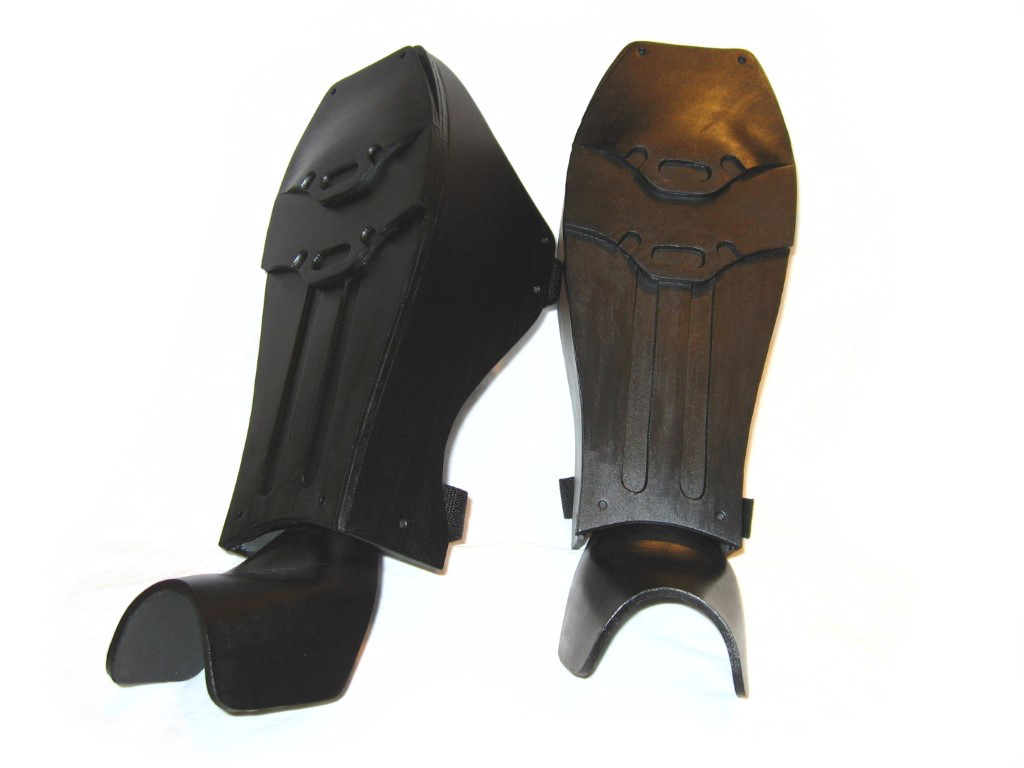
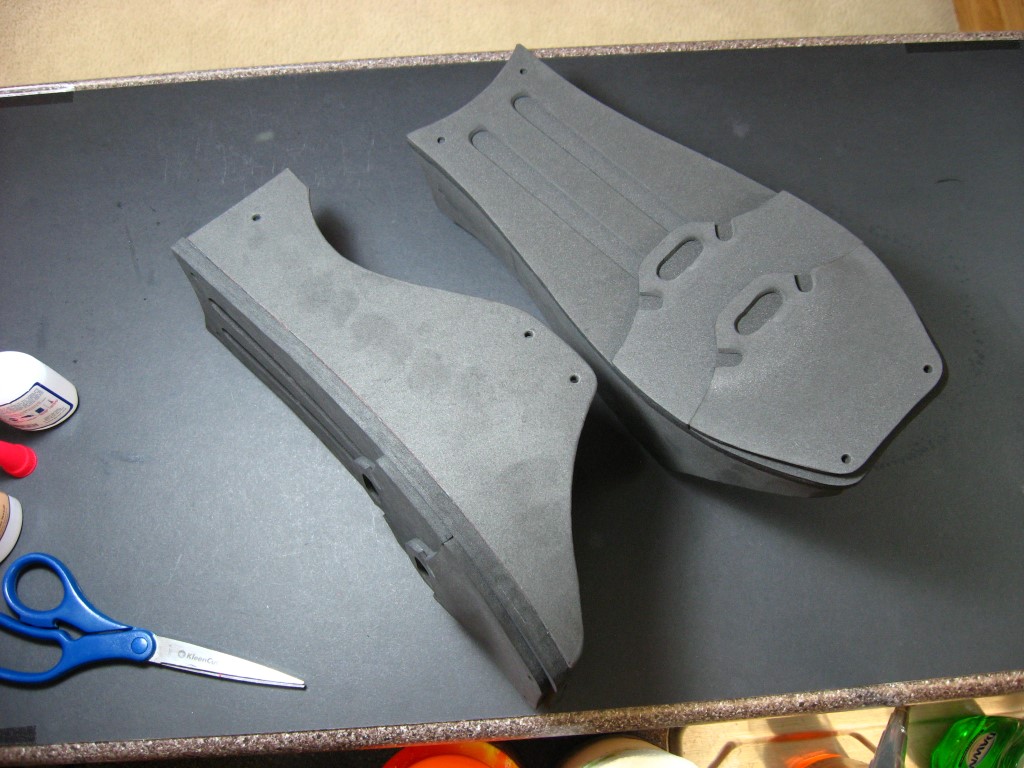
This tutorial will walk you through the construction of the Ark City Bat shin guards. The template is available for purchase here:

If this is your first build, check out the Introduction Page first,
as well as the Supply Page for links to the foam, glue, and necessary tools.
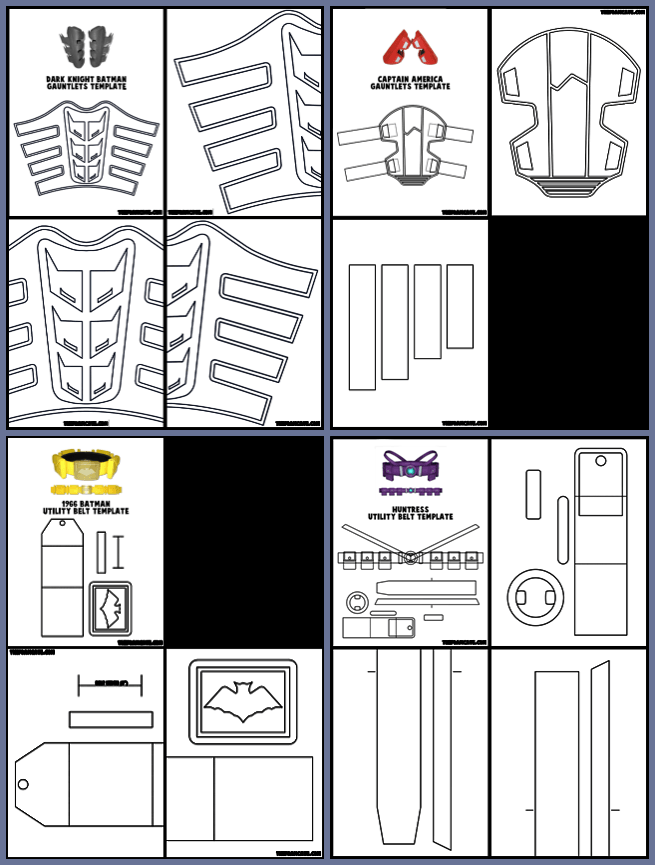
Print out the template onto thick printer paper (ideally a poster board paper) to make it easier to trace. You may have to print some pages out more than once to get enough copies to cut each piece out separately. Tape together the sections that extend across two pages- hold it up to light or place the printouts on a sun-facing window to see through the paper and correctly align both halves.
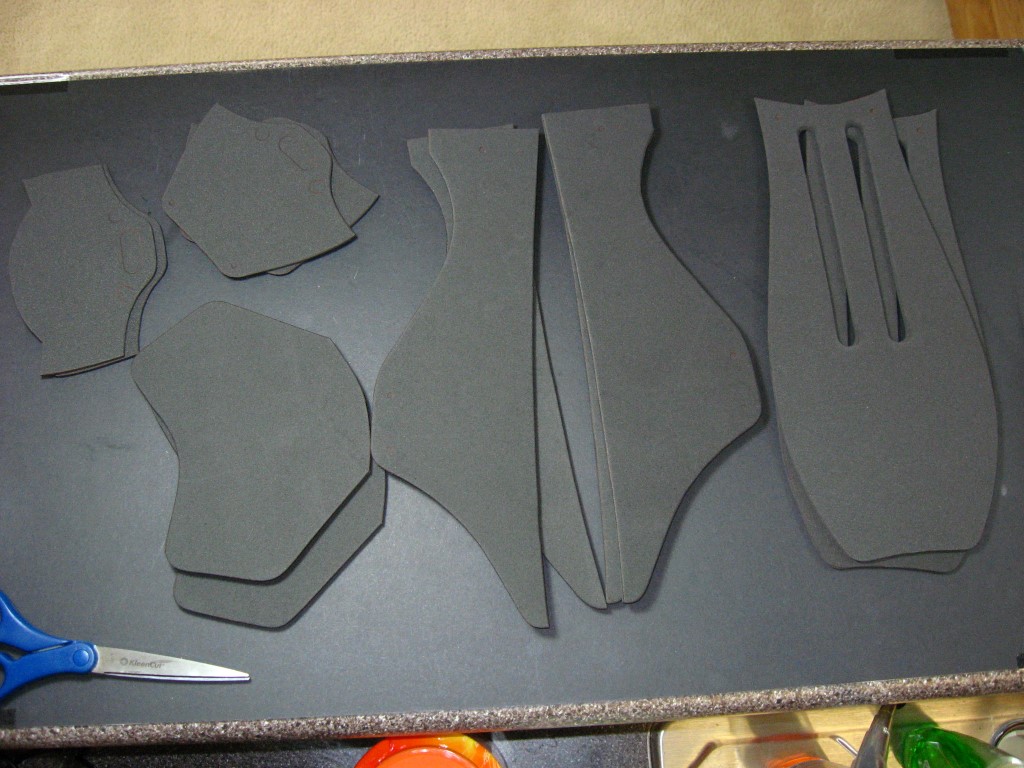
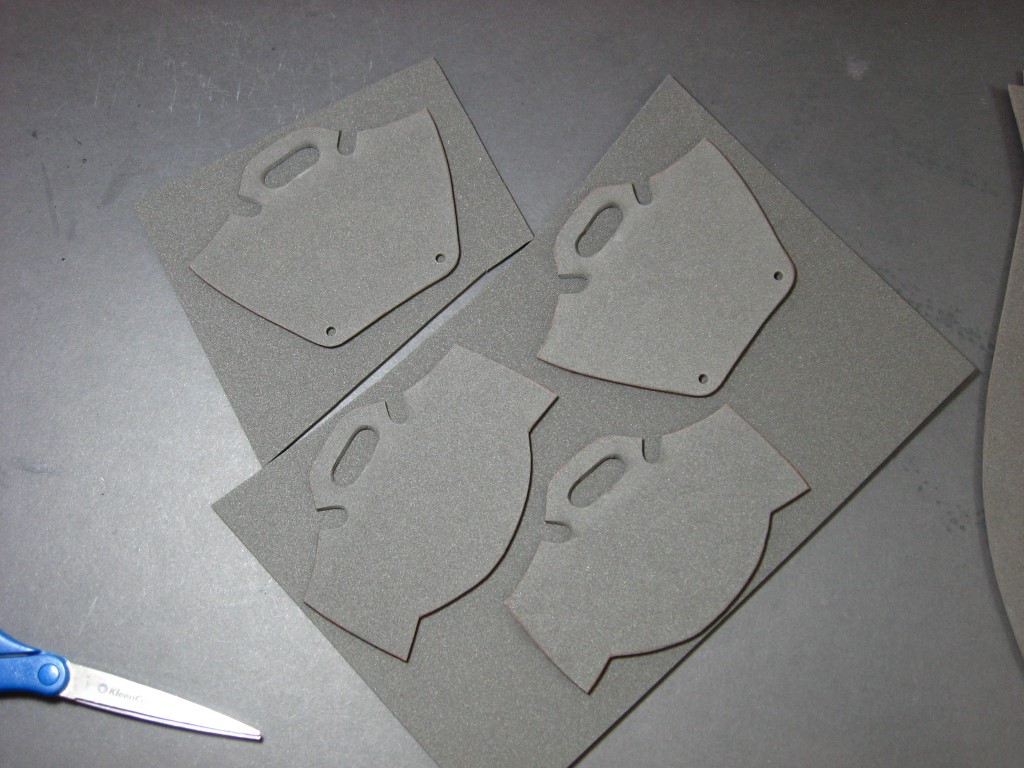
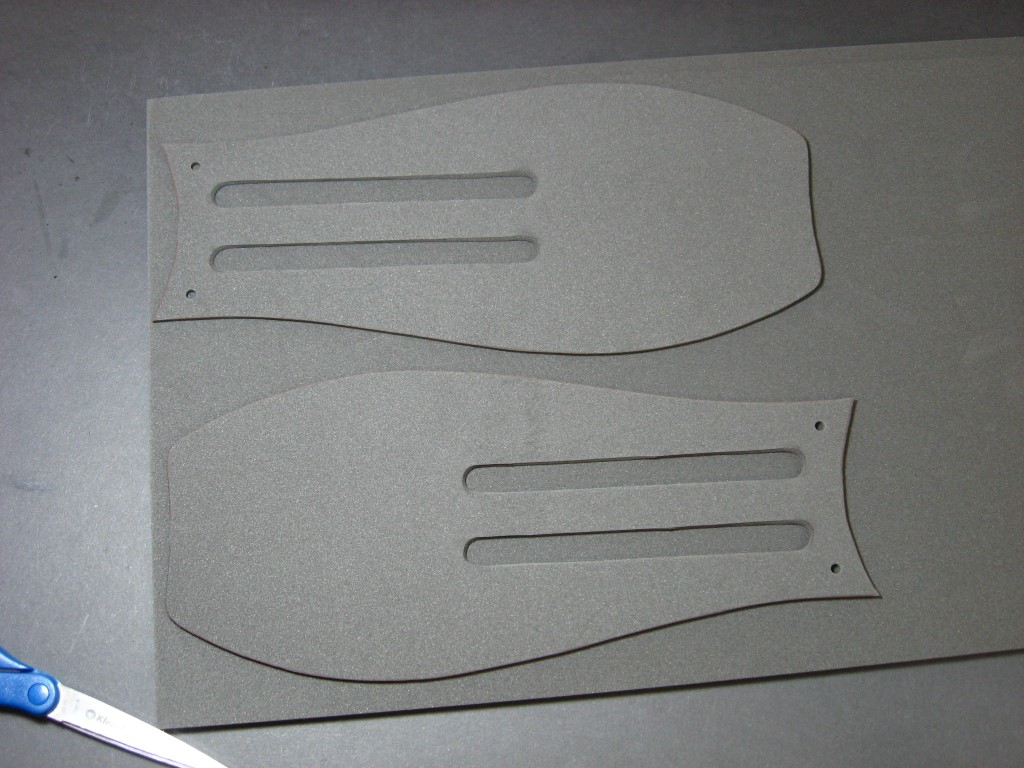
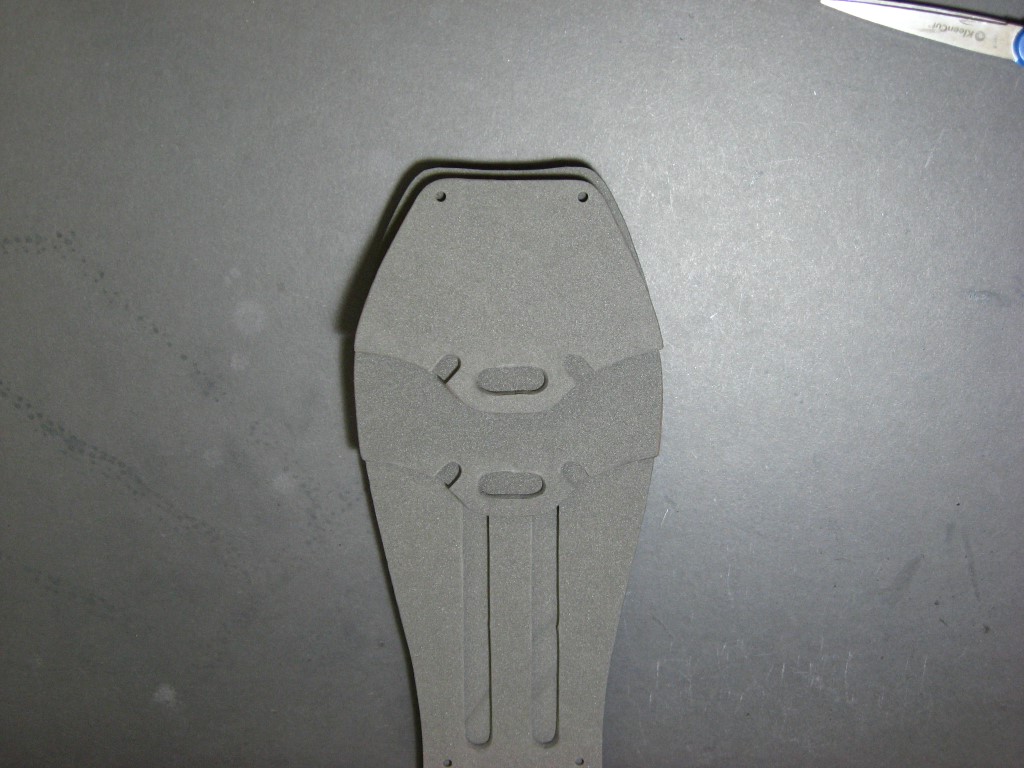
Cut out all the pieces and trace them onto your foam sheets. Most of the pieces will be two layers of foam thick; the two top pieces will be two layers of 3mm thick foam, the tall main section will be a layer of 3mm on top a layer of 5 or 6mm thick foam, and the straps, sides, and foot tops will be 5 or 6mm.
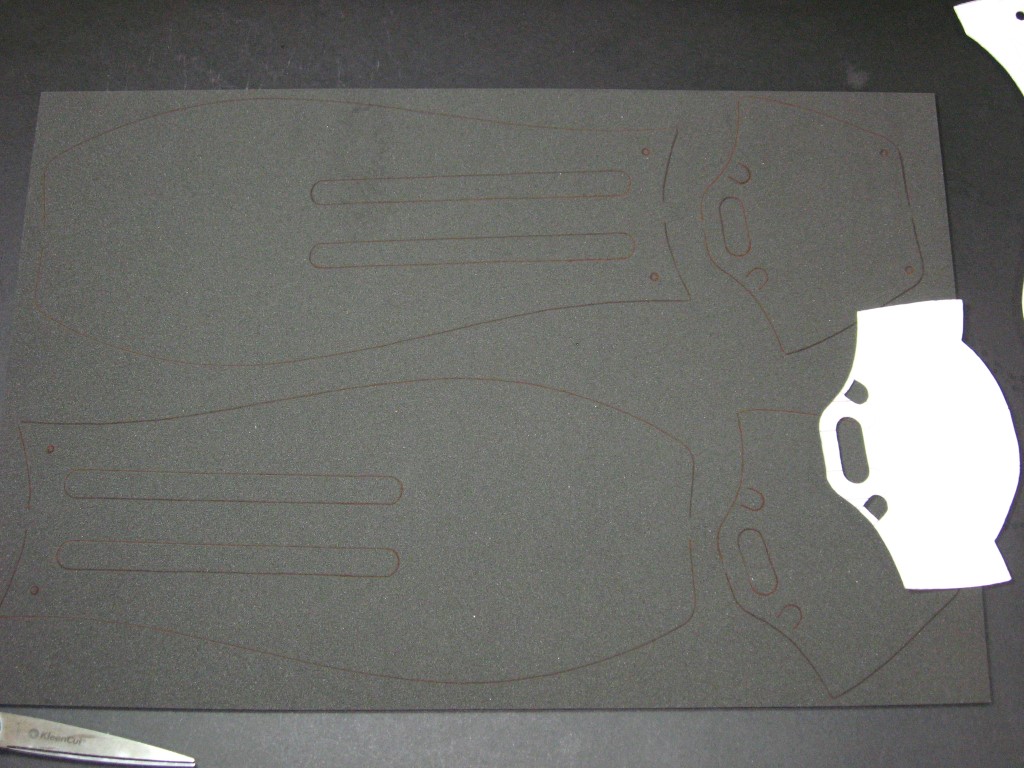
For the top two pieces and the tall main piece, only trace the top layer for each onto the 3mm foam. The second layer for each will be created later.
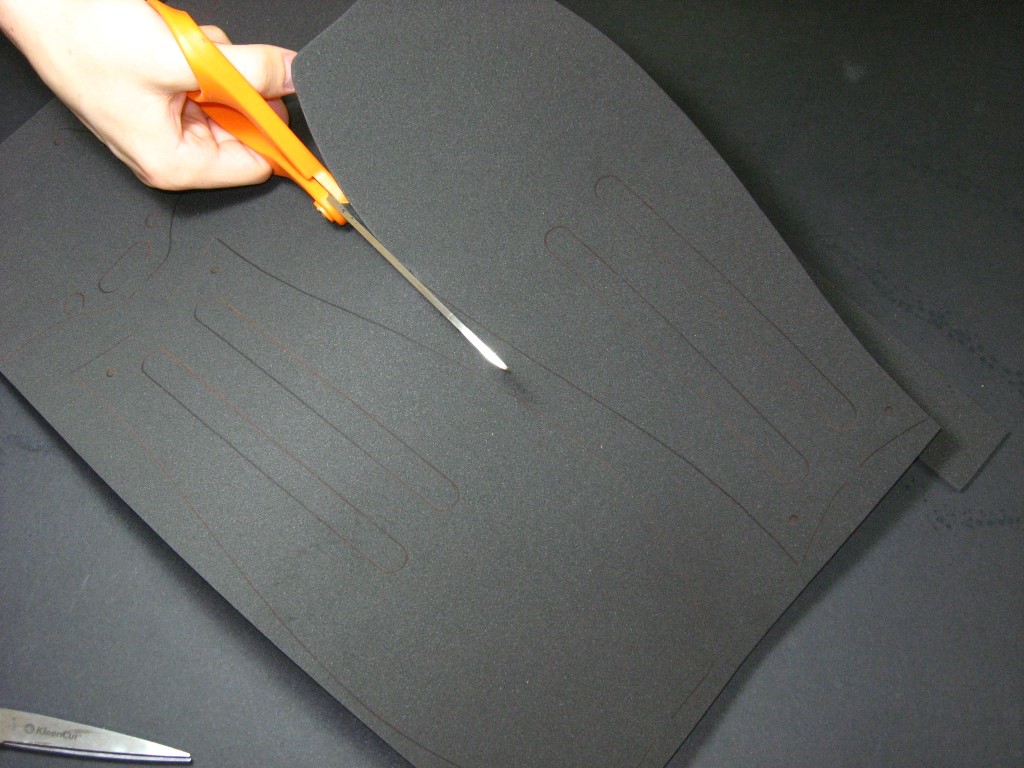
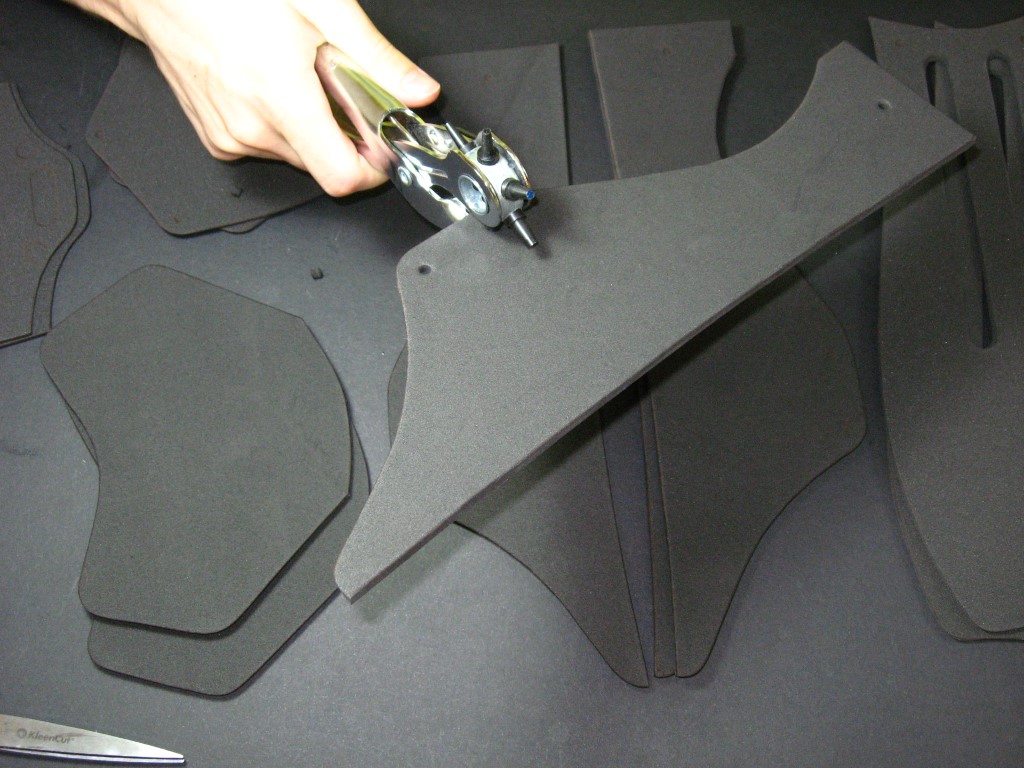
Cut out the shapes using regular office scissors, and use a hole punch for the holes.
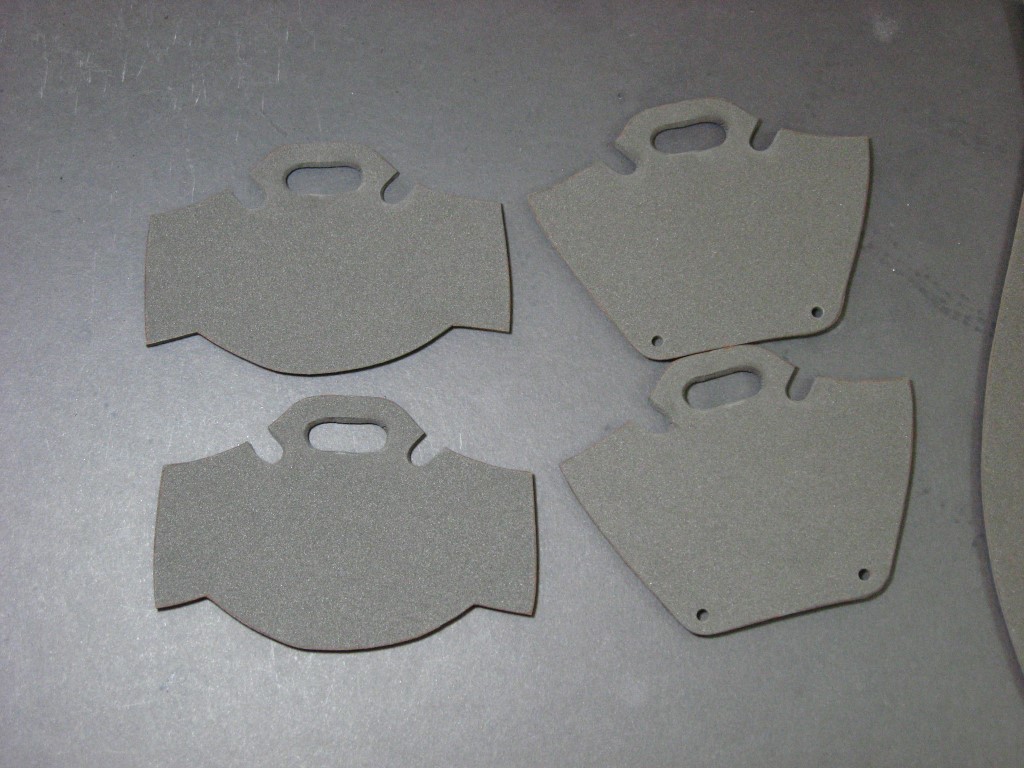
The small, internal elongated ovals on the top pieces will be the hardest shapes to cut. I’ve found scissors work best. Just go slowly and keep the cut inside the deepest inch or two of the blades, and practice cutting the shape out of pieces of scrap foam.
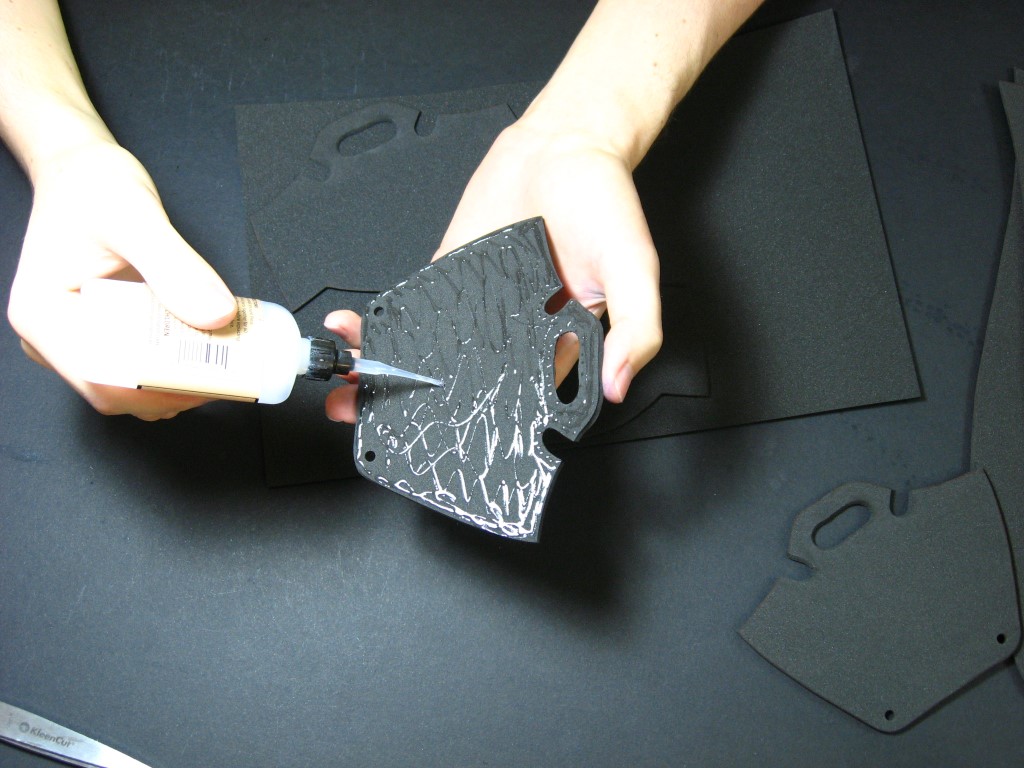
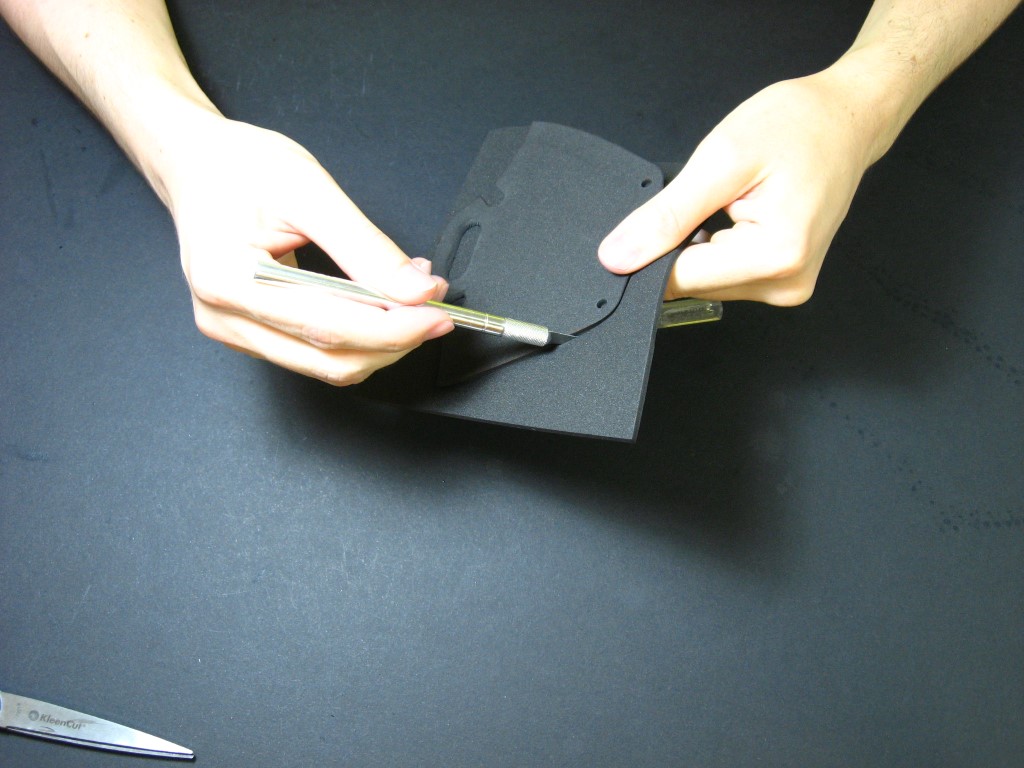
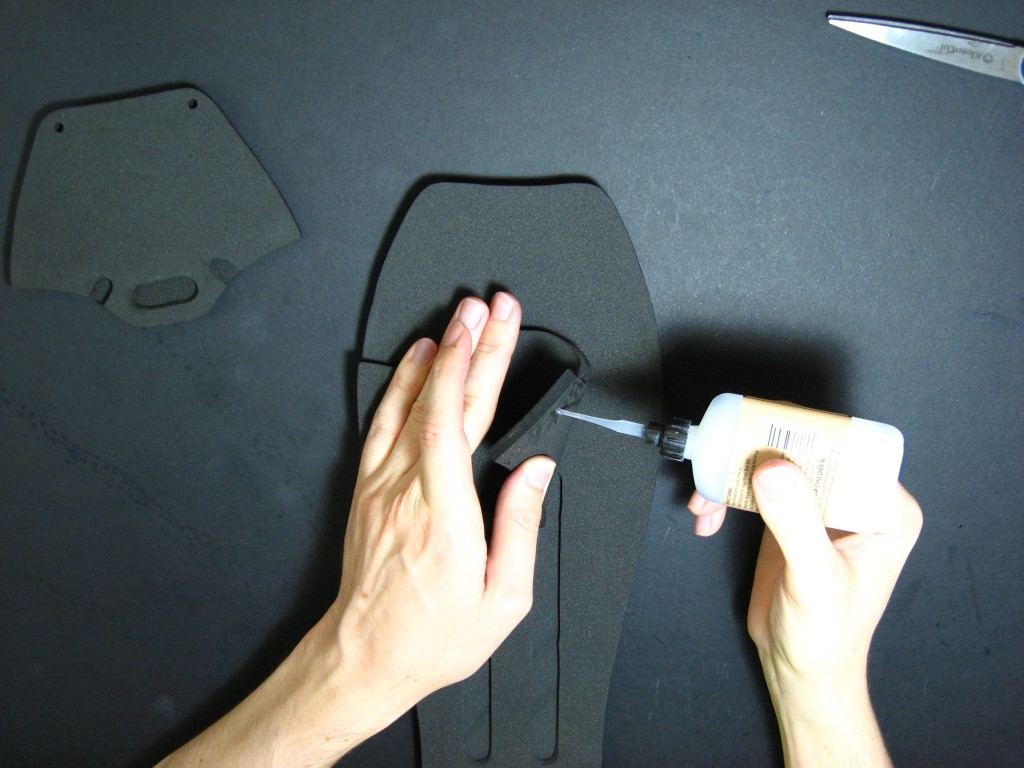
Glue (I use a variety of super glues, mainly Rhino Glue) the top sections onto a sheet of 3mm foam, and glue the main tall pieces onto a sheet of 5 or 6mm foam.
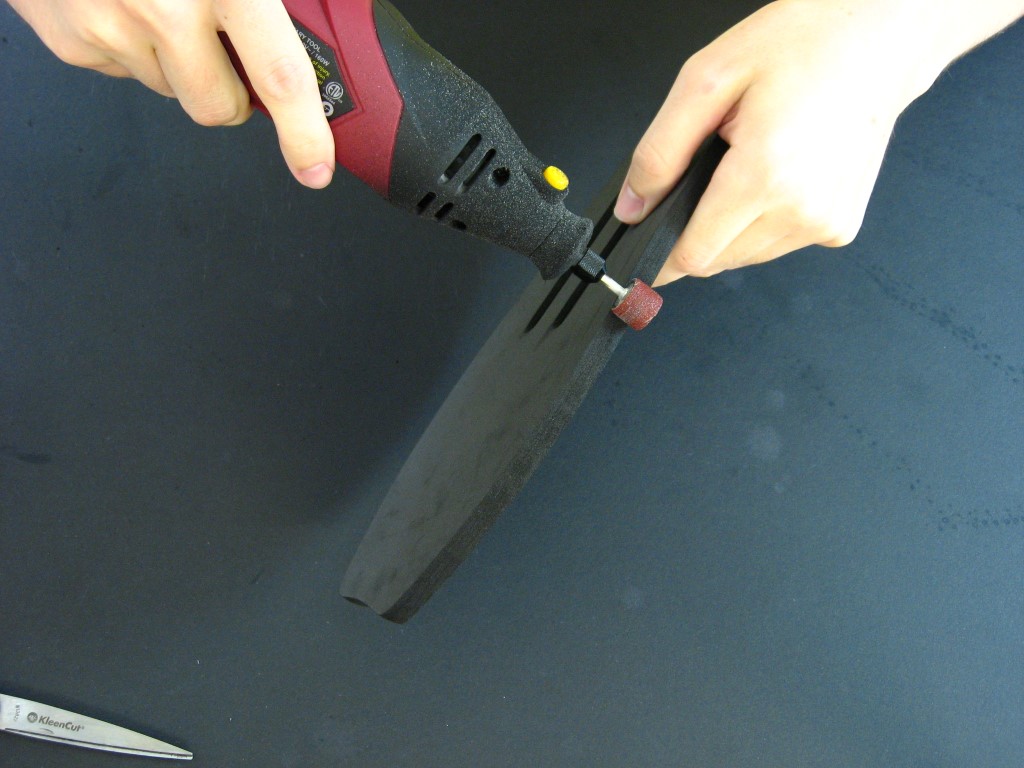
Cut out these shapes from the sheets using an Xacto knife. Use a dremel with a sanding bit to clean up the edges (very gently stroke the edges).
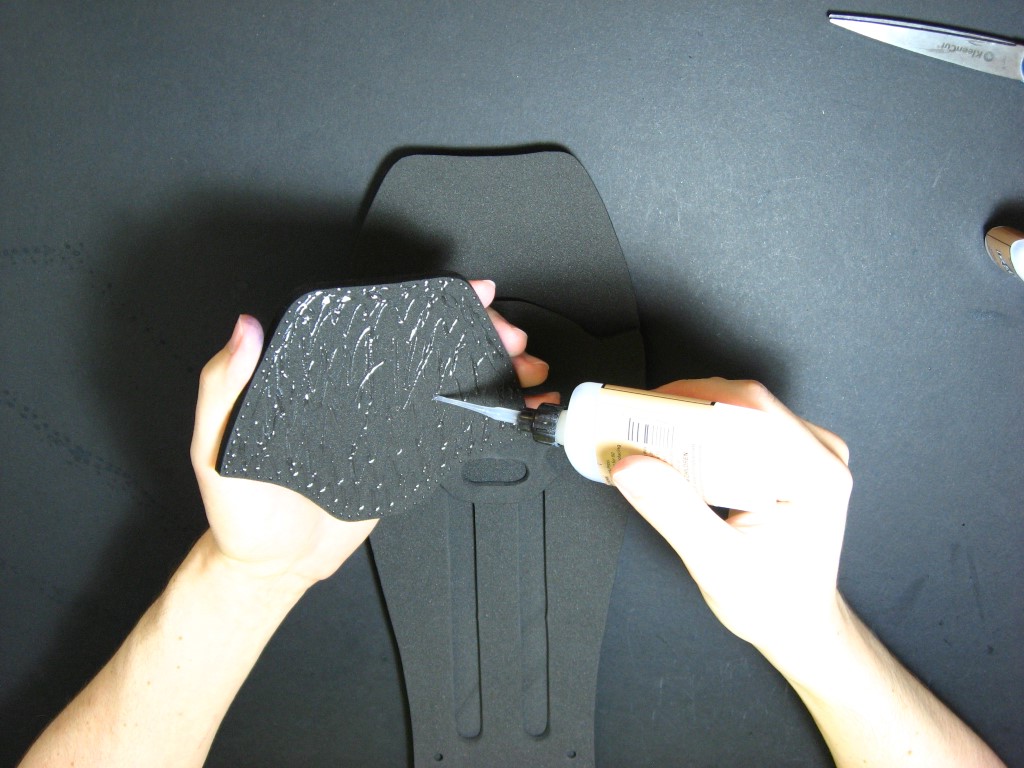
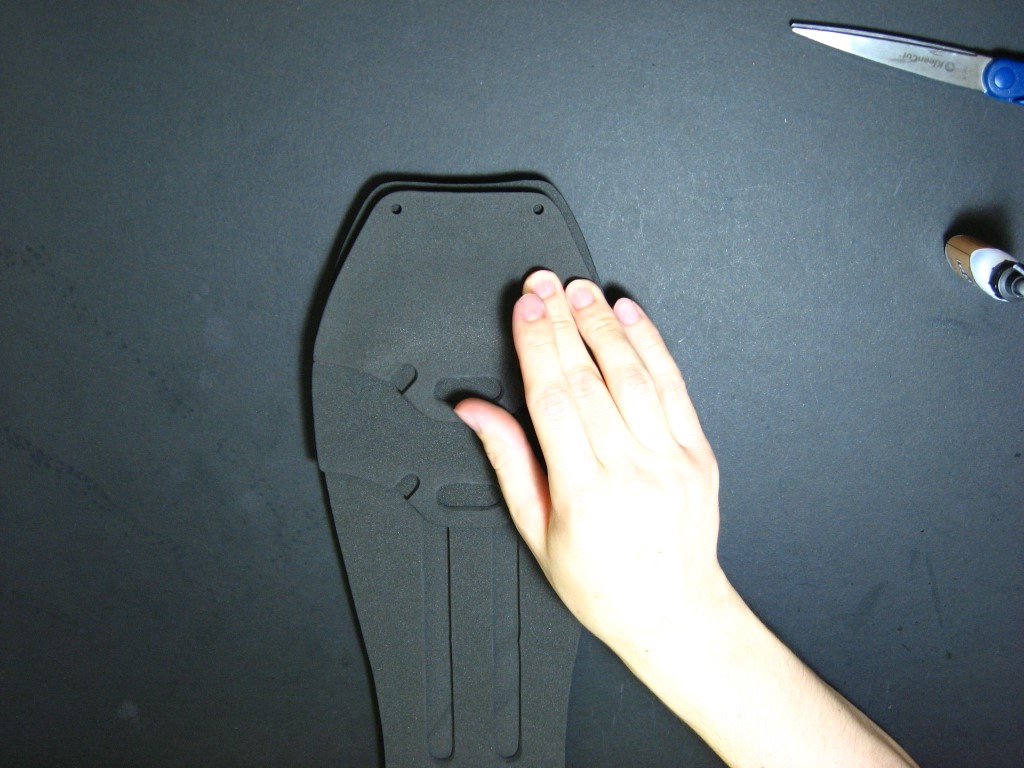
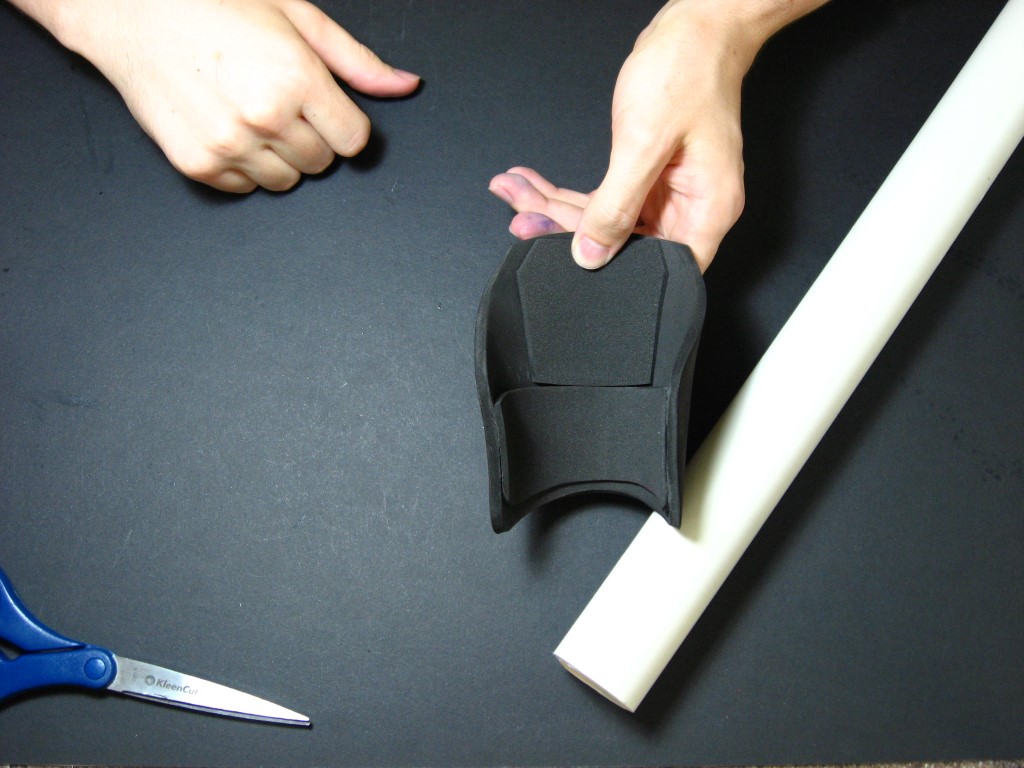
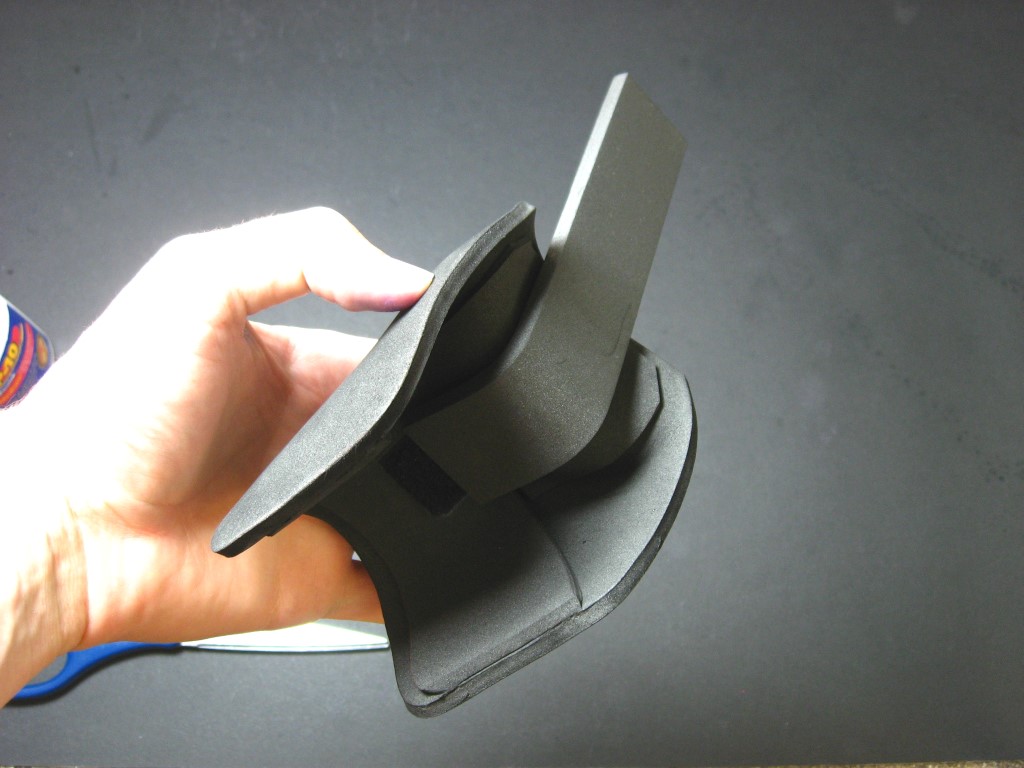
Align the top pieces onto the main tall piece. Hold down the second piece and bend one of the corners and apply a little glue. Press and it back down and hold it for 10 seconds till the glue dries. Flip it over and apply glue to the rest of the piece and press it down to let it dry.
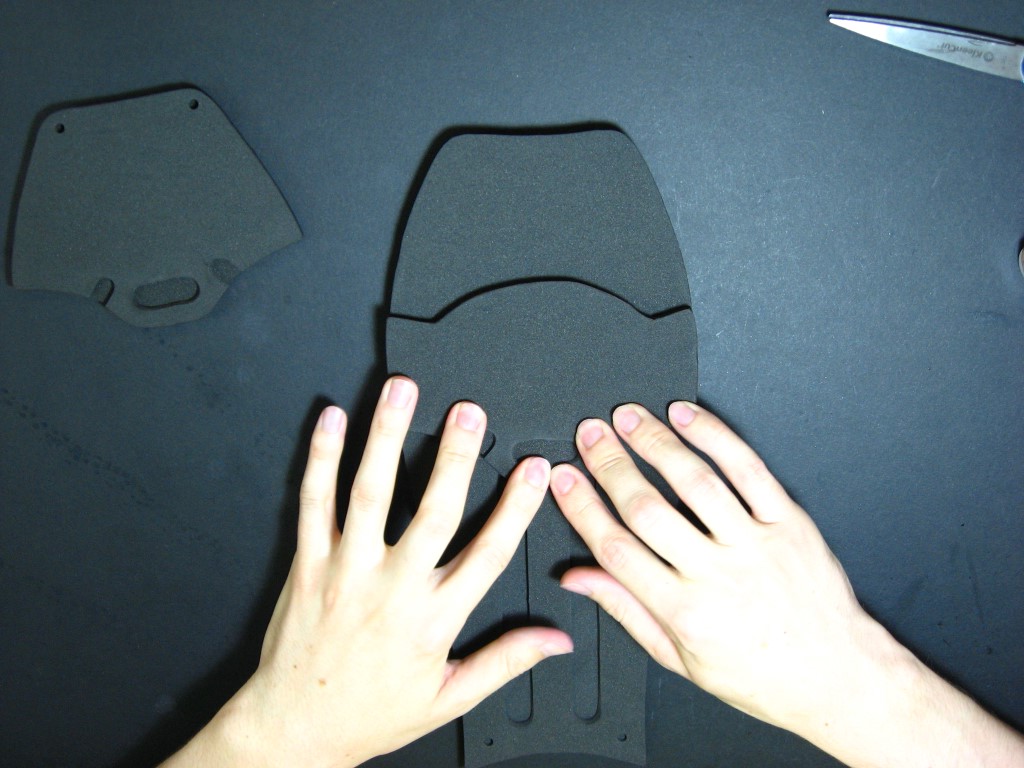
Glue the top piece on the same way or all at once it you’re a gambler. Slide it down towards the second piece as you set it down to avoid gaps.
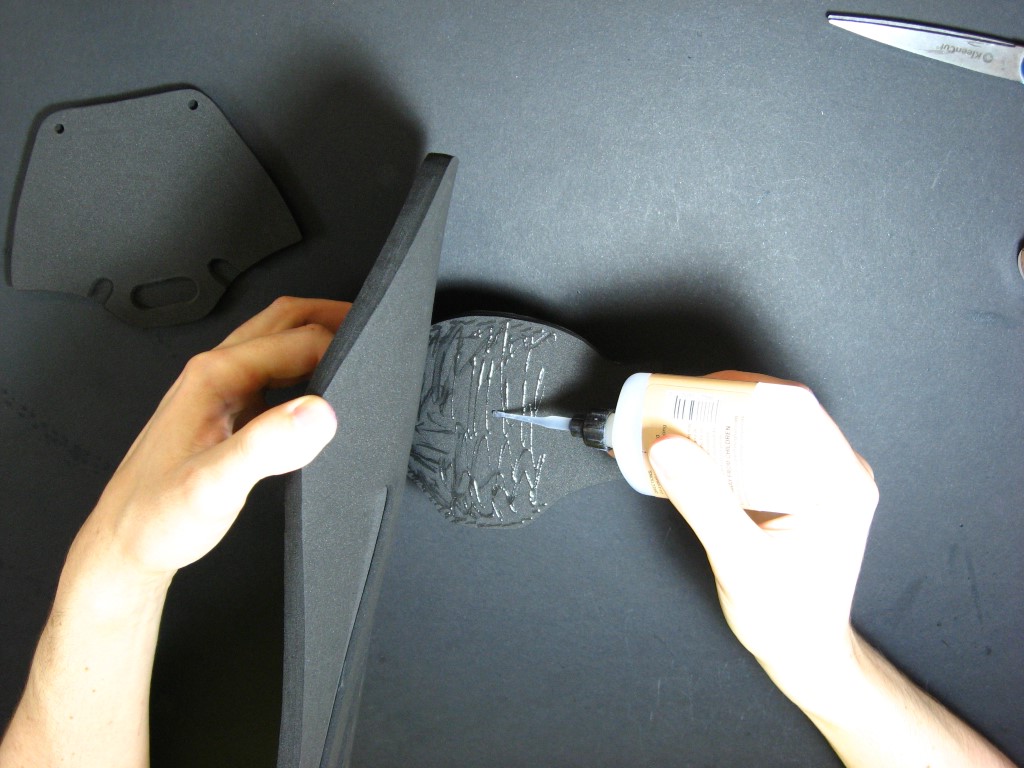
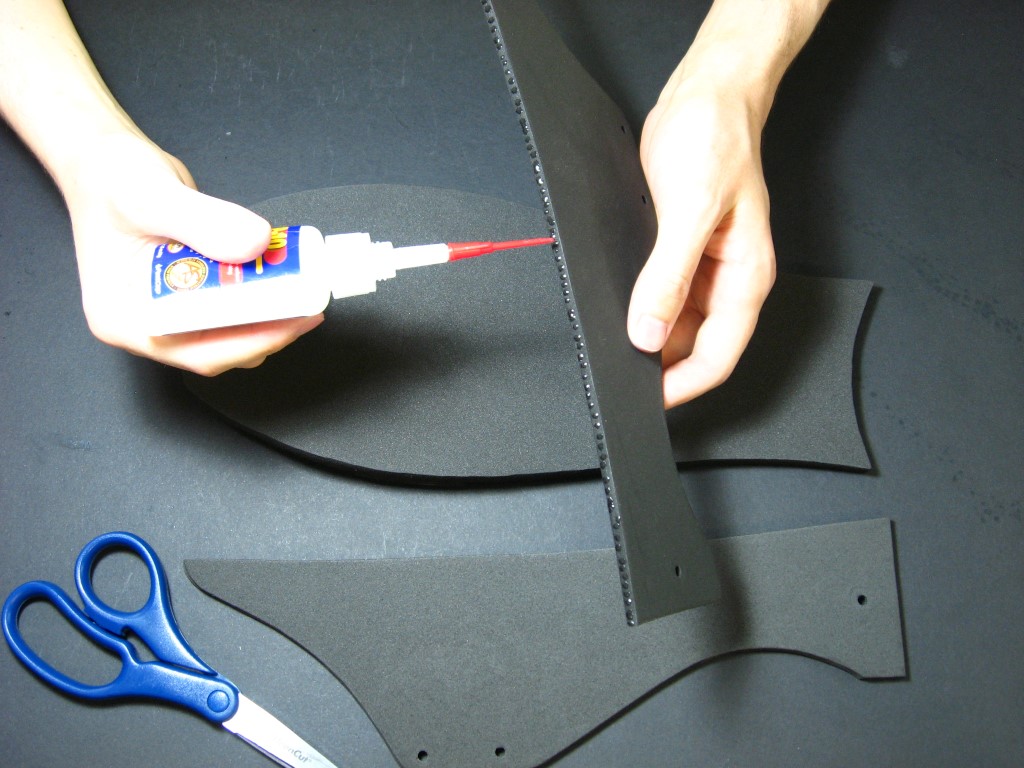
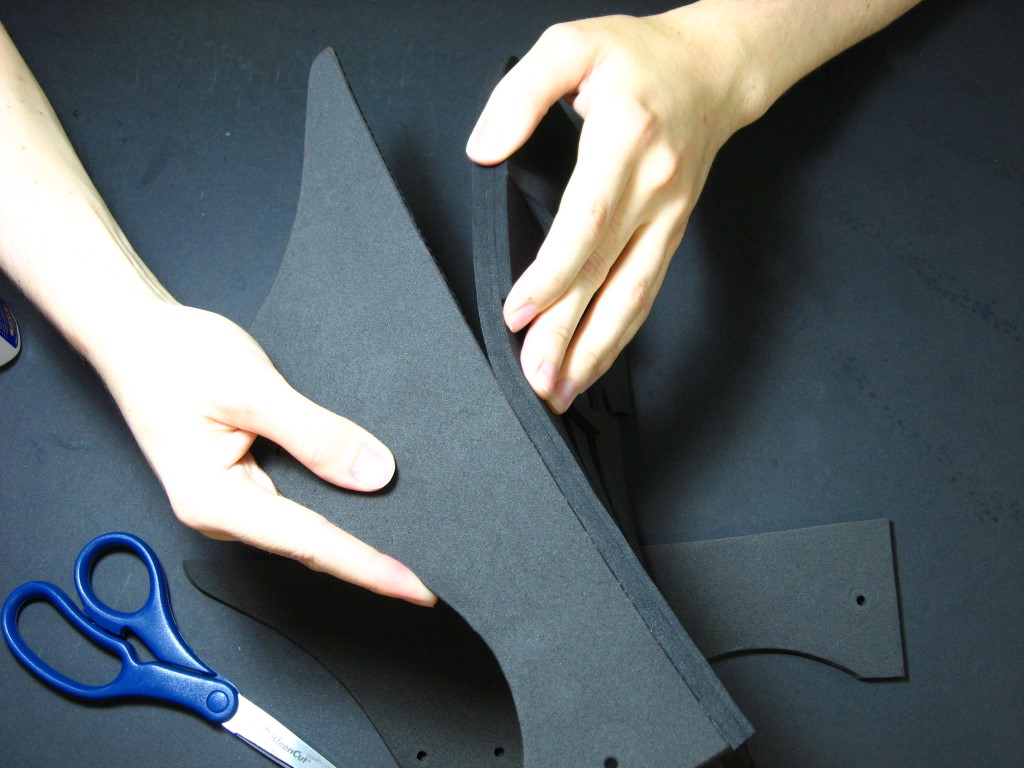
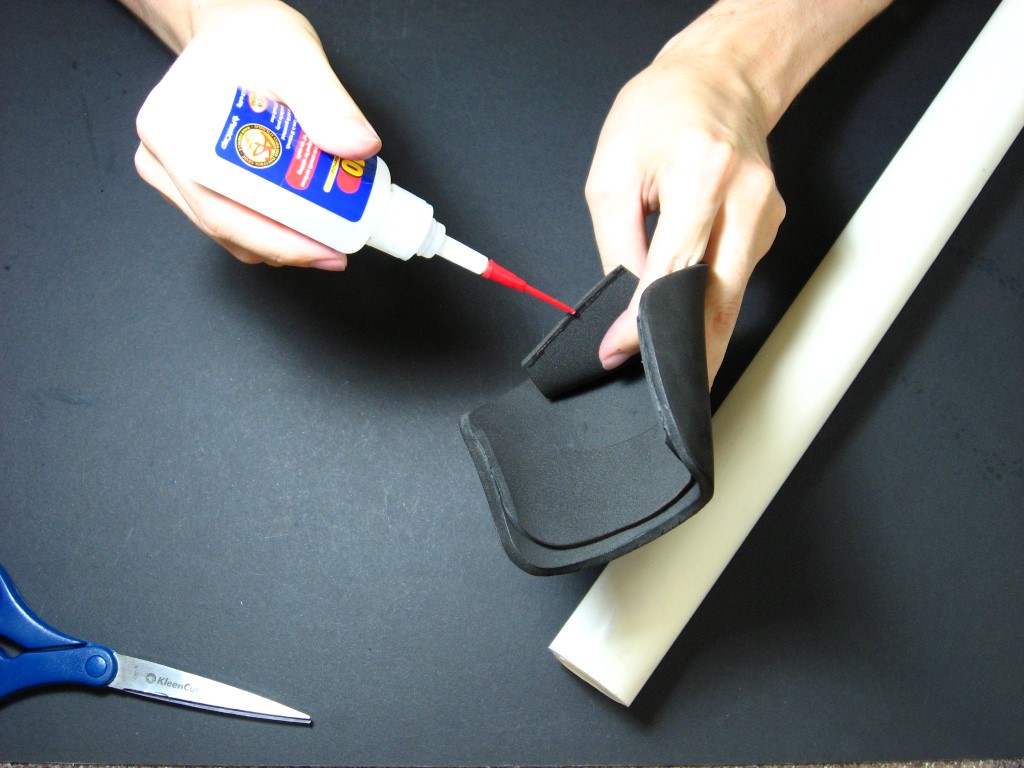
Put dabs of glue along the entire edge of the side pieces and slowly adhere them to the back of the main piece, starting at the bottom.
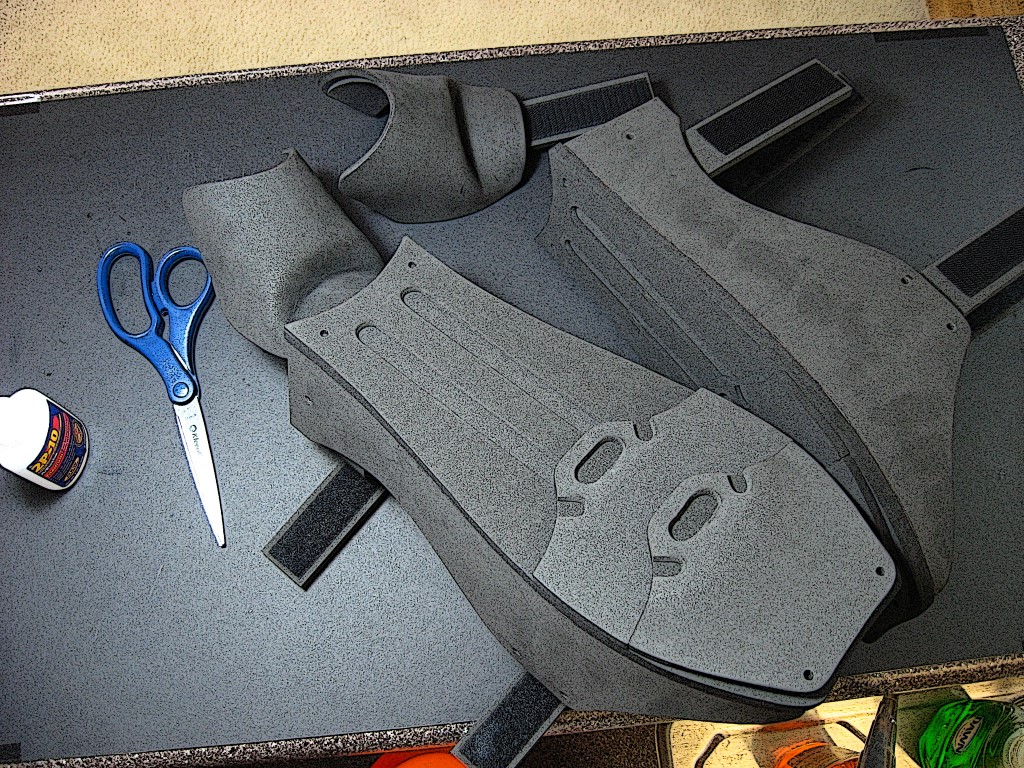
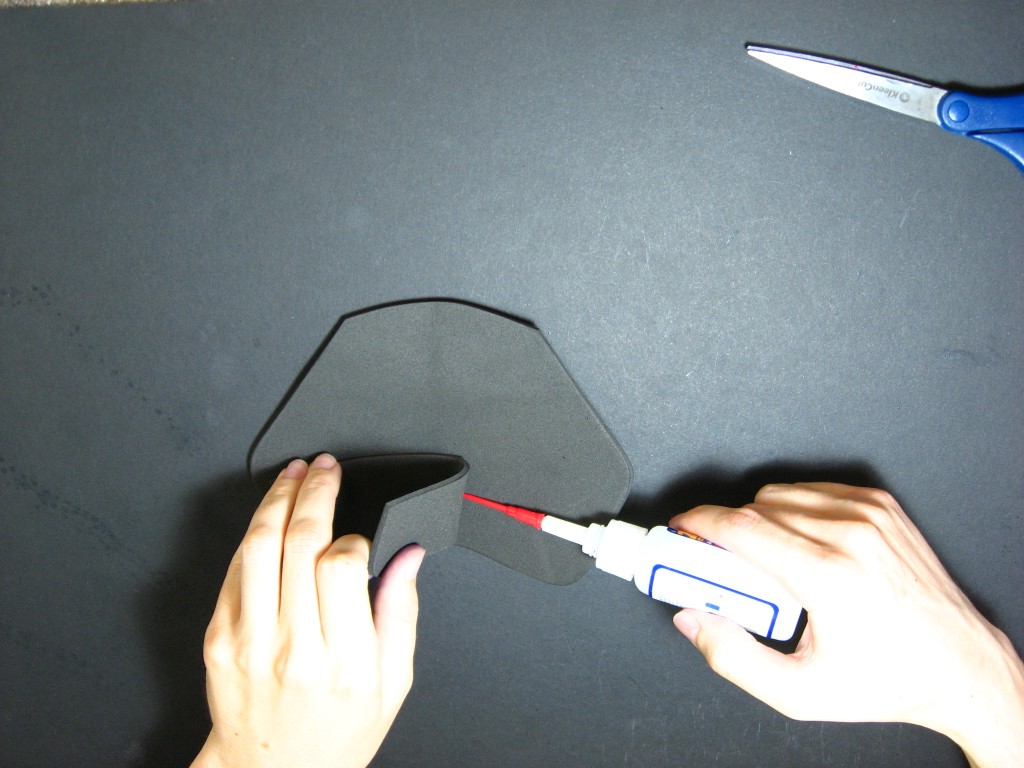
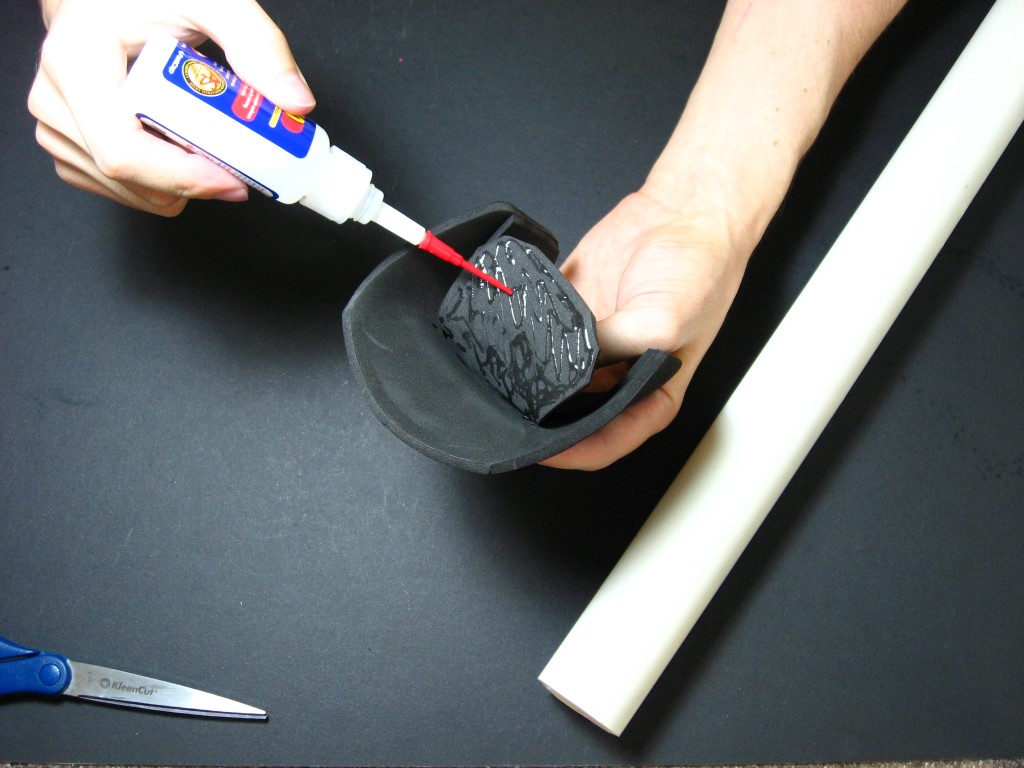
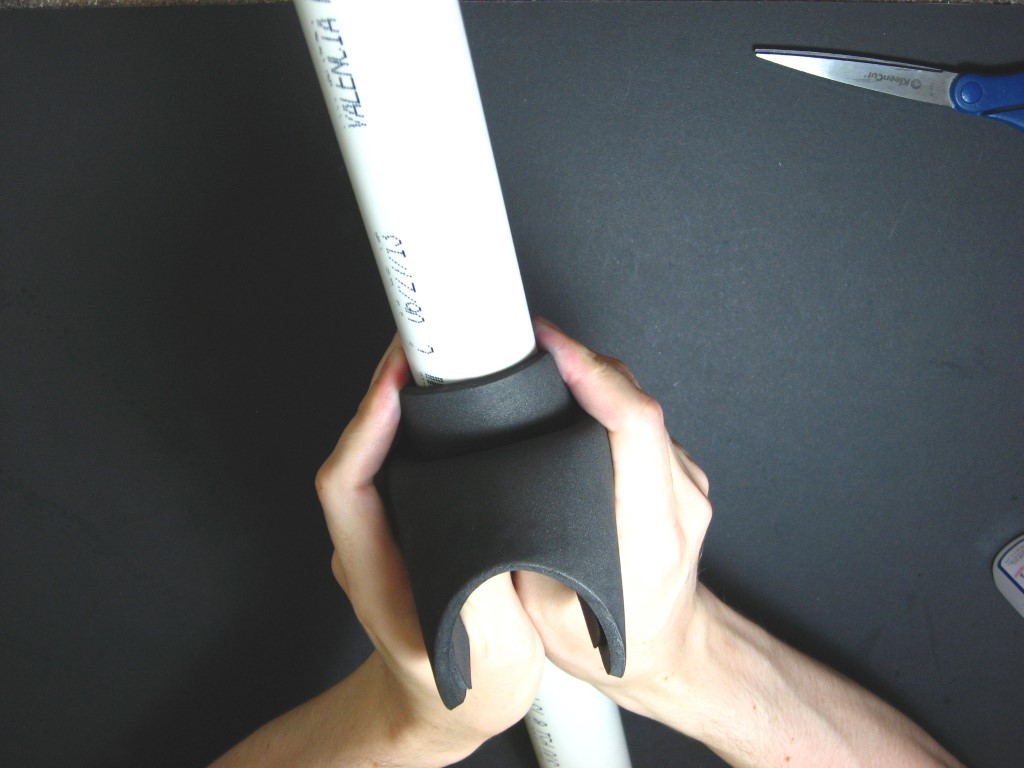
To get the foot-top pieces to retain their curved shape you can either use a heat gun to repeatedly warm it up and hold it in shape while it cools until it stays that way, or you can glue it in shape with scrap pieces of foam as shown below. Cut out a scrap piece of 3mm foam that fills about the bottom half of the foot top piece. Put a line of glue down the middle of the scrap piece and glue it down. Bend the foot top piece and apply glue to the rest of the scrap piece. You are now going to wrap the pieces over a piece of pvc pipe. You want it to dry while held in a shape that is smaller than what you ultimately want, as it will open up a bit after it dries, so I use 1.25″ pipe. Hold it tight until it dries, and then trim any overhanging edges of the scrap piece.


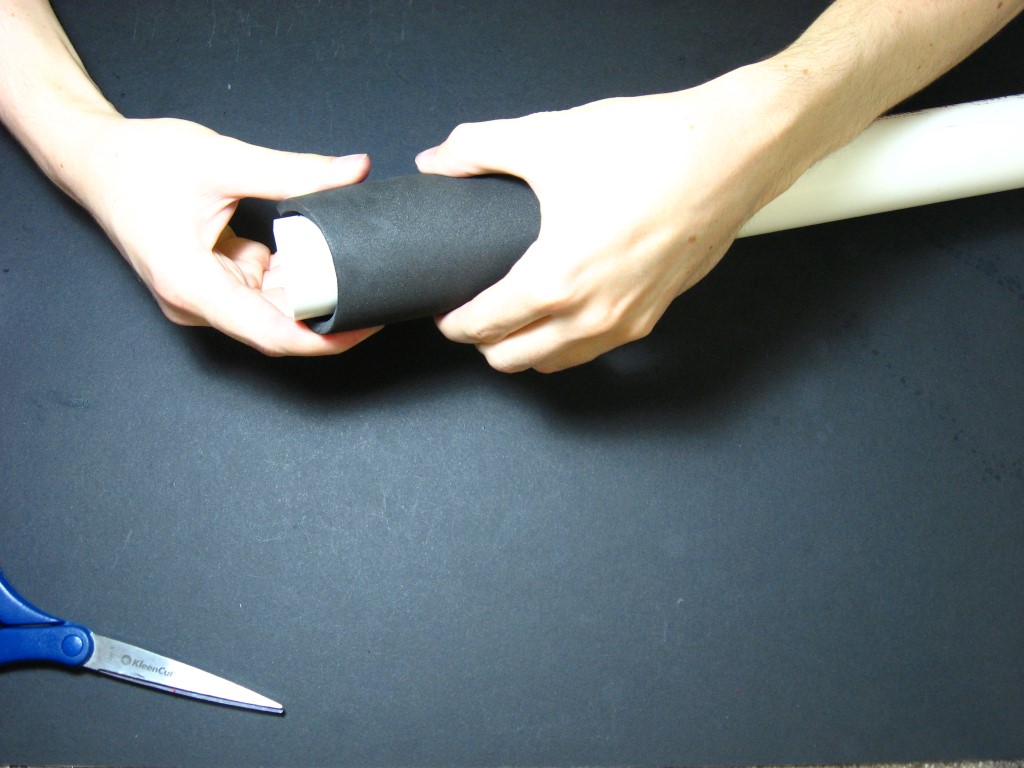
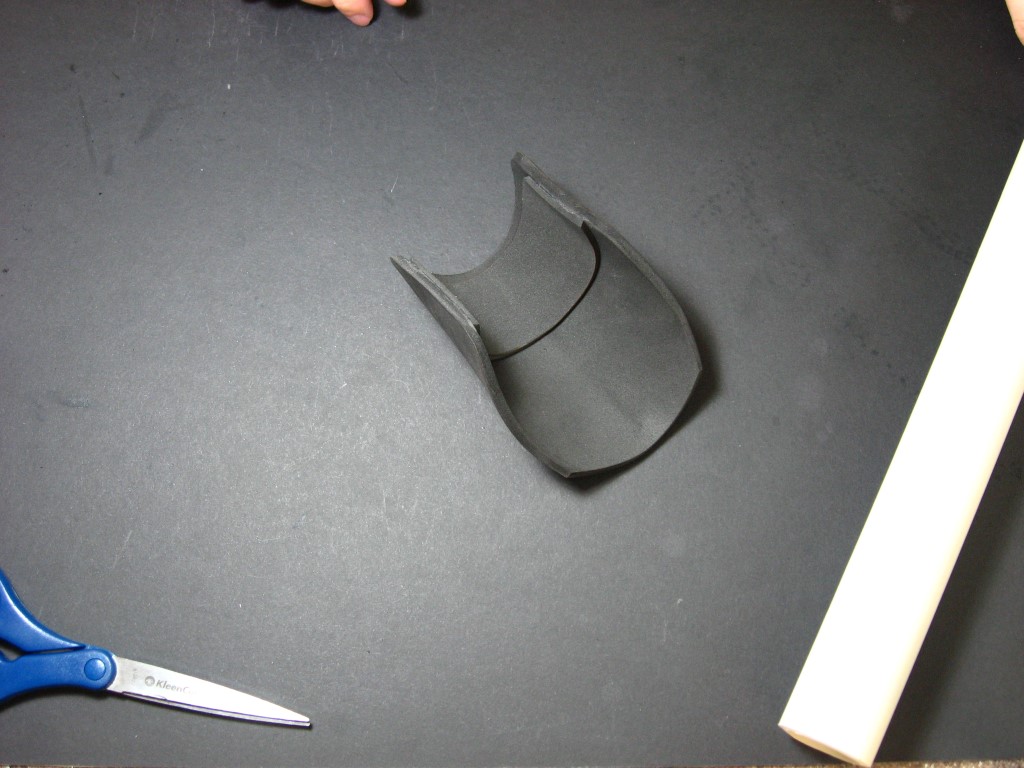
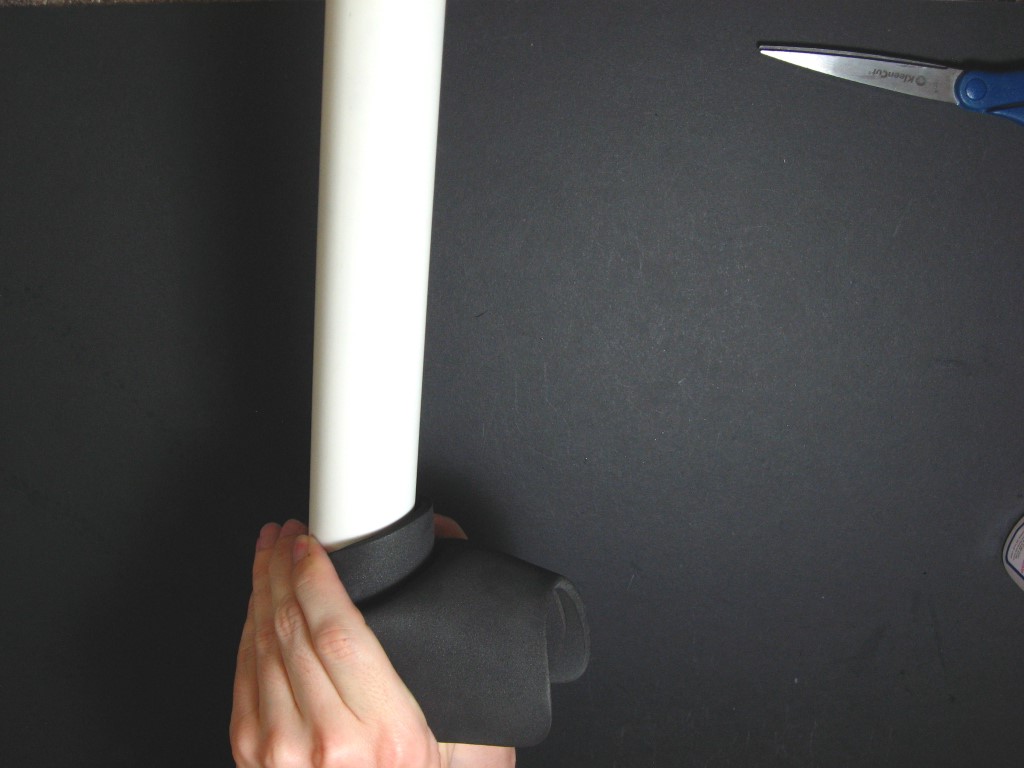
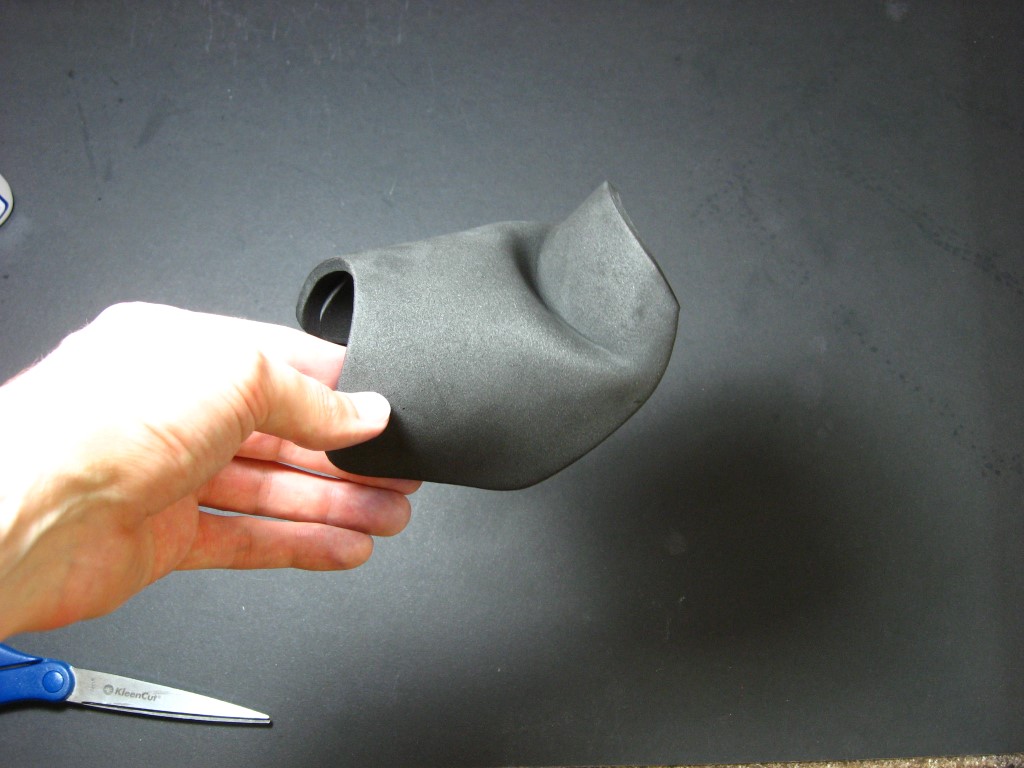
Next, cut out another scrap piece of foam that extends from the top of the foot piece to the top of the first scrap piece of foam. Glue the bottom edge of this scrap piece down just above the first scrap piece, and then apply glue to the rest of the piece. You’re going to wrap it over the pipe again but this time in a little more complicated way. The foot piece curves in two different directions, and you want to try to mimic these two curvatures with this gluing. Place the top part on the pipe and then bend the bottom half of the foot piece away from the pipe so it’s roughly perpendicular to the top half. Finally, squeeze the sides of the piece together to conform to the curvature of the pipe. If it all works out, you now have your foot piece.
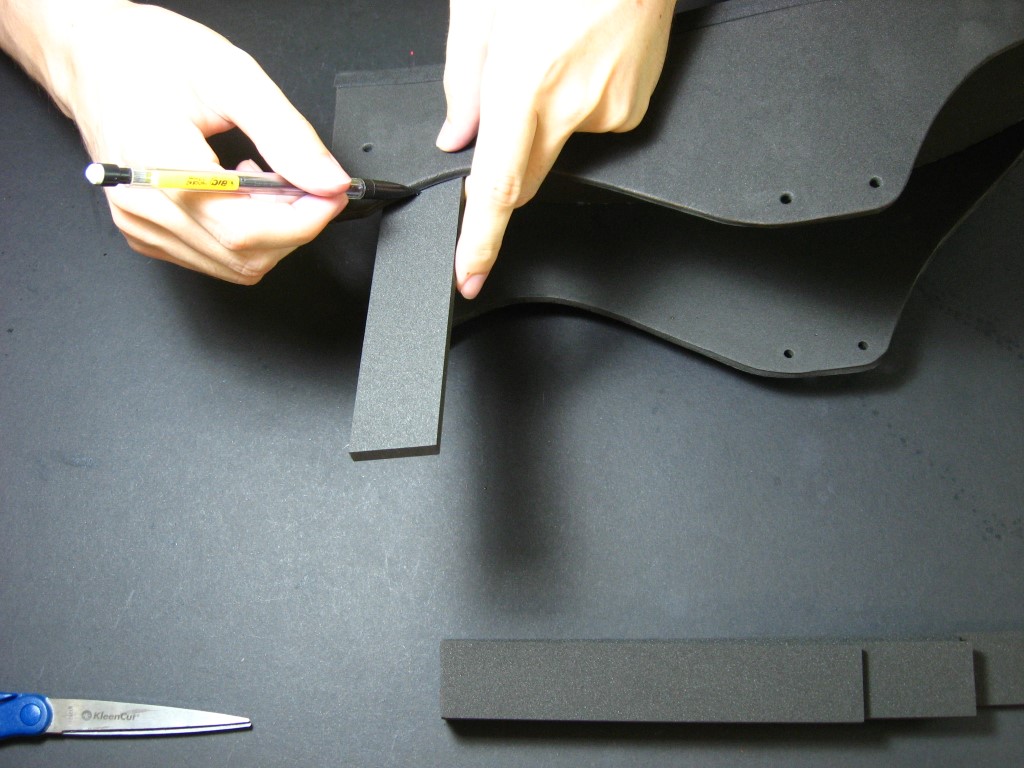
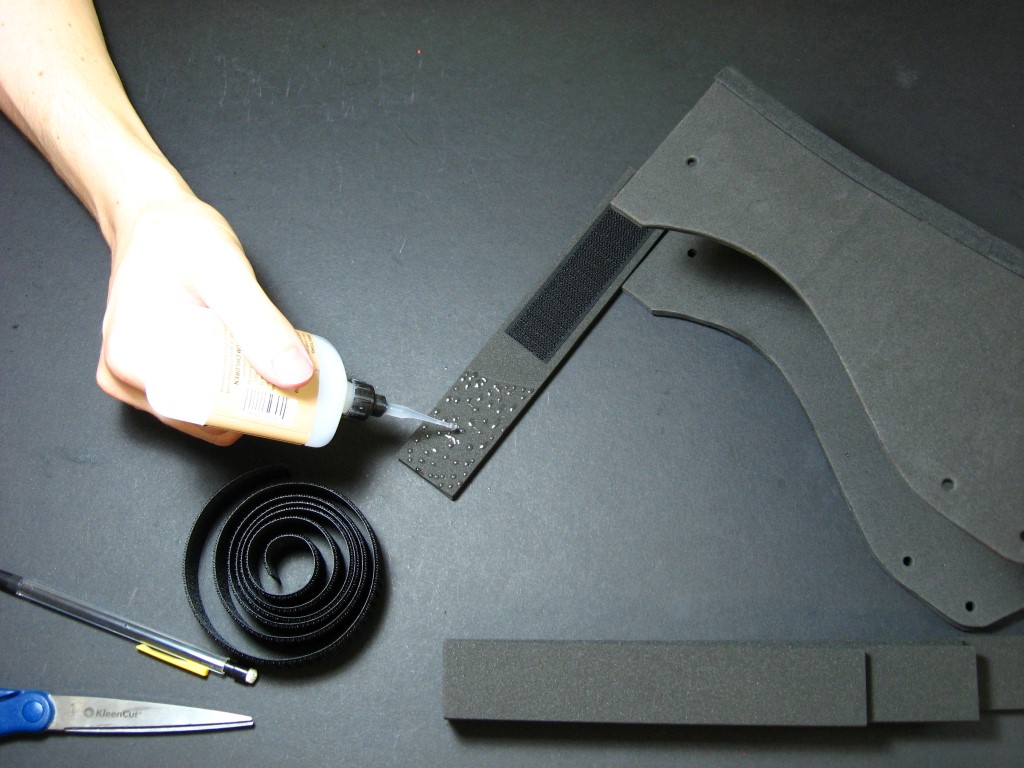
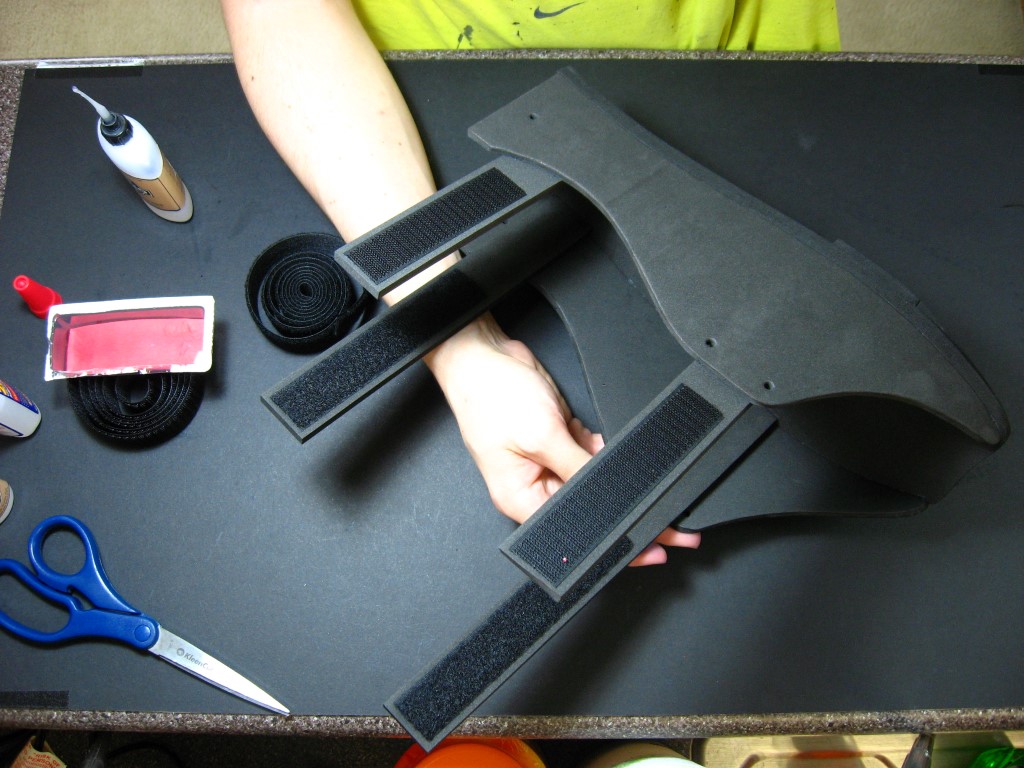
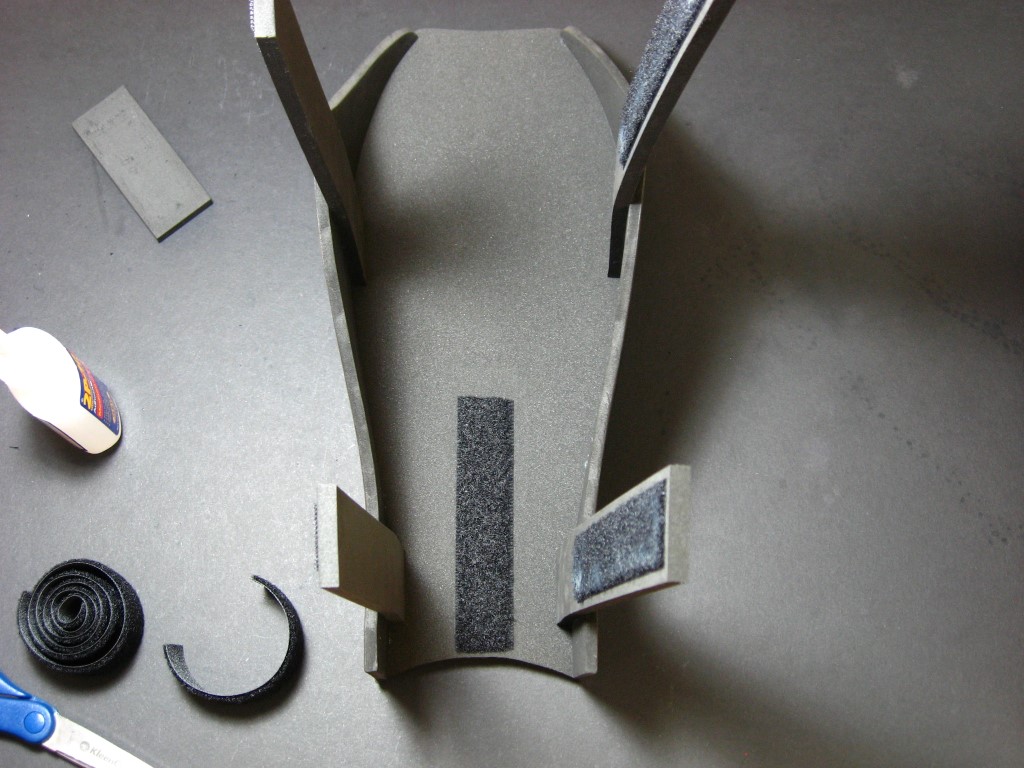
The two shortest straps will go on the outside edge of each shin guard (which will be different between the right and left legs). Hold the straps in place, perpendicular to the face of the shin guards, and mark where the edge of the side is. Cut a strip of hook-side velcro up to the pencil mark and glue it down onto the same side of the strap as the pencil mark (outside edge).
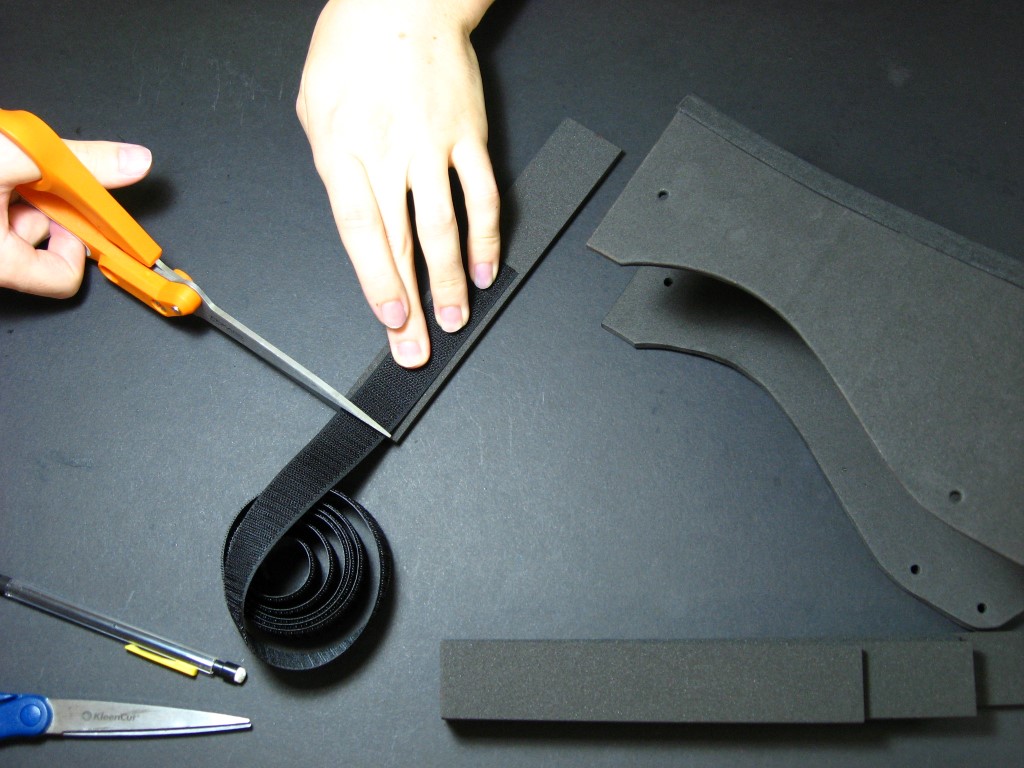
Apply glue under the pencil mark and hold it in place on the shin guard until it dries. Finish the second strap the same way. Use loop-side velcro on the inside edge of the two longer straps on the other side of the shin guards, but make sure to still put the rest of the glue on the side that will come into contact with the shin guards.
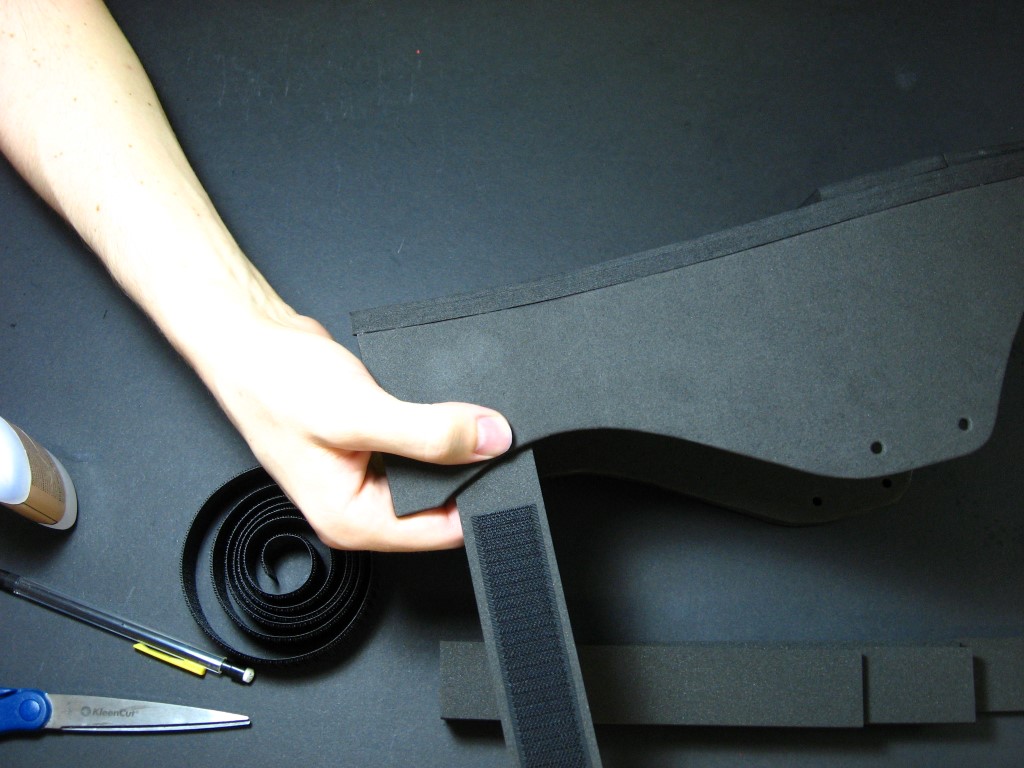
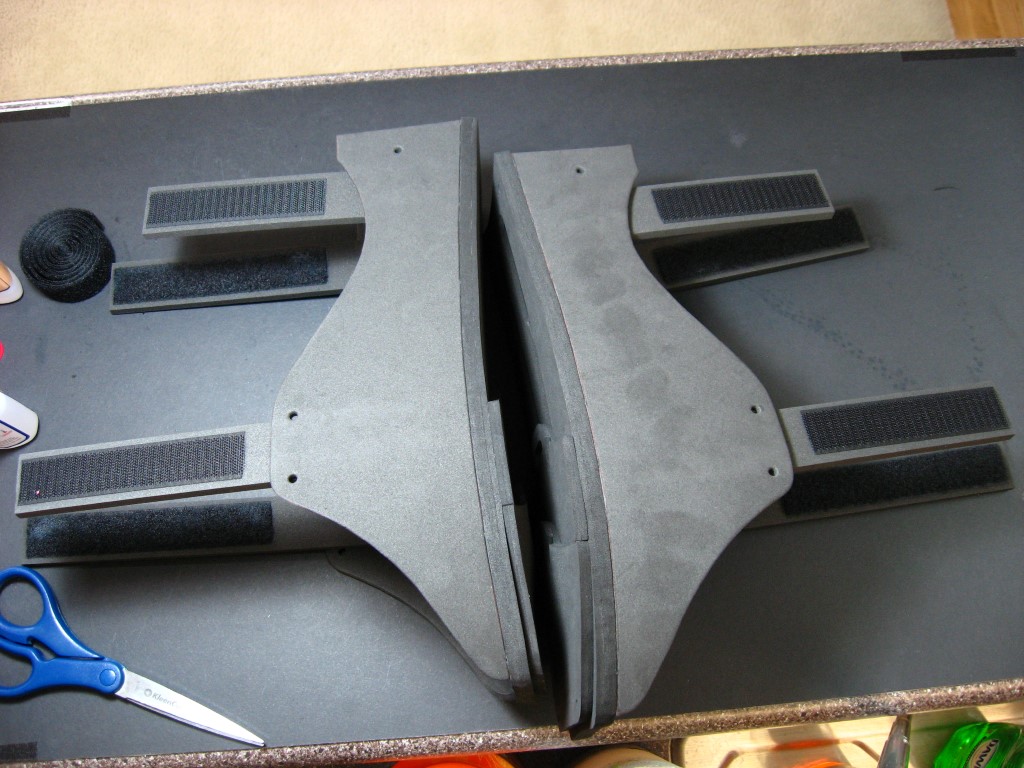
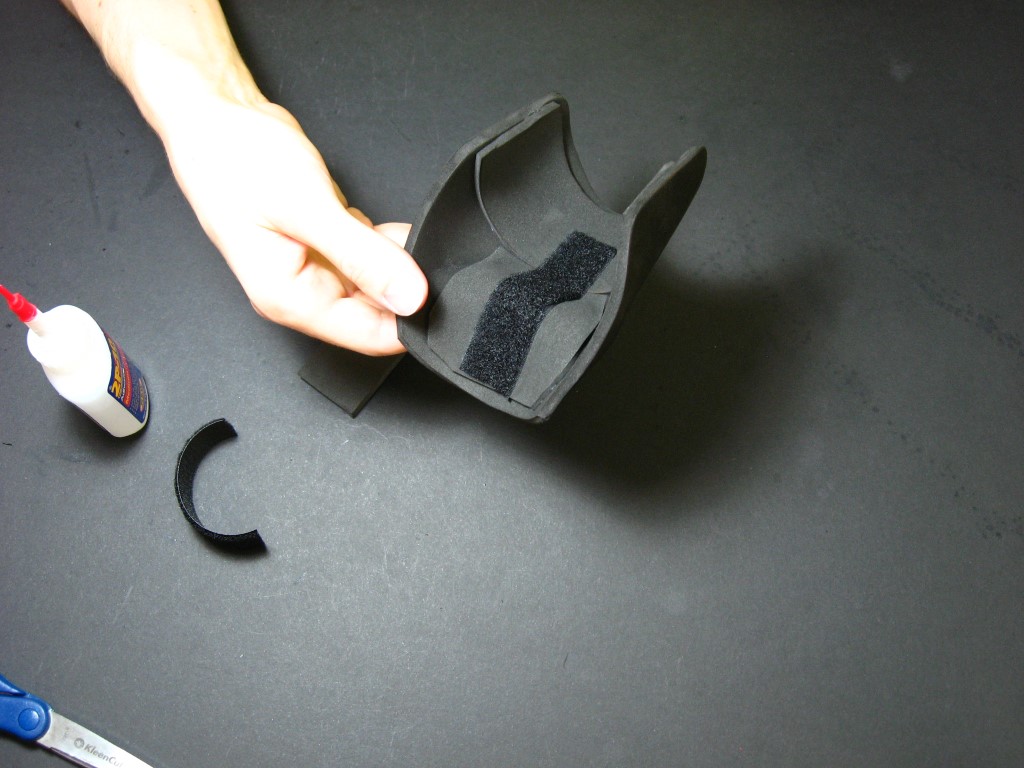
Glue a couple-inches-long piece of loop-side velcro to the inside bottom middle of the shin guards, as well as the inside top middle of the foot pieces.
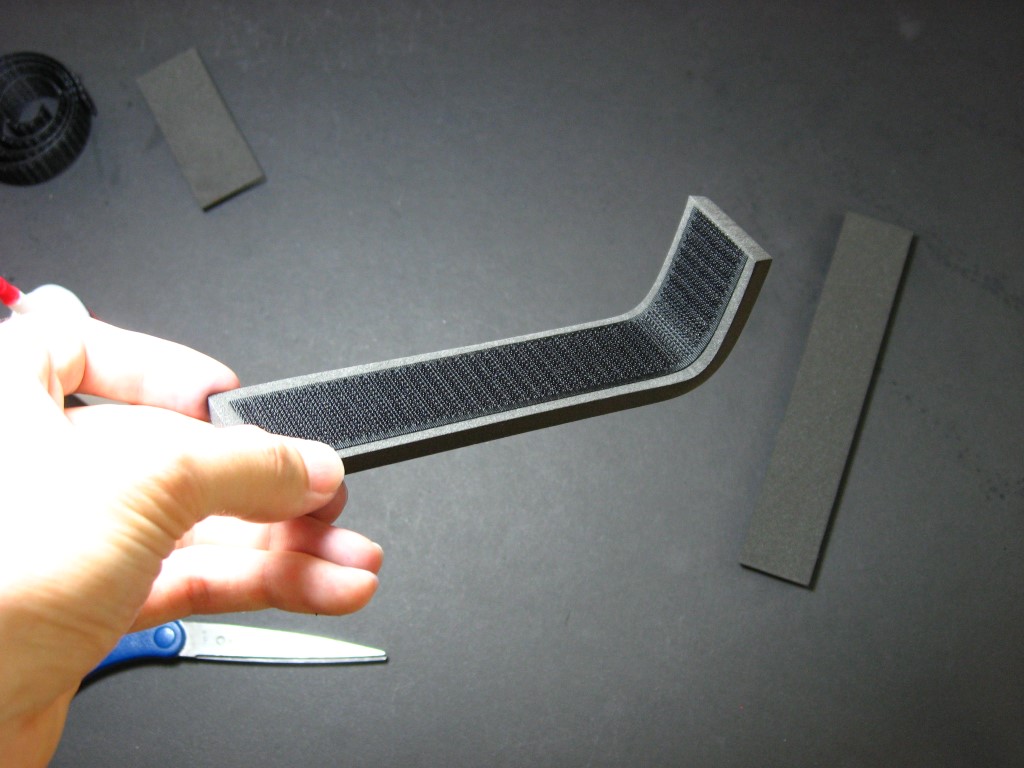
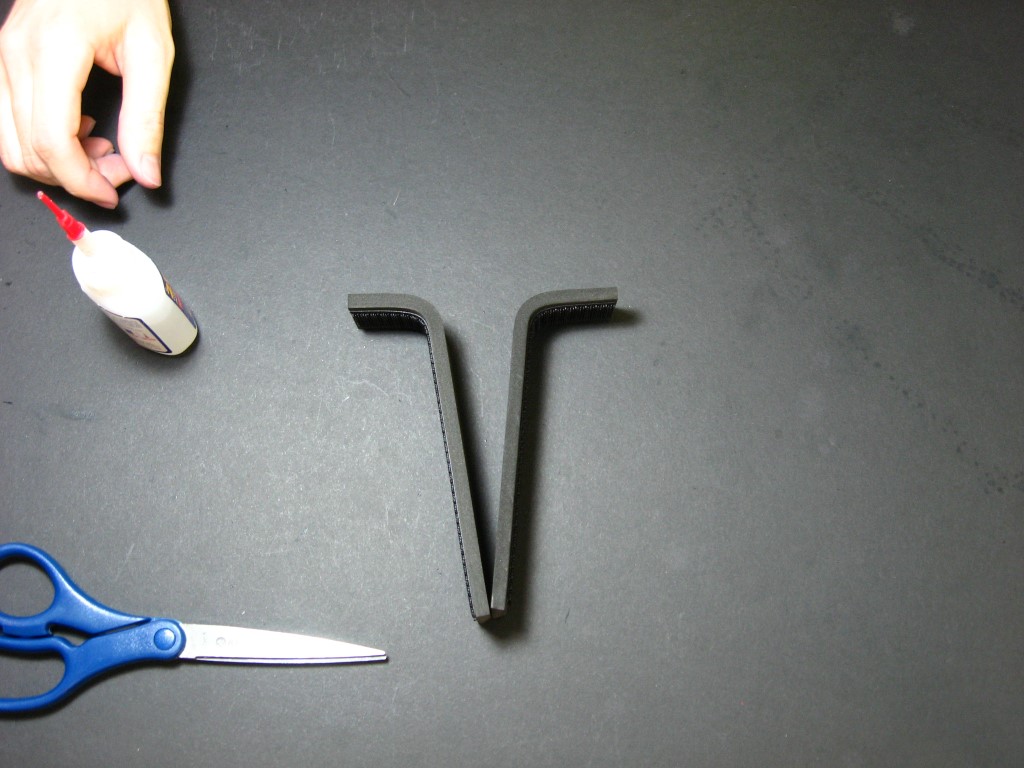
The last thing you need to make is a piece that connects the foot pieces to the shin guards. Cut out two 6 or 7 inch long strips of 5 or 6mm foam, the same width as the straps. You will be gluing hook-side velcro to these pieces, but with a 90 degree bend about an inch or so from the bottom. Bend the foam where you want the crease to be first, and then measure and cut a piece of velcro while held against the bent foam (it will be a shorter length than when the foam is laid out straight). You can glue it gradually in sections, or all at once if you move quickly.


Check out the shop and the gallery for more templates and project ideas. Have fun!