
I just finished an Ant-Man utility belt and added a tutorial for it to the tutorial page.
I just finished an Ant-Man utility belt and added a tutorial for it to the tutorial page.
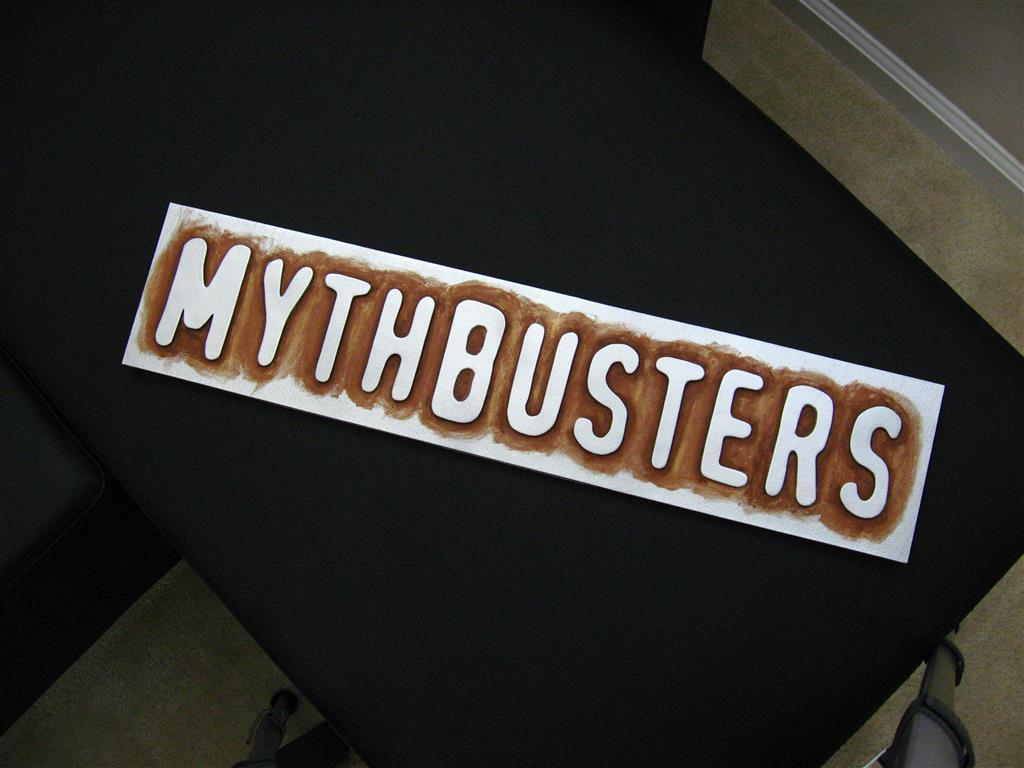
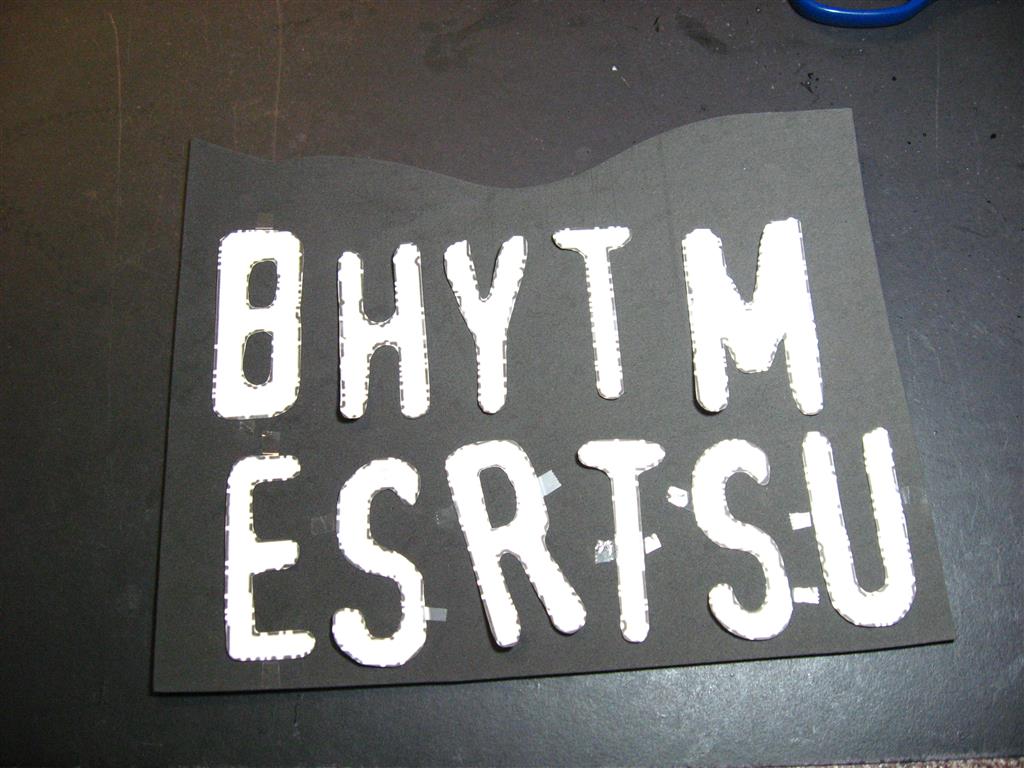
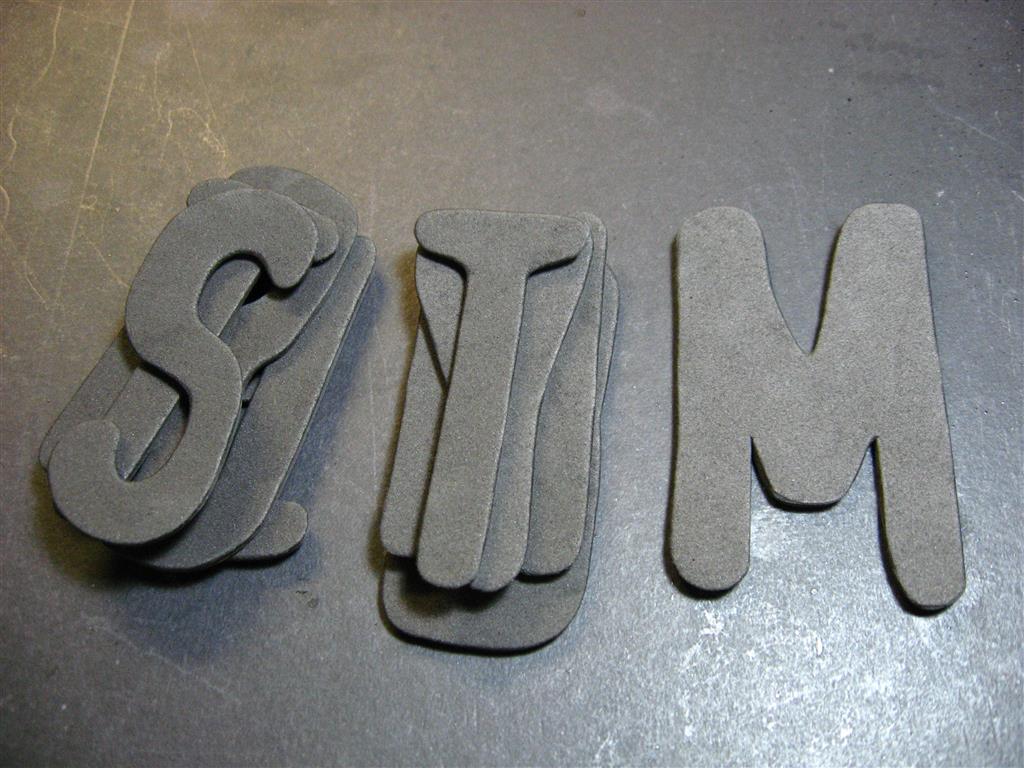
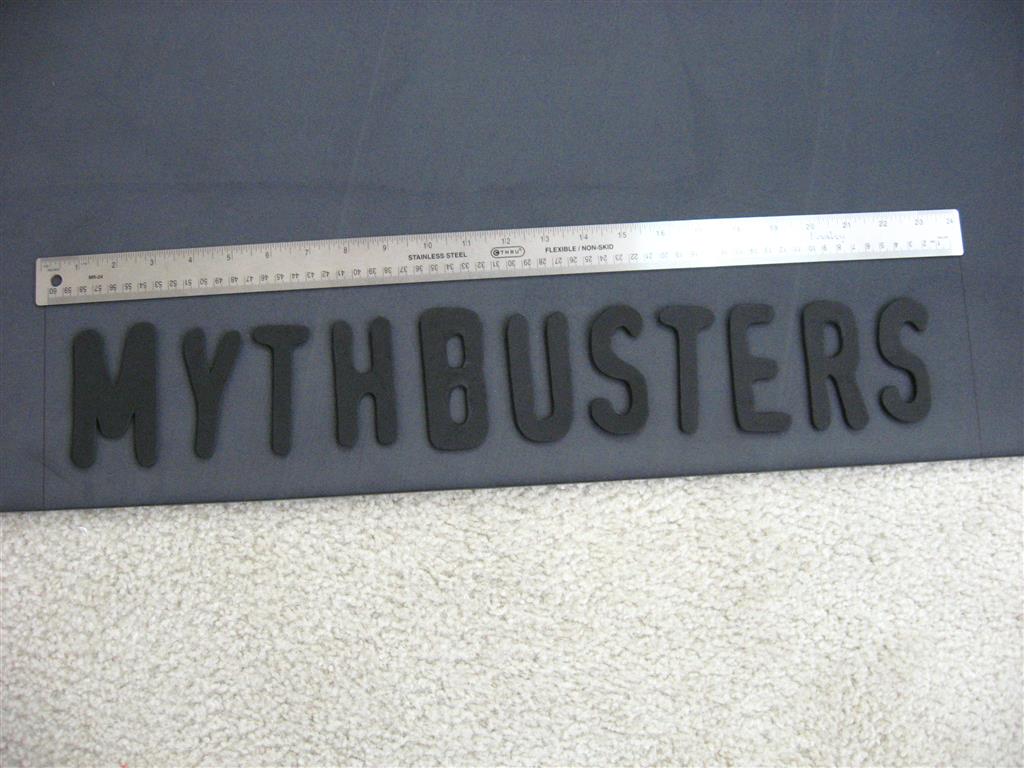
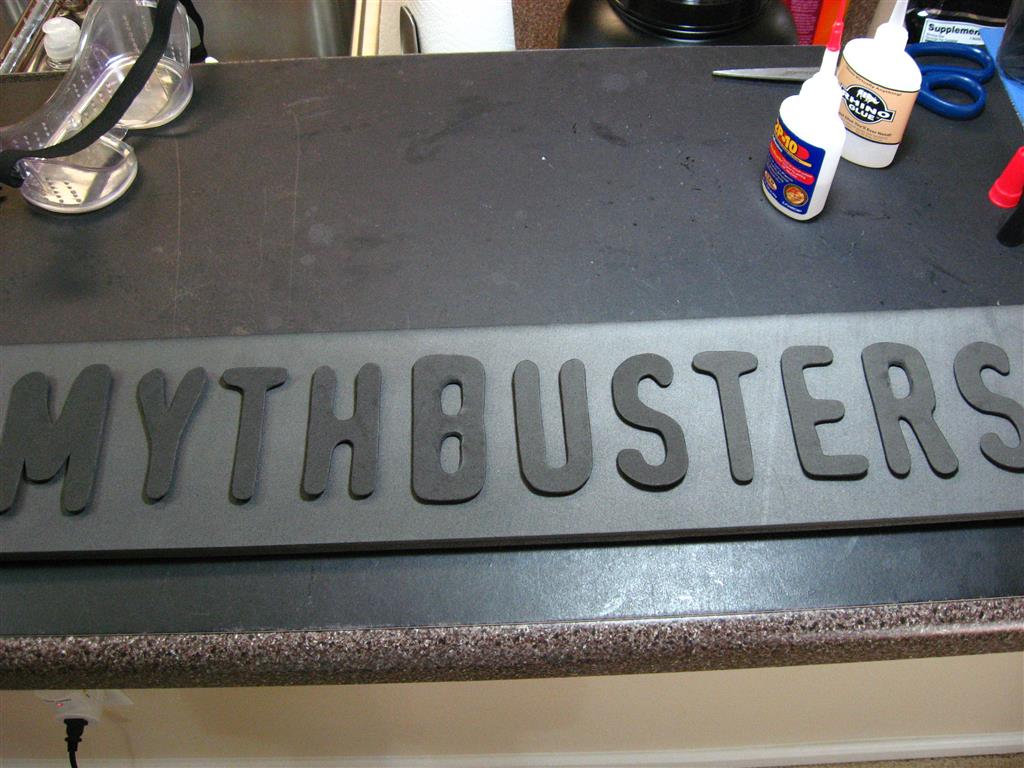
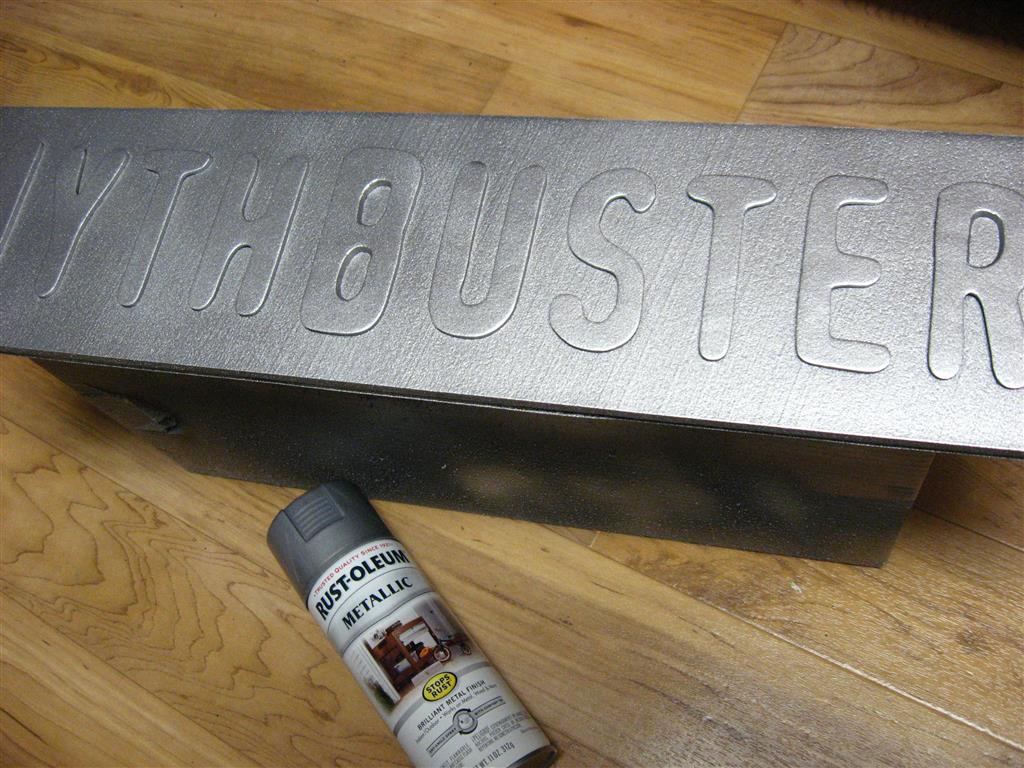
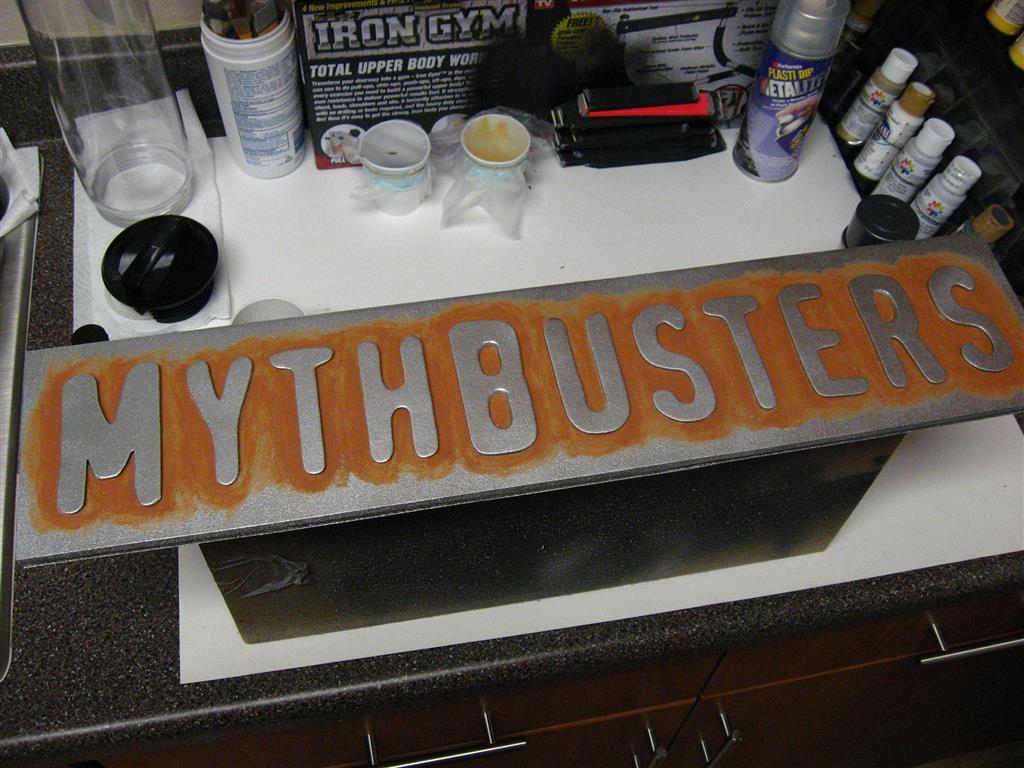
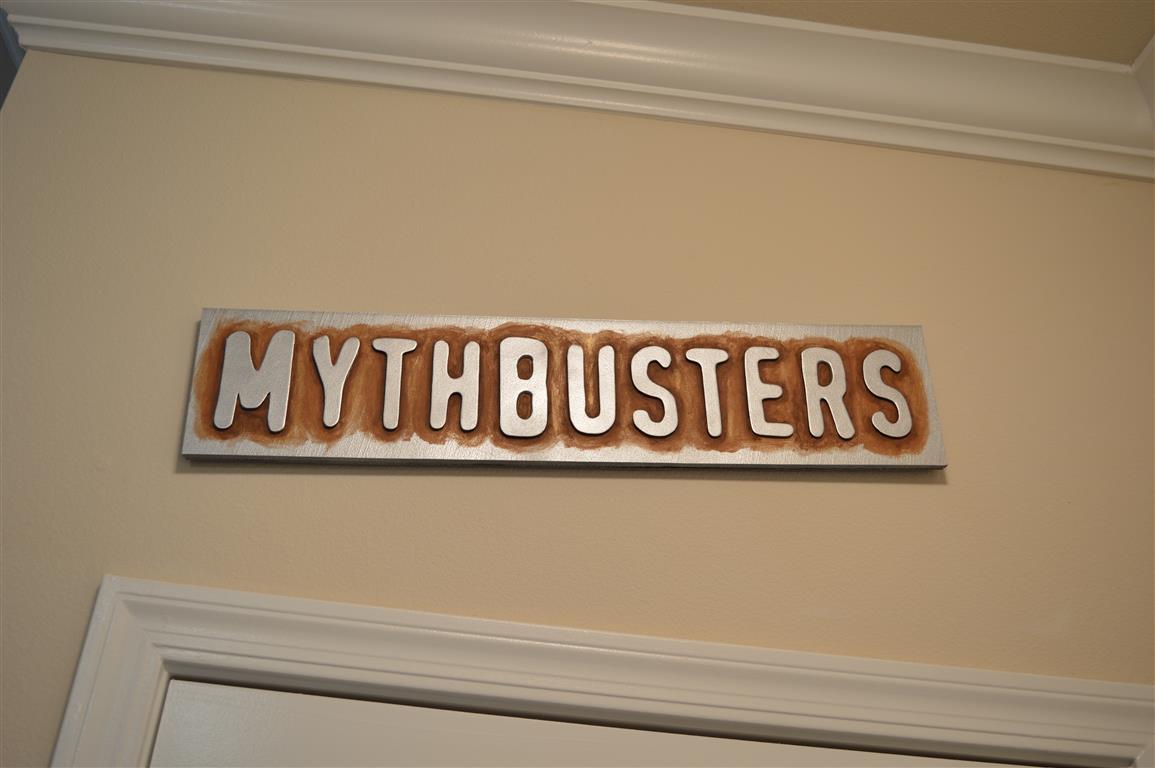
Longtime fan of the show, will be sorry to see it go. I wanted one of those cool metal signs to put up on the cave wall, and realized it is a perfect project to make out of foam. I found a post on therpf.com from someone else who made one and they uploaded a full size pattern as well I was able to use. I cut the letters out of 3mm foam and the sign out of a large sheet of 6mm foam. It was a bit too floppy so I then glued a layer of poster board onto the back. A couple coats of silver metallic spray paint and then some brush on acrylics for the rust color.
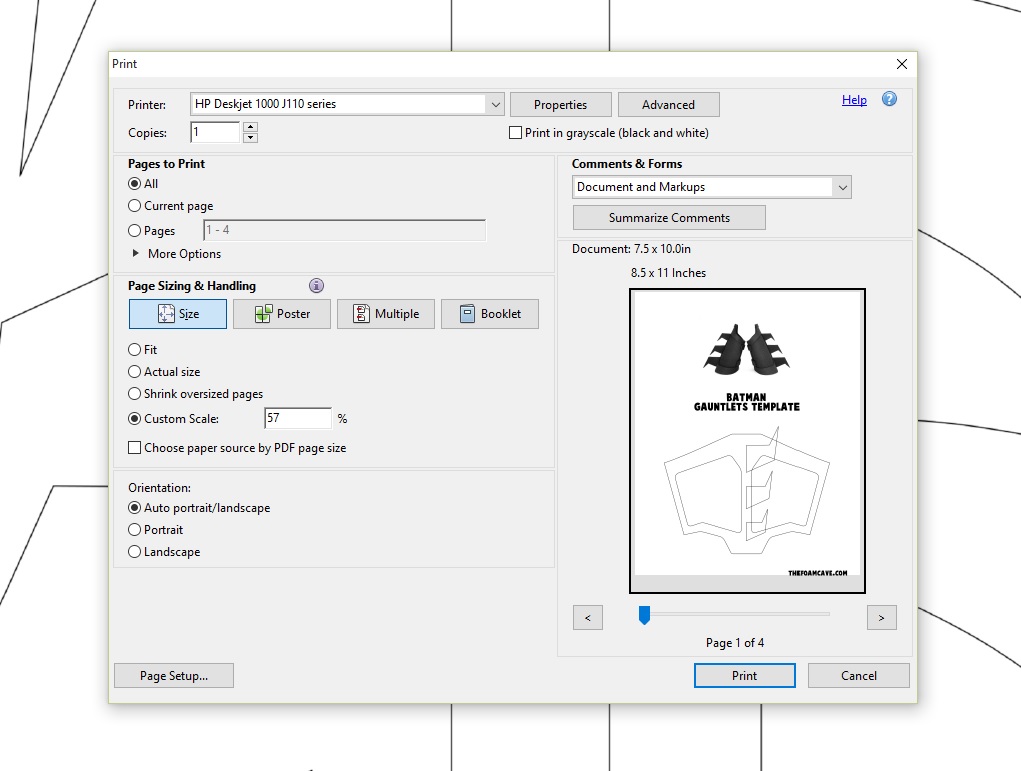
With Halloween fast approaching, I’ve received several messages from awesome parents who are making costumes for their kids, wondering if my templates can be scaled down to fit children. And the answer is yes! In the print dialog box in Adobe Reader (the program that naturally opens these PDF files) there is an option to scale by percentage. If you use a cloth tape measure to measure your own waist (or an average adult waist size) as well as your child’s waist size, you can use the two measurements to get the approximate percentage you will need to scale the templates down to when printing. (For example, if your waist is 35 inches and your child’s is 20 inches, you would scale to 57%) (child’s size divided by adult’s size times 100) You can do the same thing with wrist measurements for the gauntlets. It may take a little trial and error but shouldn’t take too long.
For others who would like to make the templates larger instead, you can do this using the “Poster” option in the dialog box, and scaling up to the desired percentage (120%, 150%, etc).
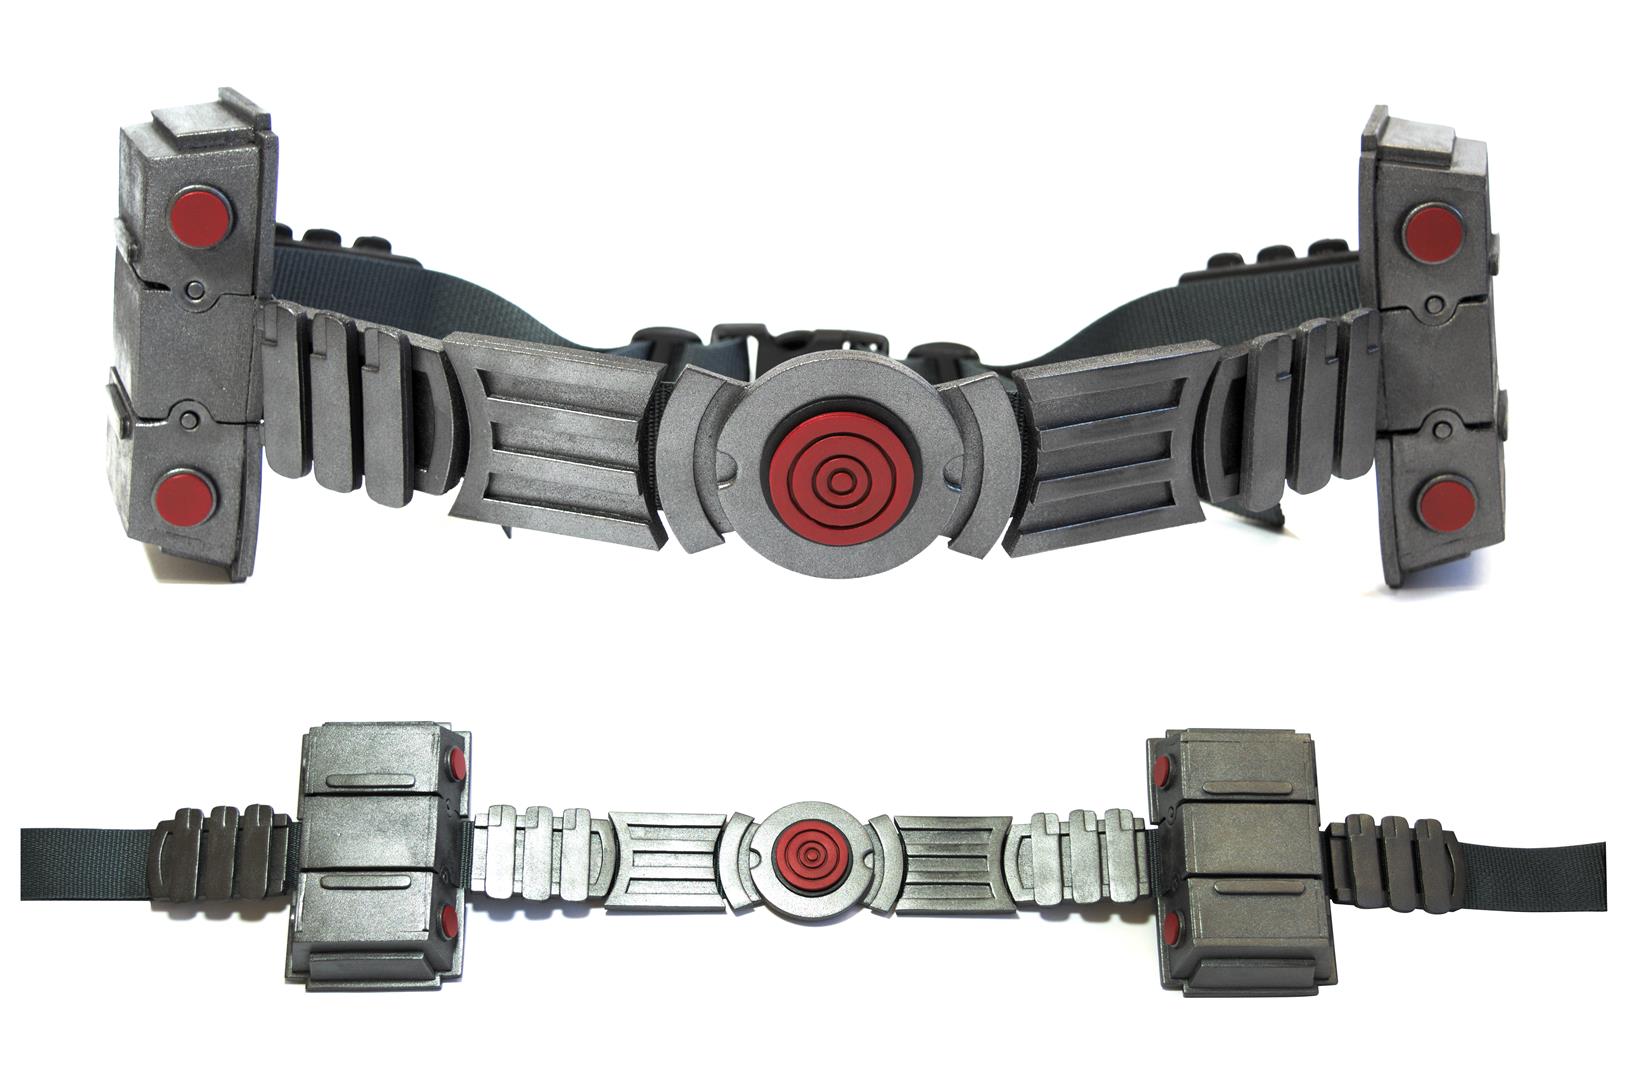
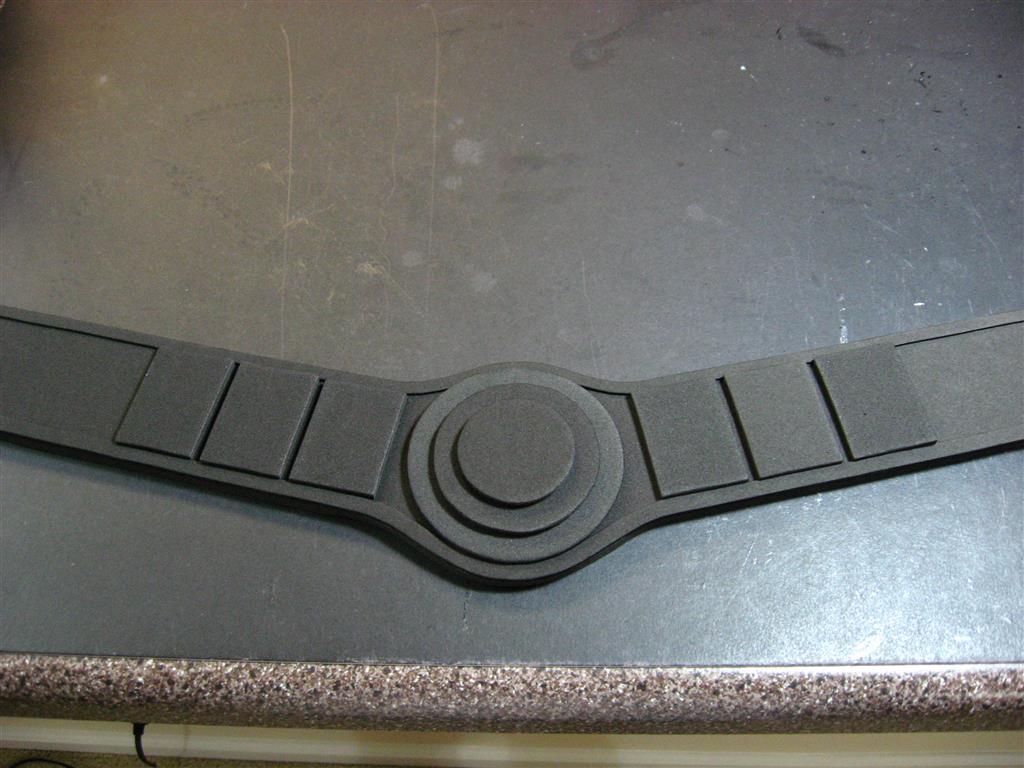
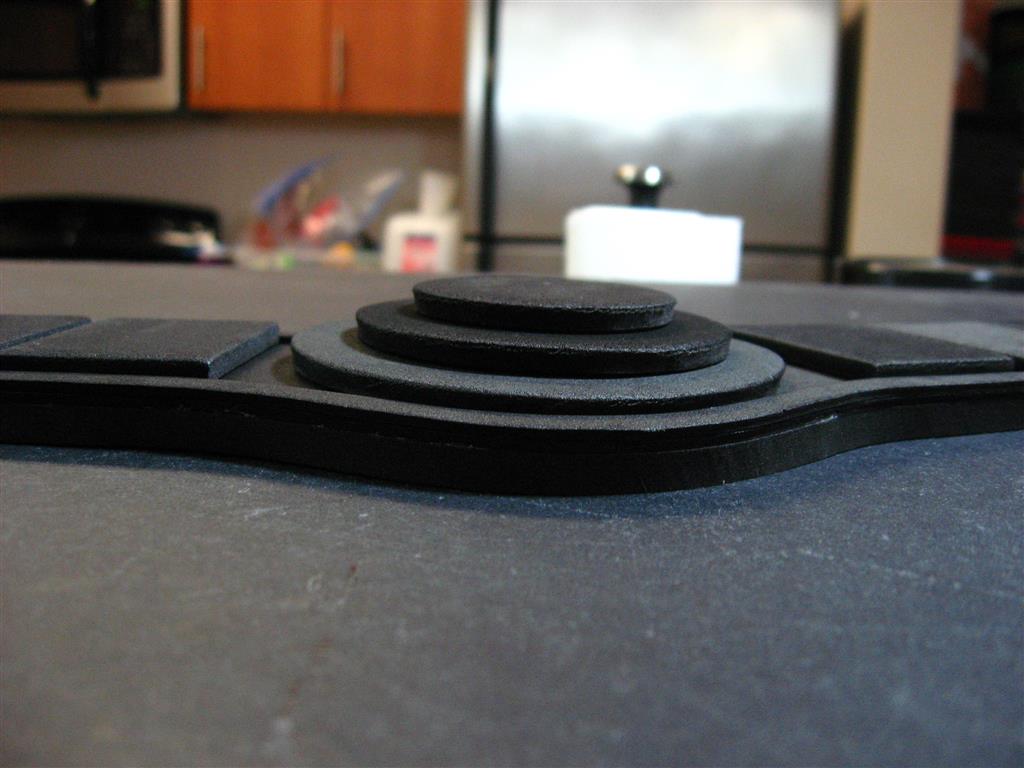
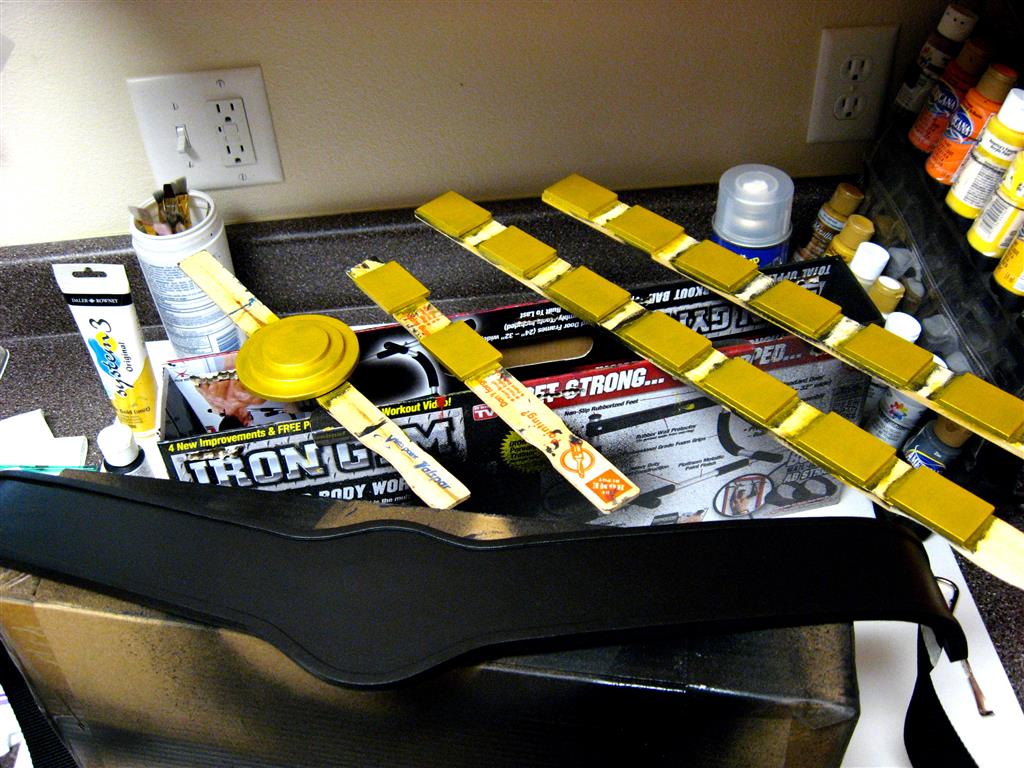
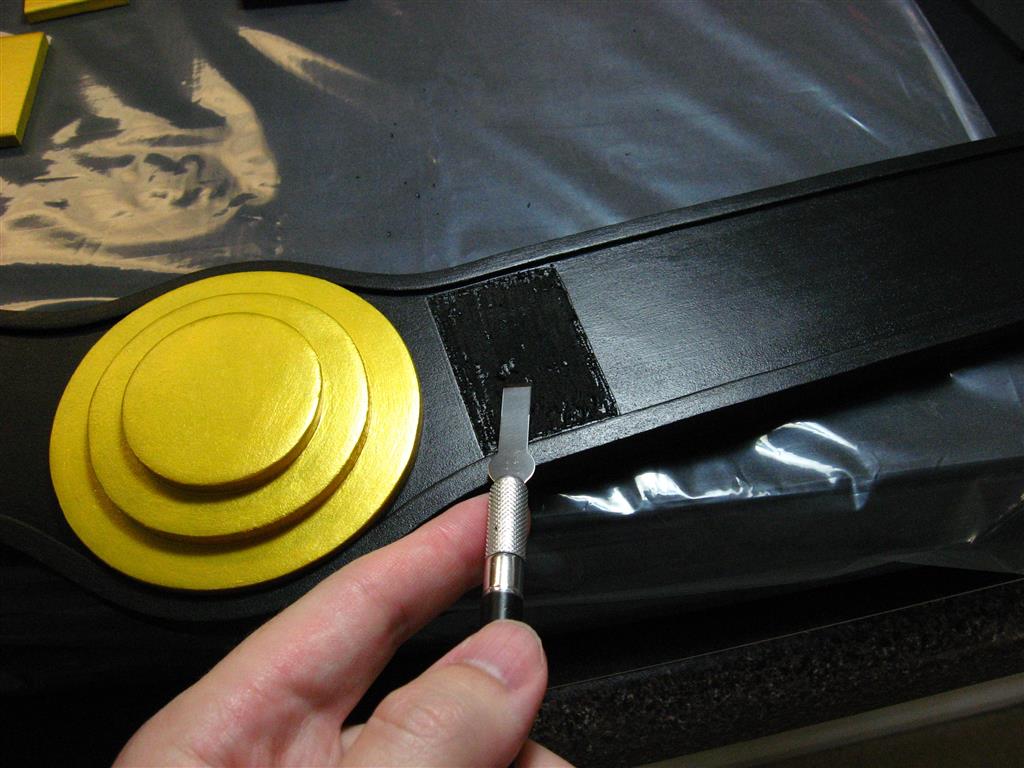
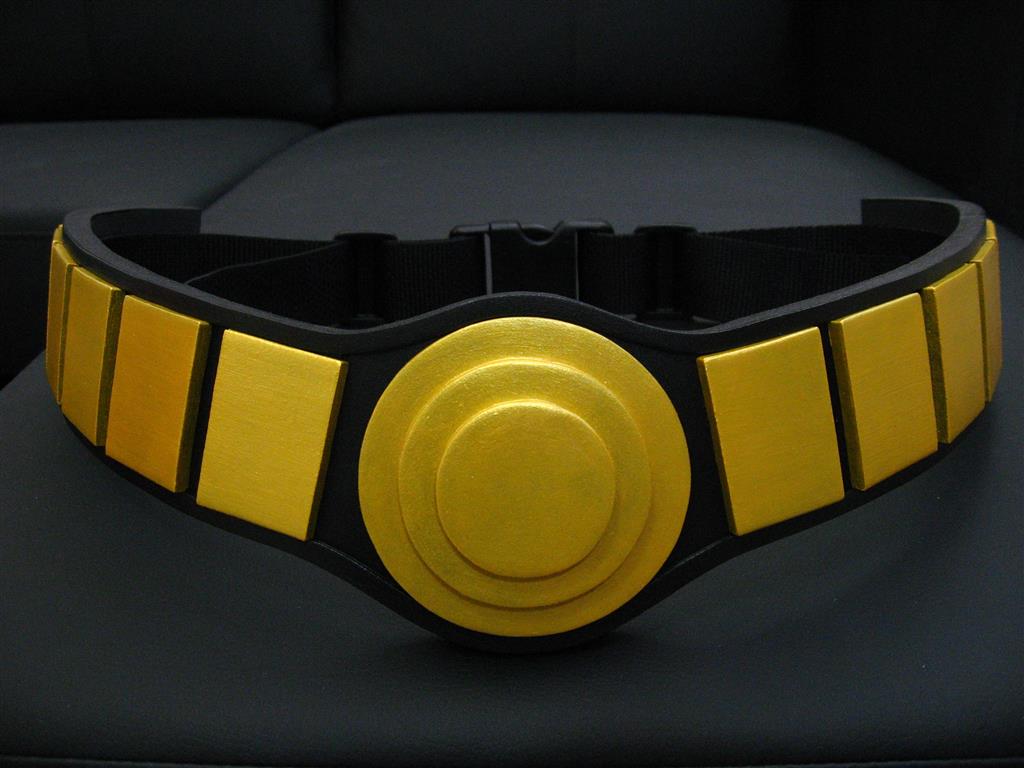
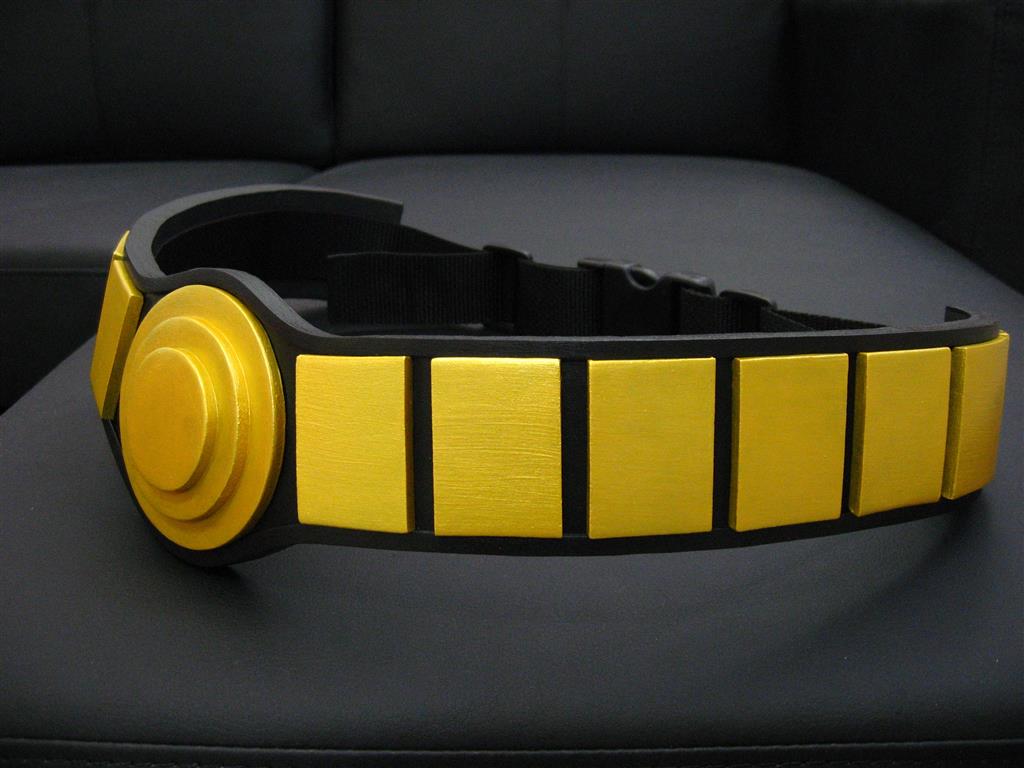
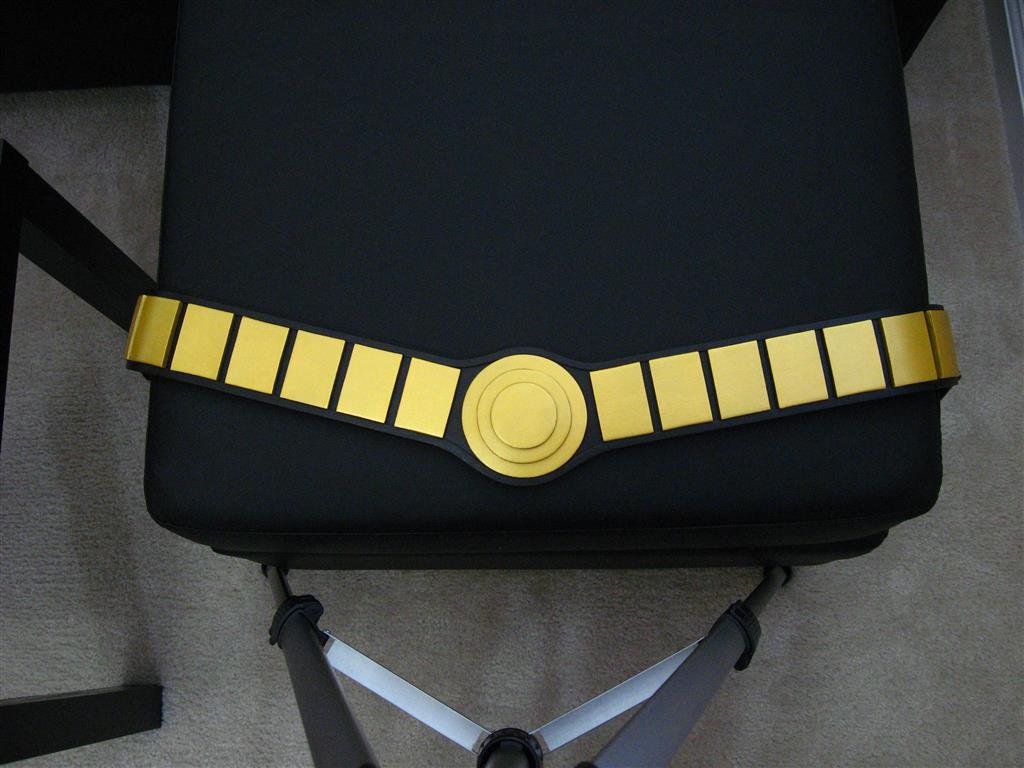
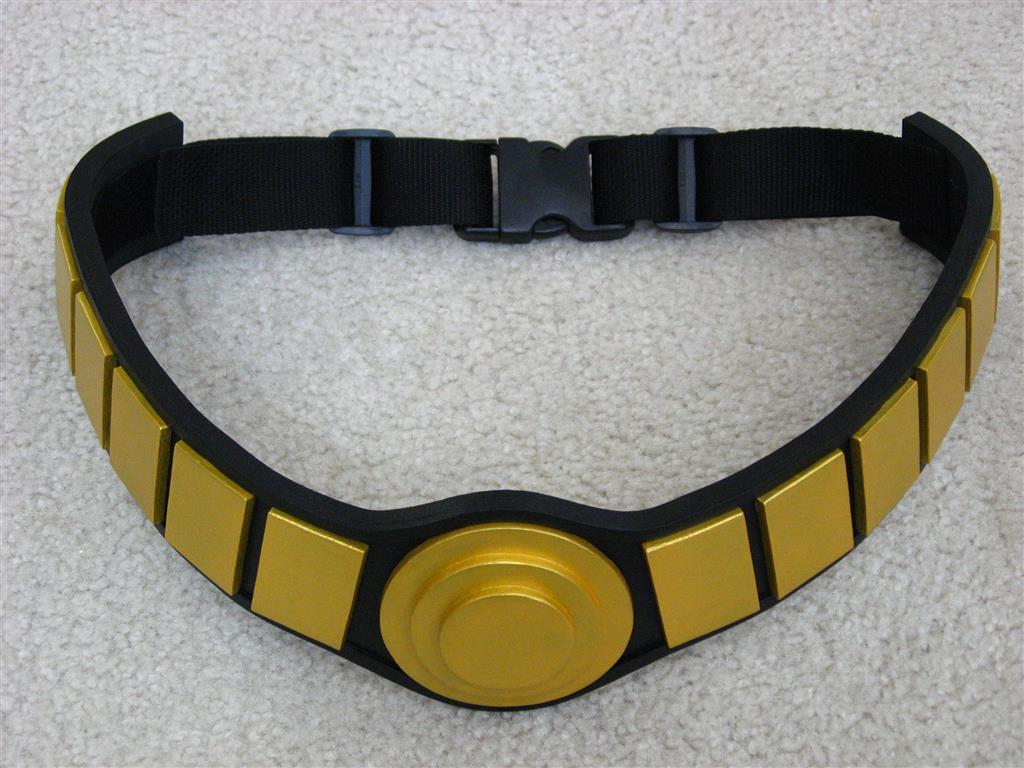
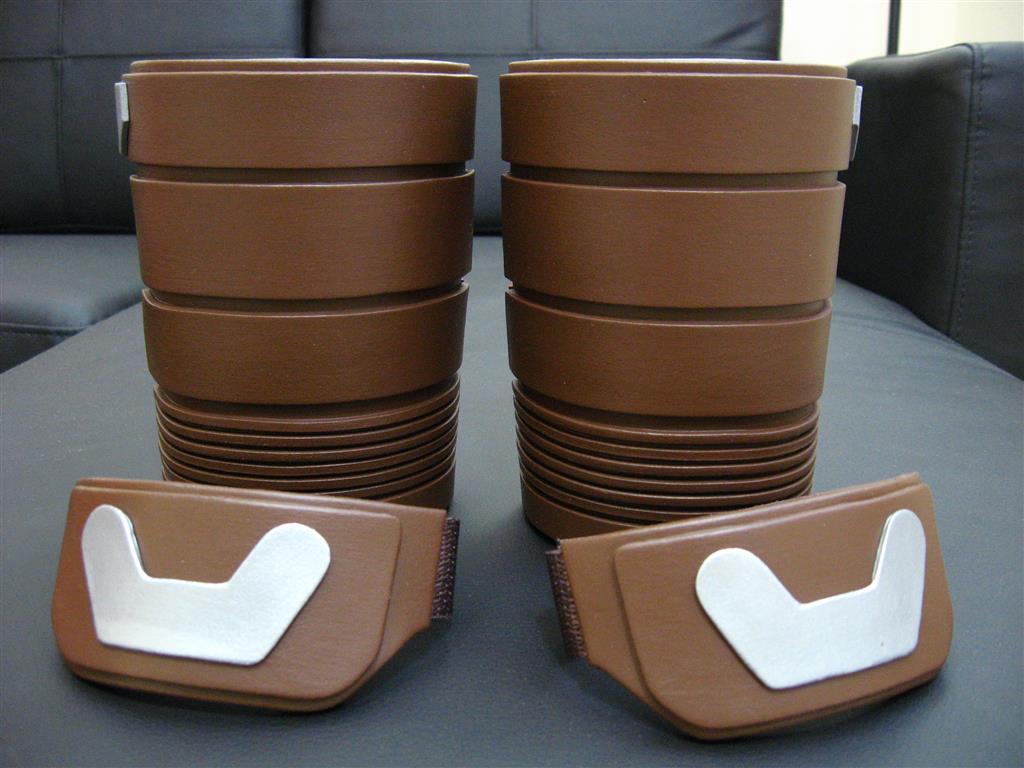
A couple of pics from the Jason Todd Robin belt build:
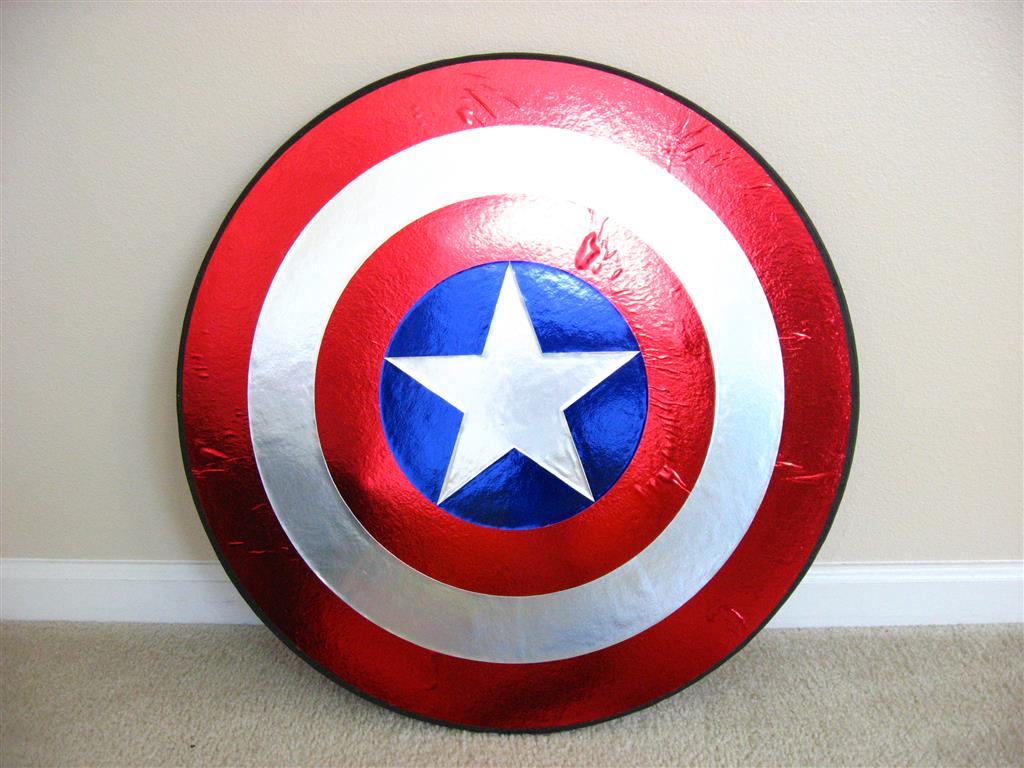
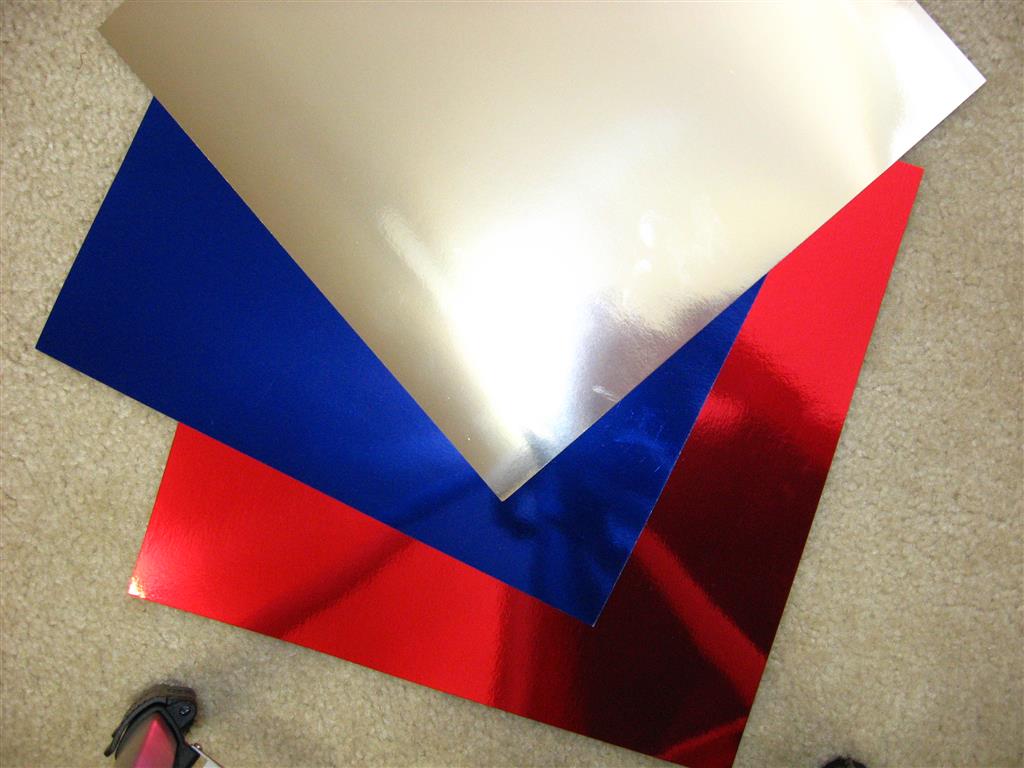
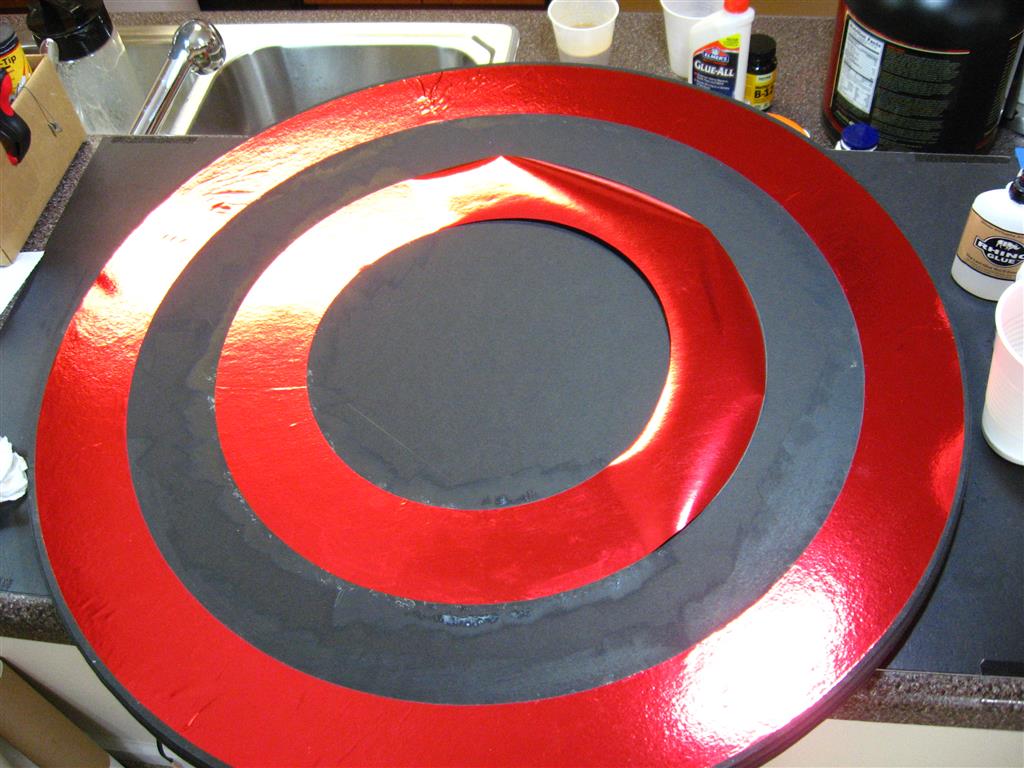
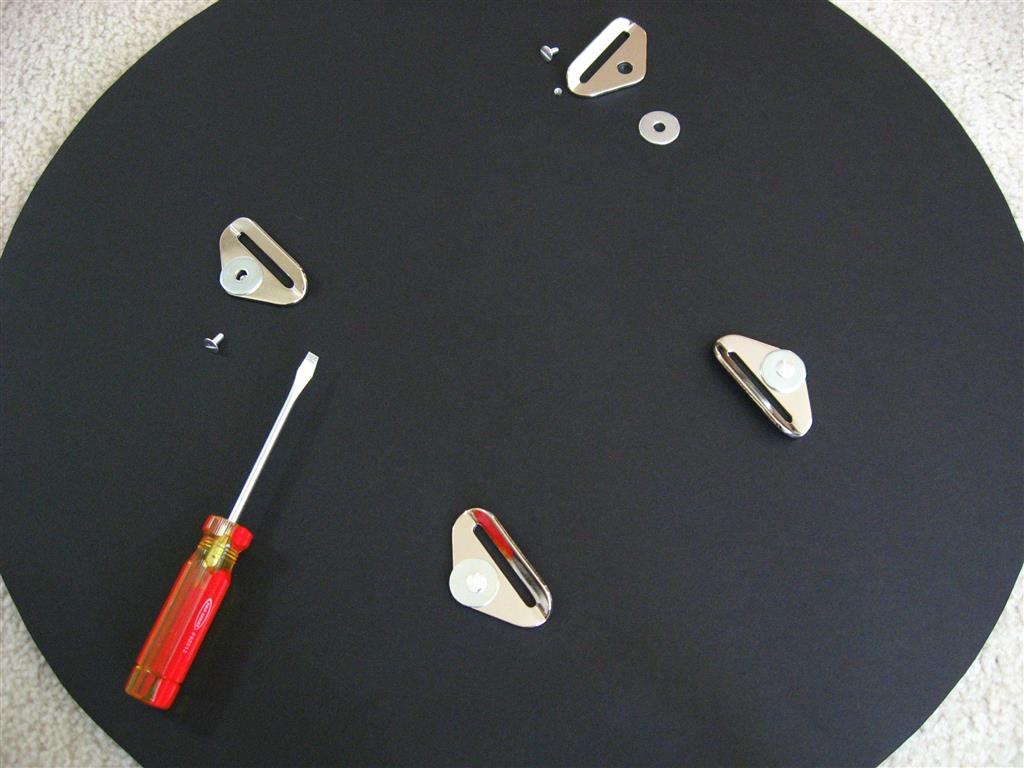
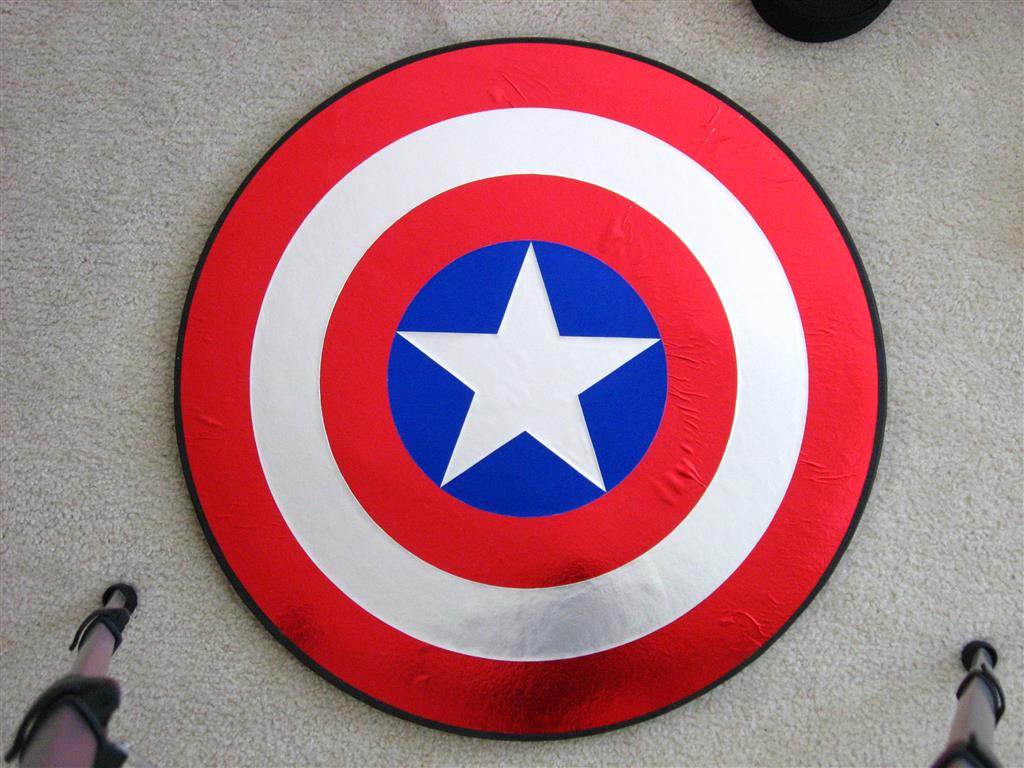
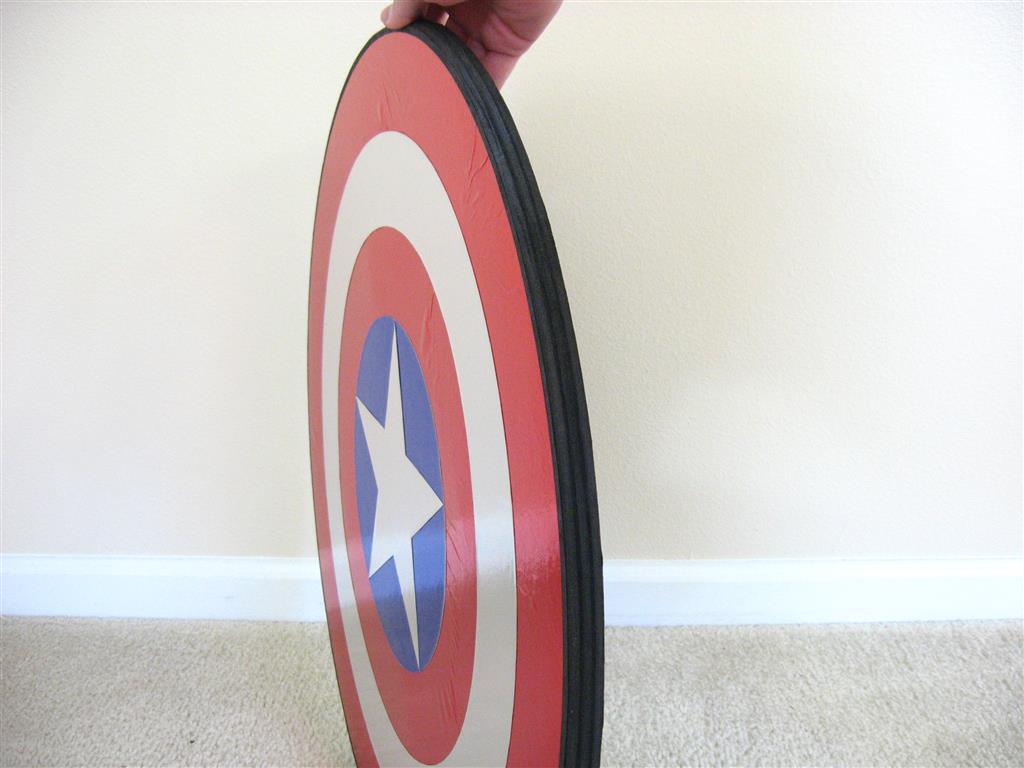
I wanted to try to make a simple, flat Captain America shield, without all the complication of curvature and painting. It didn’t turn out quite as well as I had hoped for a variety of reasons, but I still like the idea as a much simpler and cheaper alternative to most other shield making options. I found some metallic poster paper in several colors and sizes at the local craft store and picked up some poster board as well for the backer.
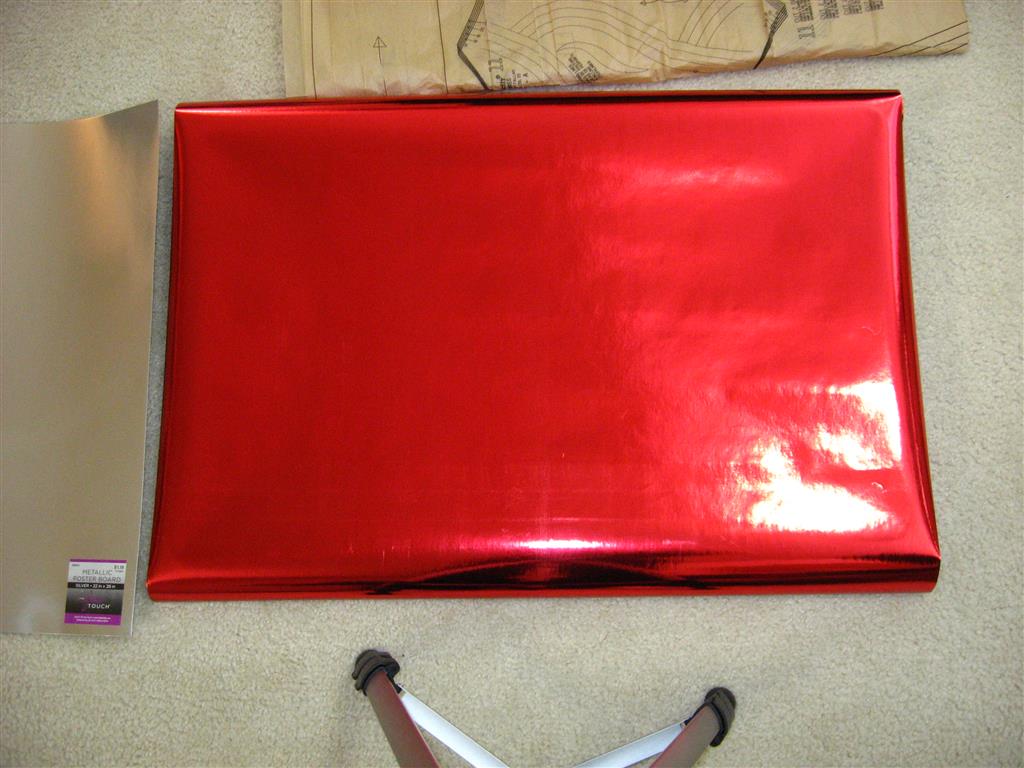
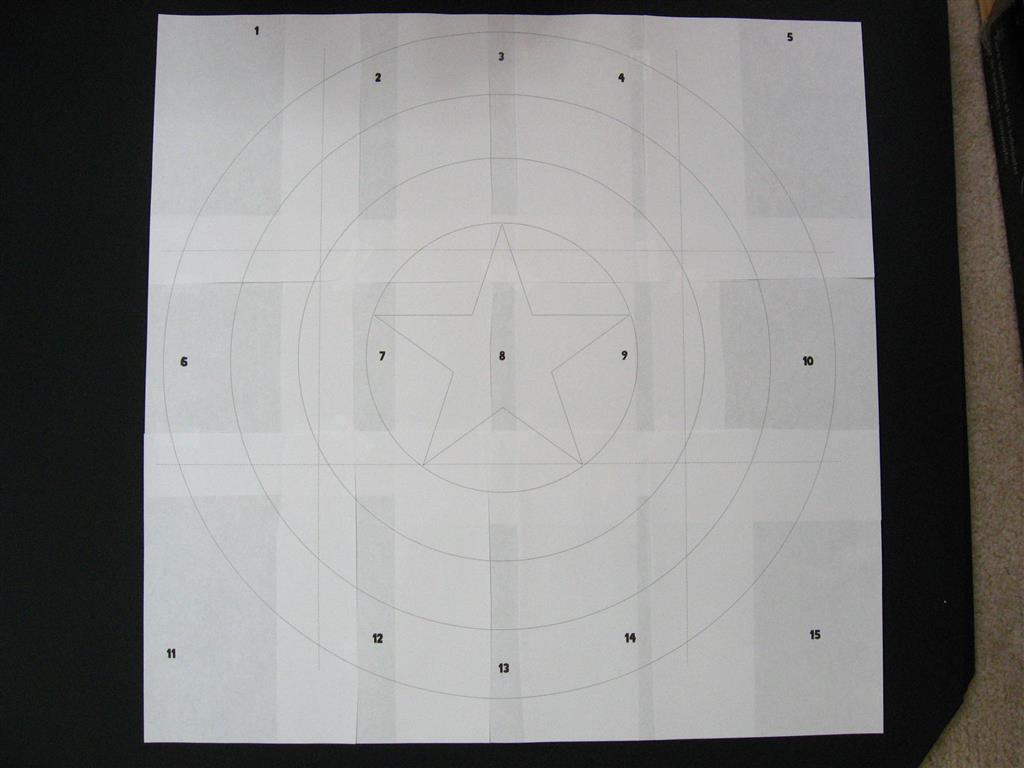
I created the template in Gimp and printed it out piece by piece on the many sheets of paper needed to fit the whole 24 inch shape.

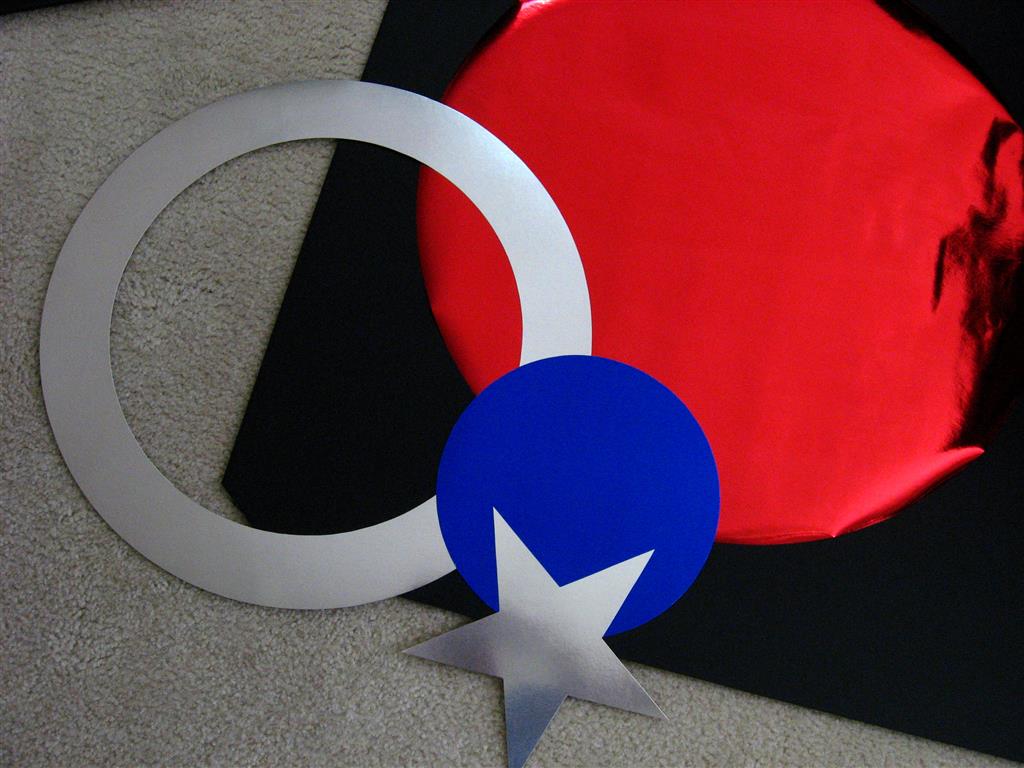
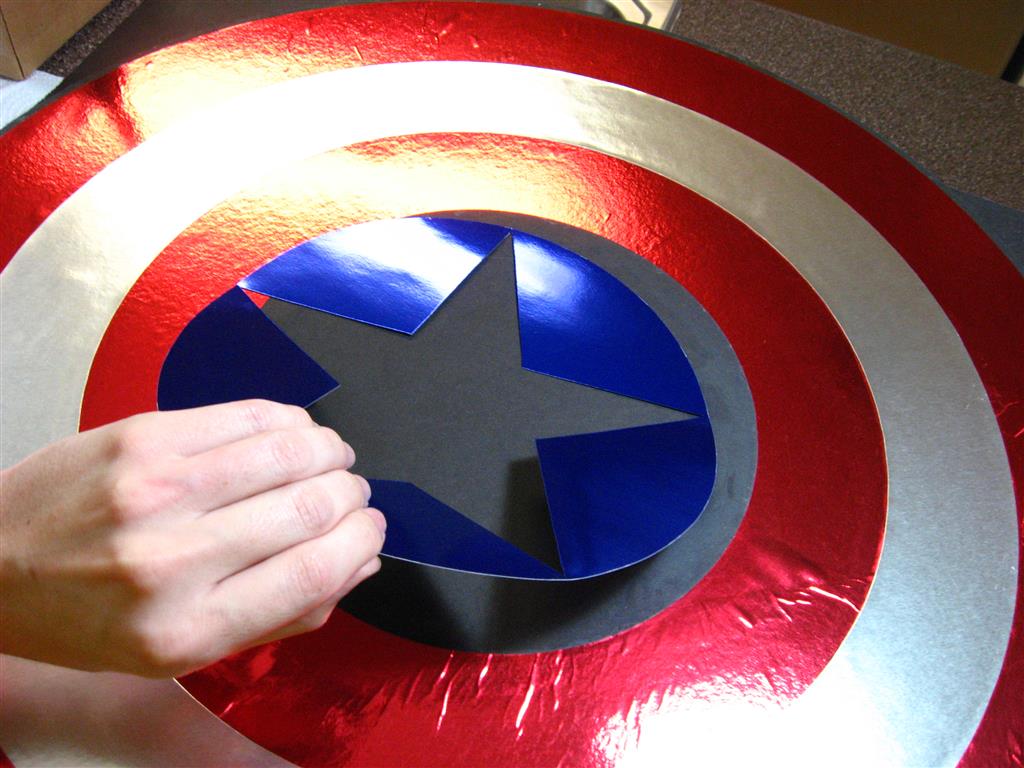
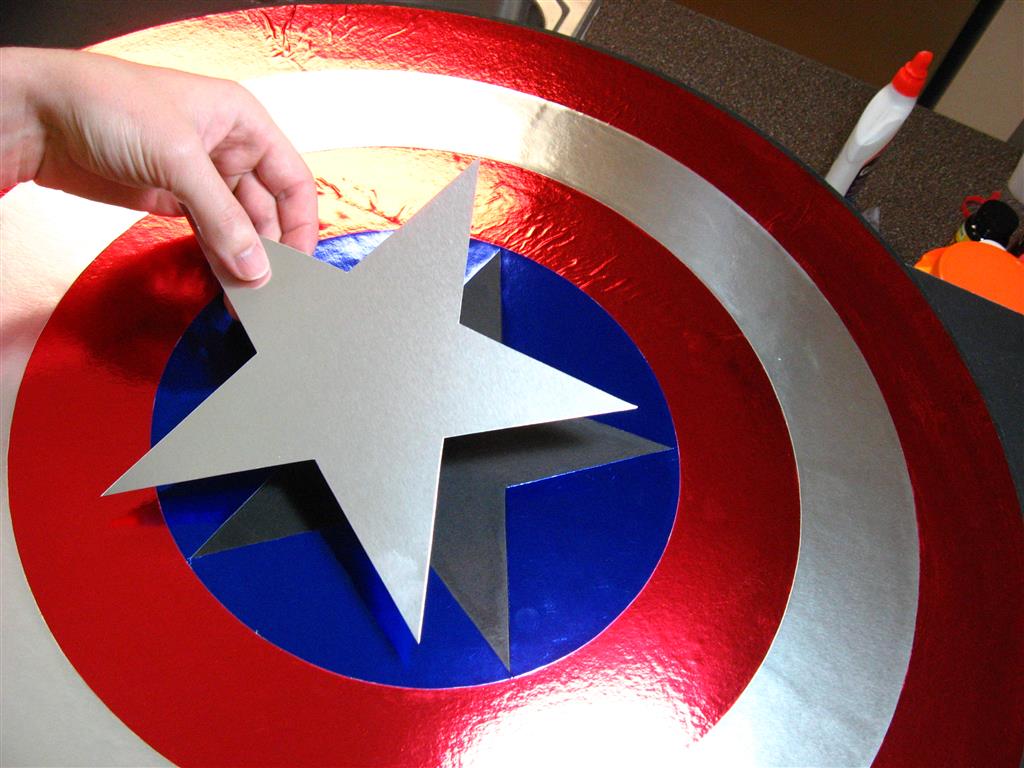
I first tried to glue the shapes together stacked on top of each other, but quickly realized glue won’t stick to the shiny side of the paper, so I instead cut each shape out in such a way that it would be in full contact with the poster board. Elmer’s white glue works well for paper to paper gluing, but it can be difficult to glue down such large shapes without wrinkles and bubbles.
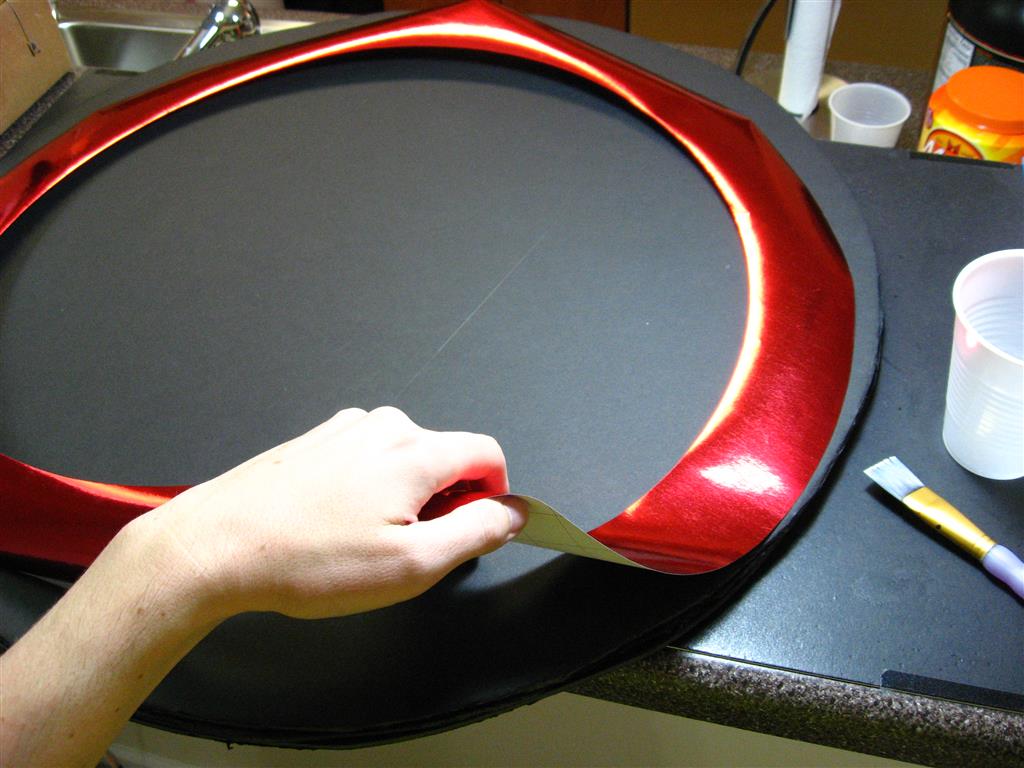
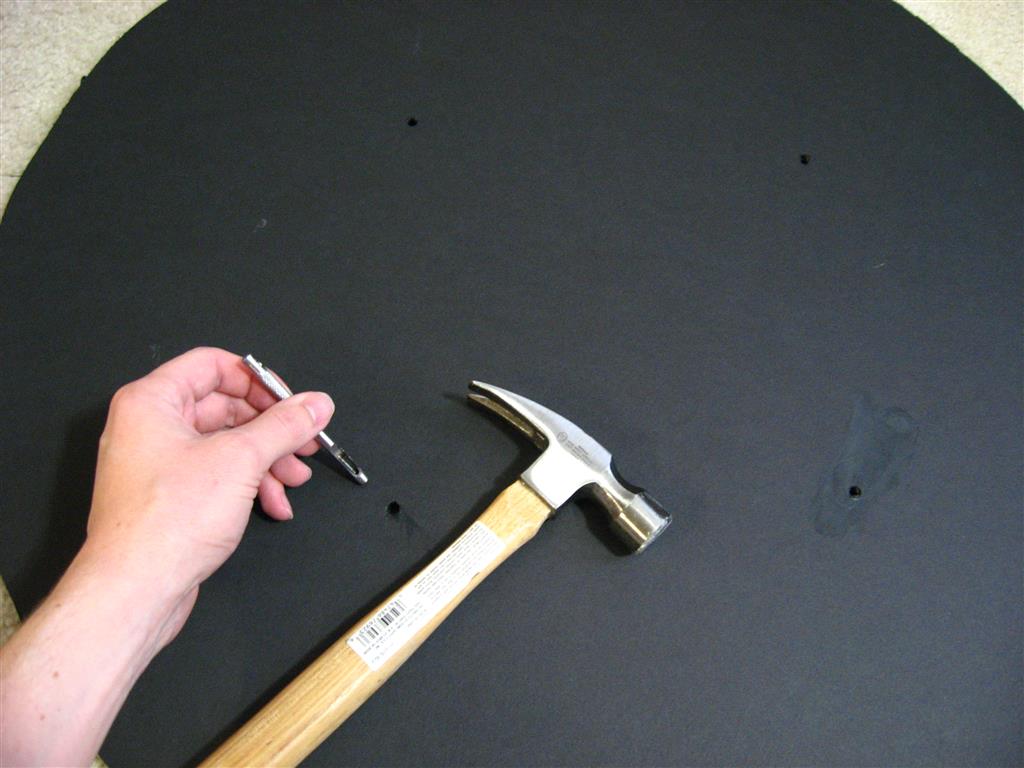
Before gluing on the final layer of foam board I used a punch set to punch holes where I would need them for the strap hardware and embedded chicago screws in them. Strapworks.com had some webbing mounts that worked great as strap hardware, and then I fed some polypropylene webbing through them for the straps.

The template is available here.
Another cool simple alternative I came across that does incorporate a curve can be seen here.
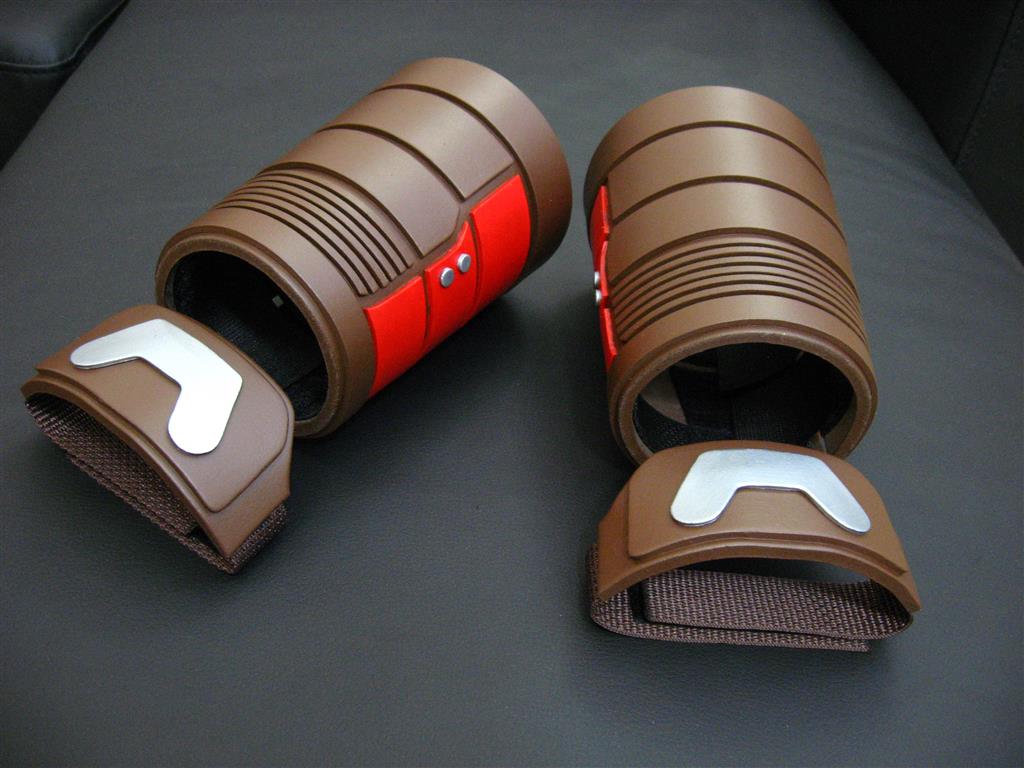
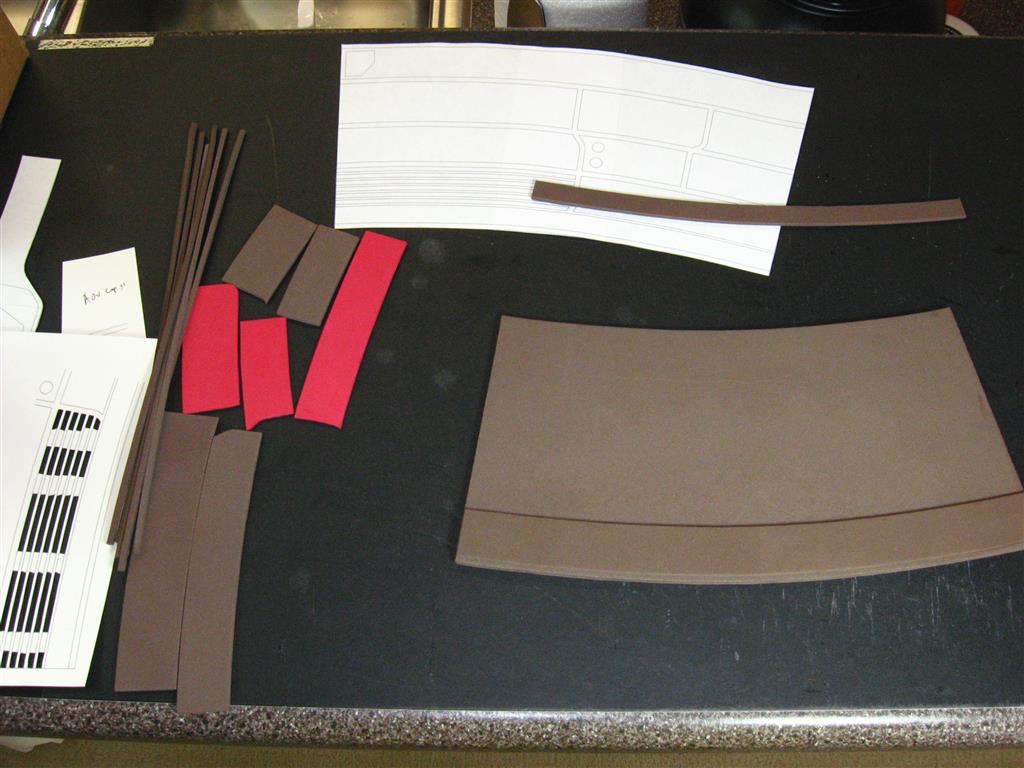
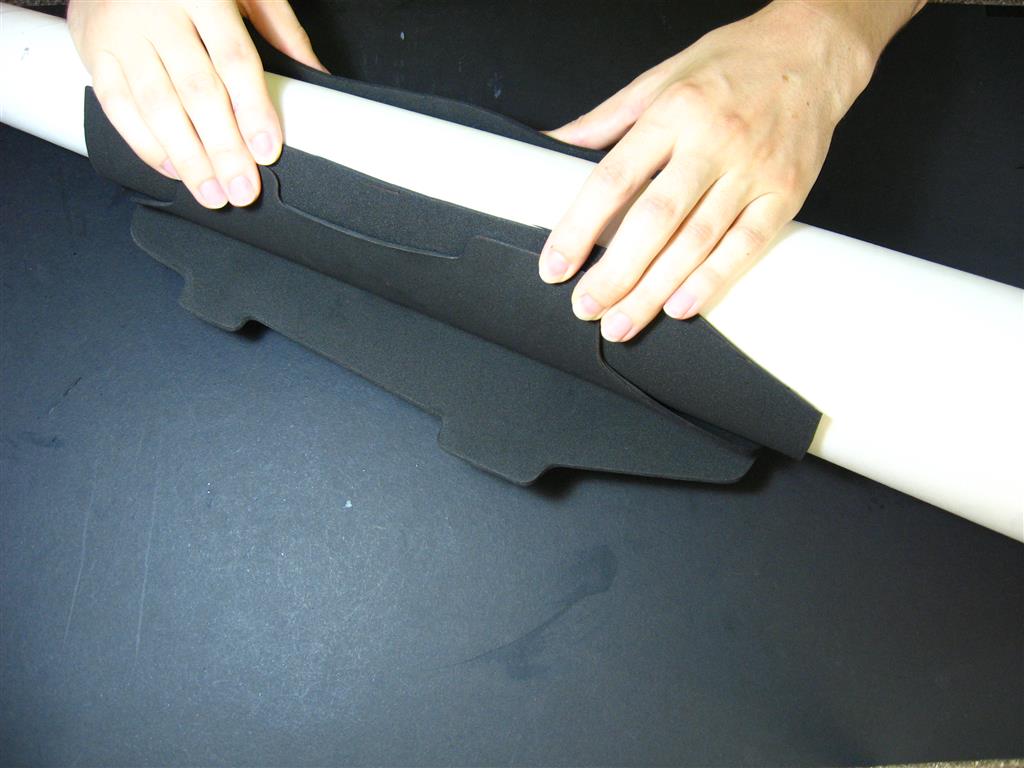
I recently finished up a pair of AOU cap gauntlets. I started by using reference pictures from the movie and a Hot Toys figure to make a template in Gimp, and then printed it out onto poster paper. I simplified the design a bit to better suit a foam build.


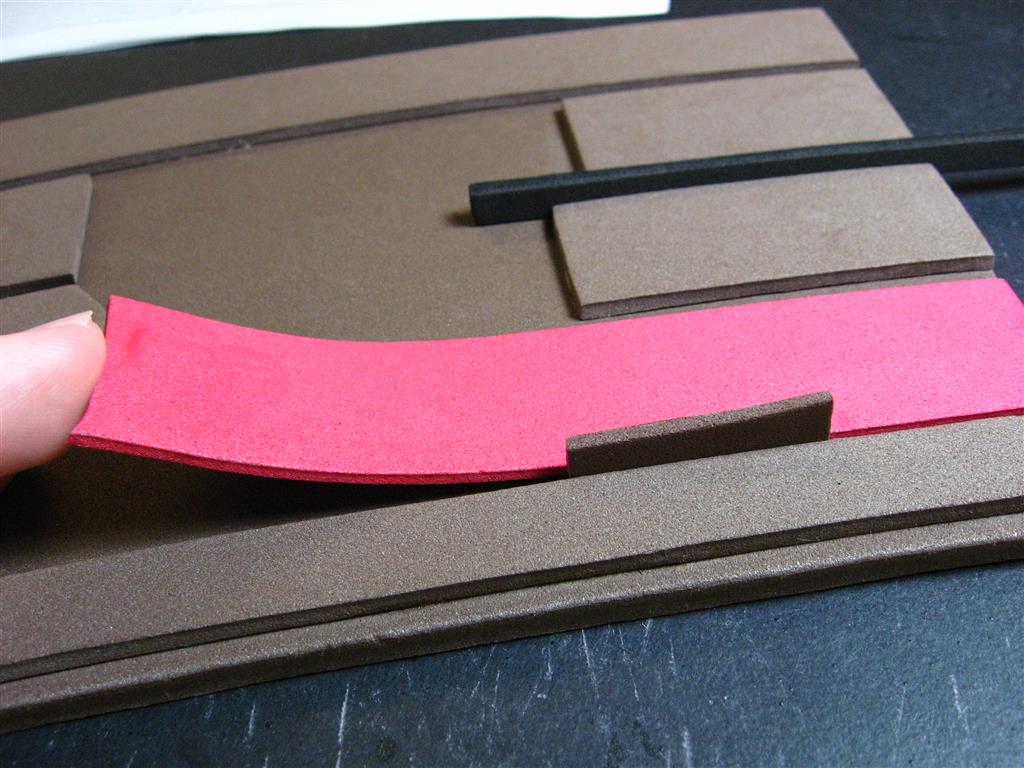
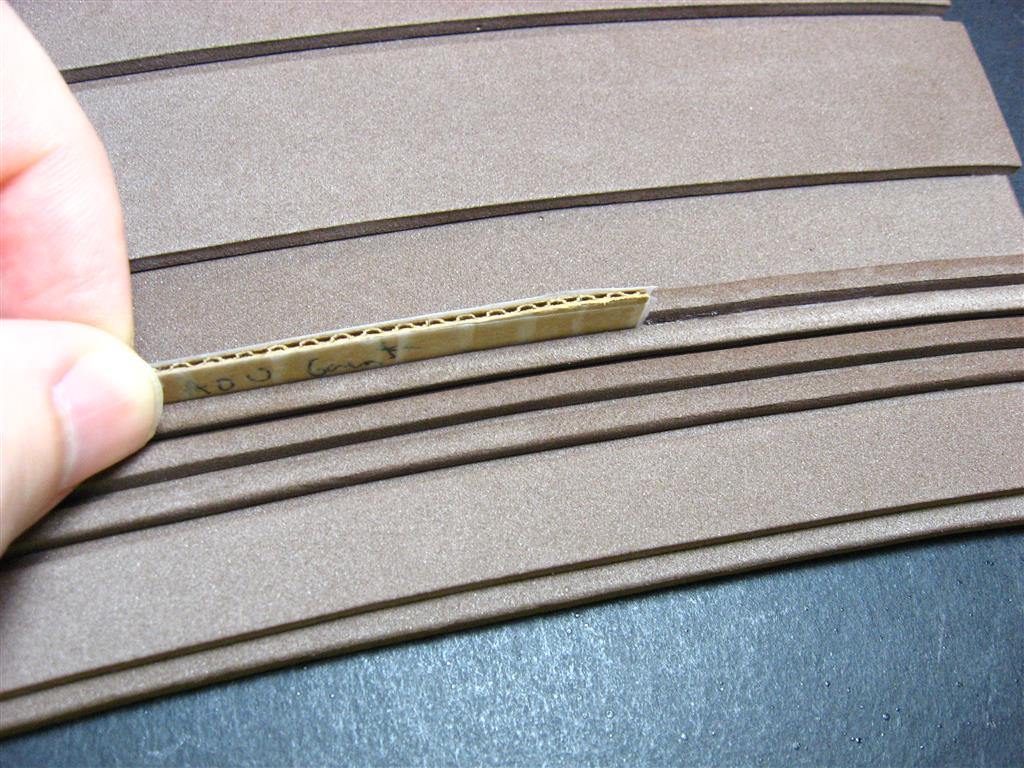
I traced the shapes from the template onto 5mm and 3mm craft foam (I get my foam from Hobby Lobby), and cut them out with scissors. For the long and narrow lines at the base of the gauntlets, I used an xacto knife and a ruler instead of scissors to get straight and even cuts. All the pieces were then glued together using super glue (I like a brand called Rhino Glue). To keep consistent spacing, I placed scrap pieces of 2 and 3mm foam, turned on their side, in between the pieces while gluing them together. I found some thin cardboard laying around that was the perfect thickness for a spacer for the narrow lines as well.
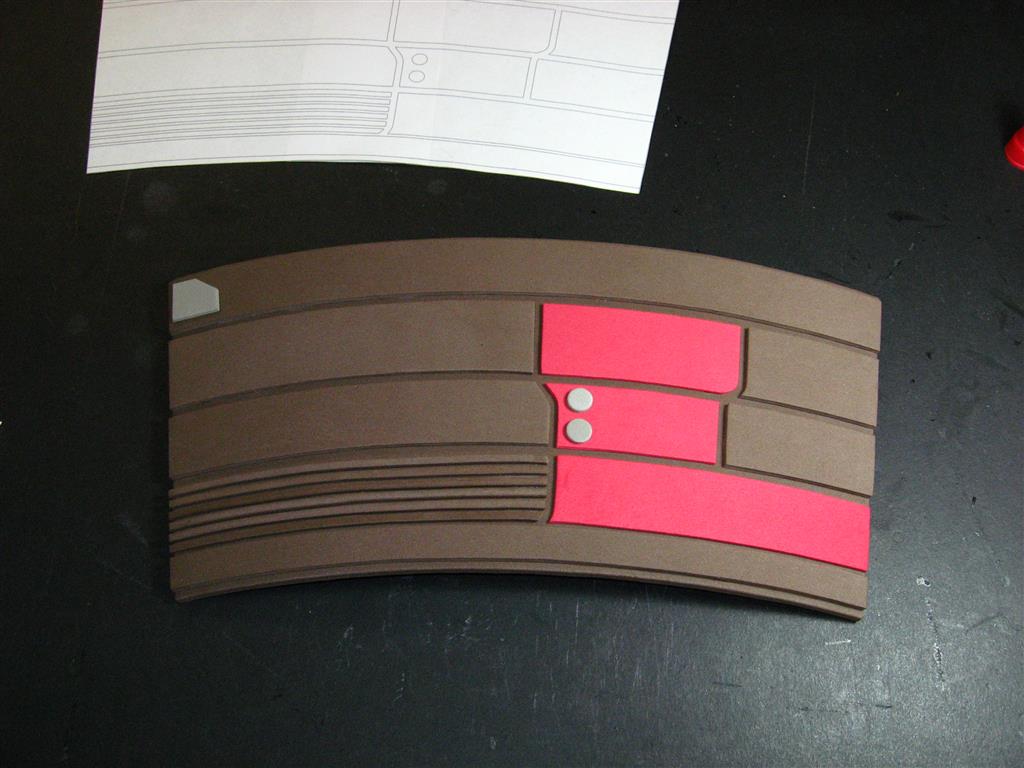
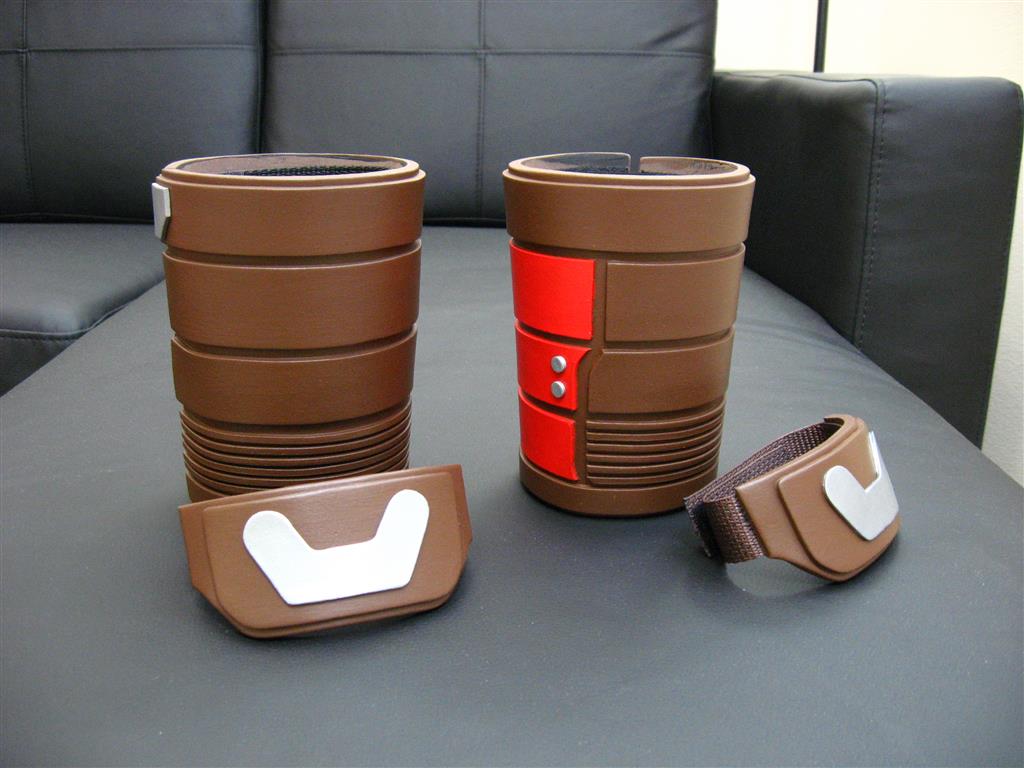
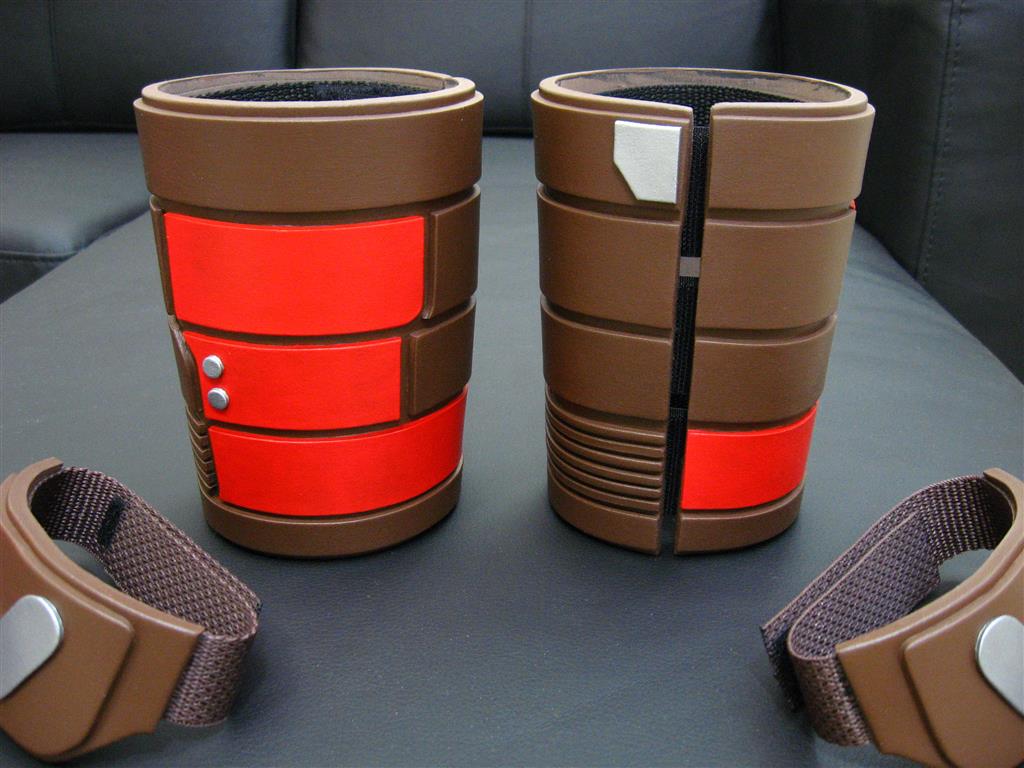
Whenever you are gluing together several layers of foam that you want to stay in a curved position, it is best to hold them in that curved position while you glue them together. Otherwise the resulting flat block of foam will be too rigid to curve around your body. Alternatively, if there are only 2 or 3 layers of thin foam, you can glue everything flat on the table and then add an additional layer of either foam or nylon webbing to the inside of the item, and glue that layer on a curve. I made a simple cone-shaped tool to help with this, out of a large rolled up sheet of poster board paper stuffed with plastic grocery bags and taped shut. I bent the gauntlets around the cone and glued a length of nylon webbing along the inside of the top and bottom of the gauntlets, holding the foam in that curved position while the glue dried. I glued some velcro to the inside edges for fastening the gauntlets closed. The webbing on the hand piece is from strapworks.com.
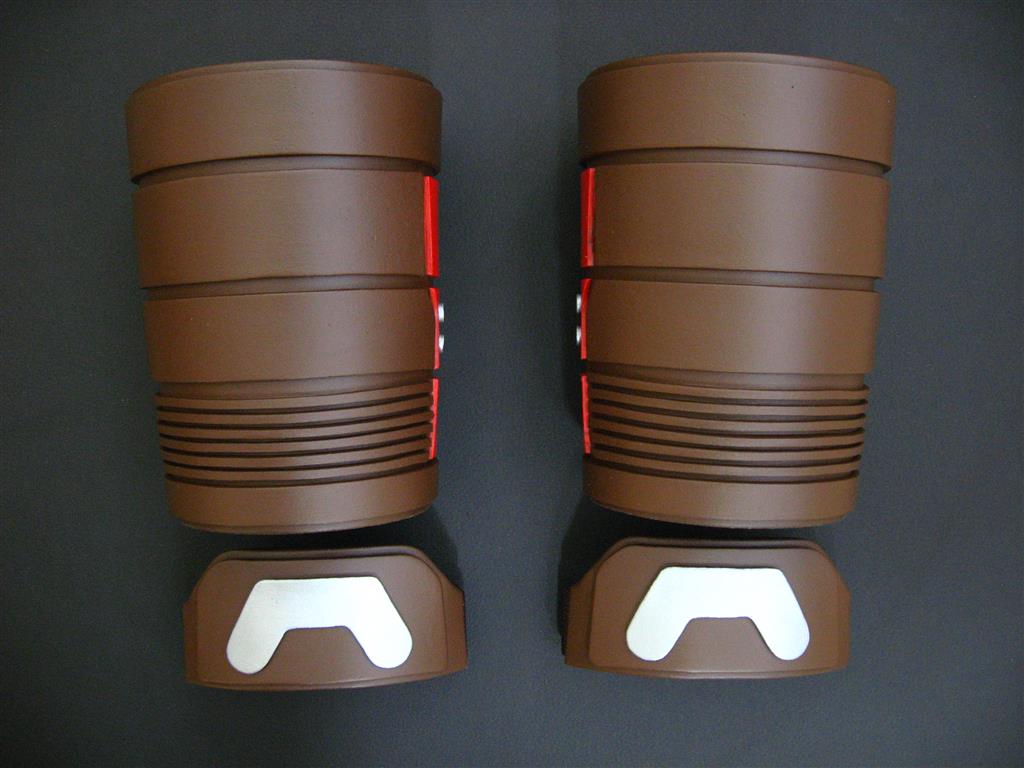
To paint the gauntlets, I brushed on one thick coat of Benjamin Moore Aura to smooth out the texture of the foam a bit, and then 3 to 4 coats of regular acrylic paint from the craft store (brush-on as well). After painting I sprayed on a couple coats of clear plasti dip.

The template for the gauntlets is available here.


 TDK Bat Utility Belt
$95 – $215
TDK Bat Utility Belt
$95 – $215
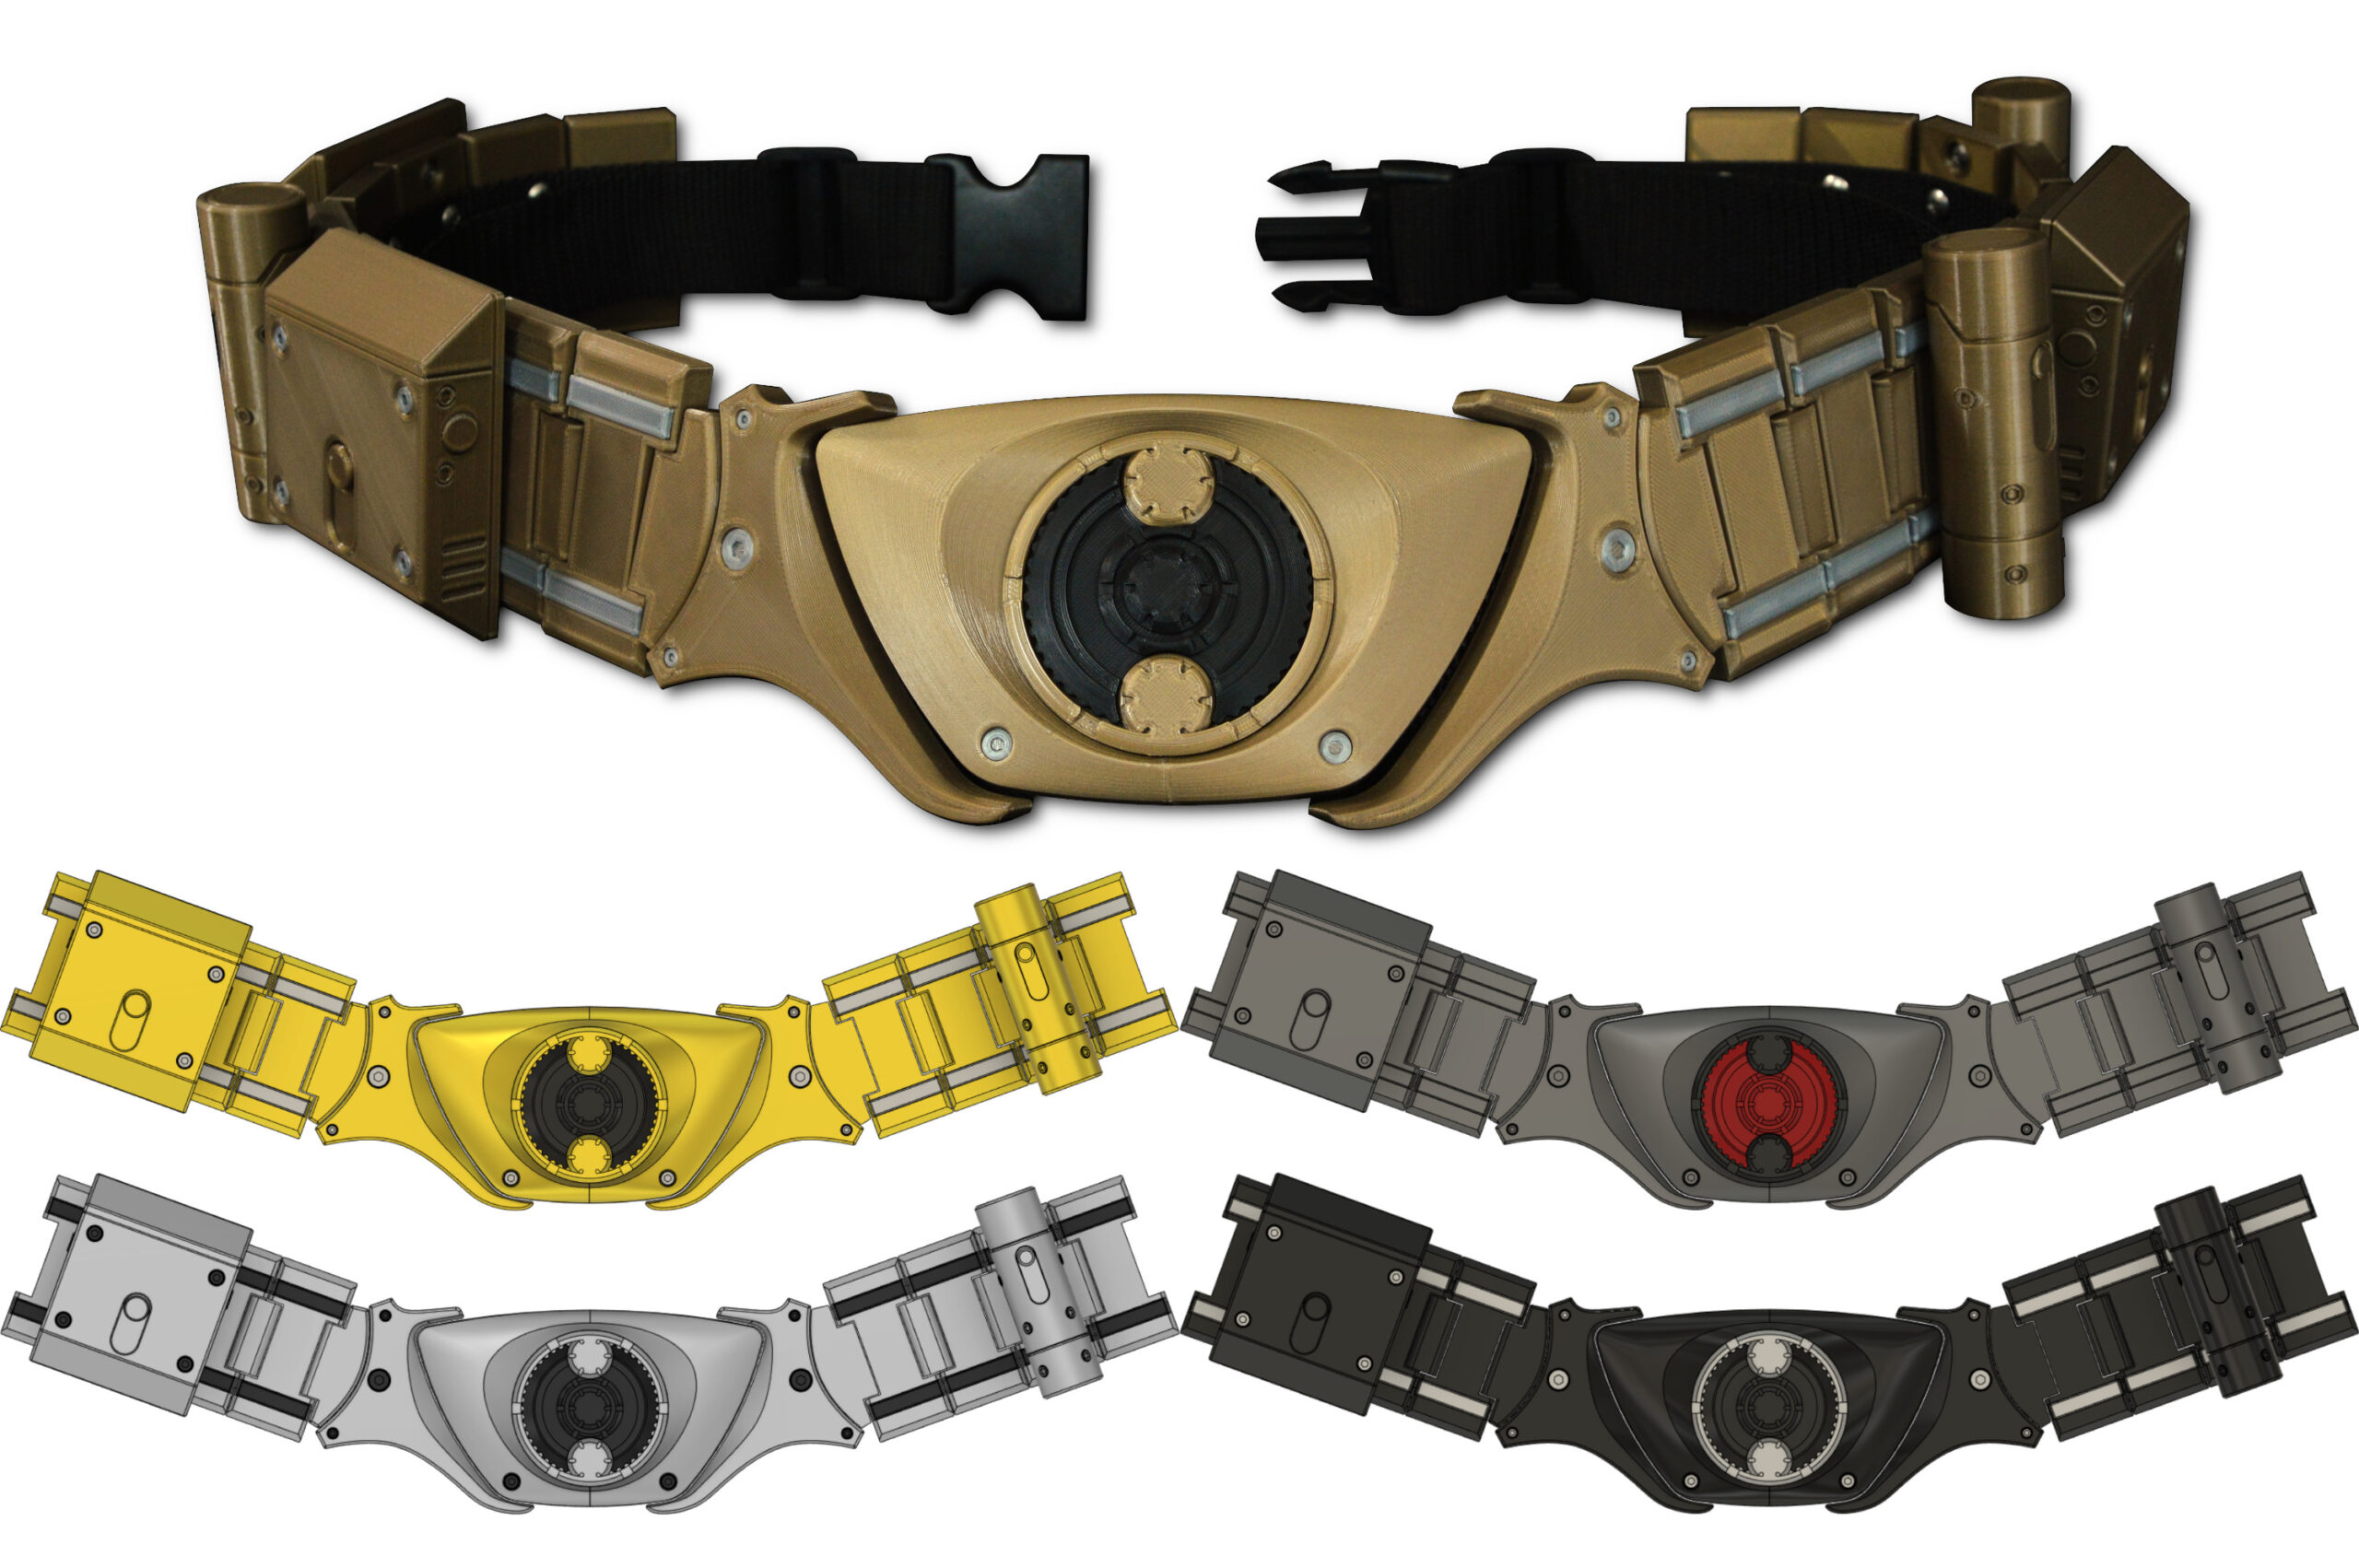
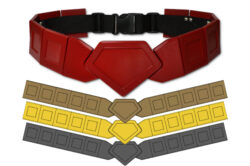
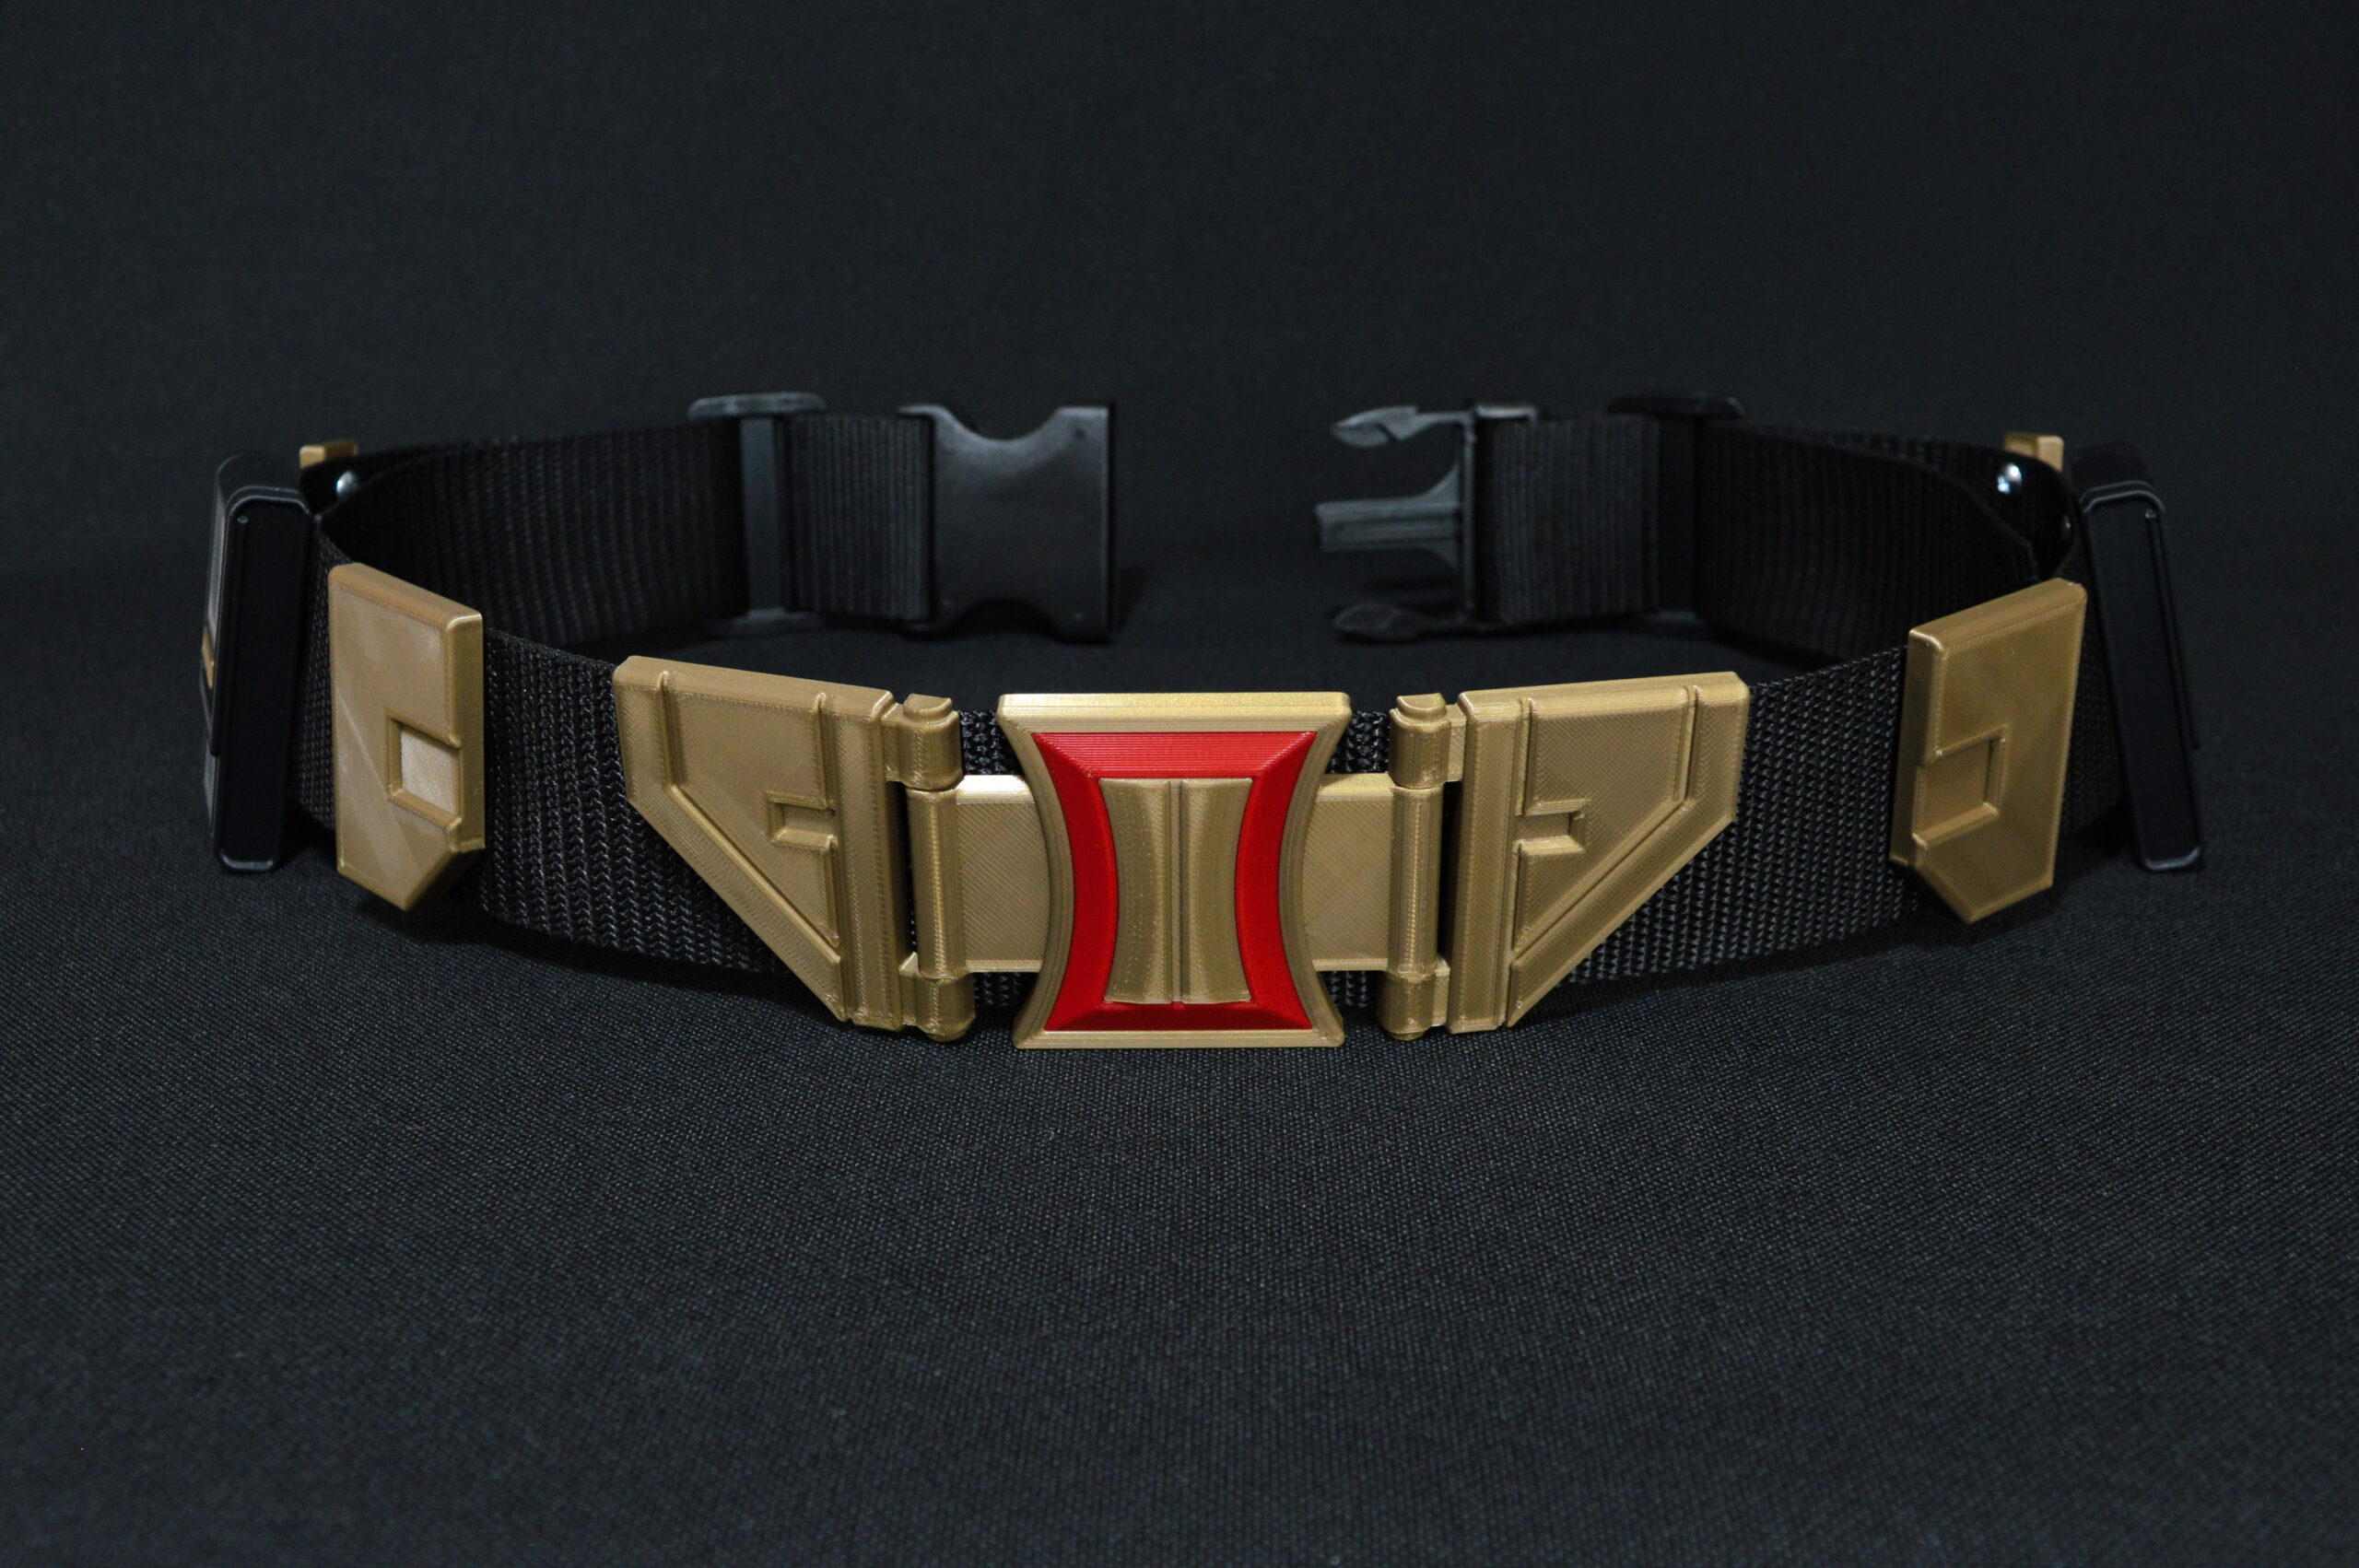 2021 Widow Utility Belt
$50 – $85
2021 Widow Utility Belt
$50 – $85
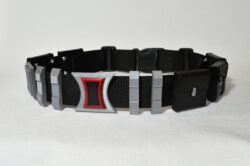 Widow Utility Belt V1
$50 – $90
Widow Utility Belt V1
$50 – $90
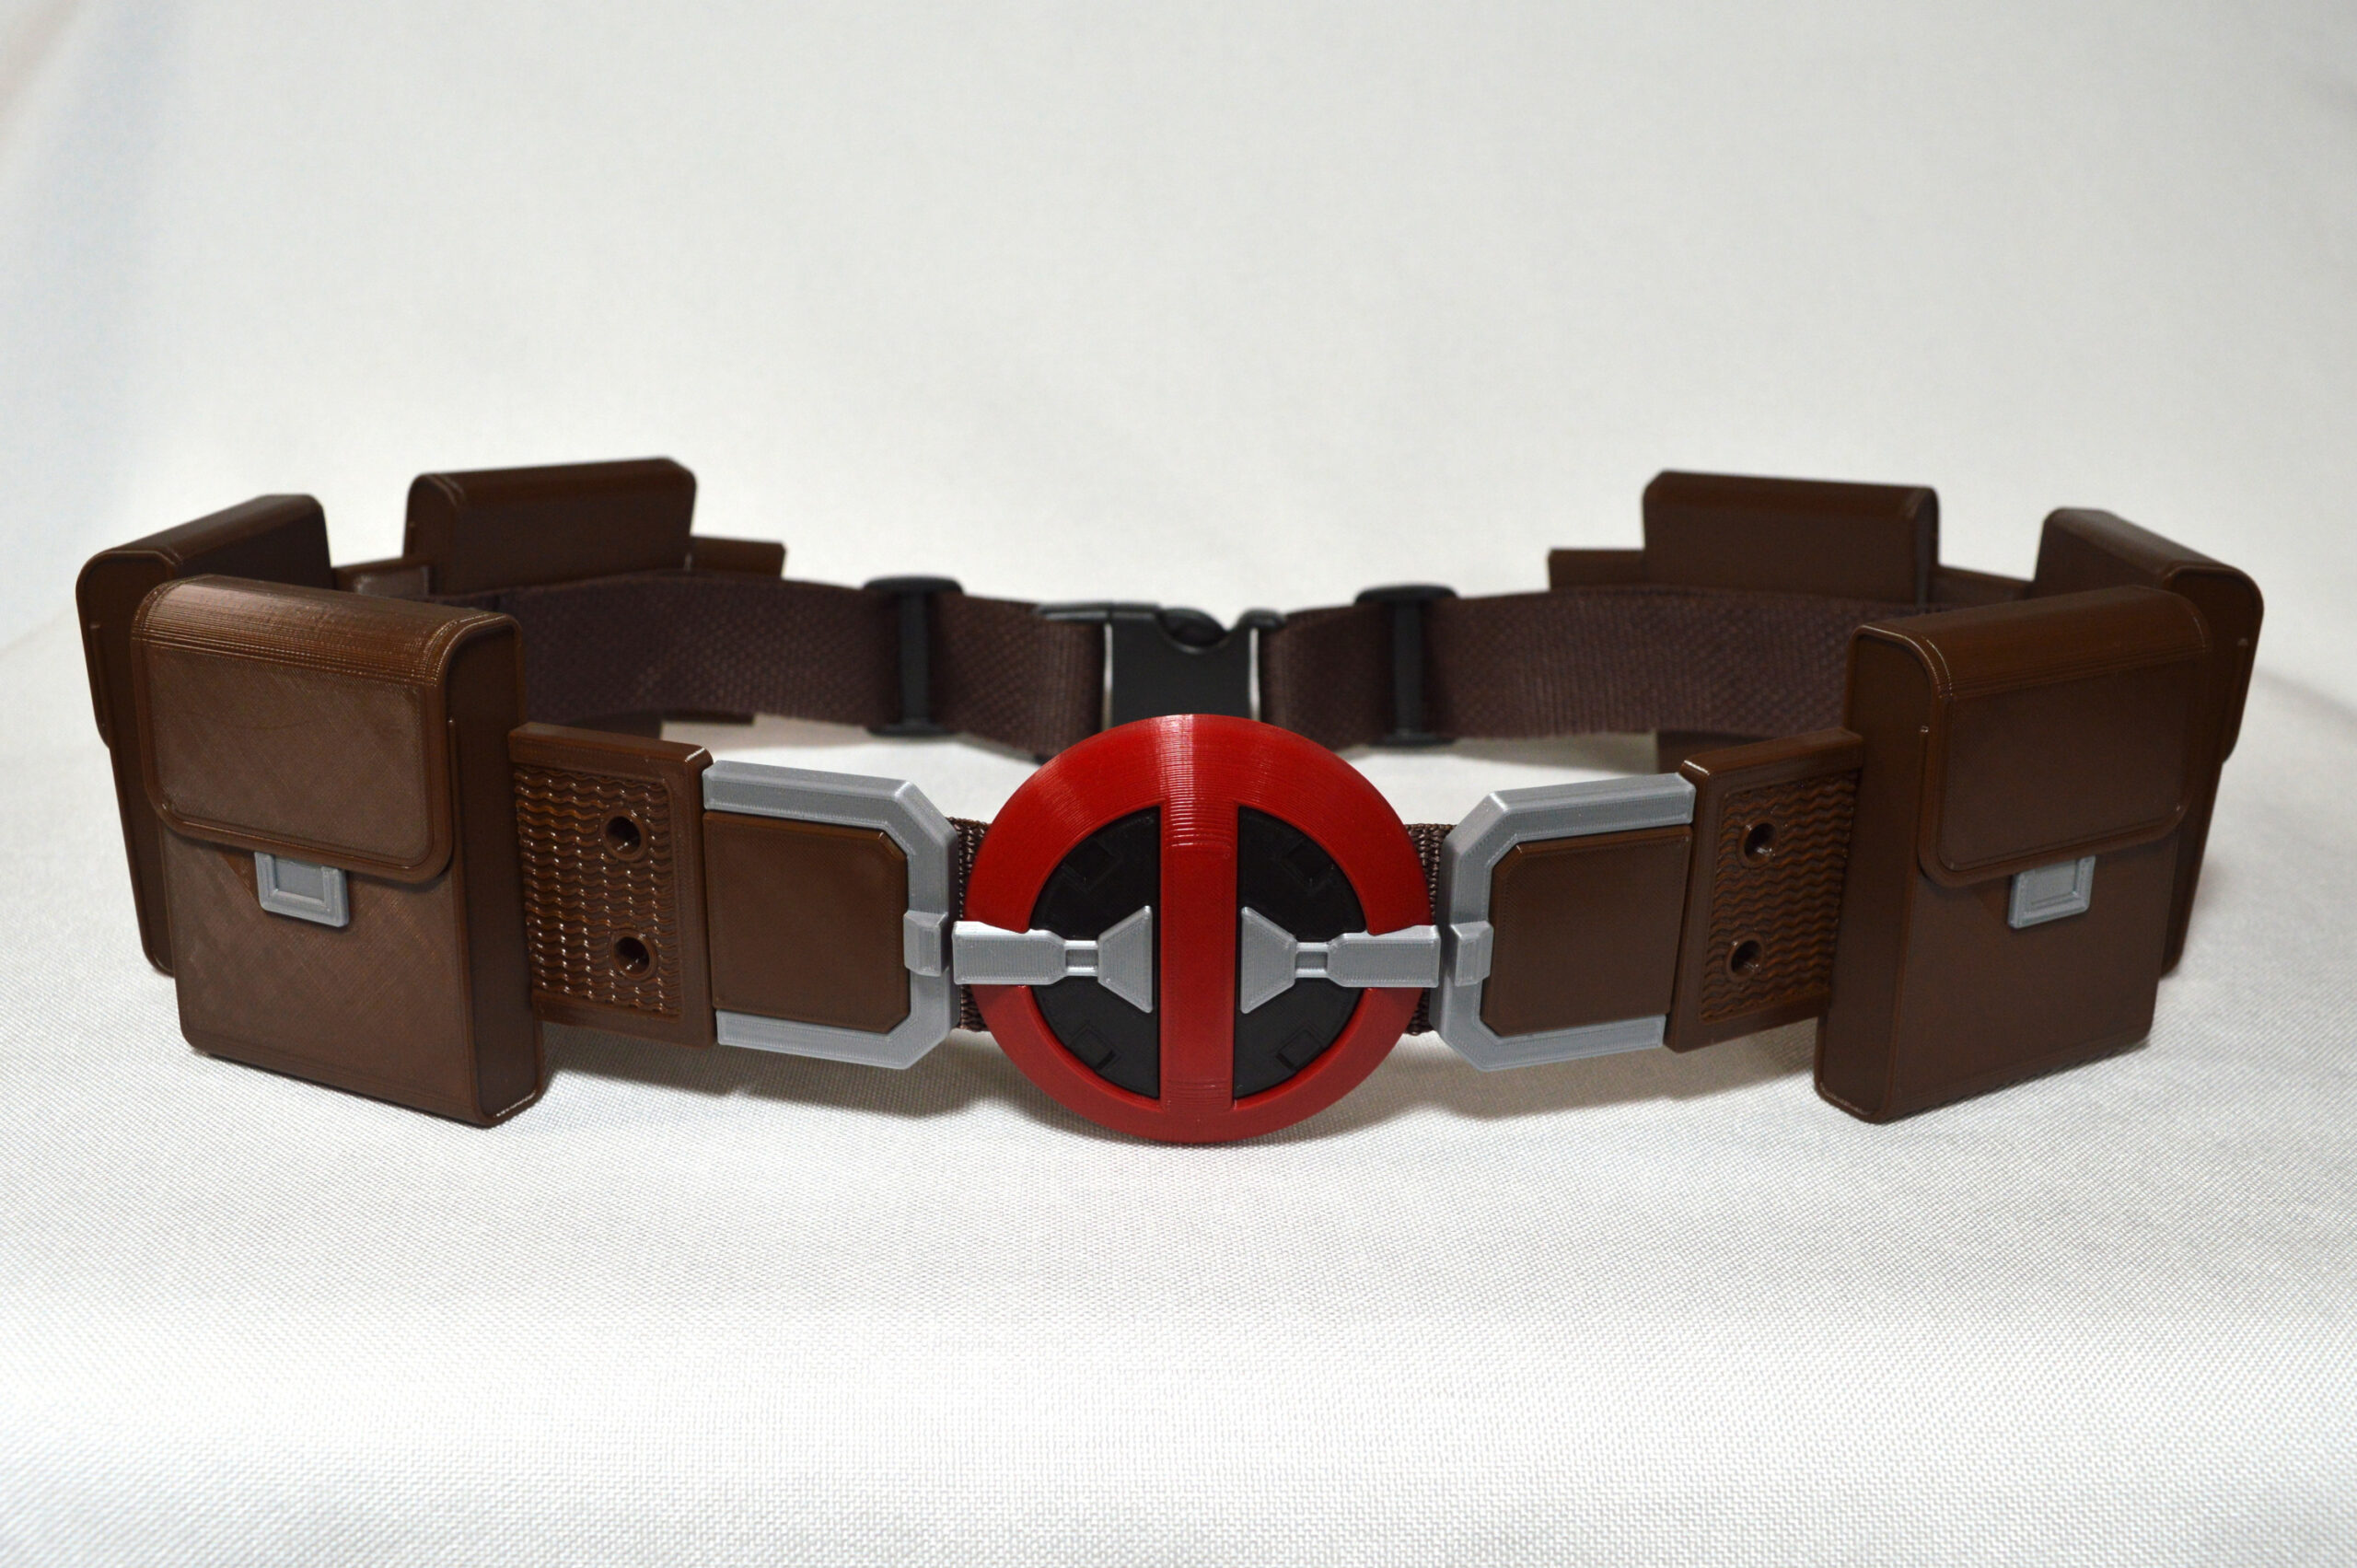 Merc Utility Belt
$90 – $165
Merc Utility Belt
$90 – $165
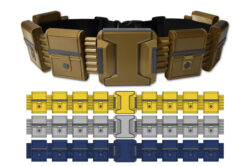
 TT Series Bat Utility Belt
$90 – $165
TT Series Bat Utility Belt
$90 – $165
 New 52 Super Costume Belt
$85
New 52 Super Costume Belt
$85
 Arkham Bat Utility Belt
$100 – $225
Arkham Bat Utility Belt
$100 – $225
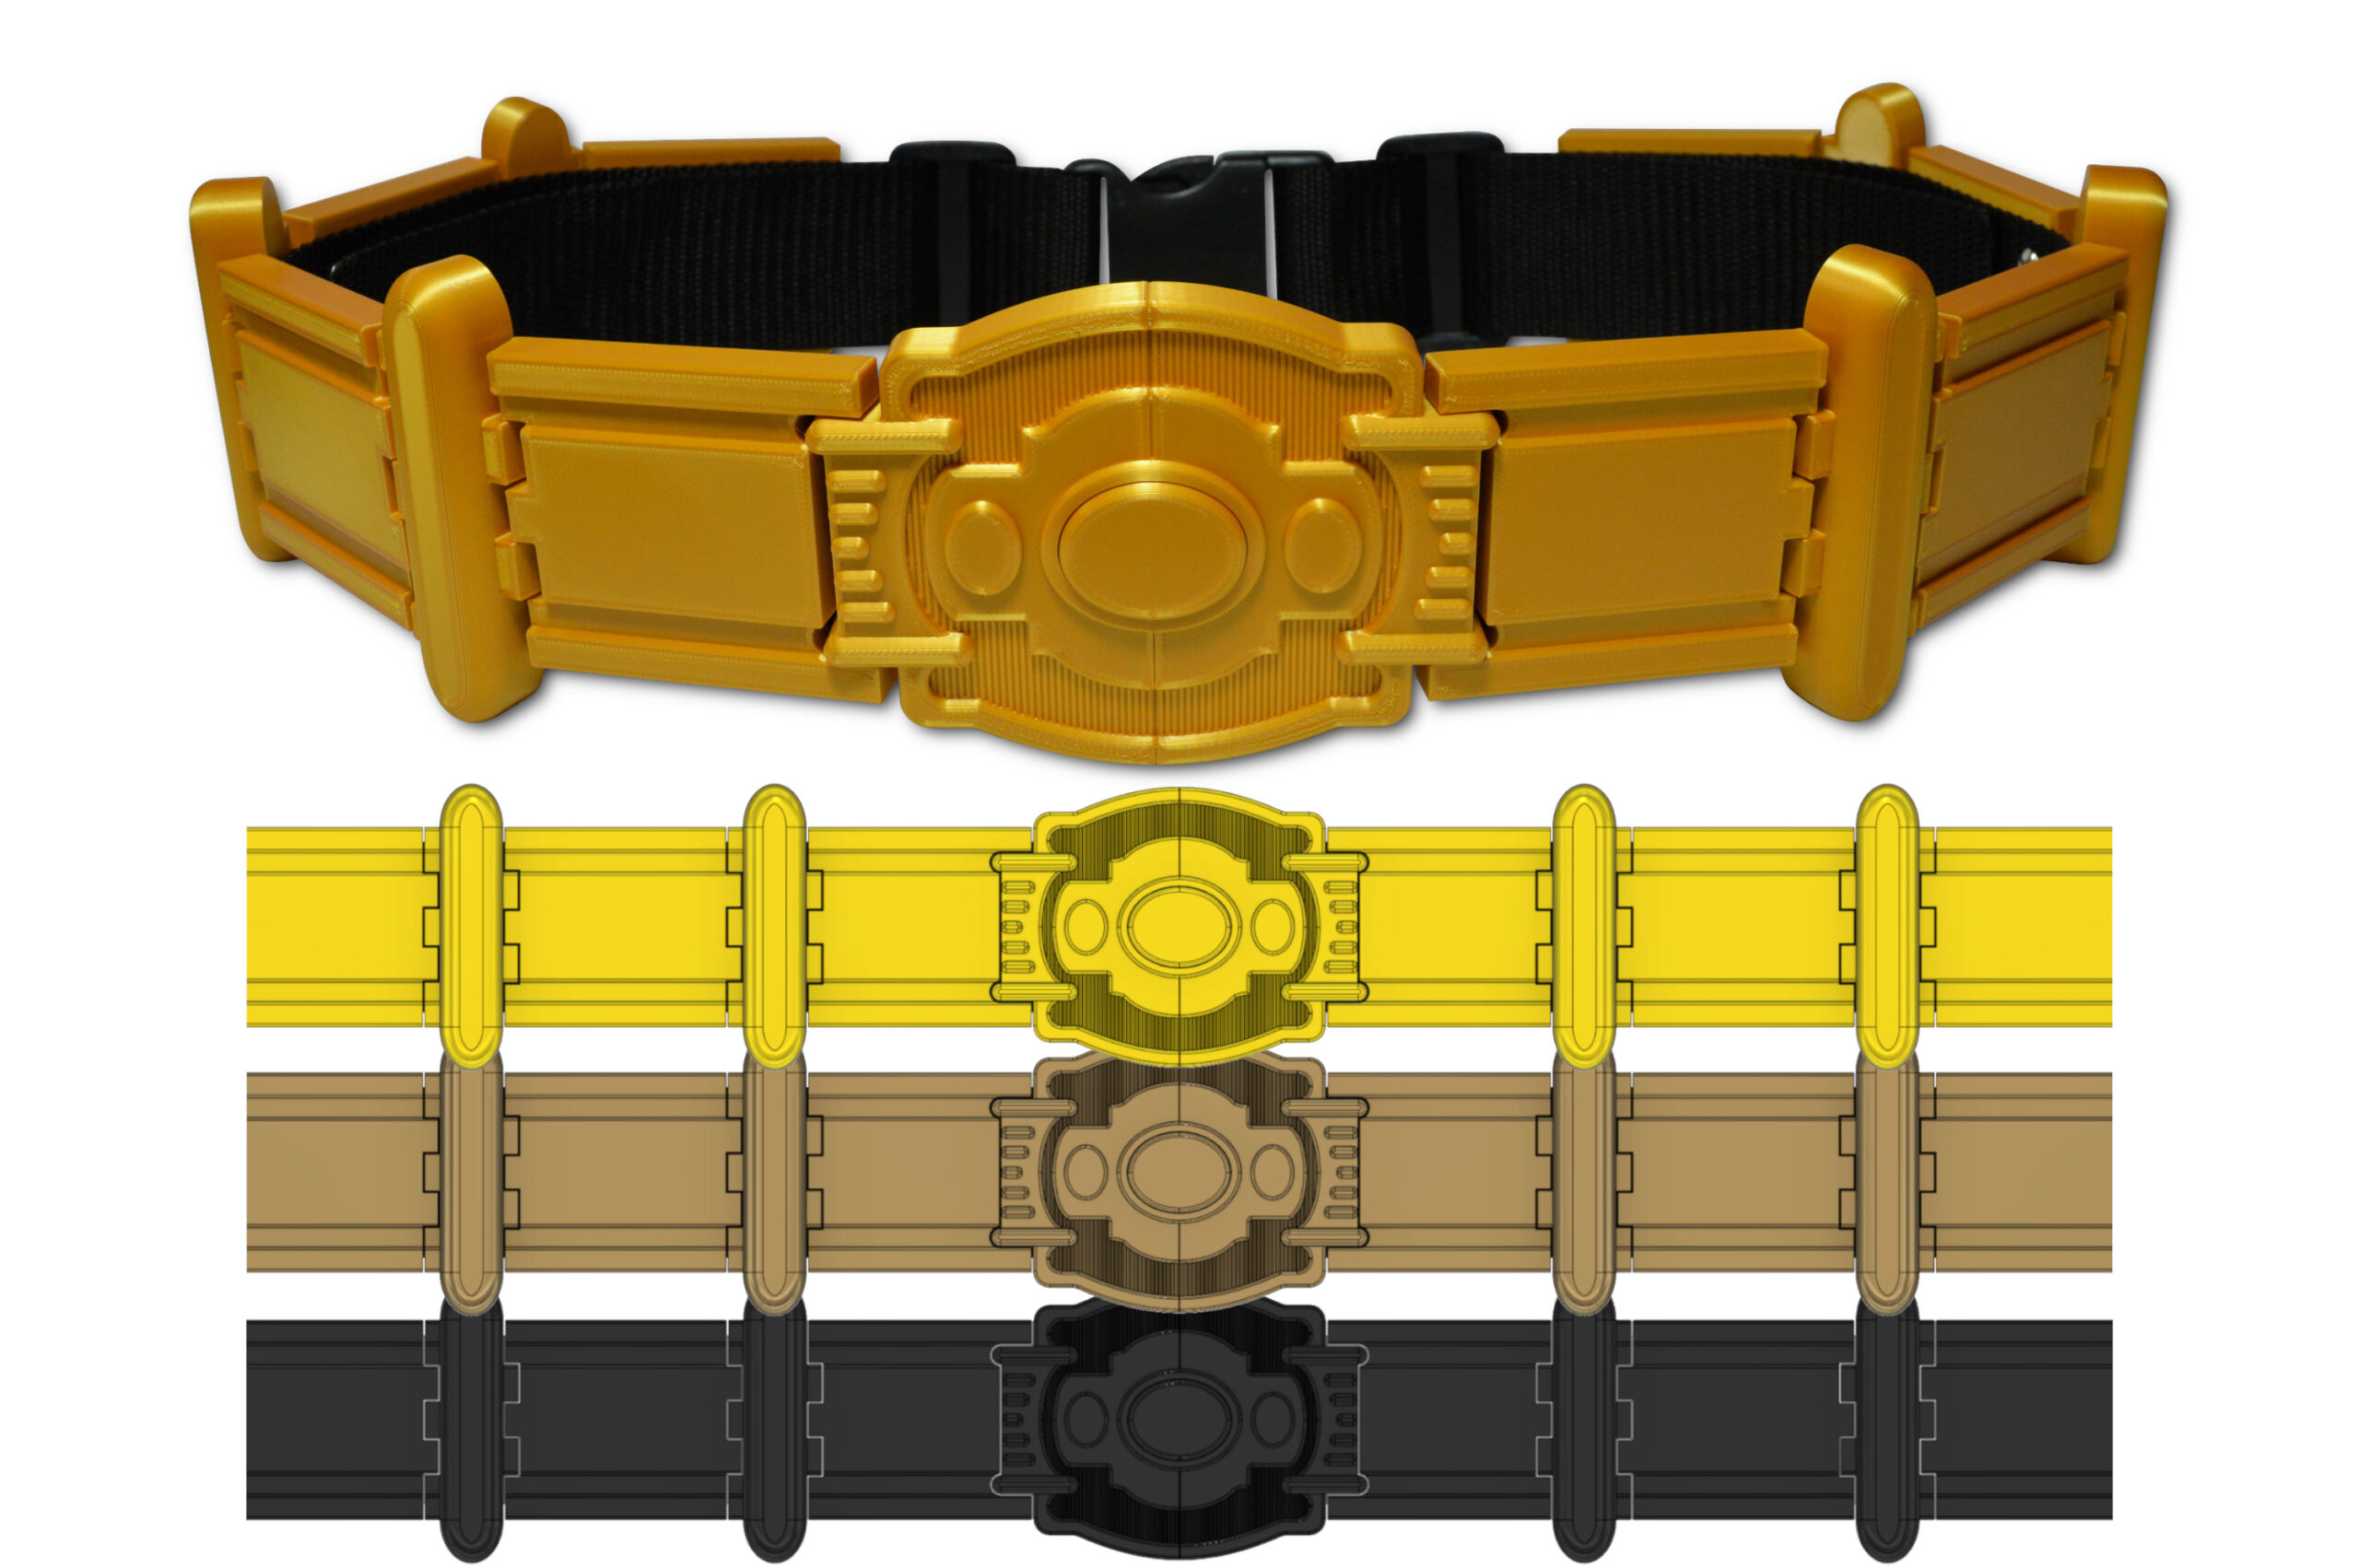 89 Bat Utility Belt
$80 – $150
89 Bat Utility Belt
$80 – $150
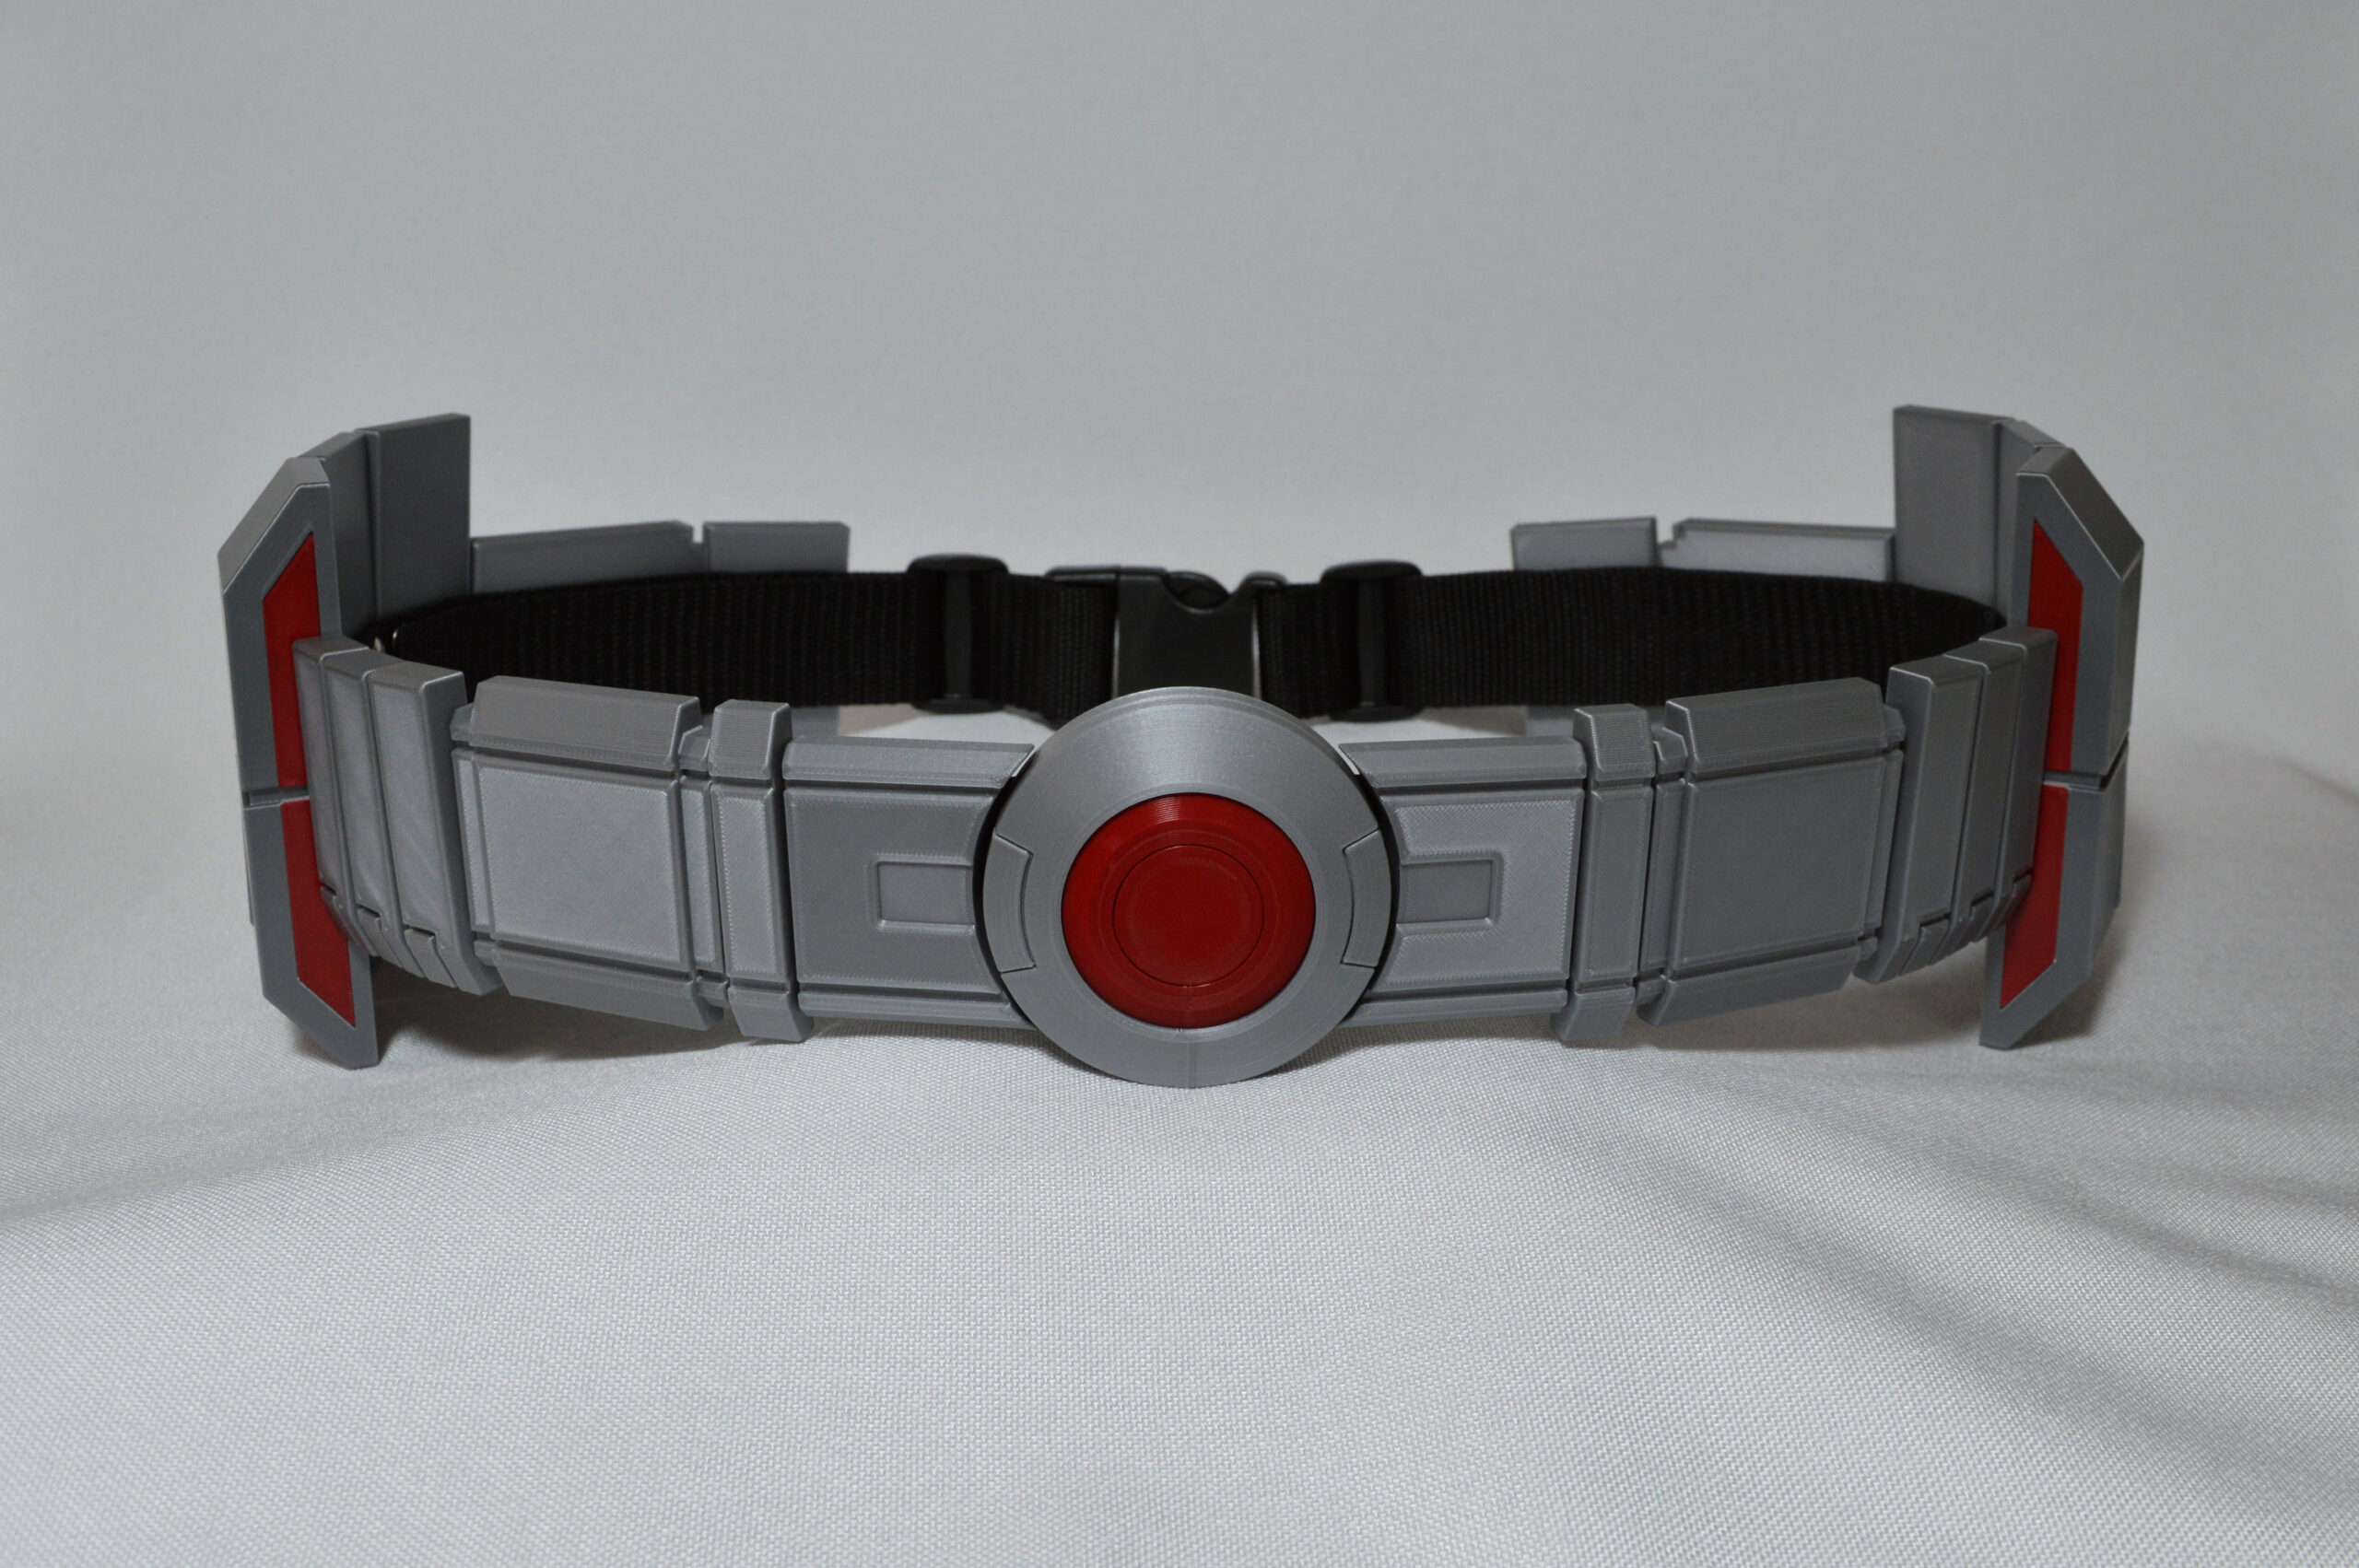 Ant Costume Utility Belt
$100 – $195
Ant Costume Utility Belt
$100 – $195
 TAS Bat Utility Belt
$85 – $150
TAS Bat Utility Belt
$85 – $150
